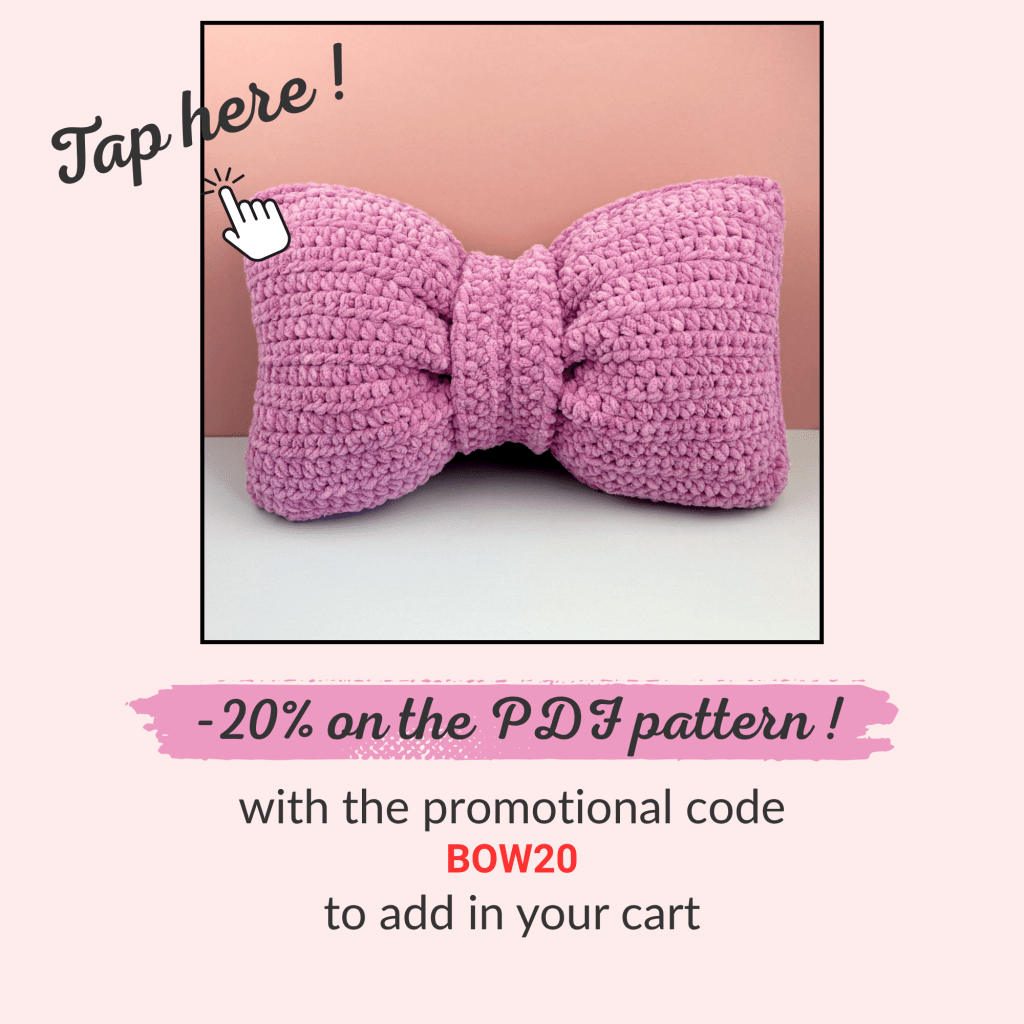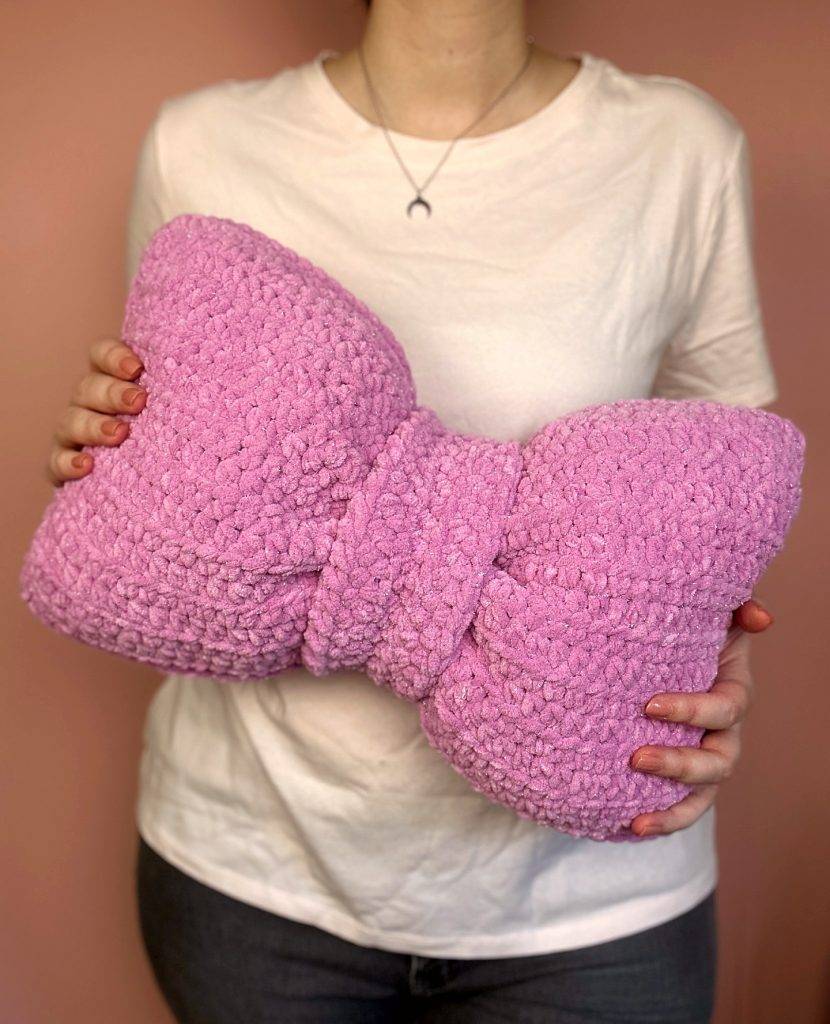
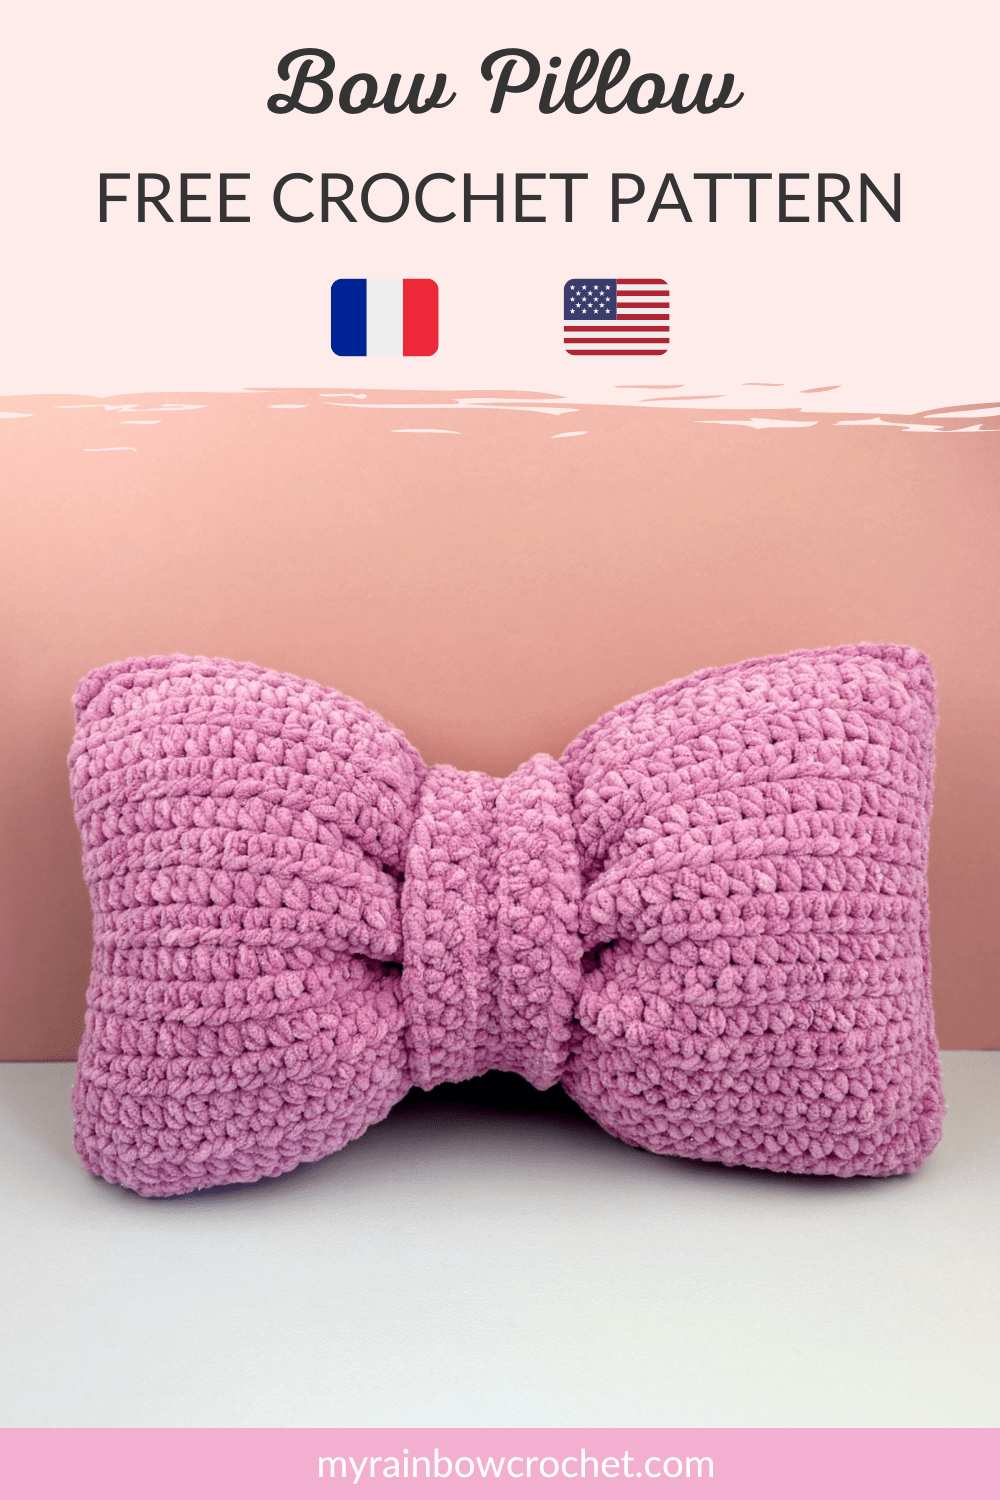
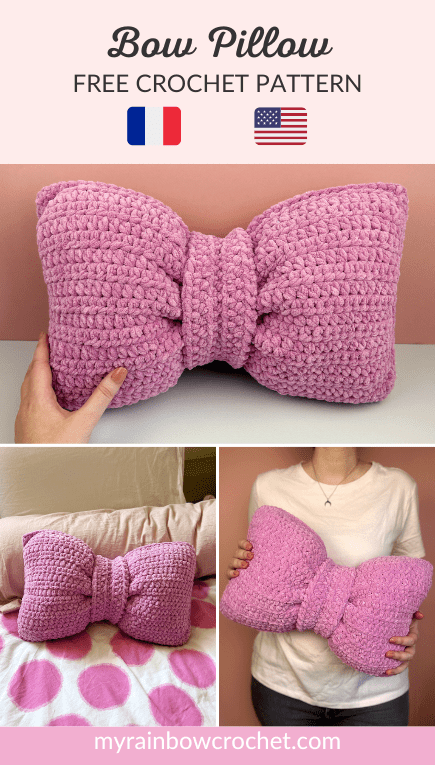
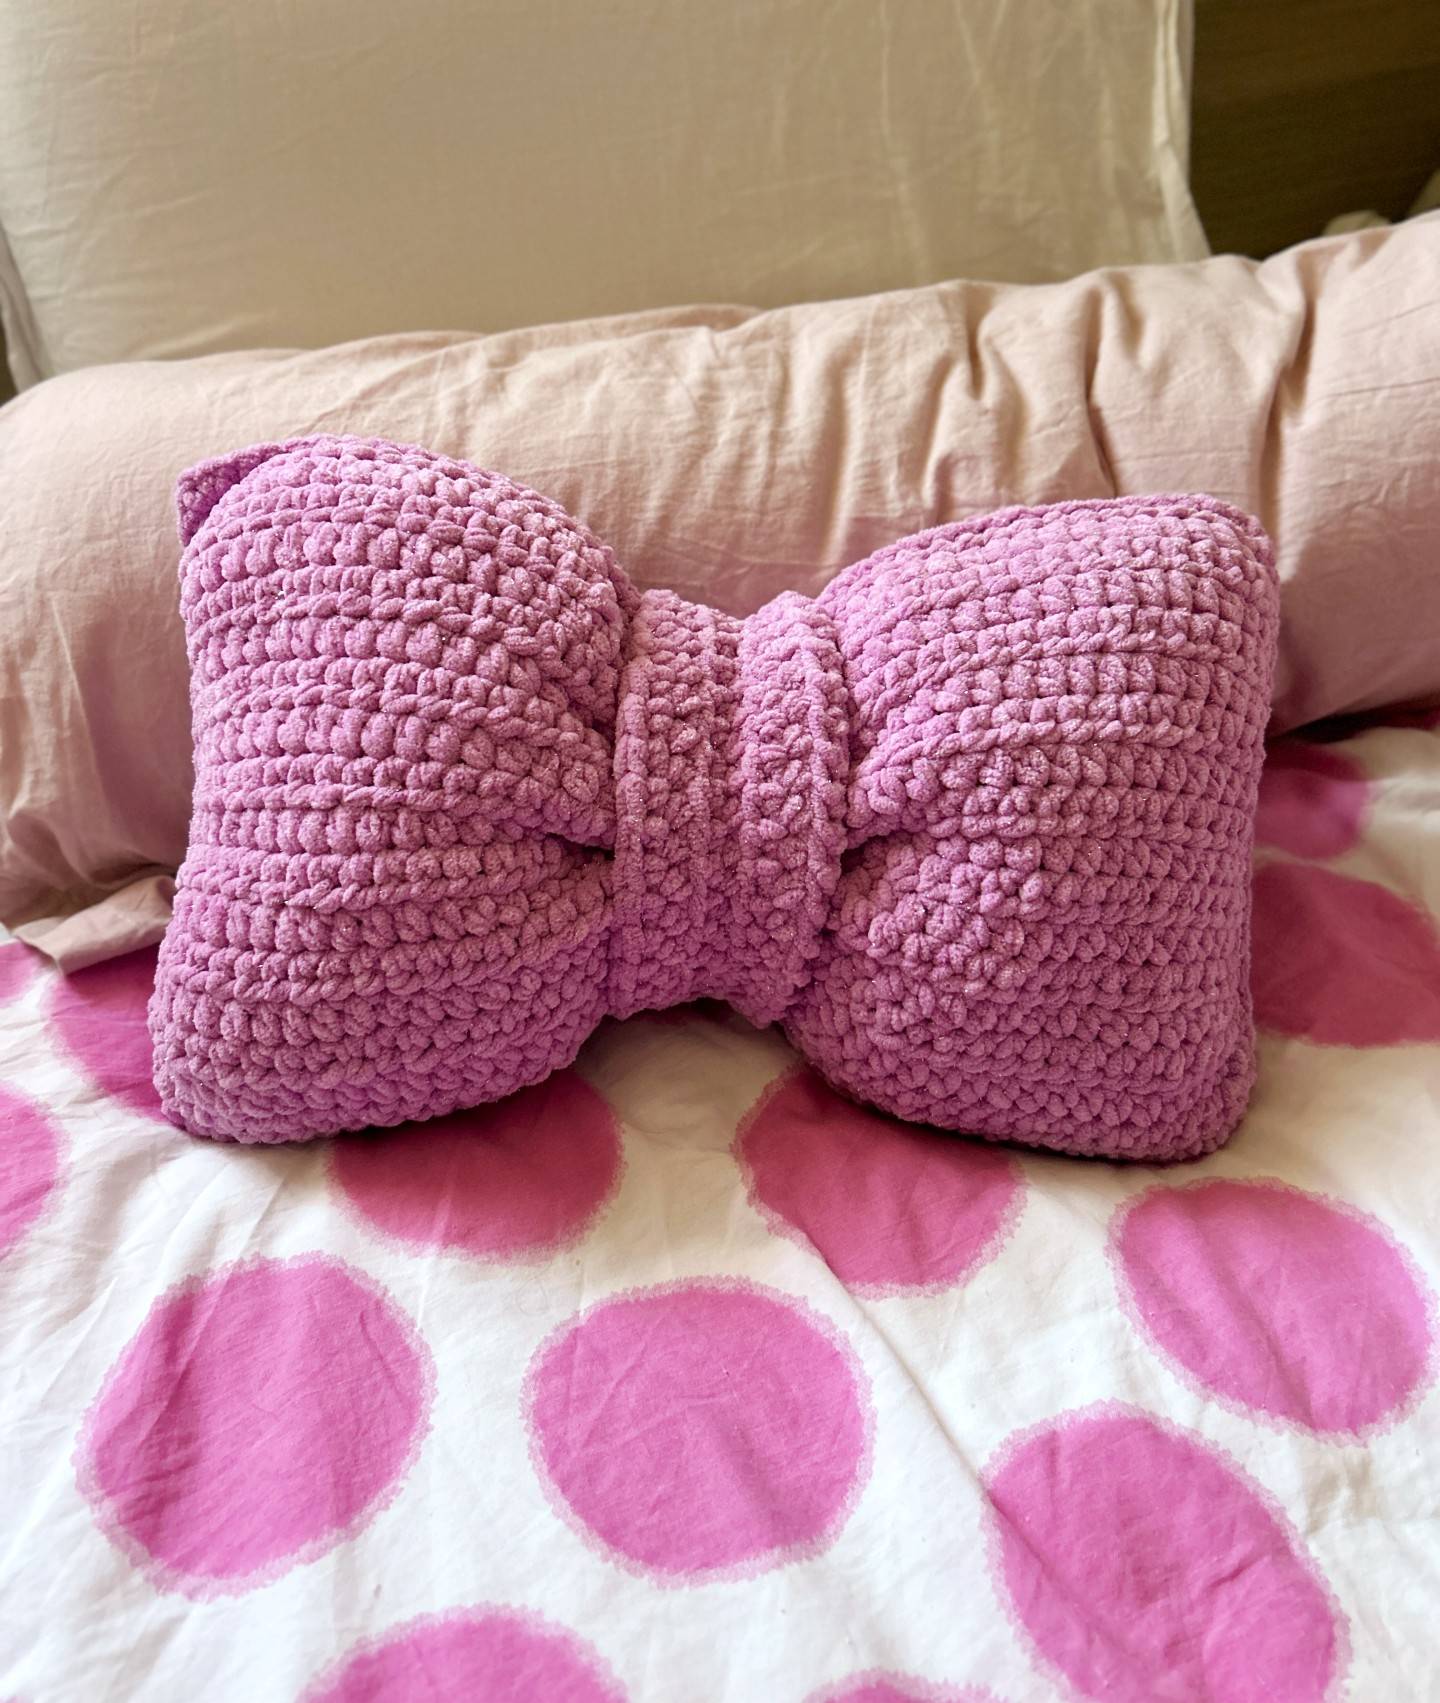
I’m back with a new soft crochet pillow pattern! After my previous pillows that you really liked, here is the one from Bow pillow 🎀
It will be perfect to add a cute touch to the decoration of your living room or bedroom.
If you would like other cute patterns, there are plenty available on my site!
I share this crochet pattern of the Bow pillow for free below and also in PDF format on my shop if you want to keep it with you!


🎀 Inspiration 🎀
I wanted to continue my collection of crochet pillows that I like so much adding as decoration on my bed. You can find my other pillows here:
– Starfish pillow
– Heart pillow
– Moon pillow
If you’re interested in interior design, you may have seen a lot of shops that also offer bow pillows. This is the new current trend. I wanted to create one myself that would be even cuter than what I saw and softer, of course with chenille yarn 🥰
I love adding little bows to my patterns for that kawaii touch I like so much but I didn’t have any in the XXL version yet so now it’s done.
💕 Some technical details about the Bow pillow 💕
Among the advantages of this crochet pattern, it is very easy and quick to make if you have a beginner level. By the way, I have detailed each step so that you succeed as easily as possible and above all without taking your head off!
This crochet pattern will allow you to use your most beautiful and softer chenille or velvet yarn. Depending on the yarn you use, you will need more or less 300g. To be sure you have enough, make sure you have 300g.
This pattern is suitable for crocheters with a beginner difficulty.
Find this pattern just below 🔽

🩷 Material you need 🩷
If you want to use the same material as mine, I am attaching few links below.
These are affiliate links on Amazon. As an Amazon Associate I earn from qualifying purchases.
- Crochet 6 mm or a crochet hook suitable for your yarn
- Chenille yarn: about 305g the color of your choice
- Yarn needle
- Stitch marker
- Scissors
- Stuffing
🌟 Abbreviations used 🌟
R : Row
sc : Single crochet
Inc : Increase
Dec : Decrease
CH : Chain
SlSt : Slip stitch
hdc : Half double crochet
dc : Double crochet
tr : Treble
ssc : Starting single crochet
*…* : Repeat around the row
[…] : In the same stitch
Find more magic patterns ✨


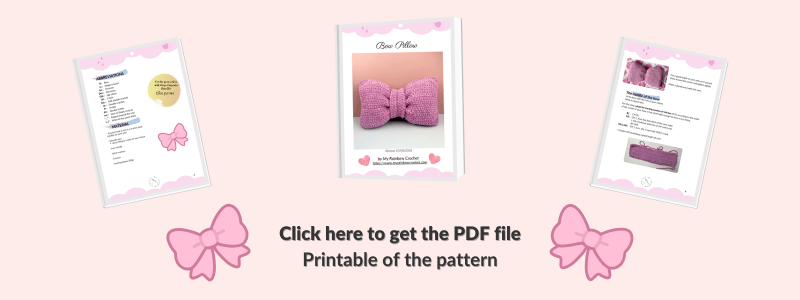
🎀 The pattern in PDF format 🎀
If you prefer to have the printable PDF file of this pattern, you can find it by clicking on the image below 🔽
🎀 Written explanations 🎀
🩷 The base of the bow
(to be done with the color of your choice and work in closed rows)
We will make two strips according to the process below:
R1: CH 43
R2: CH 1, from the 2nd stitch of the row, make 1 hdc. Continue with hdc on the entire row (43)
R3 to R19: CH 1, turn, hdc in each hdc (43) (17 rows)
-> Fasten off and weave in ends for one strip.
-> Keep the yarn for the 2nd strip for the joining of the two strips.
All rights reserved. You can not resell, share, modify or publish this pattern.
This pattern is for PERSONAL use only. The pattern may not be, in whole or in part, reproduced, published (online or printed), modified or resold according to article L.122-4 of the french intellectual property code.
You can sell the finished products, if they are made by you, in limited quantities and by providing the name of the designer. Please add the following information to the description of the amigurumi sold:”This plush/accessory was handmade by … (your name) from a pattern created by My Rainbow Crochet”
Copyright 2026 MyRainbowCrochet
Assembly of the two strips
-> Superimpose the two strips on top of each other in a parallel way.
-> Make CH 1 on the strip where we had stopped and insert the hook into a stitch of the 2 strips to make 1 sc (we start to join one of the smaller sides). Place a stitch marker in this first stitch.
-> Continue to join the 2 strips on this side with another 18 sc (this corresponds to the height of the 19 rows of hdc of the strips).
✨ Receive your Magic e-book with 5 free patterns! ✨
-> Arrived at the corner, make CH 1.
-> Continue to join the two strips on this second side with 43 sc.
-> Again, CH 1, and make 19 sc on the third side. Start stuffing.
-> CH 1 and make 43 sc on the 4th side. Before closing completely, finish to stuff by levelling out the pstuffing on both sides of the bow and putting a little less in the middle.
-> Finish with CH 1 and 1 SlSt in the first stitch of the join row.
-> Fasten off and weave in ends.
-> Tap the pillow to distribute the stuffing and keep a “flat” effect.
-> Cut a good length of yarn and run it several times around the center and tighten tightly.
-> Make a double knot with this yarn.
Find more magic patterns ✨


🎀 The middle of the bow
The rest of the Bow pillow tutorial is available in video on my YouTube channel below if you want to complete it! 😊
If you make this pattern, don’t hesitate to share it on Instagram by tag me @my_rainbow_crochet so that I can pass you on in my story or on Facebook to send me a photo of your achievement that I would incorporate into the album of your achievements!
Seeing your achievements is always a huge pleasure for me!
See you soon Rainbows ! 🙂🌈