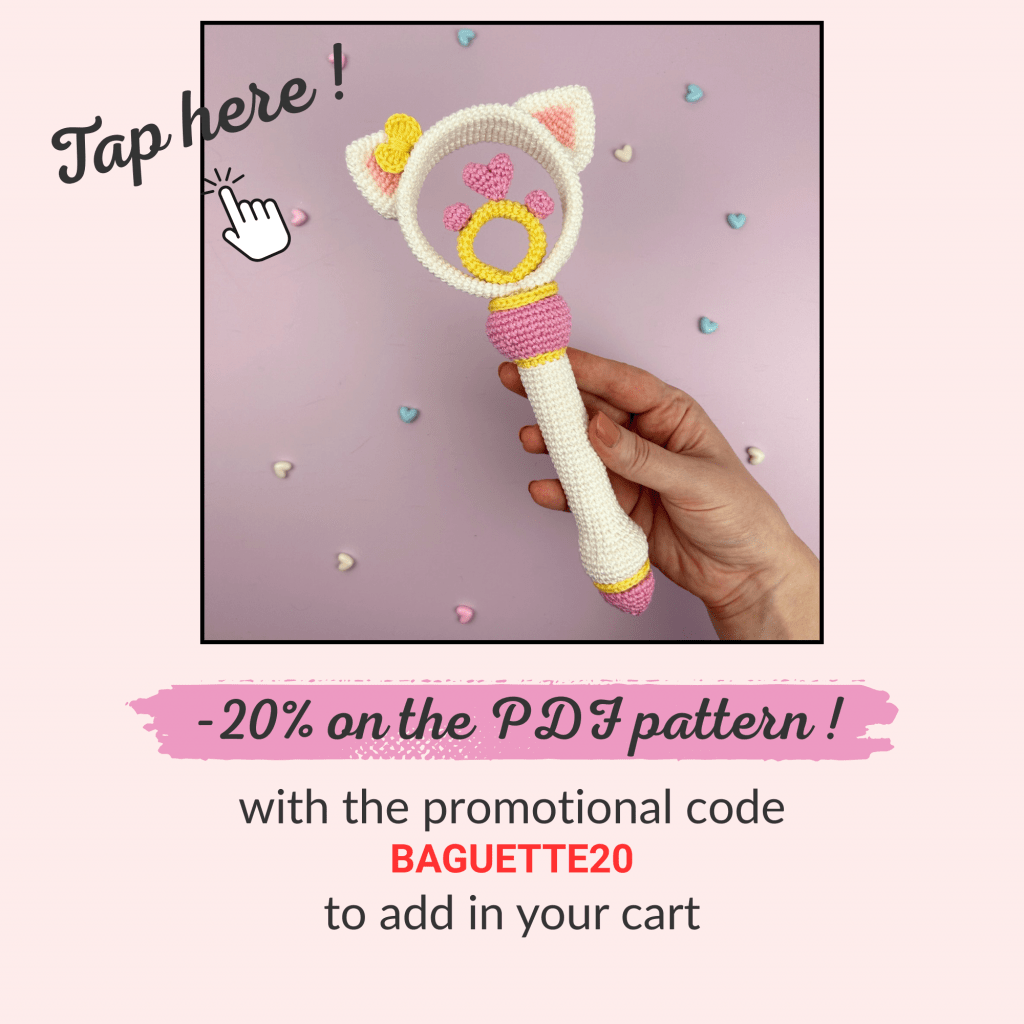
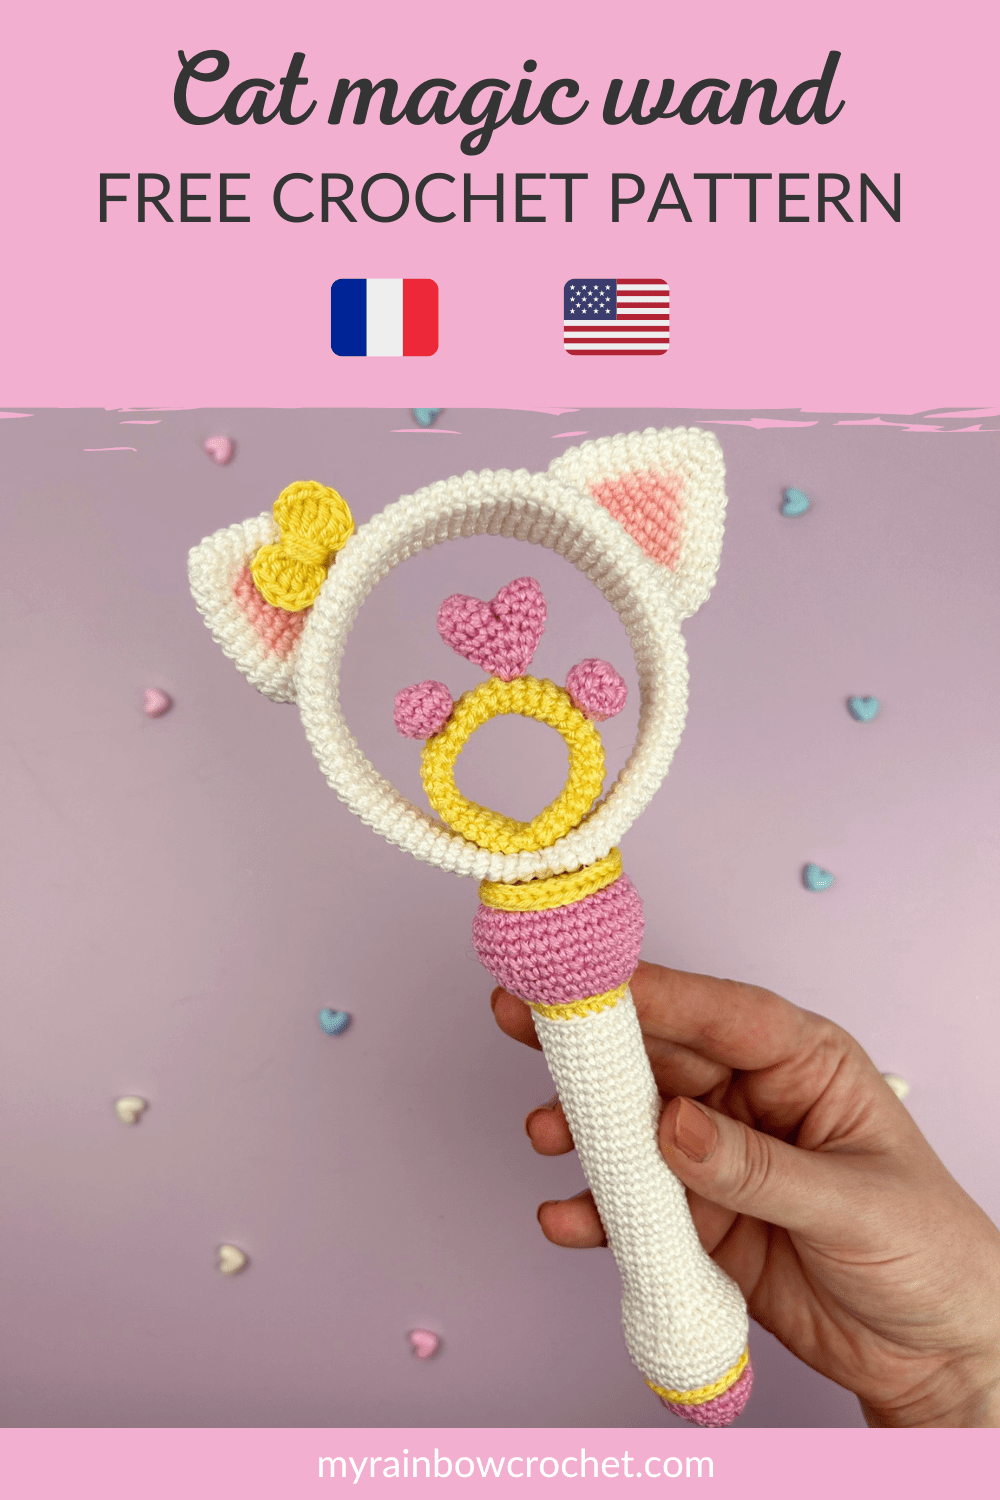
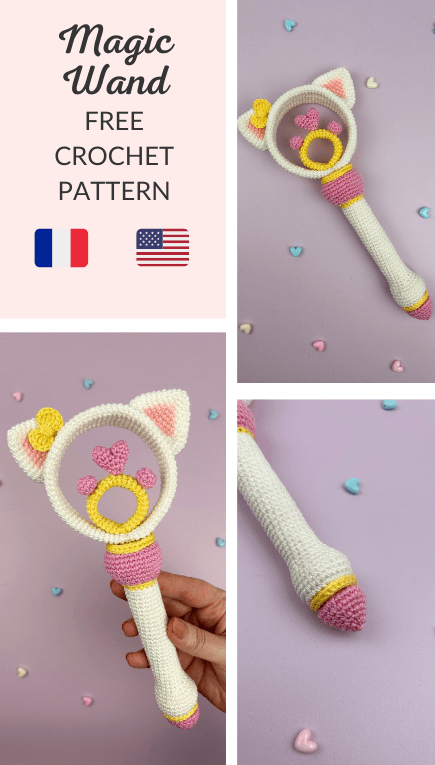
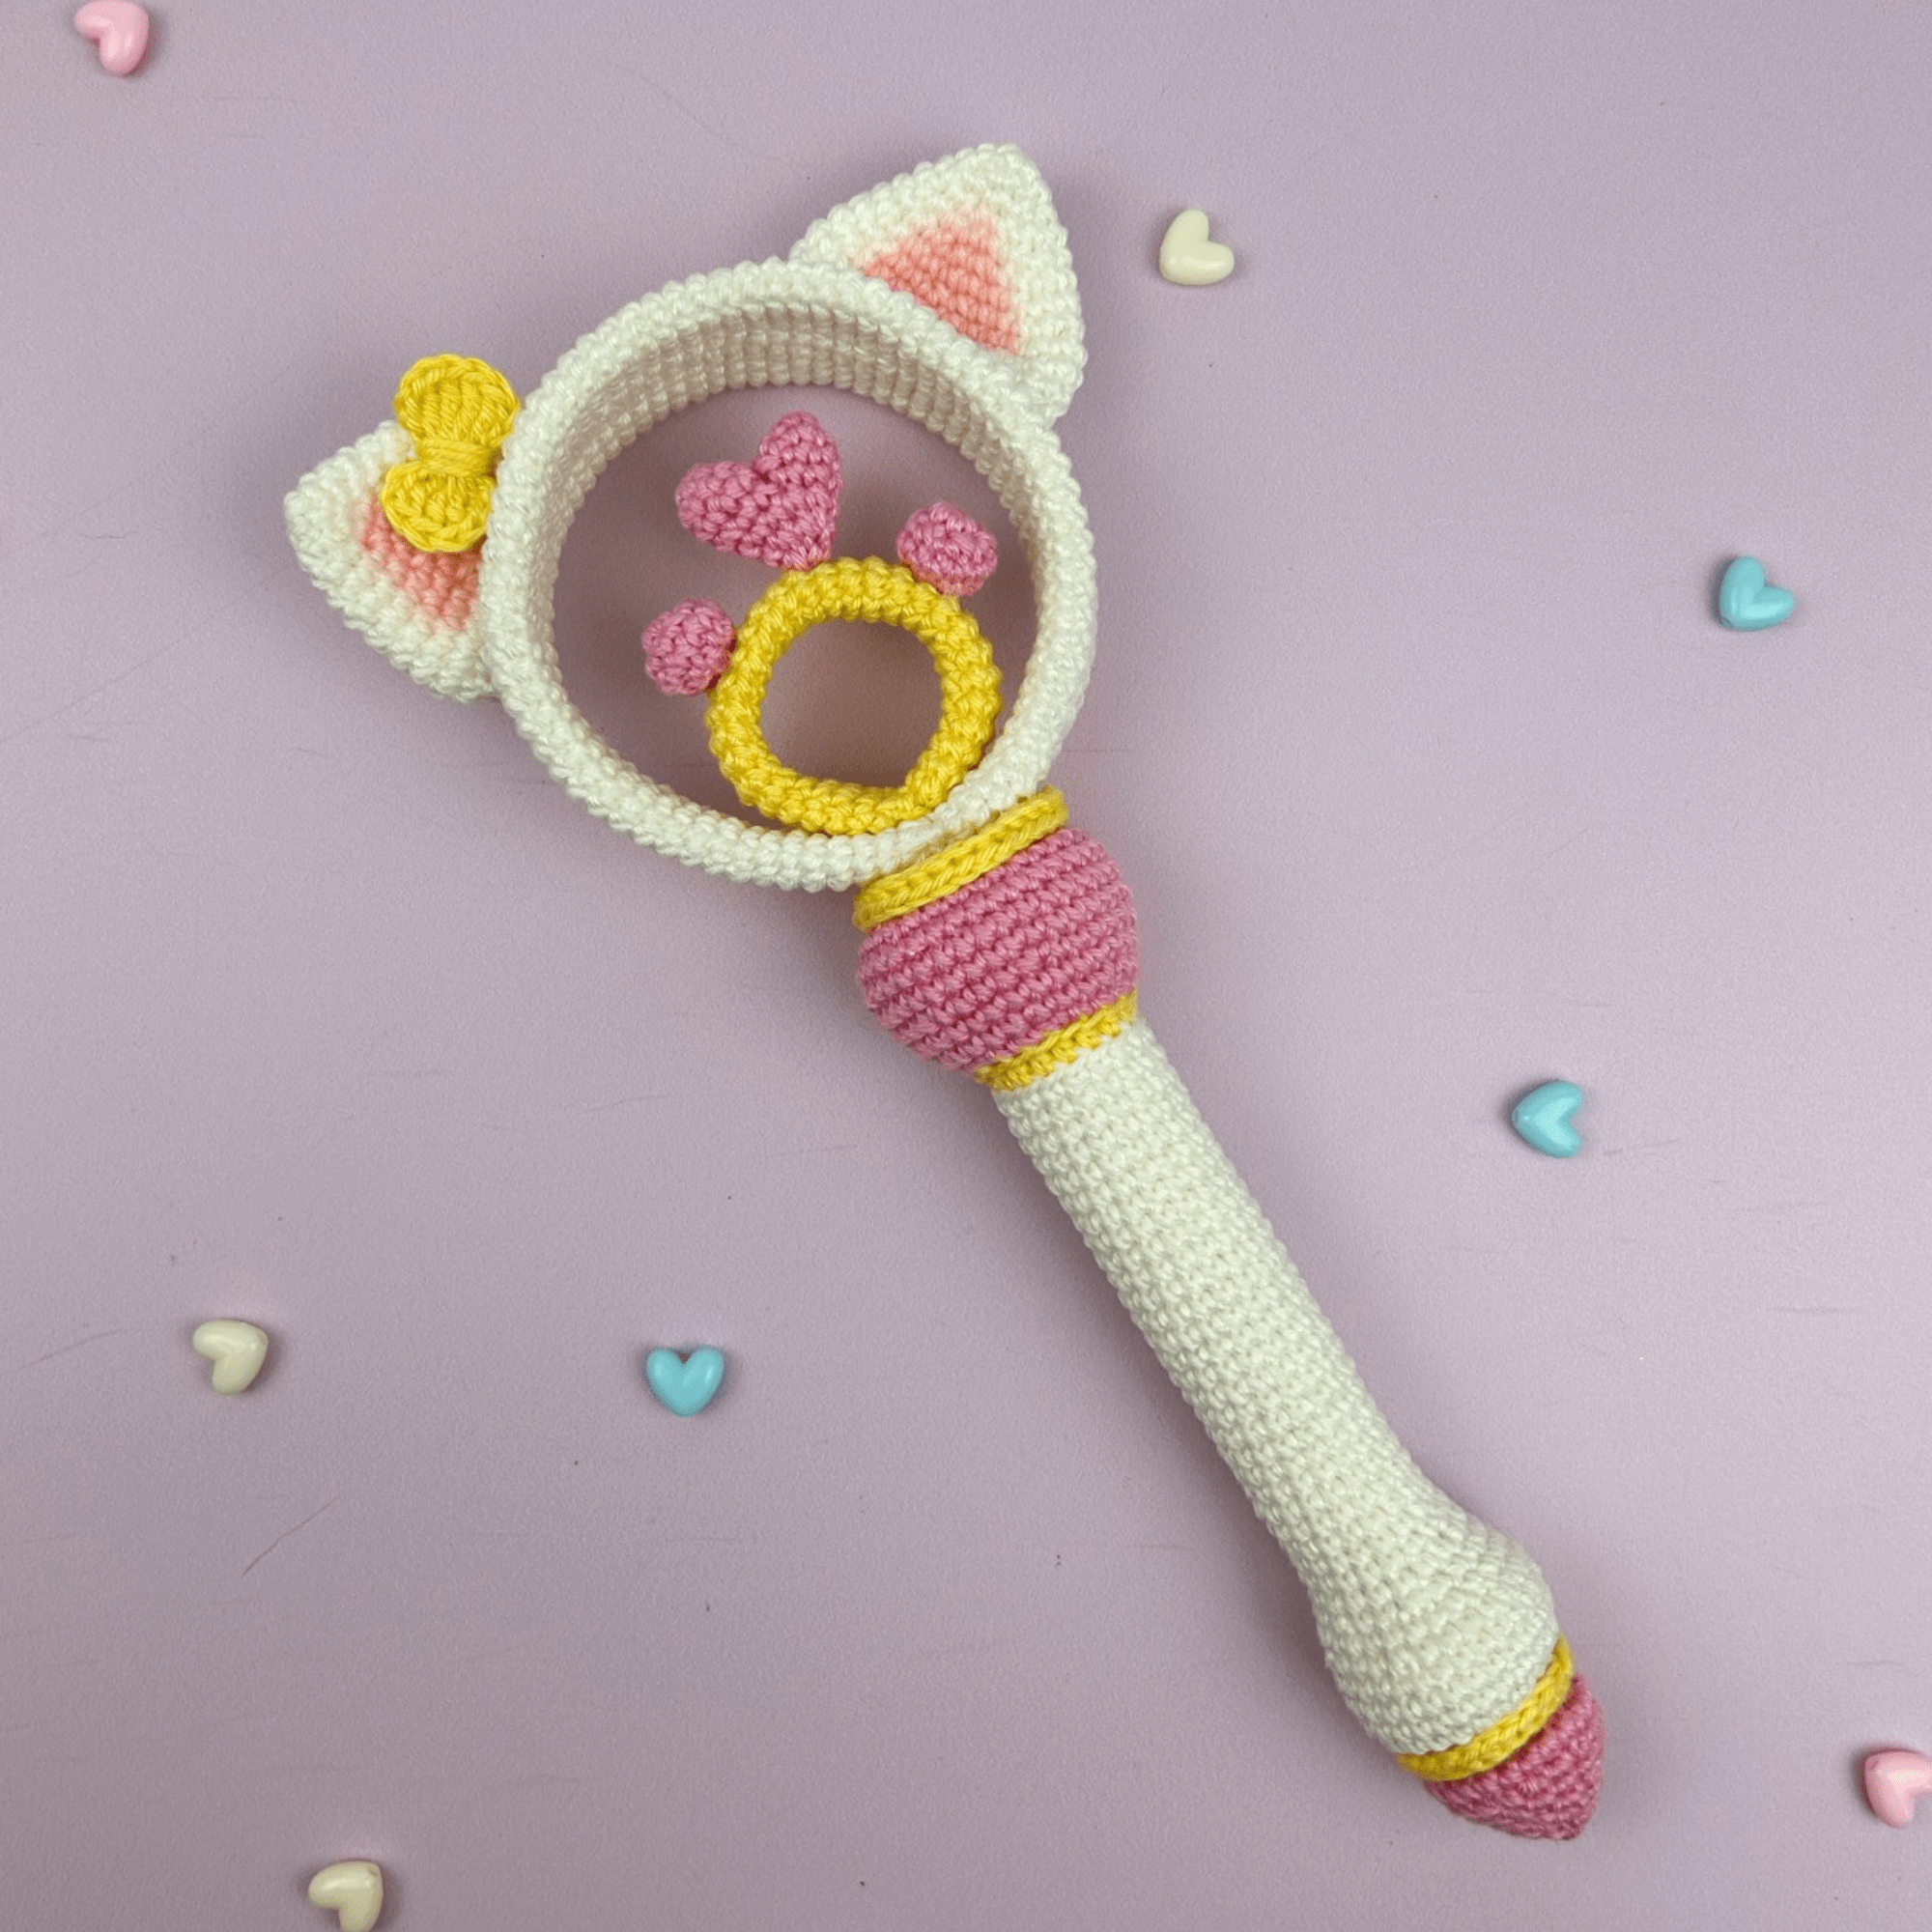
For this new year, I wanted to try something new by organizing a mystery CAL on my Instagram account and you loved it! The crochet pattern of the Cat Magic Wand therefore comes from this CAL. Now that it’s over, I decided to share it with you for free on my site for those who couldn’t follow it.
And what better way to start this new year than with a bit of Magic? 🌟
If you would like other cute patterns, there are plenty available on my site!
I share this crochet pattern of the Cat Magic wand for free below and also in PDF format on my shop if you want to keep it with you!


🌟 Inspiration 🌟
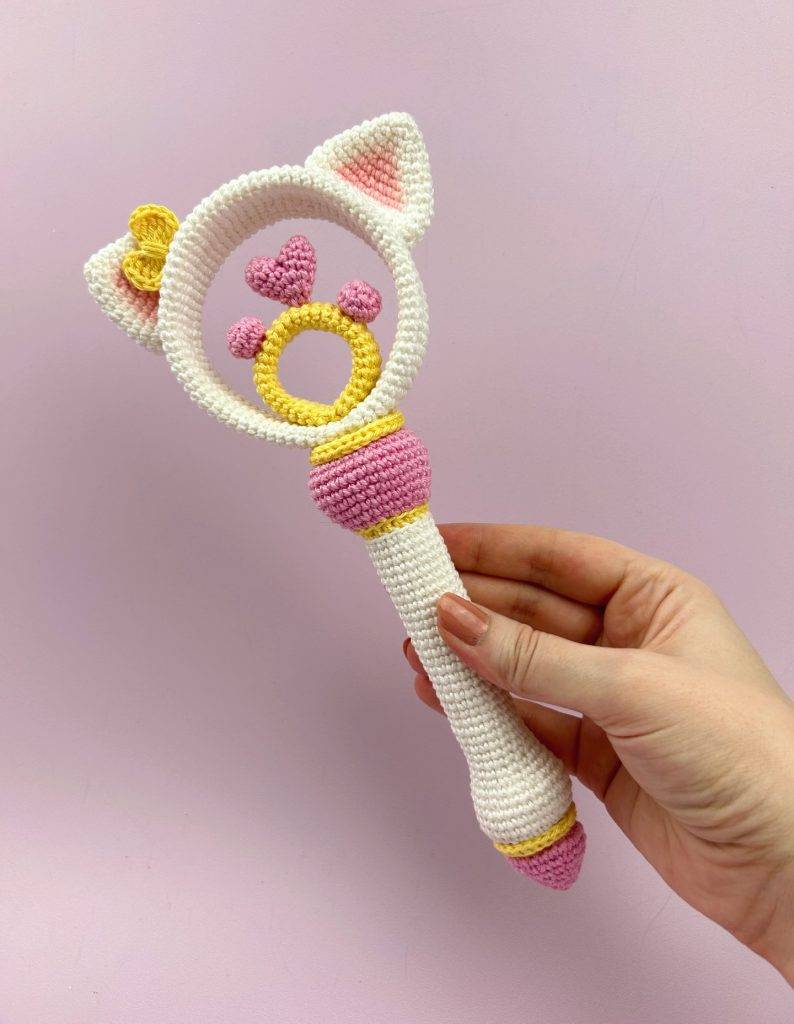
My crochet patterns are always full of magic and a magic wand is the object that best represents it! So I wanted to start the year with this Magic but I also wanted to add an extra and original touch with the Cat Magic. This captivating Magic that cats have is represented in this Cat magic Wand 🤩
I also wanted to expand my collection of crochet Magic Wand patterns! You can already find the Love Magic Wand and the Fairy Magic Wand on my site. Maybe a 4th magic wand will follow this year 🫣
🐈 Some technical details about the Cat Magic wand 🐈
Among the advantages of this crochet pattern, it is very easy and quick to make if you have an advanced beginner level. I have also well detailed each of the steps so that you succeed as easily as possible and especially without overthinking it!
This crochet pattern for the Cat Magic wand will also allow you to learn the sharp edge technique that I use on quite a few of my patterns and which gives a superb result. I have also posted a video online to explain it in detail so that you can master it on the first try.
This pattern is suitable for crocheters with a advanced beginner difficulty.
Find this pattern just below 🔽


🩷 Material you need 🩷
If you want to use the same material as mine, I am attaching few links below.
These are affiliate links on Amazon. As an Amazon Associate I earn from qualifying purchases.
- Crochet 2 mm or a crochet hook suitable for your yarn
- Cotton yarns (fingering) : White (Color A) -> about 30g
Pink (Color B) -> about 10g
Yellow (Color C) -> about 10g - Yarn needle
- Stitch marker
- Scissors
- Stuffing
- Tacky glue
- Aluminium wire or pipe cleaner wire
- Pink blush
🌟 Abbreviations used 🌟
R : Row
sc : Single crochet
Inc : Increase
Dec : Decrease
CH : Chain
SlSt : Slip stitch
hdc : Half double crochet
dc : Double crochet
tr : Treble
ssc : Starting single crochet
*…* : Repeat around the row
[…] : In the same stitch
Find more magic patterns ✨


🌟 The pattern in PDF format 🌟
If you prefer to have the printable PDF file of this pattern, you can find it by clicking on the image below 🔽

🐈 Written explanations 🐈
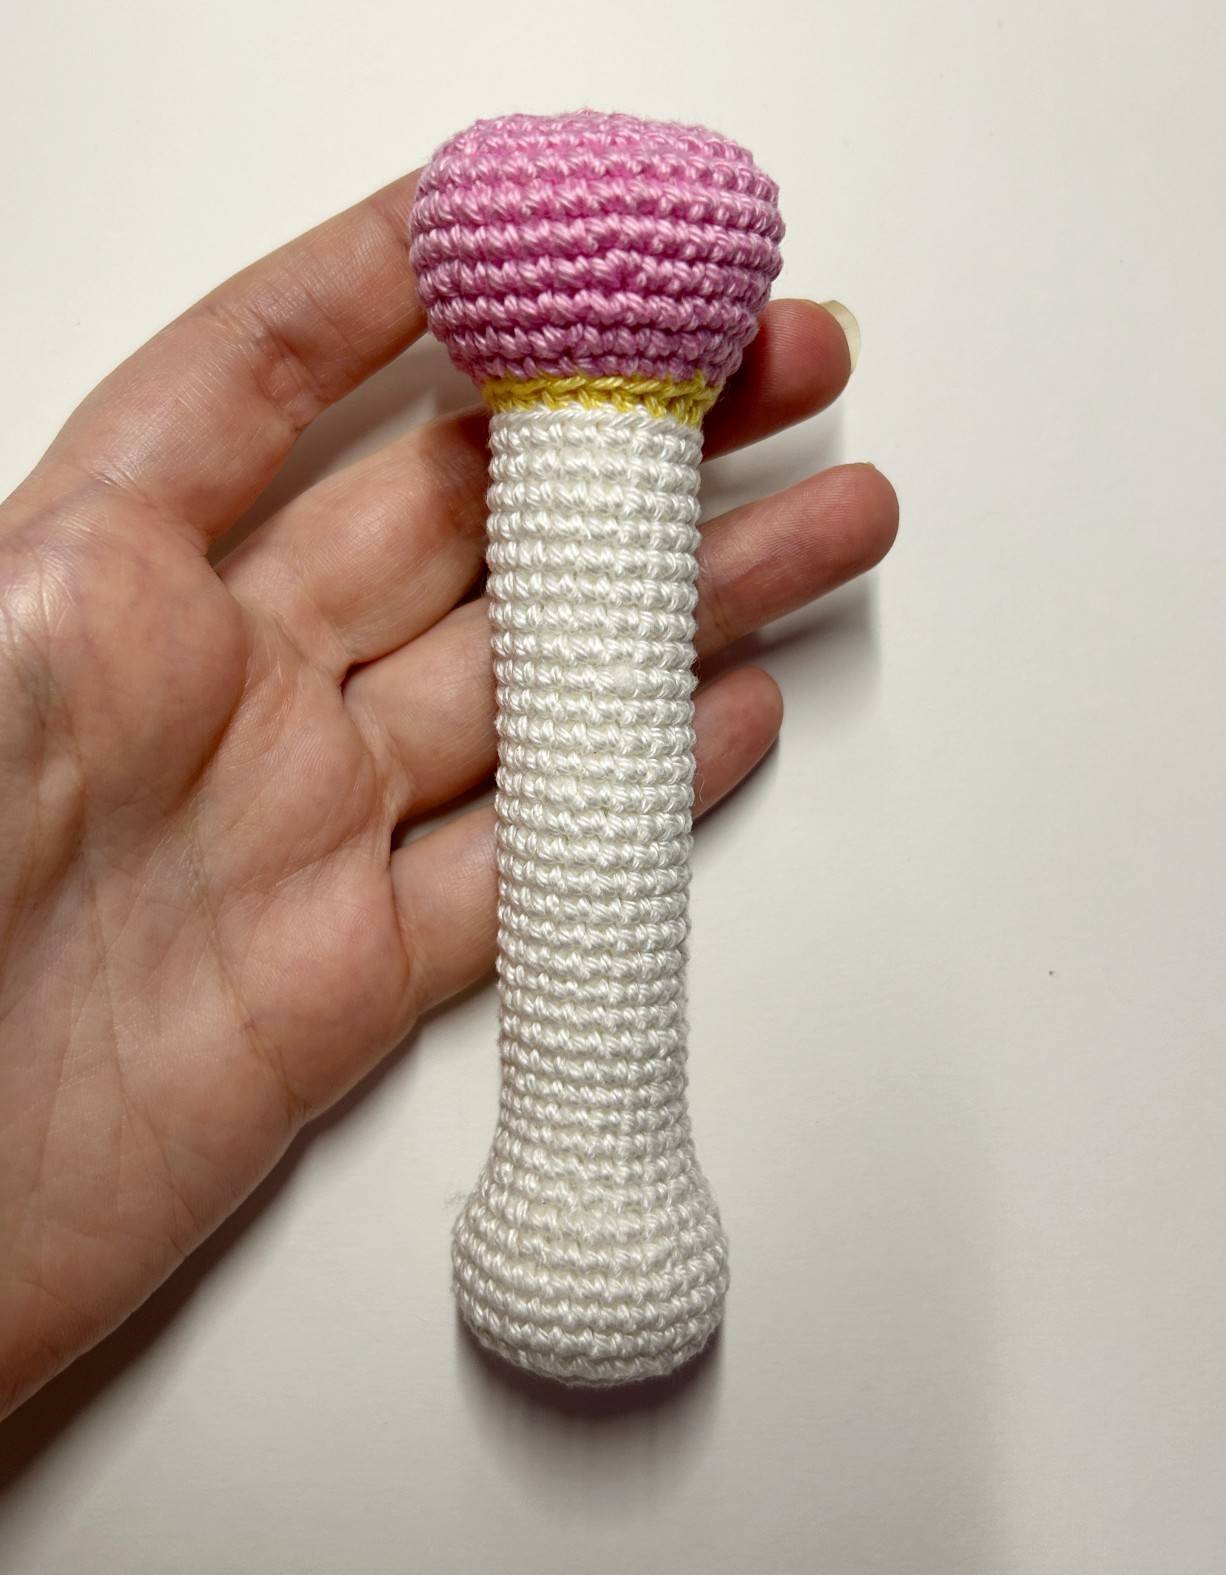
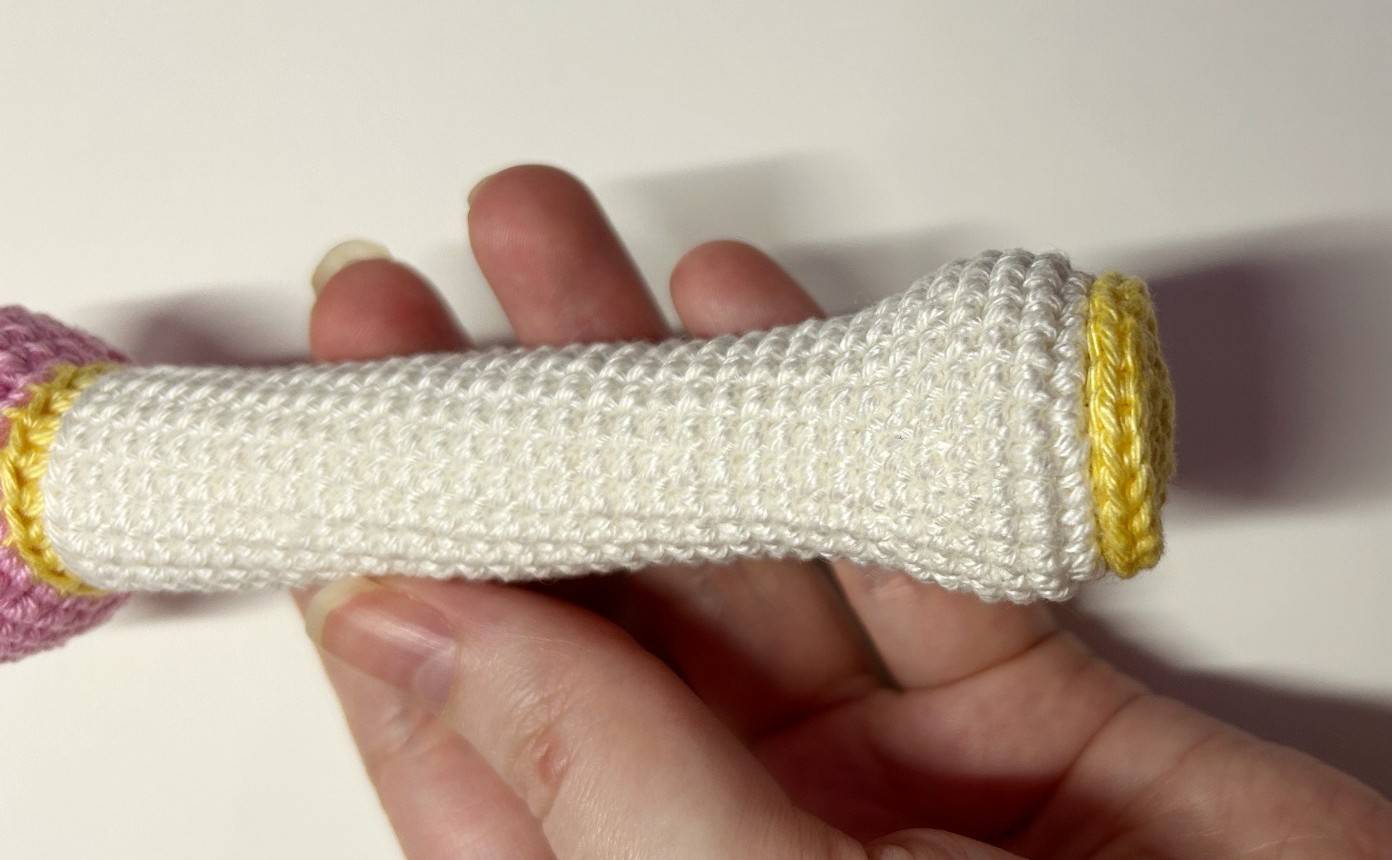
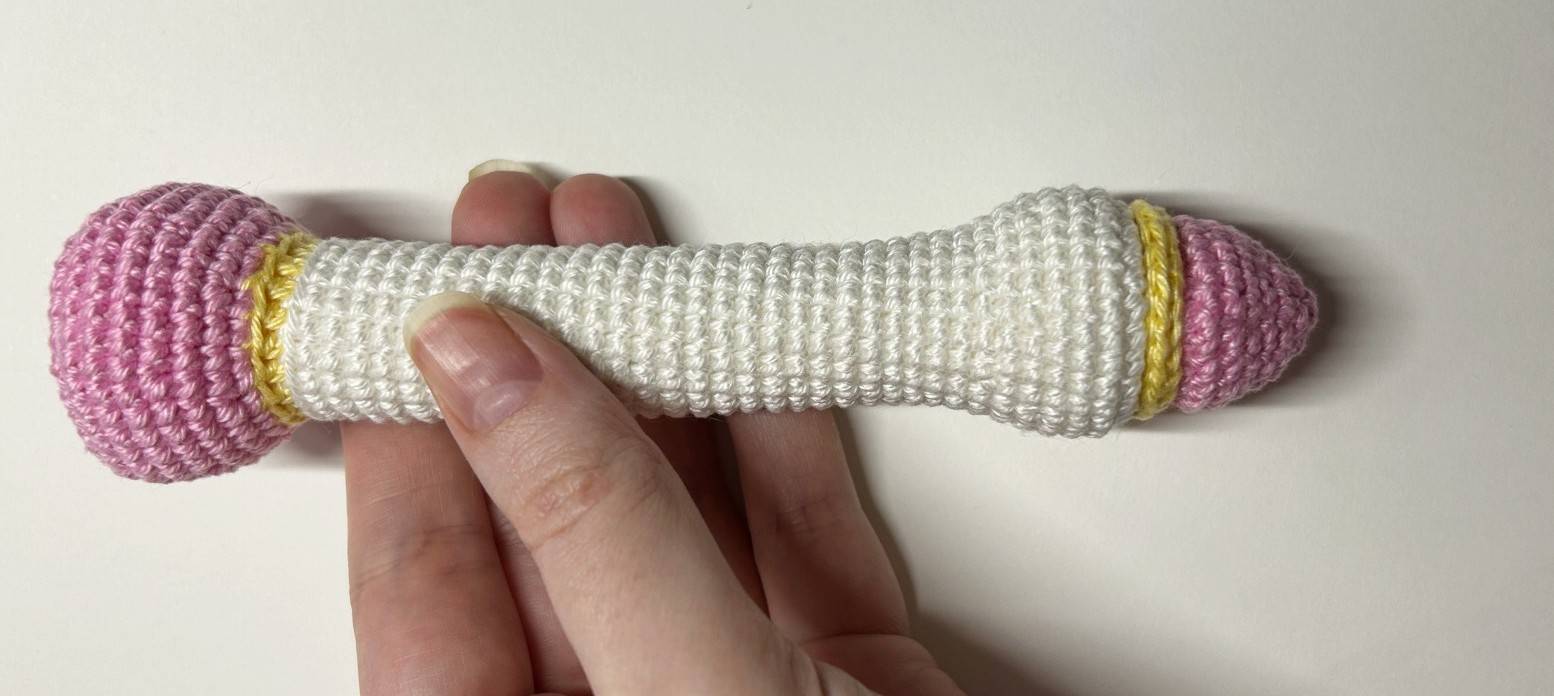
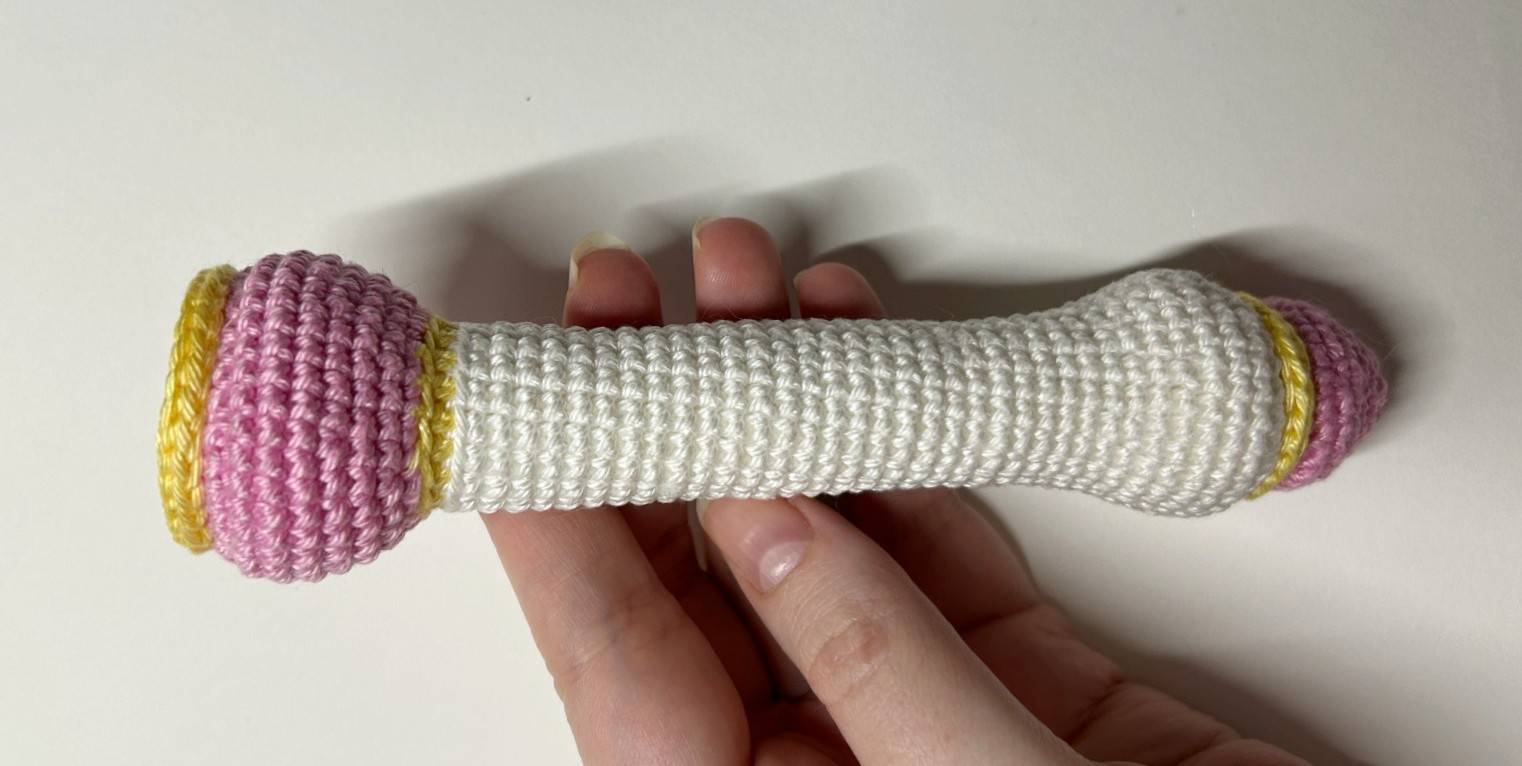
🌟 Handle
(to be done with Color A → white, Color B → pink and Color C → yellow)
Work in spiral.
In white (color A):
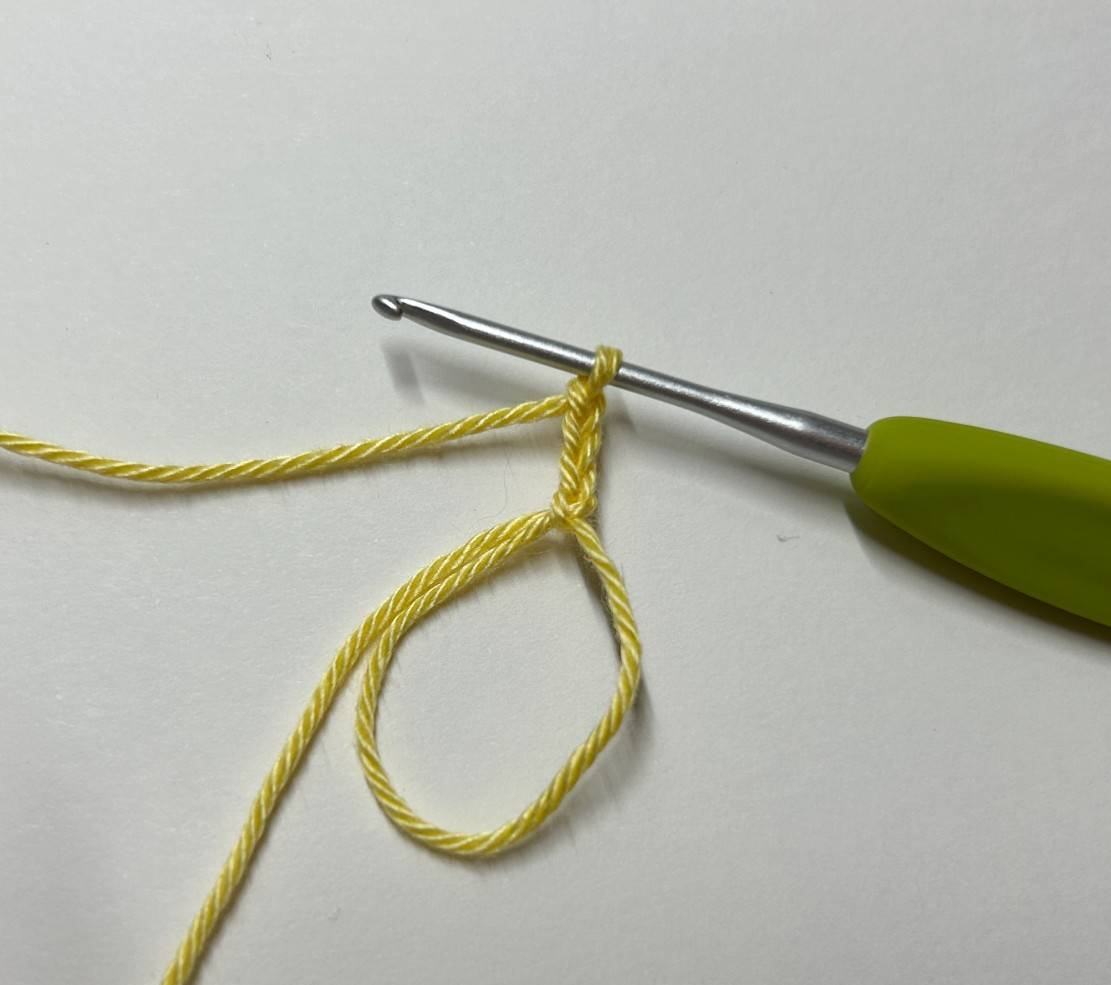
R1: magic ring with 6 sc
R2: 1 Inc in each sc (12)
R3: *1 sc, 1 Inc* x6 (18)
R4: 1 sc, 1 Inc, *2 sc, 1 Inc* x5, 1 sc (24)
R5: *3 sc, 1 Inc* x6 (30)
R6 to R8: sc in each sc (30)
R9: *3 sc, 1 dec* x6 (24)
R10: sc in each sc (24)
R11: 1 sc, 1 dec, *2 sc, 1 dec* x5, 1 sc (18)
Stuff as you go and firmly.
R12 to R38: sc in each sc (18)
Fasten off and make and invisible finish (see video tip).
In yellow (Color C):
R39: enter your hook in the back loop of the
stitch and make CH 1. Then, 1 hdc in the
same stiche where we have made the CH.
Continue with 1 hdc in each sc and only in
back loops. Finish with 1 SlSt in the 1st
hdc (18)
Fasten off and weave in ends.
In pink (Color B):
R40: 1 ssc in the back loop where we stopped then 1 Inc. Continue with *2 sc, 1 Inc* x5, 1 sc (24)
R41: *3 sc, 1 Inc* x6 (30)
R42: sc in each sc (30)
R43: 2 sc, 1 Inc, *4 sc, 1 Inc* x5, 2 sc (36)
R44 ato R46: sc in each sc (36)
R47: 2 sc, 1 dec, *4 sc, 1 dec* x5, 2 sc (30)
R48: *3 sc, 1 dec* x6 (24)
R49: 1 sc, 1 dec, *2 sc, 1 dec* x5, 1 sc (18)
R50: *1 sc, 1 dec* x6 (12)
Finish to stuff.
R51: 6 decreases (6)
R52: Fasten off and insert thread into the front
loops of the remaining 6 stitches. Tighten
to close the hole.
Weave in ends.
All rights reserved. You can not resell, share, modify or publish this pattern.
This pattern is for PERSONAL use only. The pattern may not be, in whole or in part, reproduced, published (online or printed), modified or resold according to article L.122-4 of the french intellectual property code.
You can sell the finished products, if they are made by you, in limited quantities and by providing the name of the designer. Please add the following information to the description of the amigurumi sold:”This plush/accessory was handmade by … (your name) from a pattern created by My Rainbow Crochet”
Copyright 2026 MyRainbowCrochet
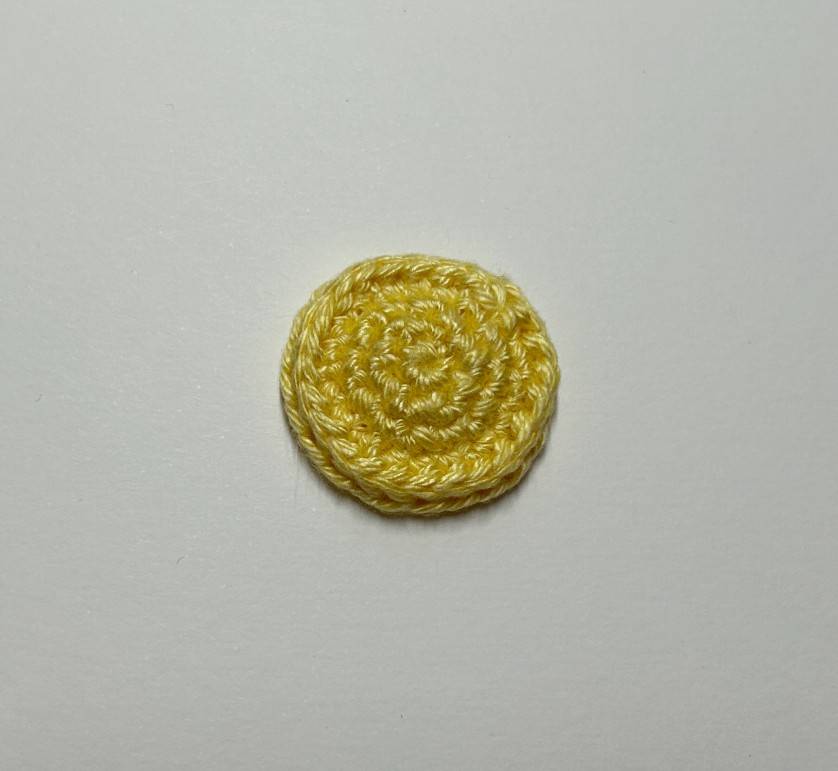
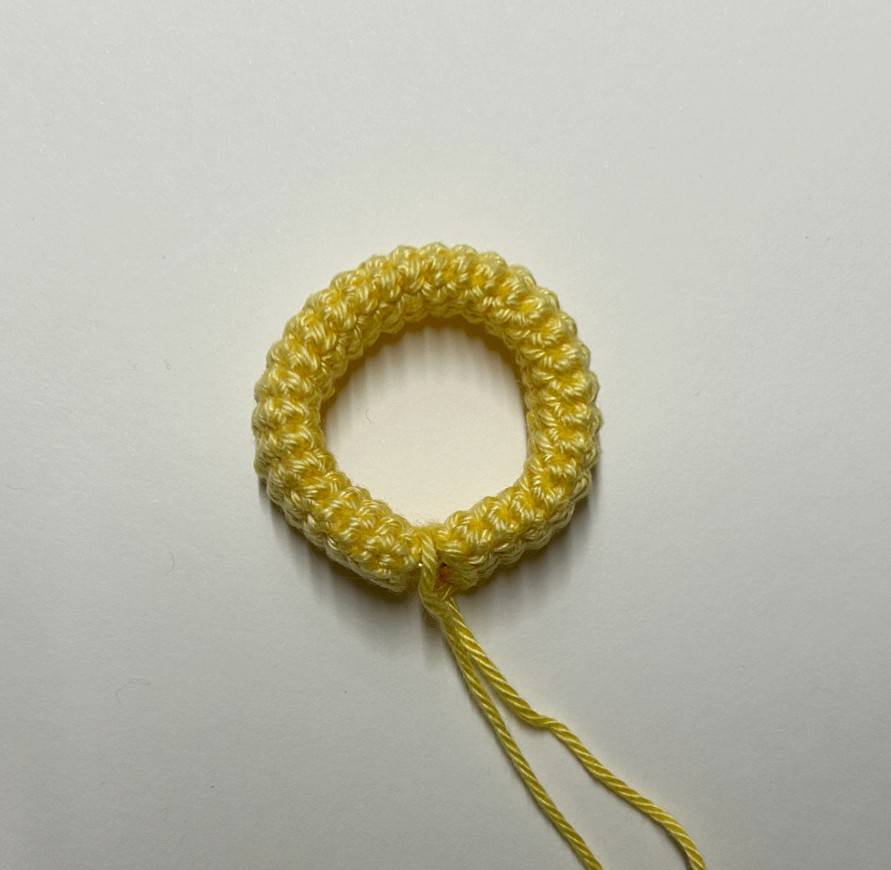
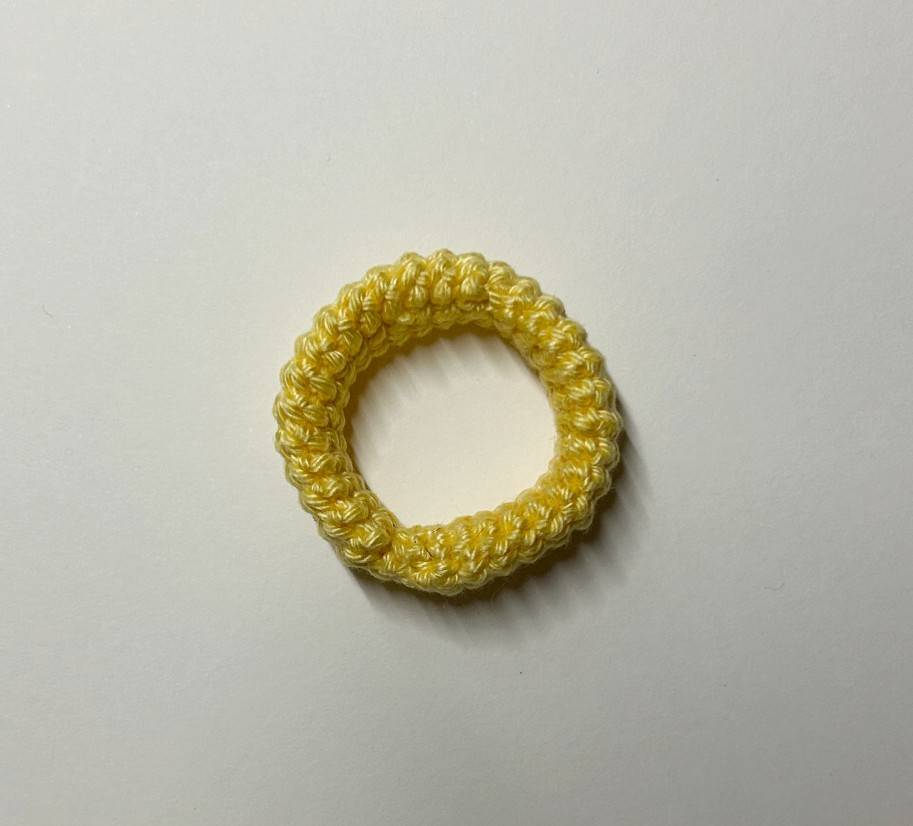
🐈 The small base
(to be done with Color C → yellow)
Work in spiral.
R1: magic ring with 6 sc
R2: 1 Inc in each sc (12)
R3: *1 sc, 1 Inc* x6 (18)
R4: 1 sc, 1 Inc, *2 sc, 1 Inc* x5, 1 sc (24)
R5: With the stitch to rise the edge (see this tip in vidéo), sc in each sc (24)
-> Fasten off and make an invisible finish.
-> Weave in ends.
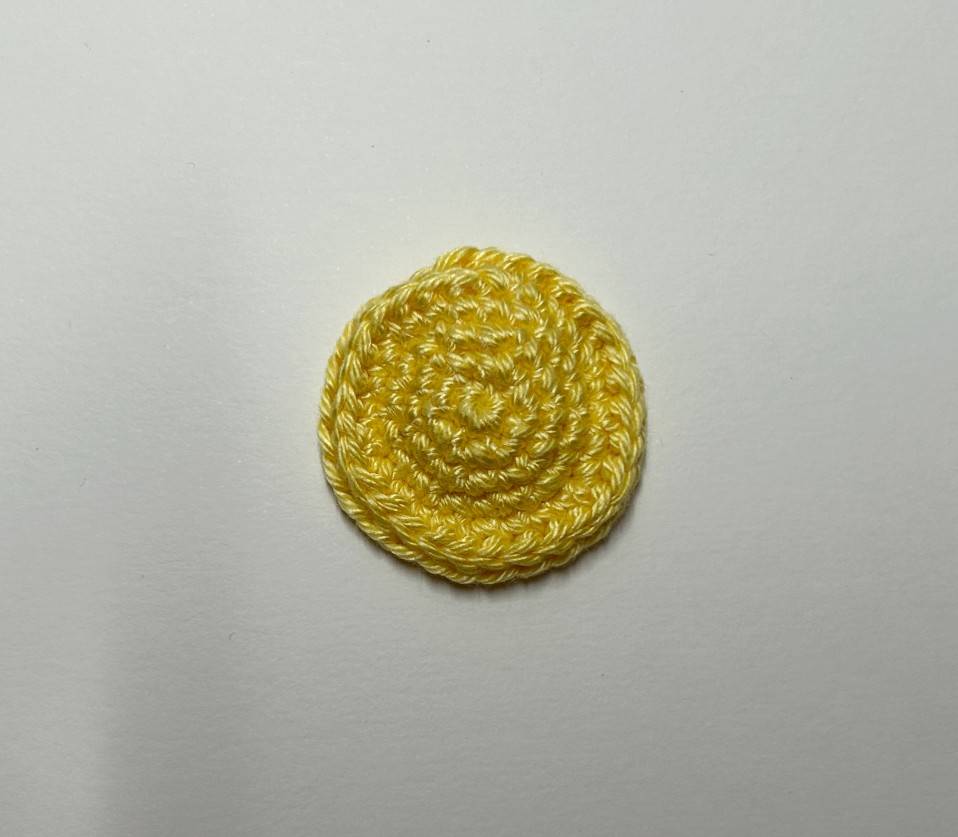
🩷 The large base
(to be done with Color C → yellow)
Work in spiral.
R1: magic ring with 6 sc
R2: 1 Inc in each sc (12)
R3: *1 sc, 1 Inc* x6 (18)
R4: 1 sc, 1 Inc, *2 sc, 1 Inc* x5, 1 sc (24)
R5: *3 sc, 1 Inc* x6 (30)
R6: With the stitch to rise the edge (see this tip in vidéo), sc in each sc (30)
-> Fasten off and make an invisible finish.
-> Weave in ends.
Find more magic patterns ✨


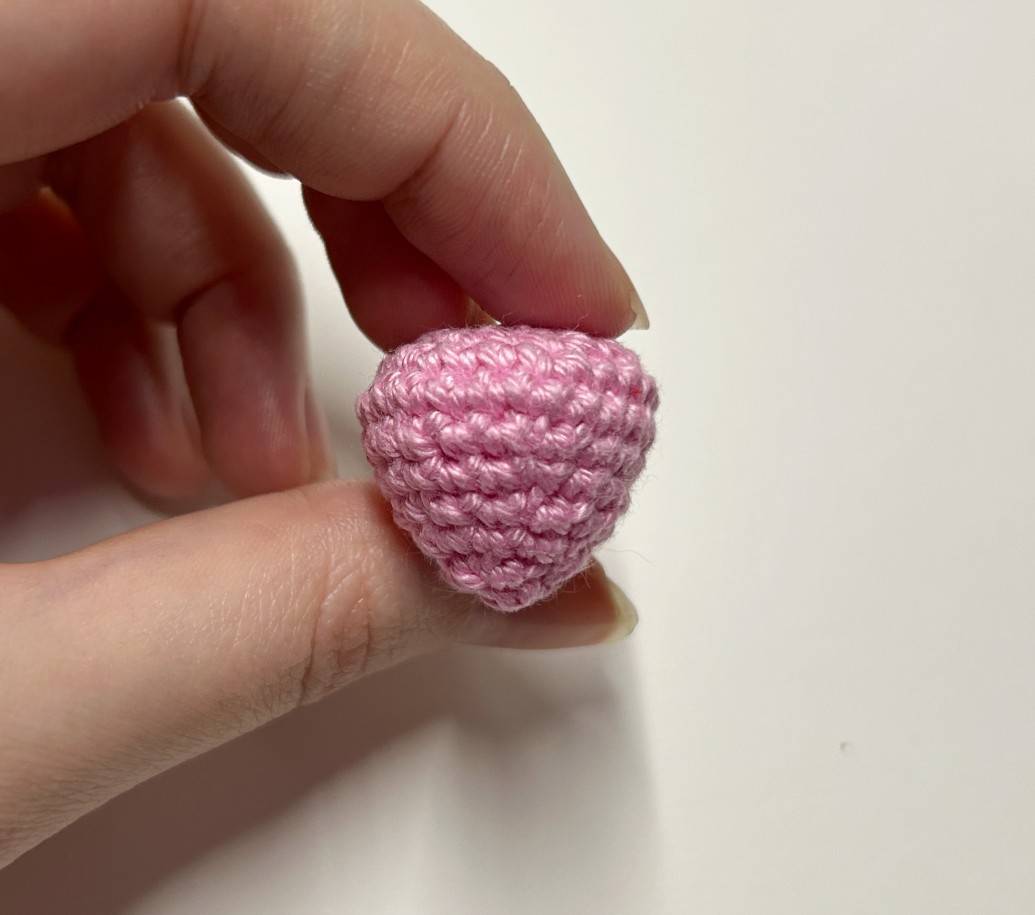
🌟 The peak
(to be done with Color B → pink)
Work in spiral.
R1: magic ring with 6 sc
R2: 1 Inc in each sc (12)
R3: *1 sc, 1 Inc* x6 (18)
R4: 1 sc, 1 Inc, *2 sc, 1 Inc* x5, 1 sc (24)
R5: sc in each sc (24)
R6: 1 sc, 1 dec, *2 sc, 1 dec* x5, 1 sc (18)
R7: sc in each sc (18)
R8: *1 sc, 1 dec* x6 (12)
R9: sc in each sc (12)
Stuffing.
R10: 6 decreases (6)
R11: Fasten off and insert thread into the front
loops of the remaining 6 stitches. Tighten
to close the hole.
Weave in ends.
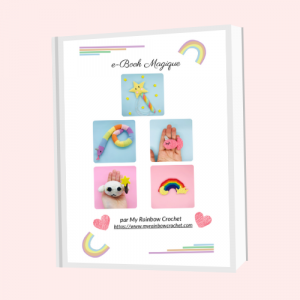
✨ Receive your Magic e-book with 5 free patterns! ✨
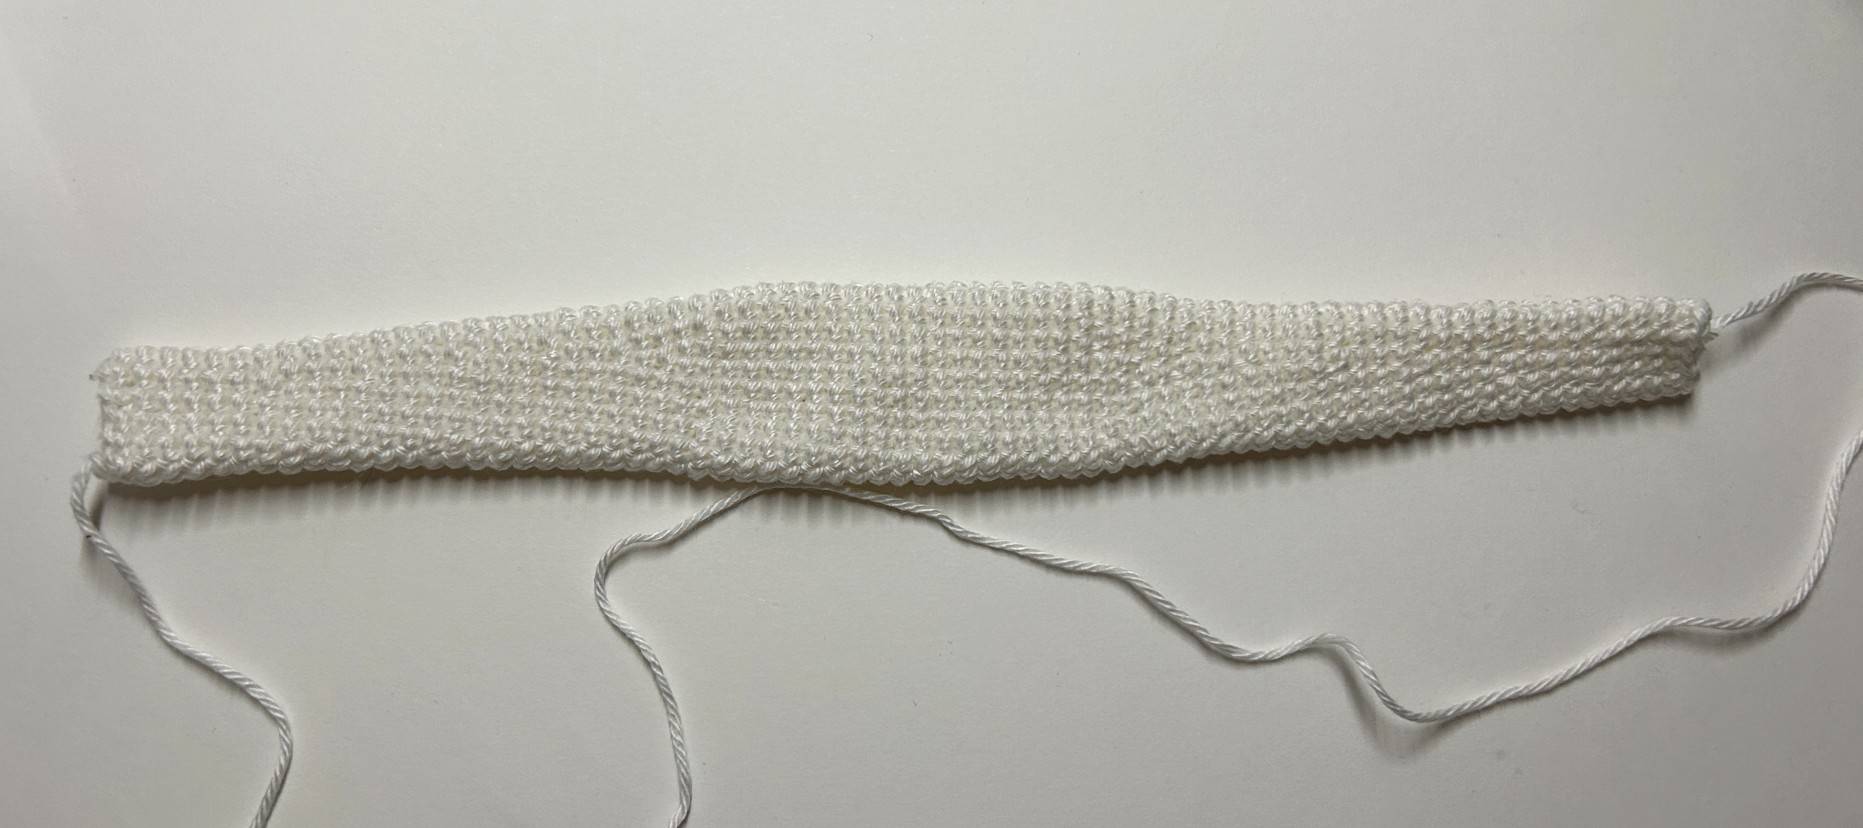
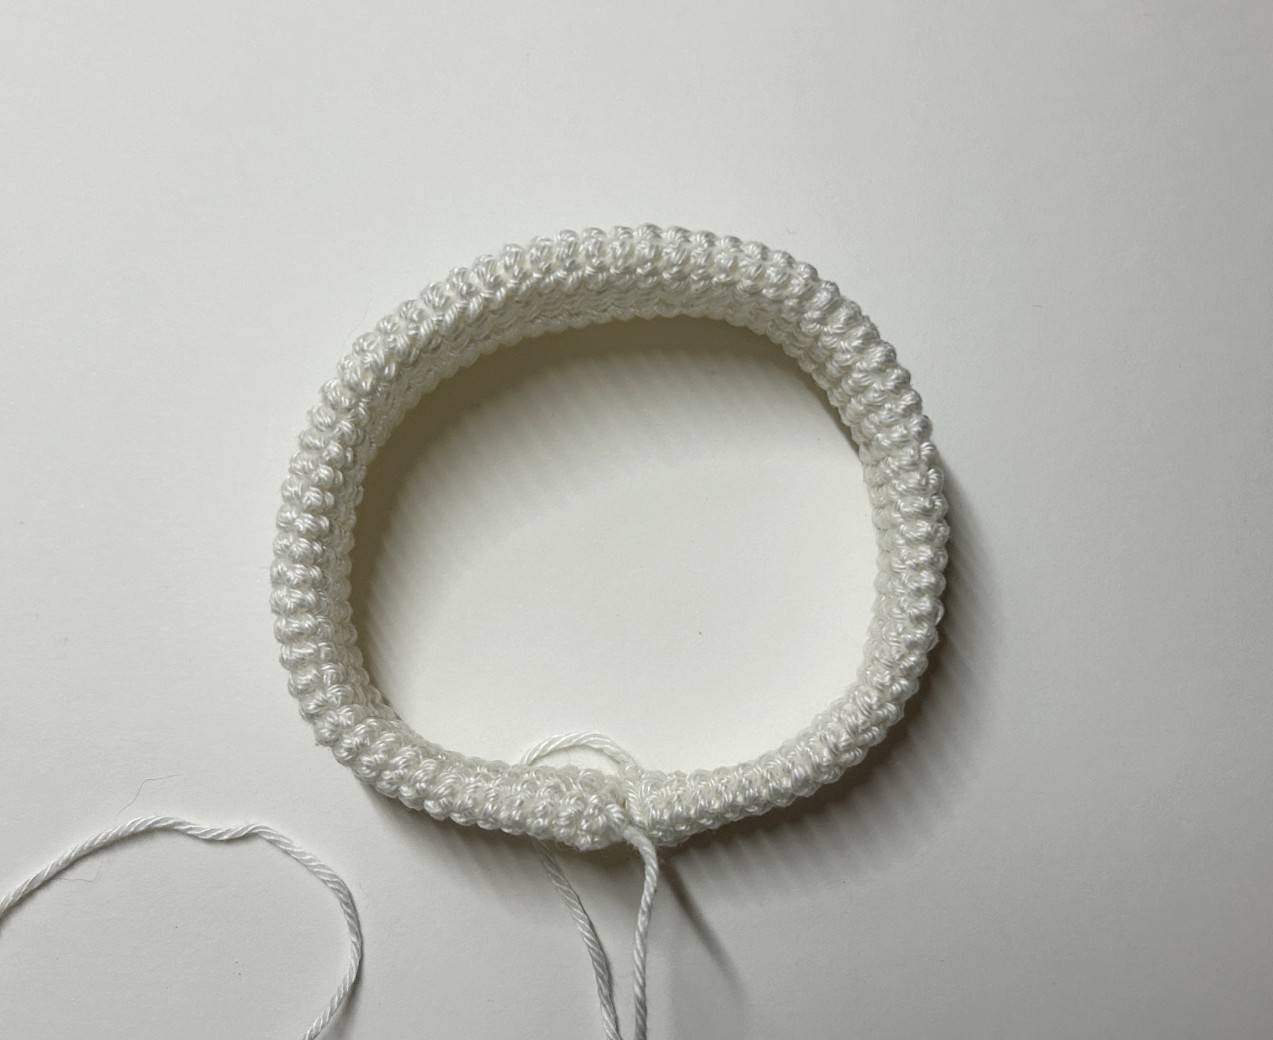
🐈 The large arc of circle
(to be done with Color A → white)
Work in closed rows.
R1: CH 11 and 1 SlSt in the 1st stitch
R2 to R7: CH 1, 1 sc in the same stitch as the SlSt then 1 sc in each stitch. Finish with 1 SlSt in the 1st stitch (11)
R8: CH 1, 1 sc in the same stitch as the SlSt, 4 sc, 1 Inc, 5 sc and finish with 1 SlSt in the 1st stitch (12)
R9 to R11: CH 1, 1 sc in the same stitch as the SlSt, sc in each sc and finish with 1 SlSt in the 1st stitch (12)
R12: CH 1, 1 sc in the same stitch as the SlSt, 5 sc, 1 Inc, 5 sc and finish with 1 SlSt in the 1st stitch (13)
R13 to R15: CH 1, 1 sc in the same stitch as the SlSt, sc in each sc and finish with 1 SlSt in the 1st stitch (13)
R16: CH 1, 1 sc in the same stitch as the SlSt, 6 sc, 1 Inc, 5 sc and finish with 1 SlSt in the 1st stitch (14)
R17 to R19: CH 1, 1 sc in the same stitch as the SlSt, sc in each sc and finish with 1 SlSt in the 1st stitch (14)
R20: CH 1, 1 sc in the same stitch as the SlSt, 7 sc, 1 Inc, 5 sc and finish with 1 SlSt in the 1st stitch (15)
R21 and R22: CH 1, 1 sc in the same stitch as the SlSt, sc in each sc and finish with 1 SlSt in the 1st stitch (15)
R23: CH 1, 1 sc in the same stitch as the SlSt, 7 sc, 1 Inc, 6 sc and finish with 1 SlSt in the 1st stitch (16)
R24: CH 1, 1 sc in the same stitch as the SlSt, 7 sc, 1 Inc, 6 sc and finish with 1 SlSt in the 1st stitch (16)
R25: CH 1, 1 sc in the same stitch as the SlSt, 7 sc, 1 Inc, 7 sc and finish with 1 SlSt in the 1st stitch (17)
R26: CH 1, 1 sc in the same stitch as the SlSt, sc in each sc and finish with 1 SlSt in the 1st stitch (17)
R27: CH 1, 1 sc in the same stitch as the SlSt, 5 sc, 1 Inc, 3 sc, 1 Inc, 6 sc and finish with 1 SlSt in the 1st stitch (19)
R28 to R45: CH 1, 1 sc in the same stitch as the SlSt, sc in each sc and finish with 1 SlSt in the 1st stitch (19)
R46: CH 1, 1 sc in the same stitch as the SlSt, 5 sc, 1 dec, 3 sc, 1 dec, 6 sc and finish with 1 SlSt in the 1st stitch (17)
R47: CH 1, 1 sc in the same stitch as the SlSt, sc in each sc and finish with 1 SlSt in the 1st stitch (17)
R48: CH 1, 1 sc in the same stitch as the SlSt, 7 sc, 1 dec, 7 sc and finish with 1 SlSt in the 1st stitch(16)
R49: CH 1, 1 sc in the same stitch as the SlSt, sc in each sc and finish with 1 SlSt in the 1st stitch (16)
R50: CH 1, 1 sc in the same stitch as the SlSt, 7 sc, 1 dec, 6 sc and finish with 1 SlSt in the 1st stitch (15)
R51 and R52: CH 1, 1 sc in the same stitch as the SlSt, sc in each sc and finish with 1 SlSt in the 1st stitch (15)
R53: CH 1, 1 sc in the same stitch as the SlSt, 7 sc, 1 dec, 5 sc and finish with 1 SlSt in the 1st stitch (14)
R54 and R56: CH 1, 1 sc in the same stitch as the SlSt, sc in each sc and finish with 1 SlSt in the 1st stitch (14)
R57: CH 1, 1 sc in the same stitch as the SlSt, 6 sc, 1 dec, 5 sc and finish with 1 SlSt in the 1st stitch (13)
R58 and R60: CH 1, 1 sc in the same stitch as the SlSt, sc in each sc and finish with 1 SlSt in the 1st stitch (13)
R61: CH 1, 1 sc in the same stitch as the SlSt, 5 sc, 1 dec, 5 sc and finish with 1 SlSt in the 1st stitch (12)
R62 ato R64: CH 1, 1 sc in the same stitch as the SlSt, sc in each sc and finish with 1 SlSt in the 1st stitch (12)
R65: CH 1, 1 sc in the same stitch as the SlSt, 4 sc, 1 dec, 5 sc and finish with 1 SlSt in the 1st stitch (11)
R66 to R73: CH 1, 1 sc in the same stitch as the SlSt, sc in each sc and finish with 1 SlSt in the 1st stitch (11)
Fasten off by keeping a good length for the joint.
Assembly of the cerle arch
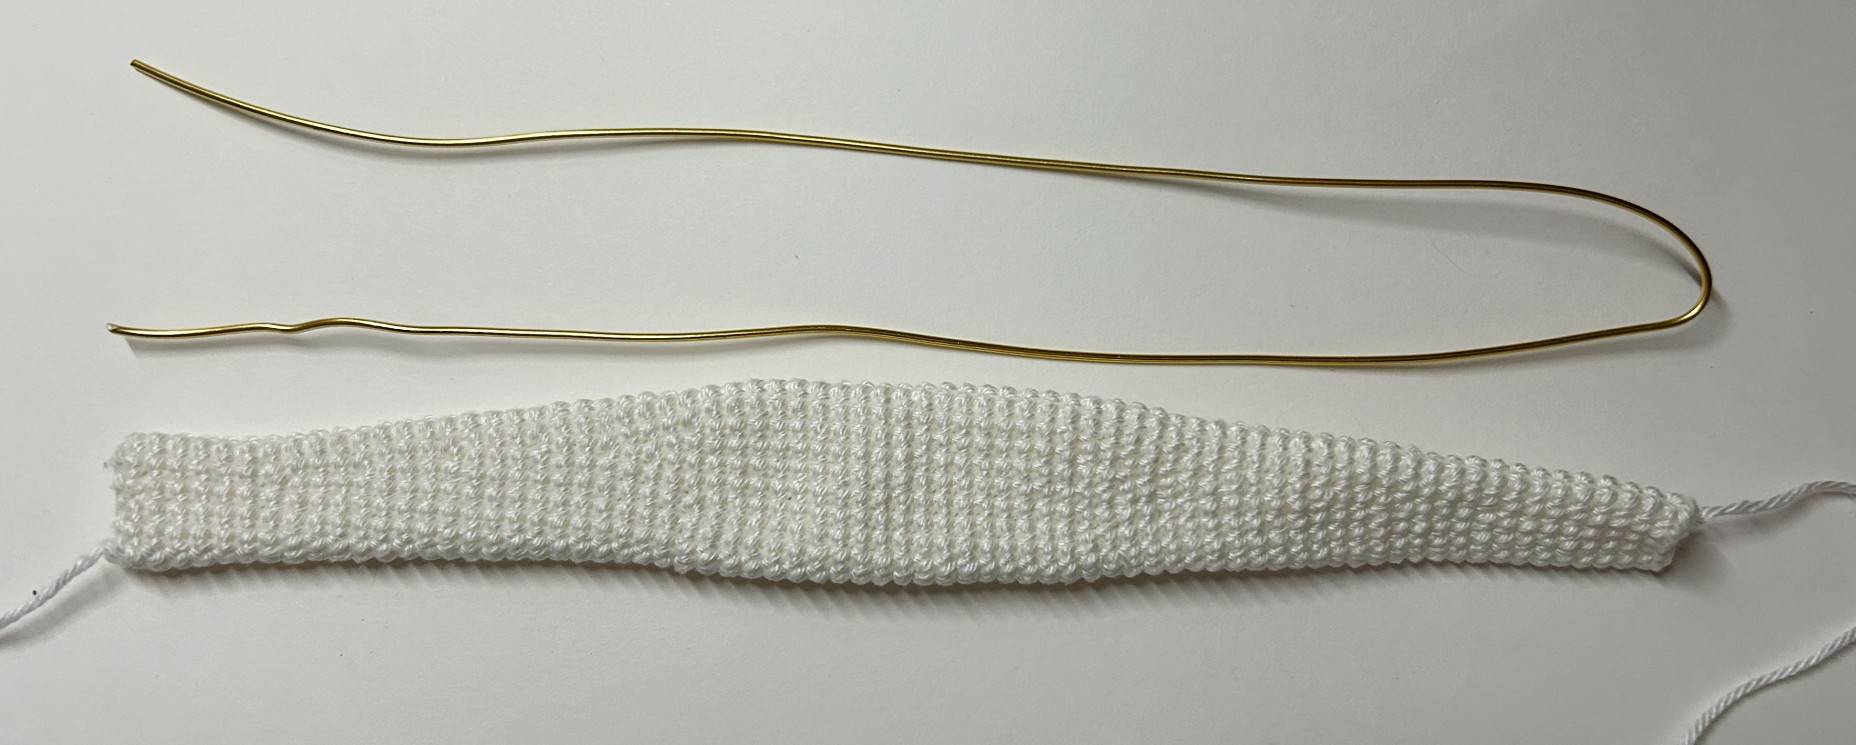
Cut aluminum wire (or pipe cleaner) by taking the length of the crocheted piece and
doubling the length as in the photo above and fold it in half
Insert the aluminum wire into the piece along
its entire length and form an arc of a circle
with it as in the photo opposite
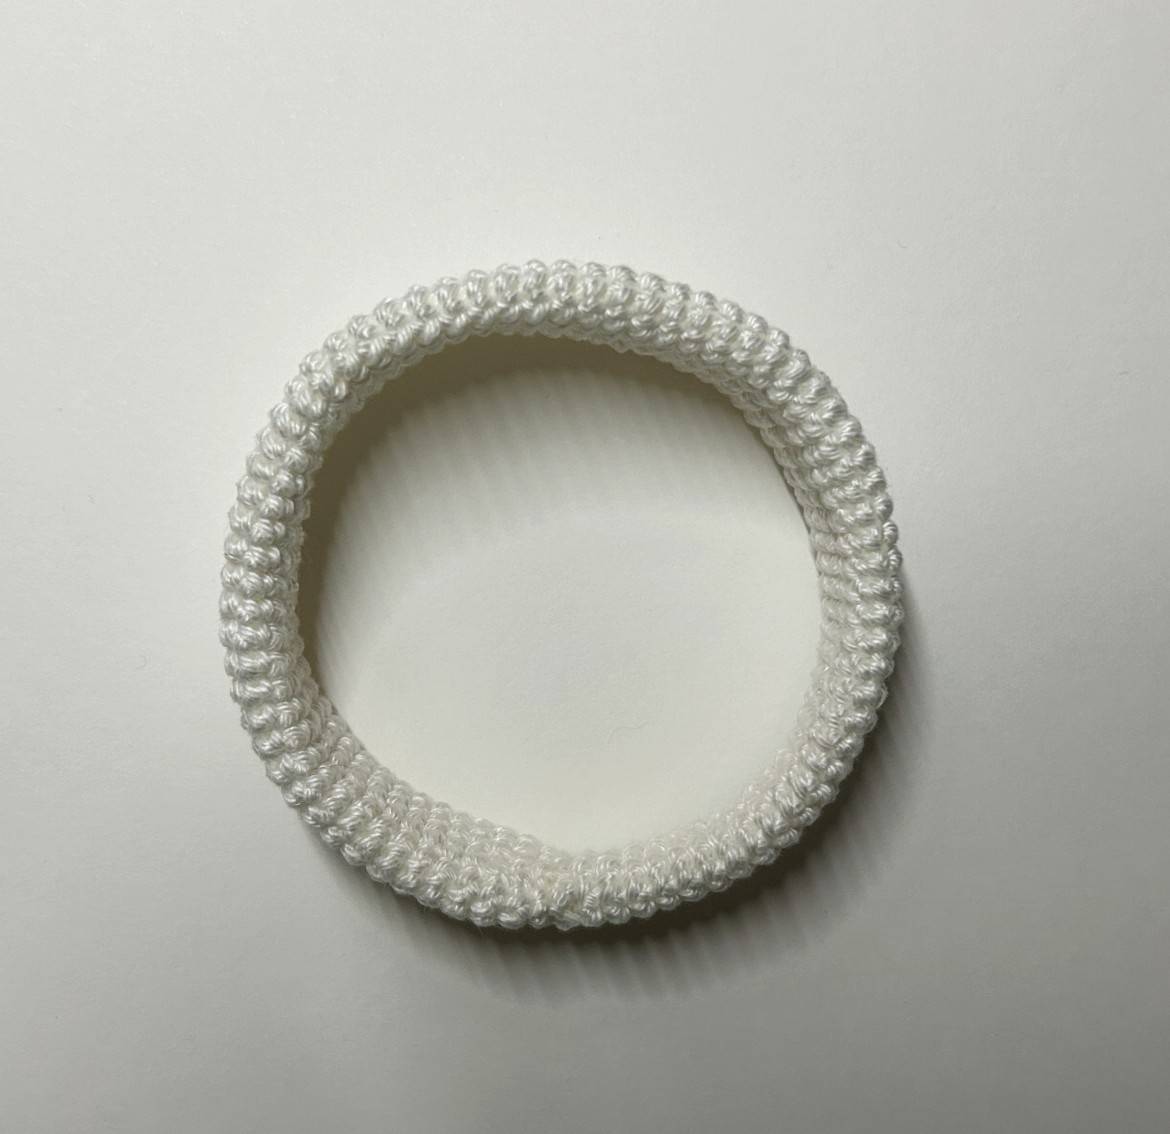
JJoin the two ends of the arc of a circle by
sewing and taking only the front loops of the
stitches on each side.
Weave in ends.
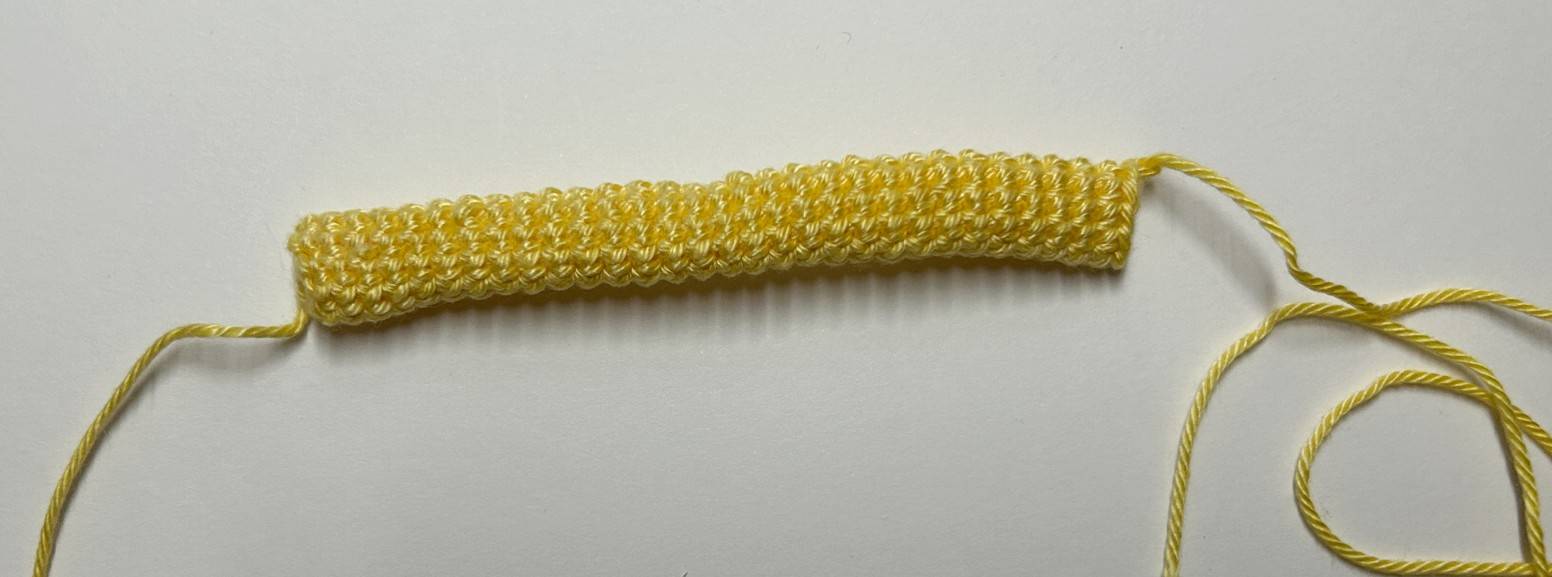
🩷 The small arc of circle
(to be done with Color C → yellow)
Work in closed rows.
R1: CH 8 and 1 SlSt in the 1st stitch
R2 to R30: CH 1, 1 sc in the same stitch as the SlSt then 1 sc in each stitch.
Finish with 1 SlSt in the 1st stitch (8)
Fasten off by keeping a good length for the joint.
Assembly of the cerle arch
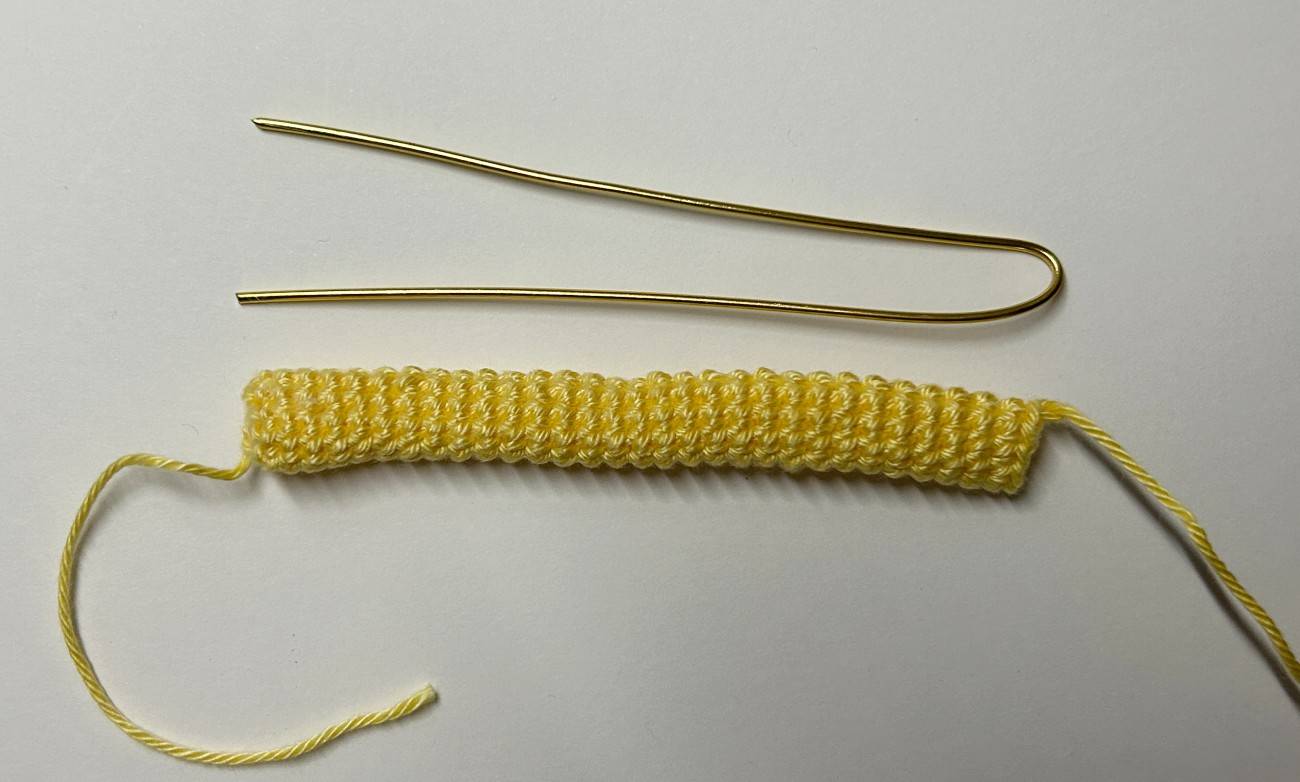
Cut aluminum wire (or pipe cleaner) by taking the length of the crocheted piece and
doubling the length as in the photo above and fold it in half.
Insert the aluminum wire into the piece along
its entire length and form an arc of a circle
with it as in the photo opposite.
Join the two ends of the arc of a circle by
sewing and taking only the front loops of the
stitches on each side.
Weave in ends.
🌟 The balls x2
(to be done with Color B → pink)
Work in spiral.
R1: magic ring with 6 sc
R2: 1 Inc in each sc (12)
R3: sc in each sc (12)
R4: 6 decreases (6)
Stuff.
R5: Fasten off and insert thread into the
front loops of the remaining 6 stitches.
Tighten to close the hole.
Weave in ends.

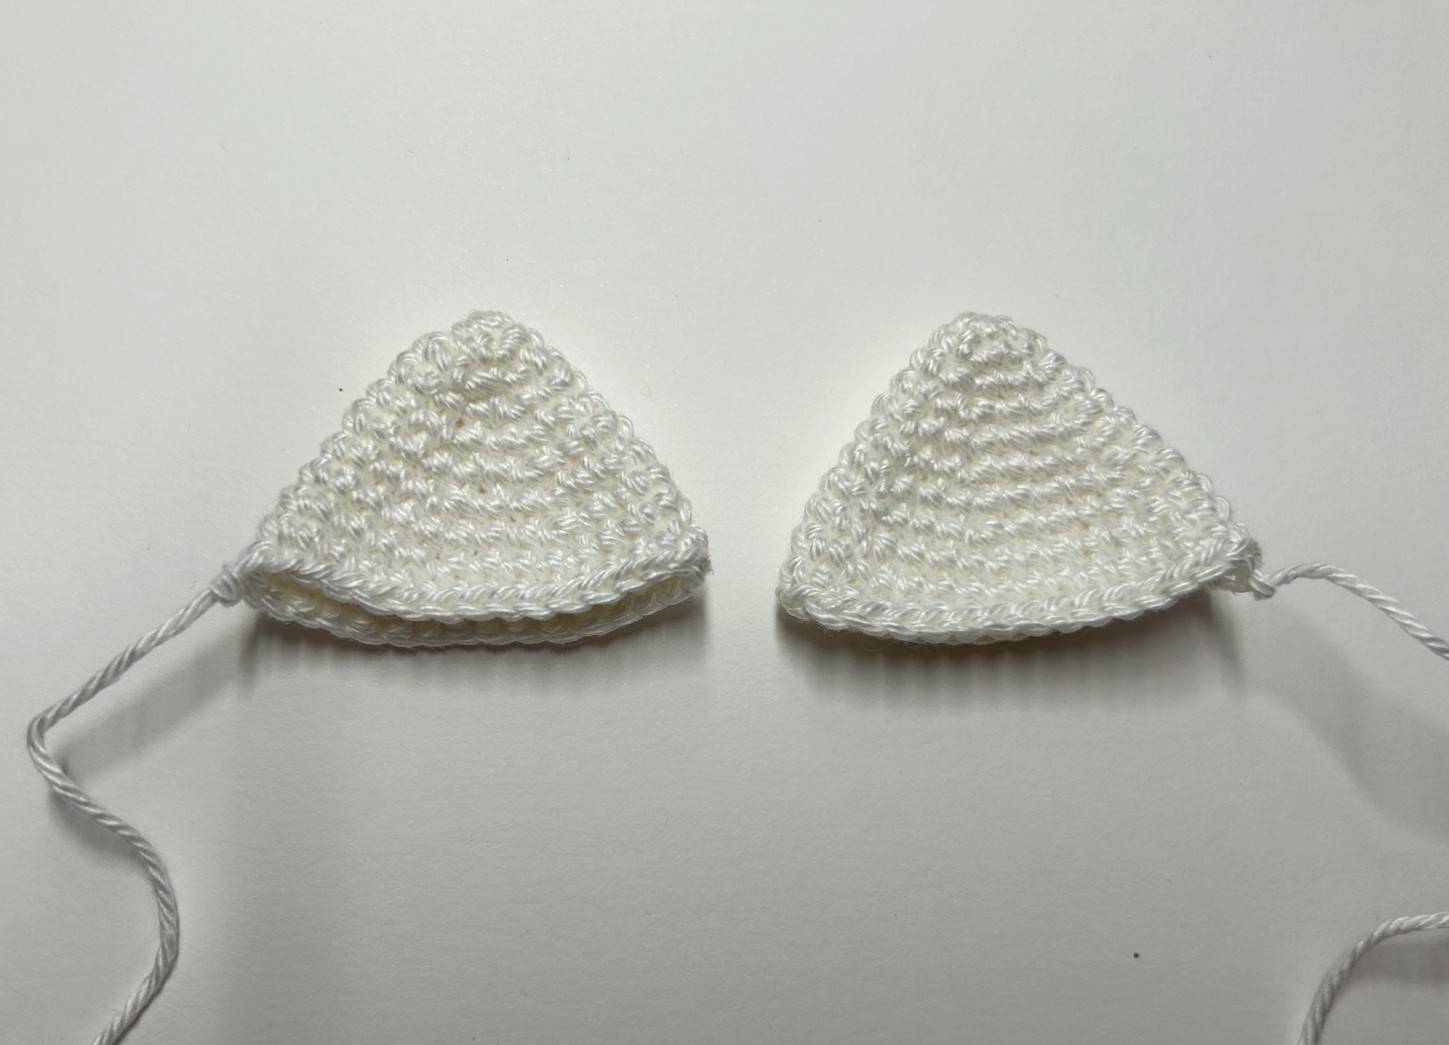
🐈 Cat ears x2
(to be done with Color A → white)
Work in spiral.
R1: magic ring with 6 sc
R2: *1 sc, 1 Inc* x3 (9)
R3: 1 sc, 1 Inc, *2 sc, 1 Inc* x2, 1 sc (12)
R4: *3 sc, 1 Inc* x3 (15)
R5: 2 sc, 1 Inc, *4 sc, 1 Inc* x2, 2 sc (18)
R6: *5 sc, 1 Inc* x3 (21)
R7: 3 sc, 1 Inc, *6 sc, 1 Inc* x2, 3 sc (24)
R8: *7 sc, 1 Inc* x3 (27)
R9: 4 sc, 1 Inc, *8 sc, 1 Inc* x2, 4 sc (30)
R10: sc in each sc (30)
R11: sc in each sc and finish with 1 SlSt in the
1st stitch (30)
Fasten off by keeping a good length of thread for sewing.
Find more magic patterns ✨


🩷 The bow
(to be done with Color C → yellow)
Make a magic ring and CH 3.
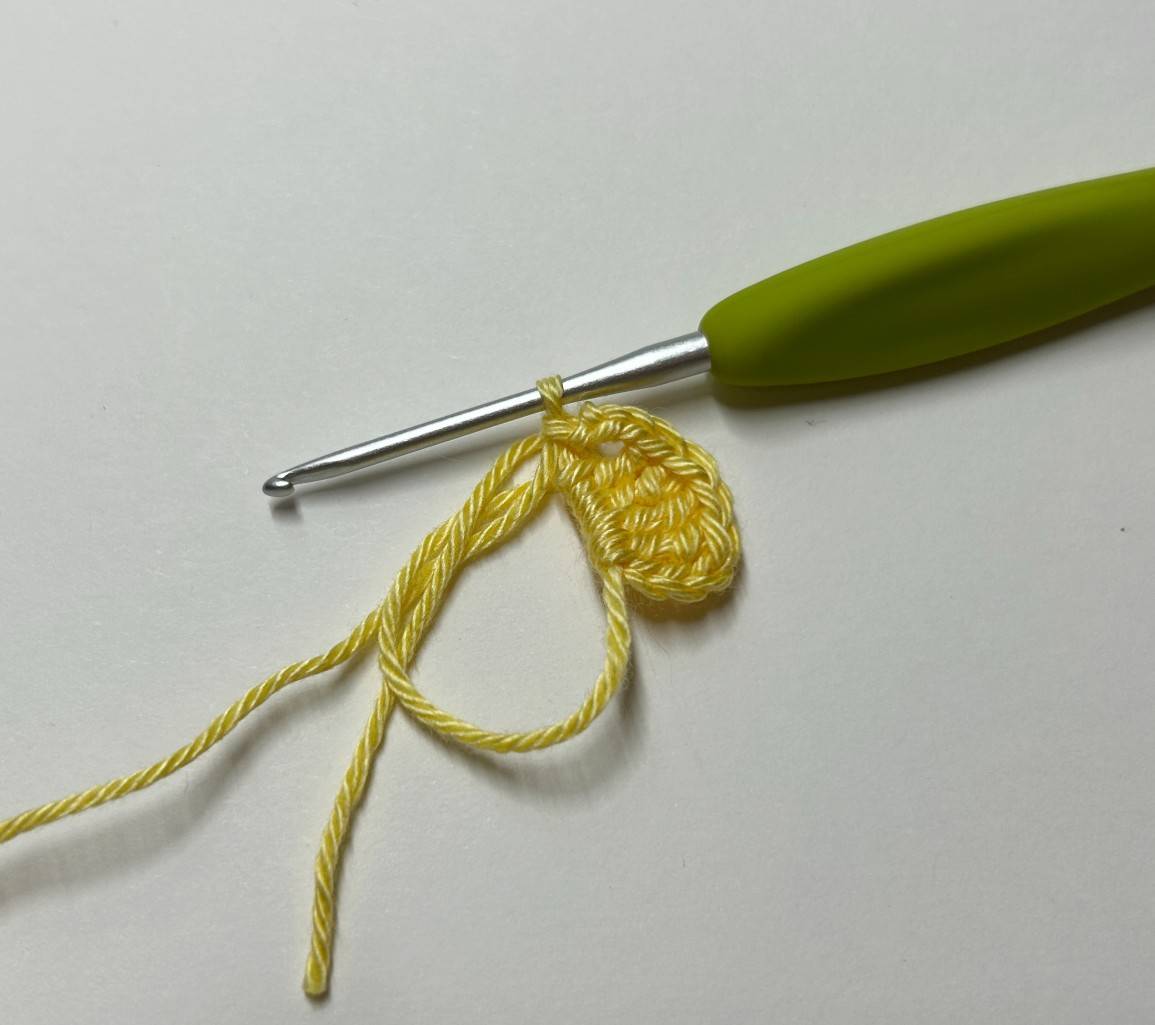
Then, 4 dtr in the ring and ch 3 which
you will reattach to the ring with 1 SlSt.
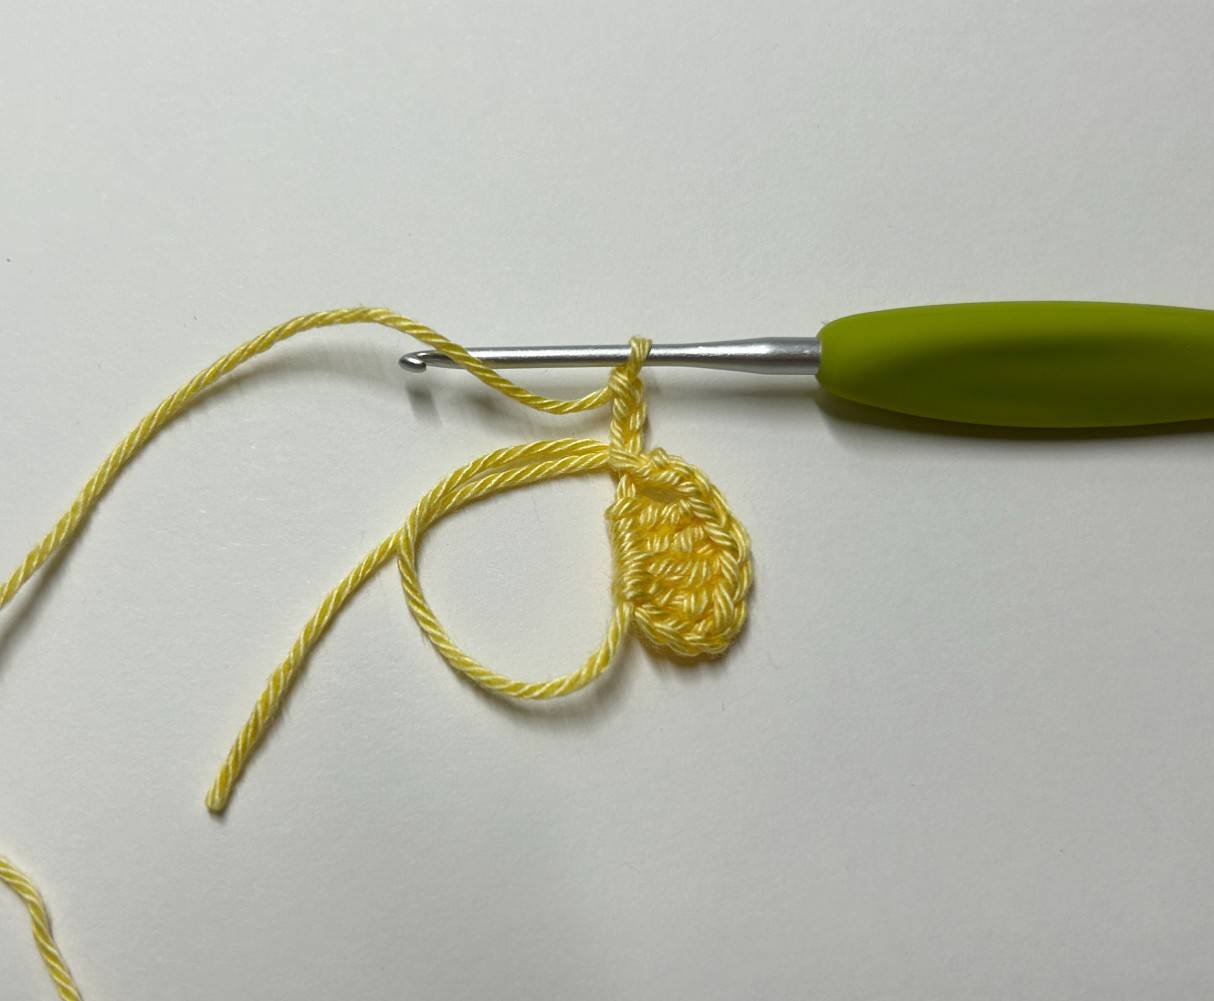
again CH 3
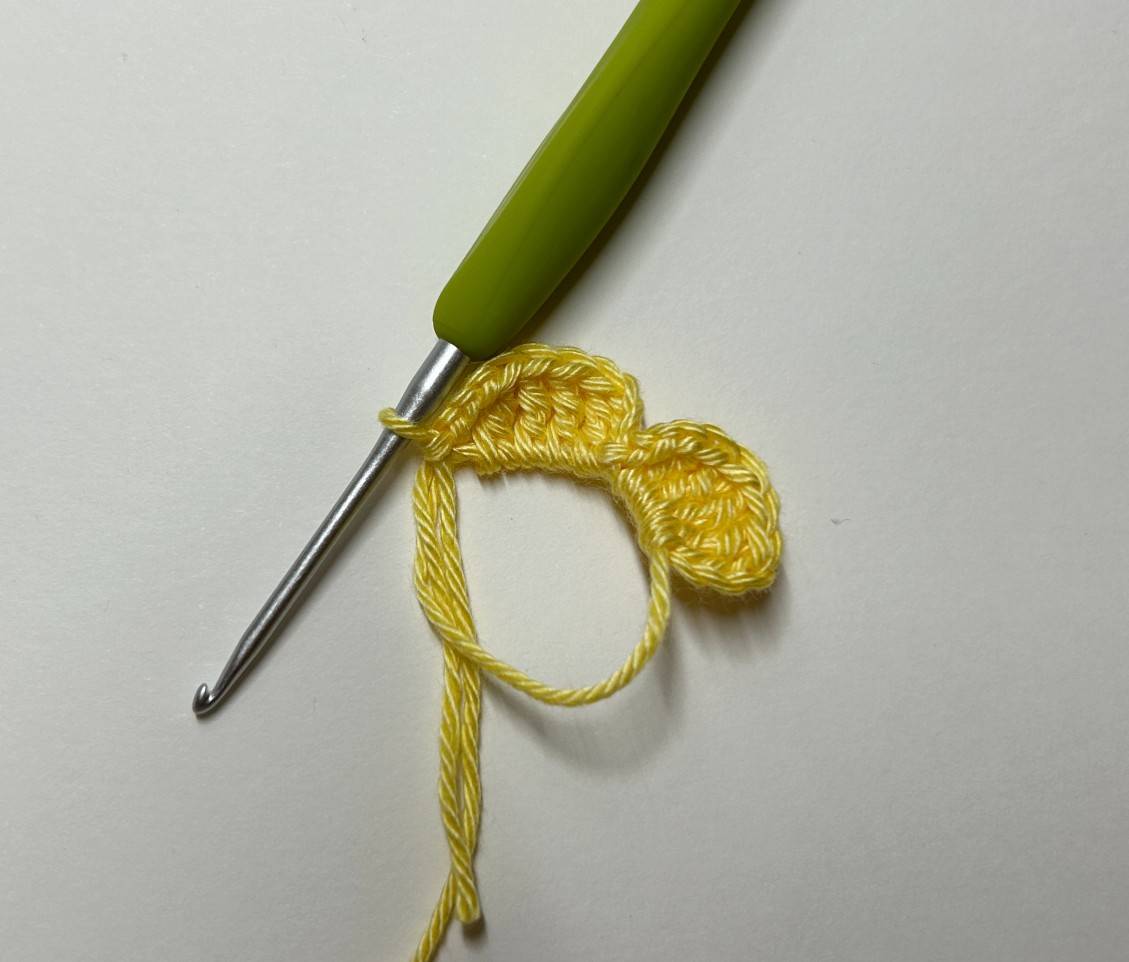
Then, 4 dtr in the ring and ch 3 which
you will reattach to the ring with 1 SlSt.
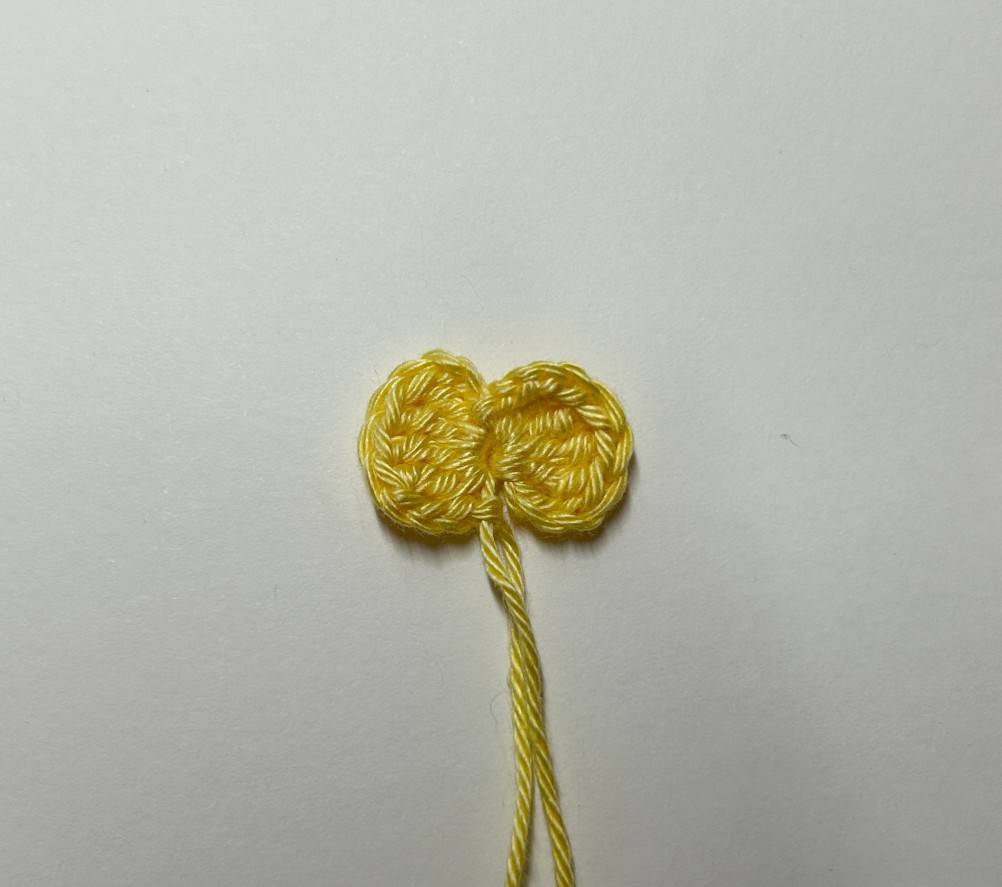
Tighten the ring to find the two parts
of the bow.
Cut the yarn leaving enough for the
next step.
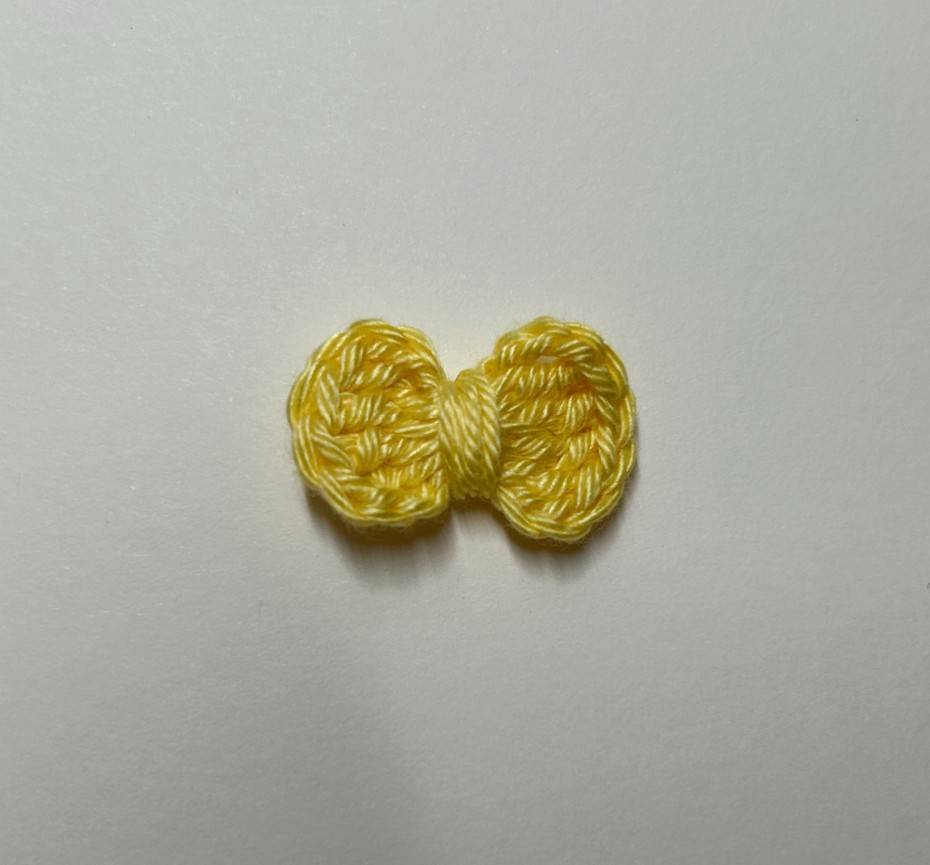
With the remaining yarn, wrap it 5
times in the middle of the bow.
Make a knot at the back with the two
remaining yarns and cut the excess.
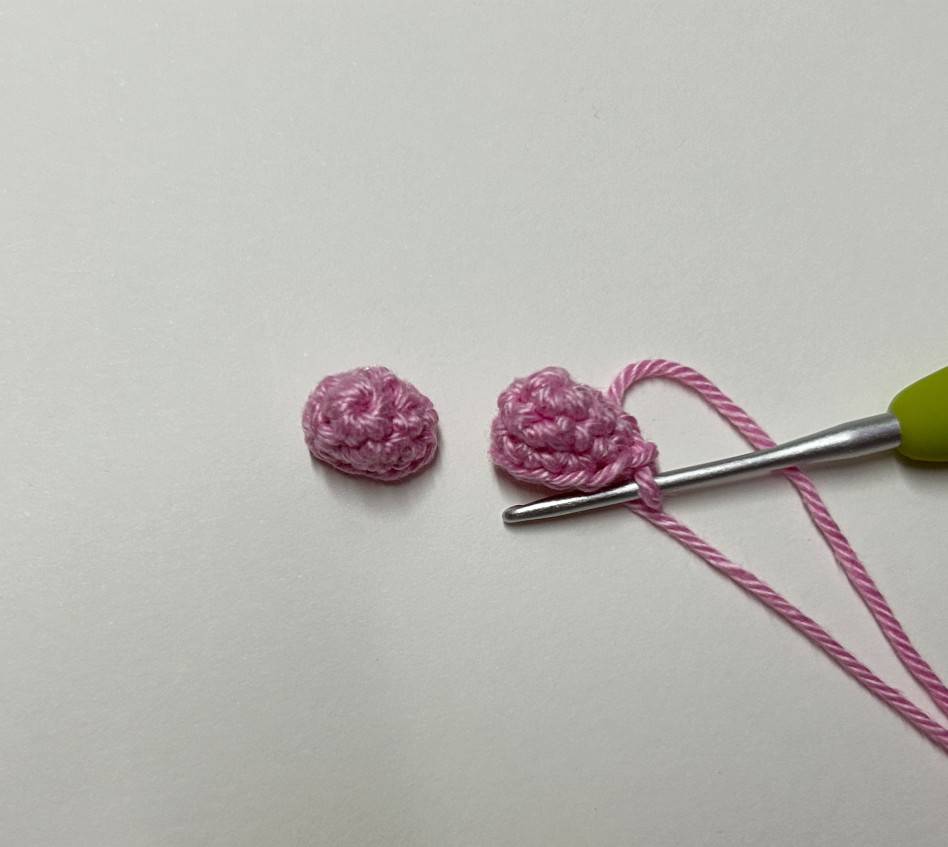
🌟 The heart
(to be done with Color B → pink)
Work in spiral.
Make the following steps 2 times to have the 2
mounts of the heart:
R1: magic ring with 5 sc
R2: *1 Inc, 1 sc* x2, 1 Inc (8)
R3: sc in each sc (8)
Fasten off and make an invisible finish for one
mount.
Keep the yarn with the second to continue
below:
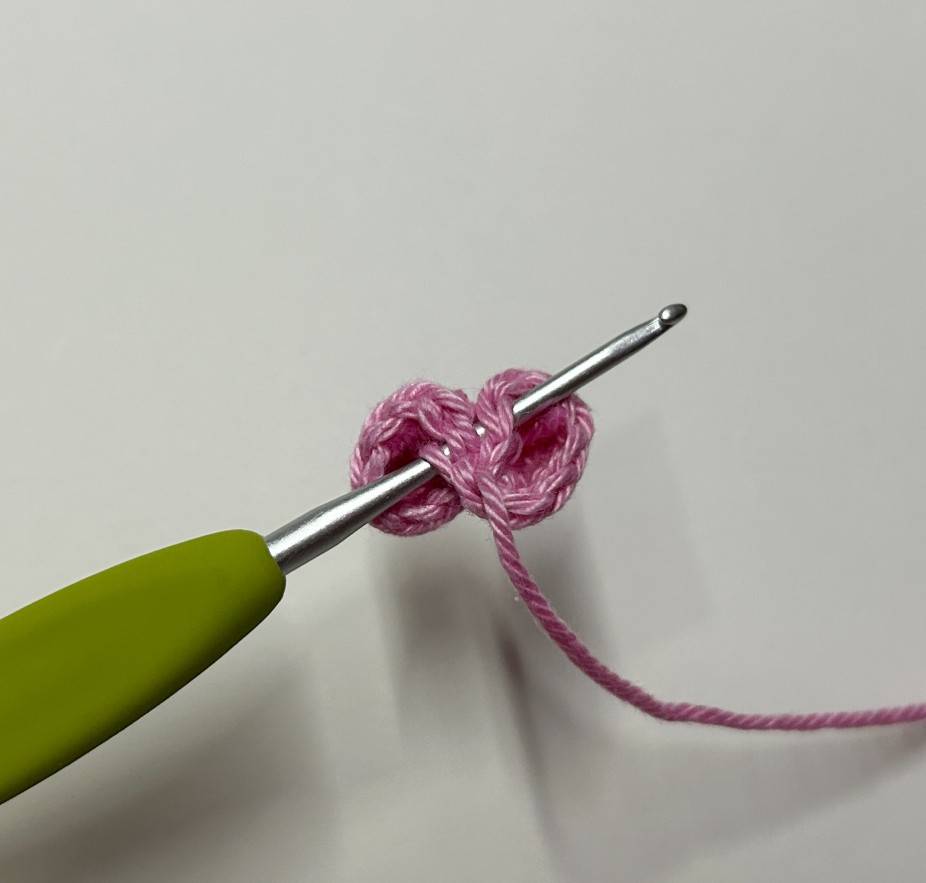
R4: Join the 2 mounts with 1 sc taking the 2
edges (by entering your hook first in the
part not connected to the yarn then in the
2nd) then a 2nd sc.
Then, continue by making by going
around the 2 mounts by doing 12 sc (12)
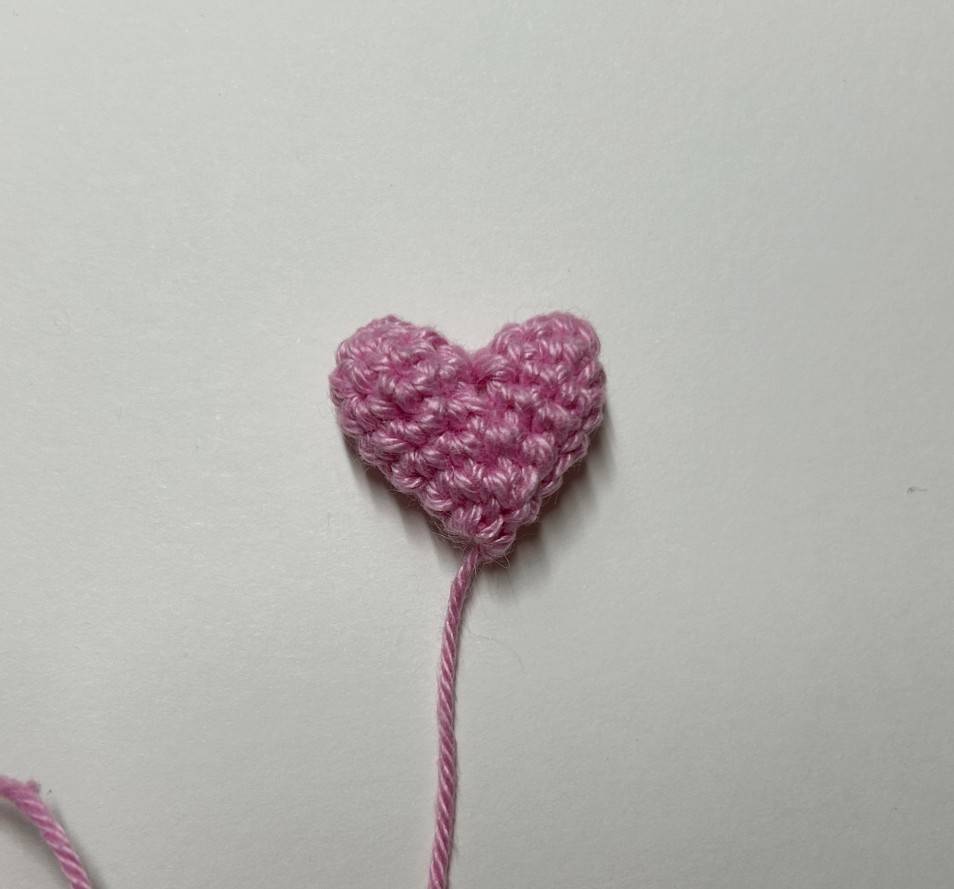
R5: 2 sc, 1 dec, 4 sc, 1 dec, 2 sc (10)
R6: *2 sc, 1 dec* x2, 2 sc (8)
Stuff a little.
R7: Fasten off and insert thread into the
front loops of the remaining 8 stitches.
Tighten to close the hole.
Leave enough yarn for sewing later.
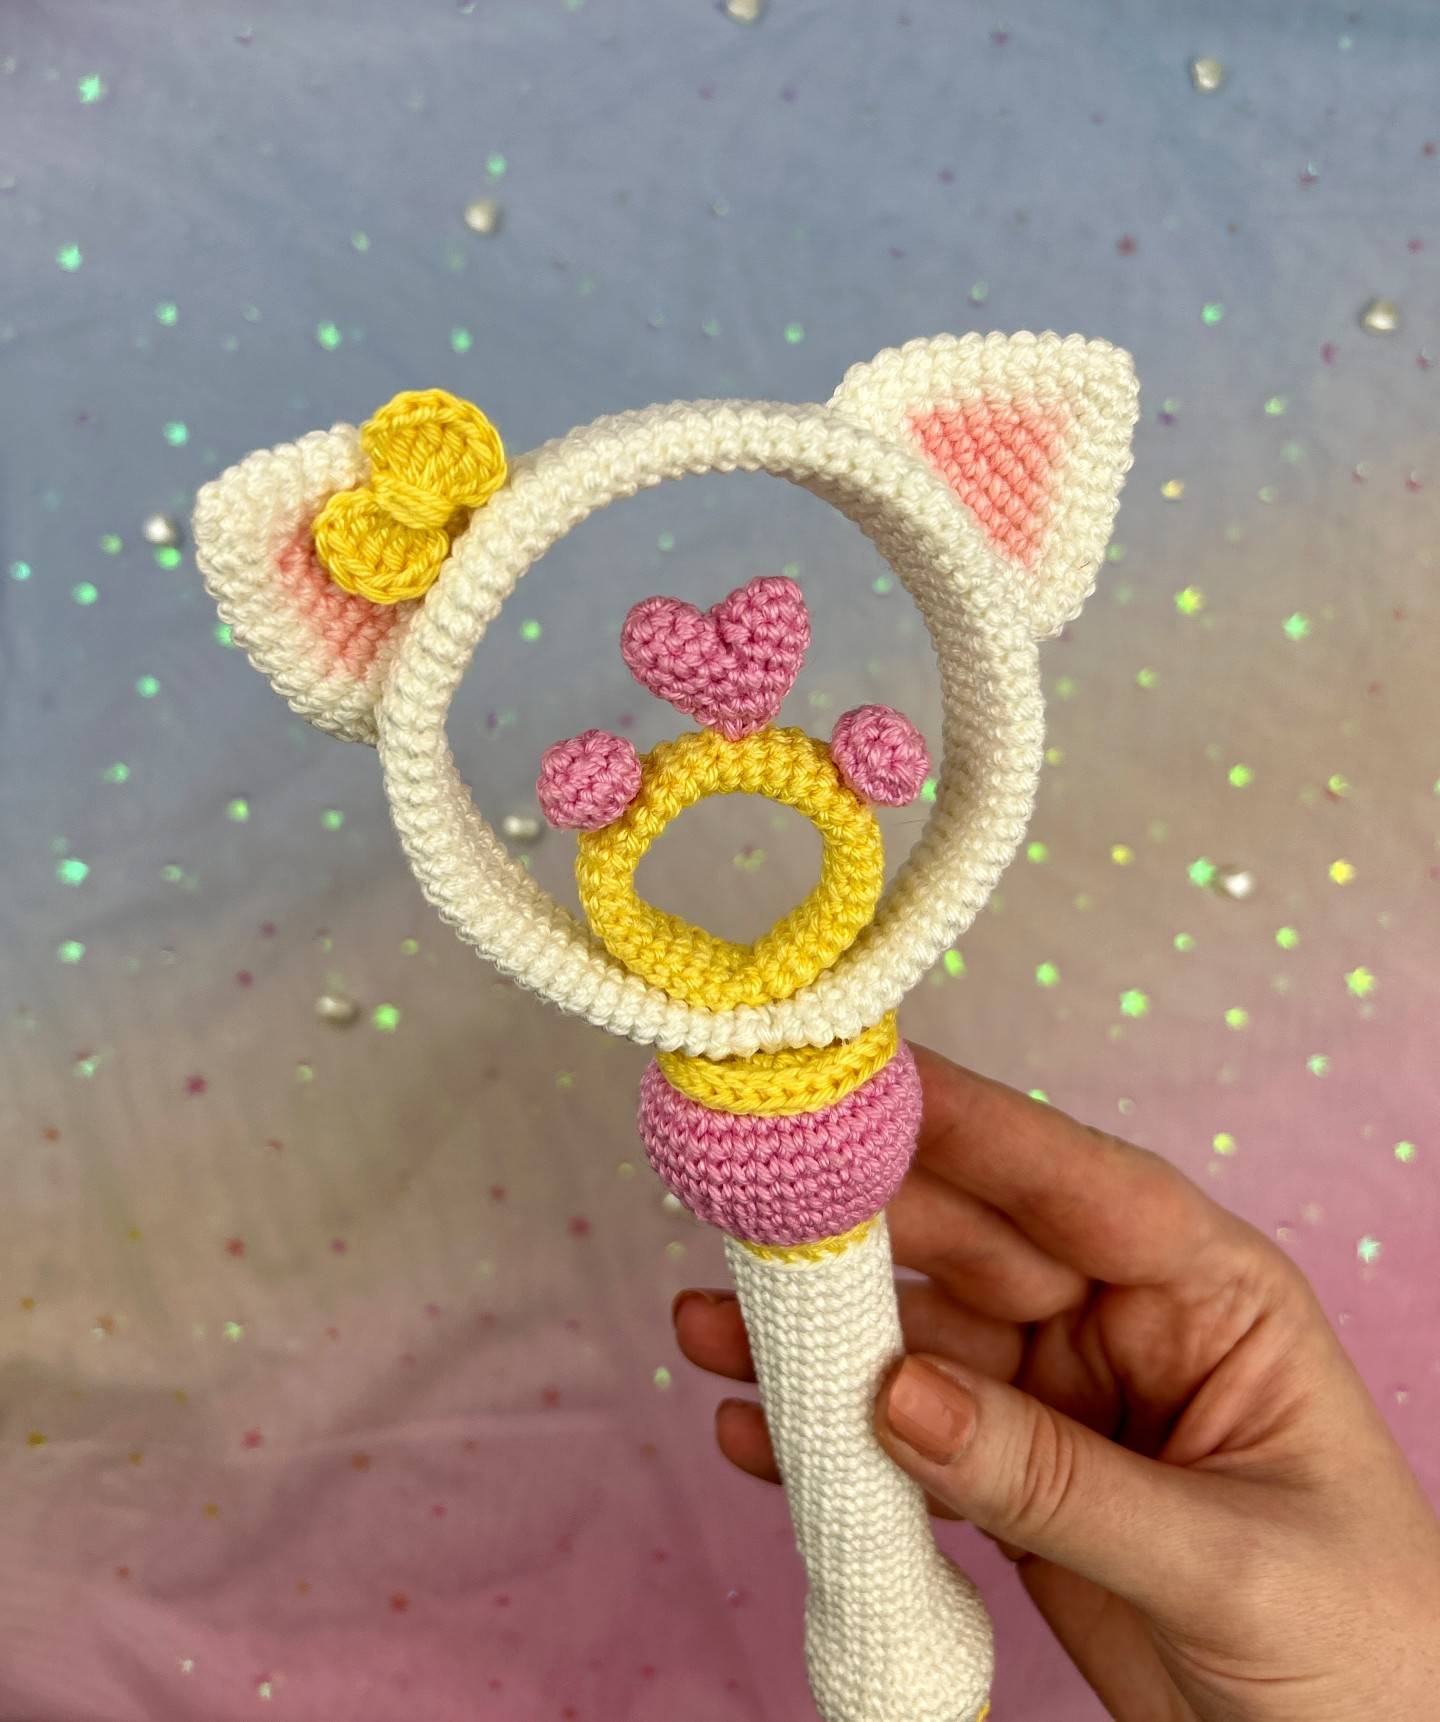
🐈 Assembly and finishes 🐈
Glue the small yellow base on the reverse
side at the end of the handle with the white
part so that the middle of the small base is
on the middle of the white part.
Glue the peak on the yellow base that has
just been glued by pressing firmly so that
the base of the peak is completely stuck to
the yellow part. The two must marry
perfectly.
Glue the large yellow base on the reverse
side onto the pink part of the handle so that
the middle of the large base is on the
middle of the pink part.


Make up the ears by applying pink blush on
about 6 rows as in the photo opposite.
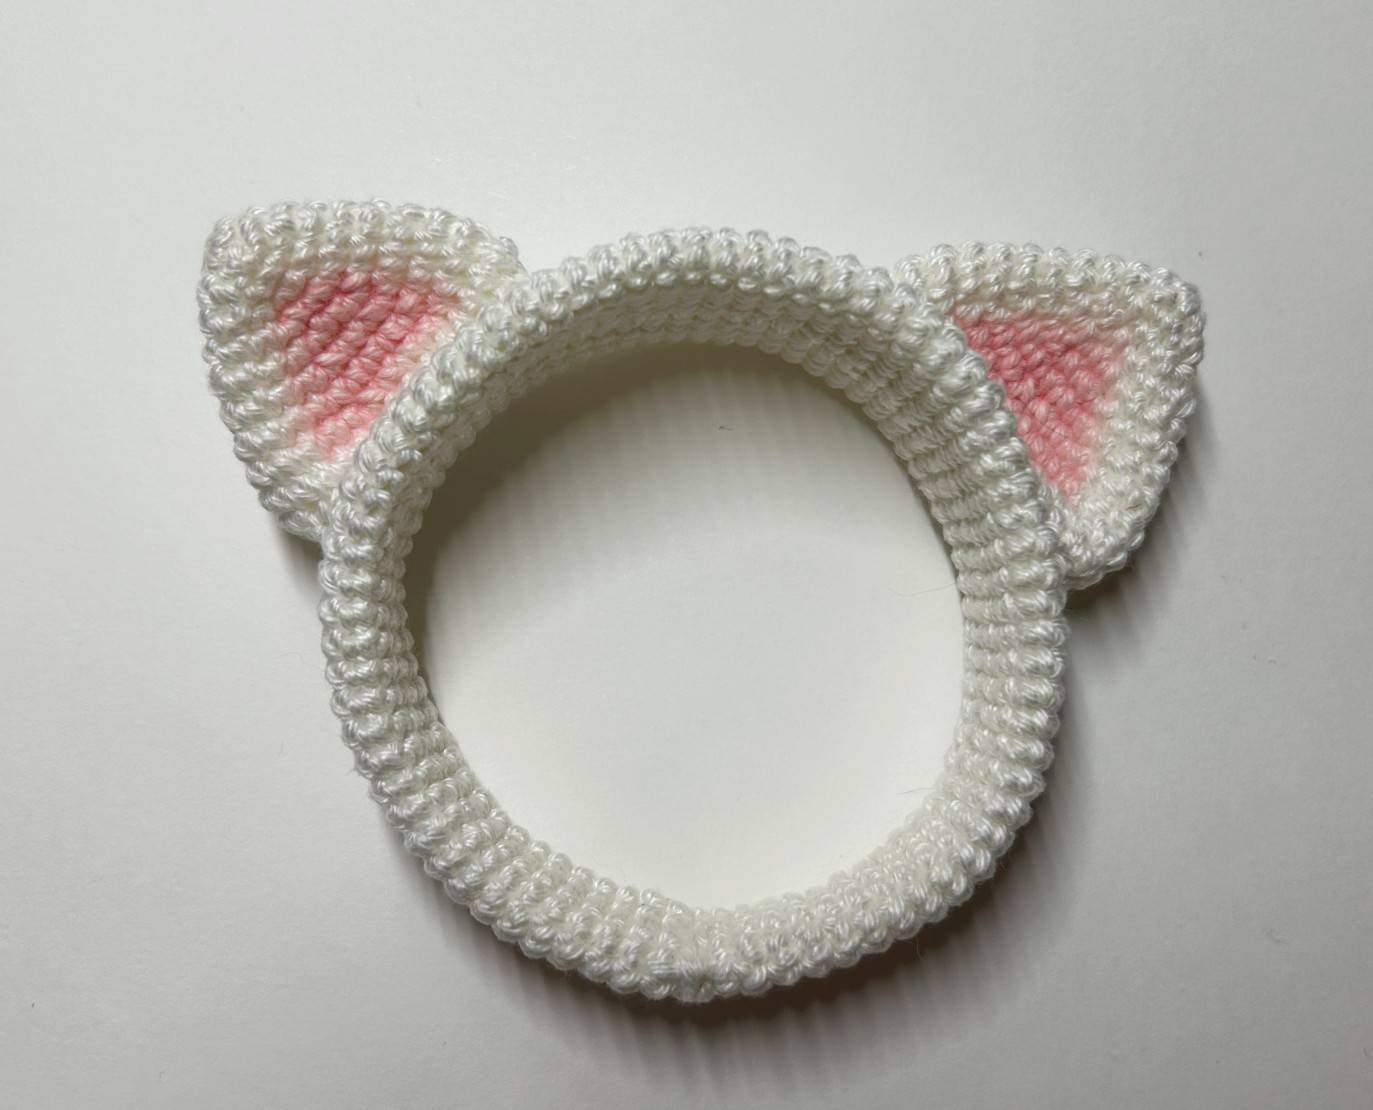
We will sew the ears.
Starting from one of the previously joined
ends, count 20 rows and sew one of the
ears onto the middle of the band.
Do the same for the 2nd ear.
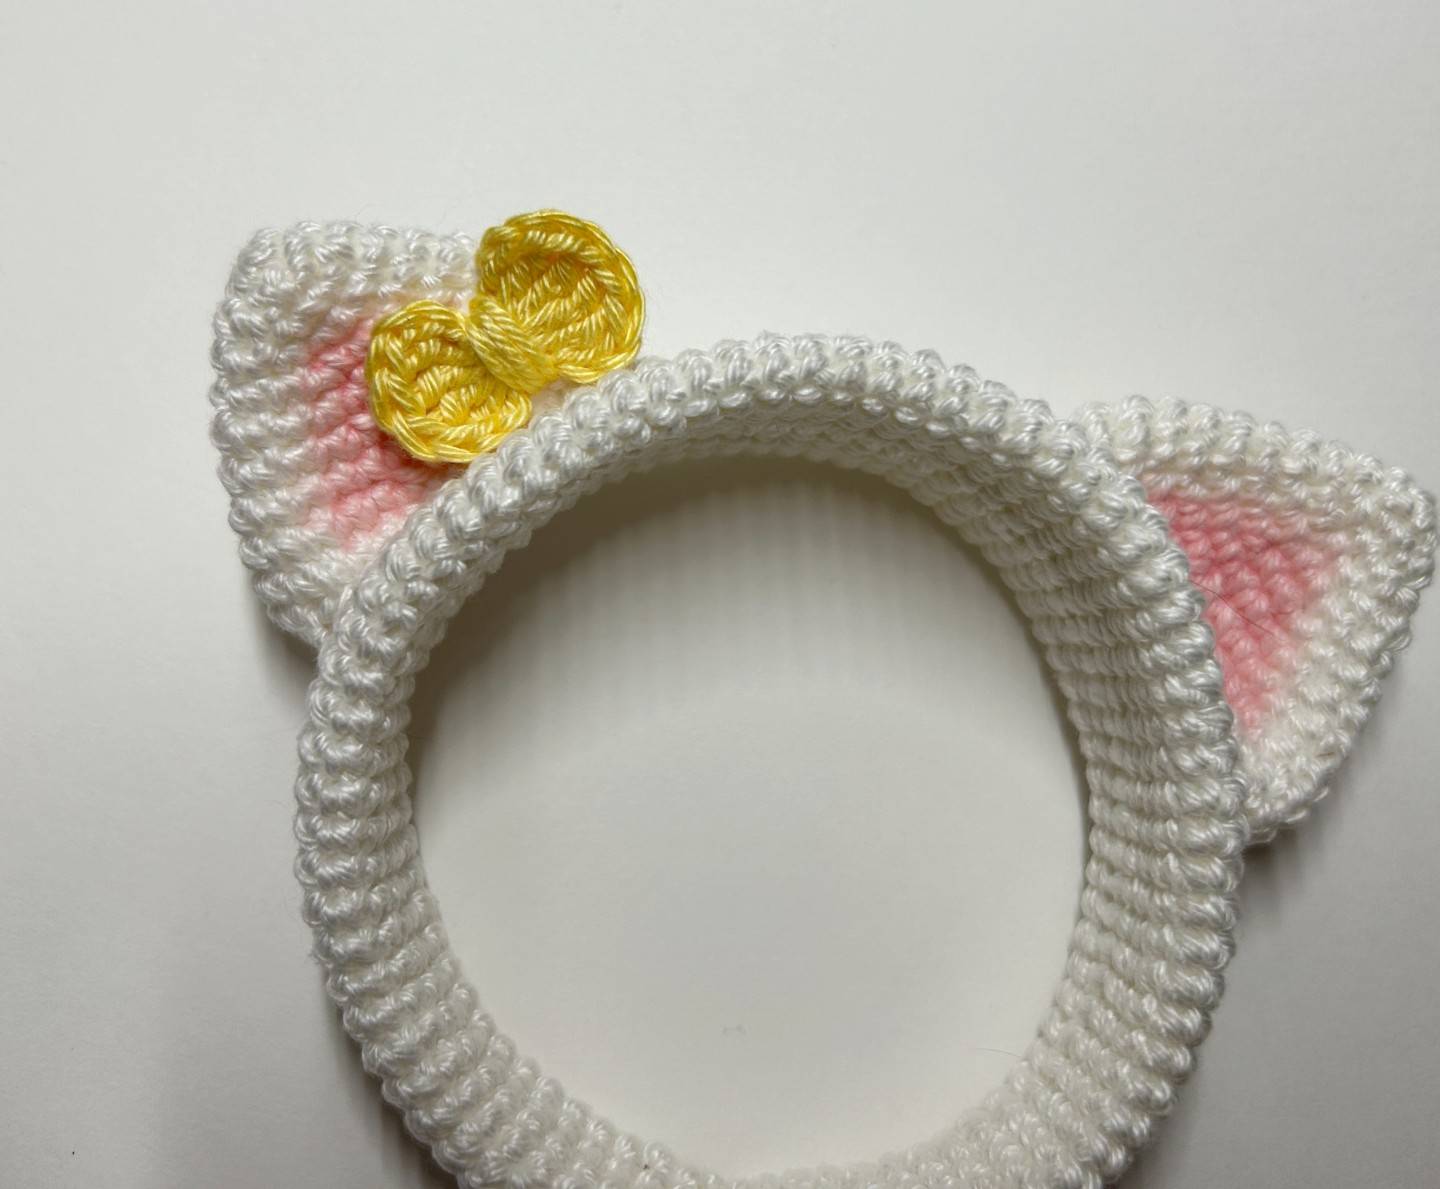
Stick the bow on the left ear as in the photo
opposite.
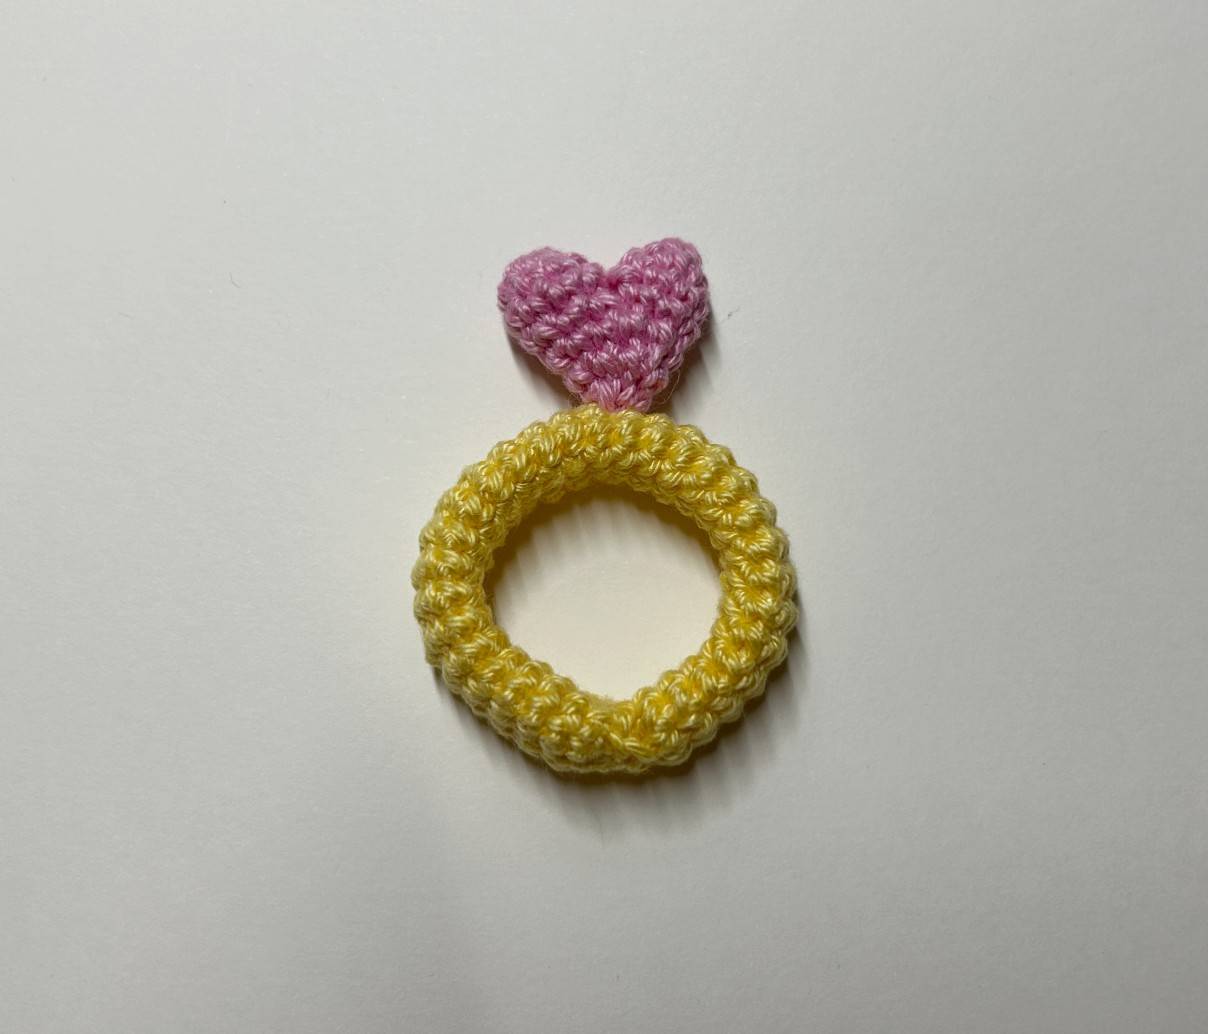
Count 15 rows from the joint of the ends
and sew the heart.
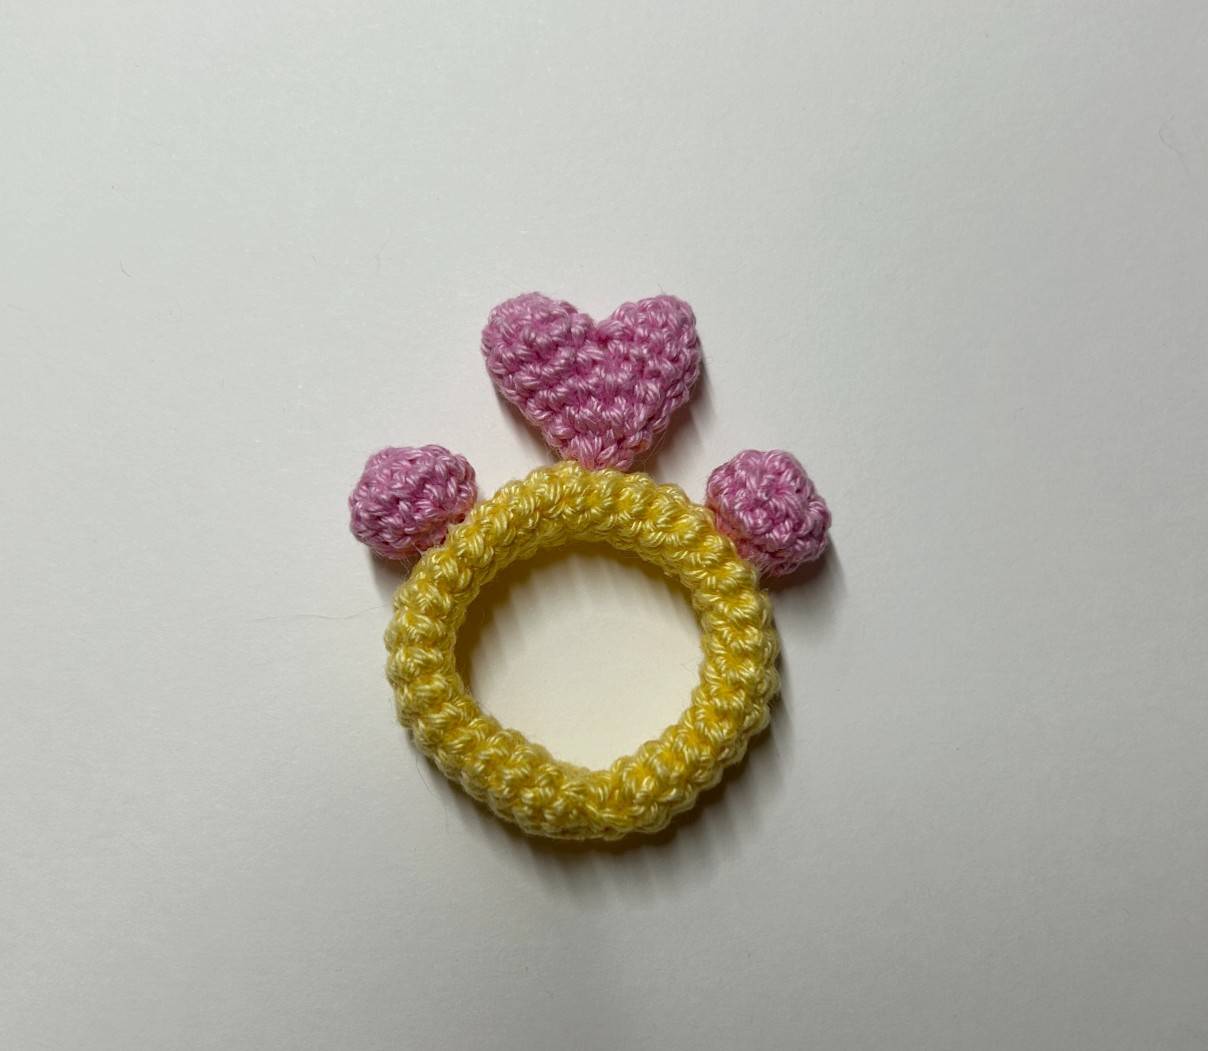
Count 5 rows from each side of the heart to
stick the balls.
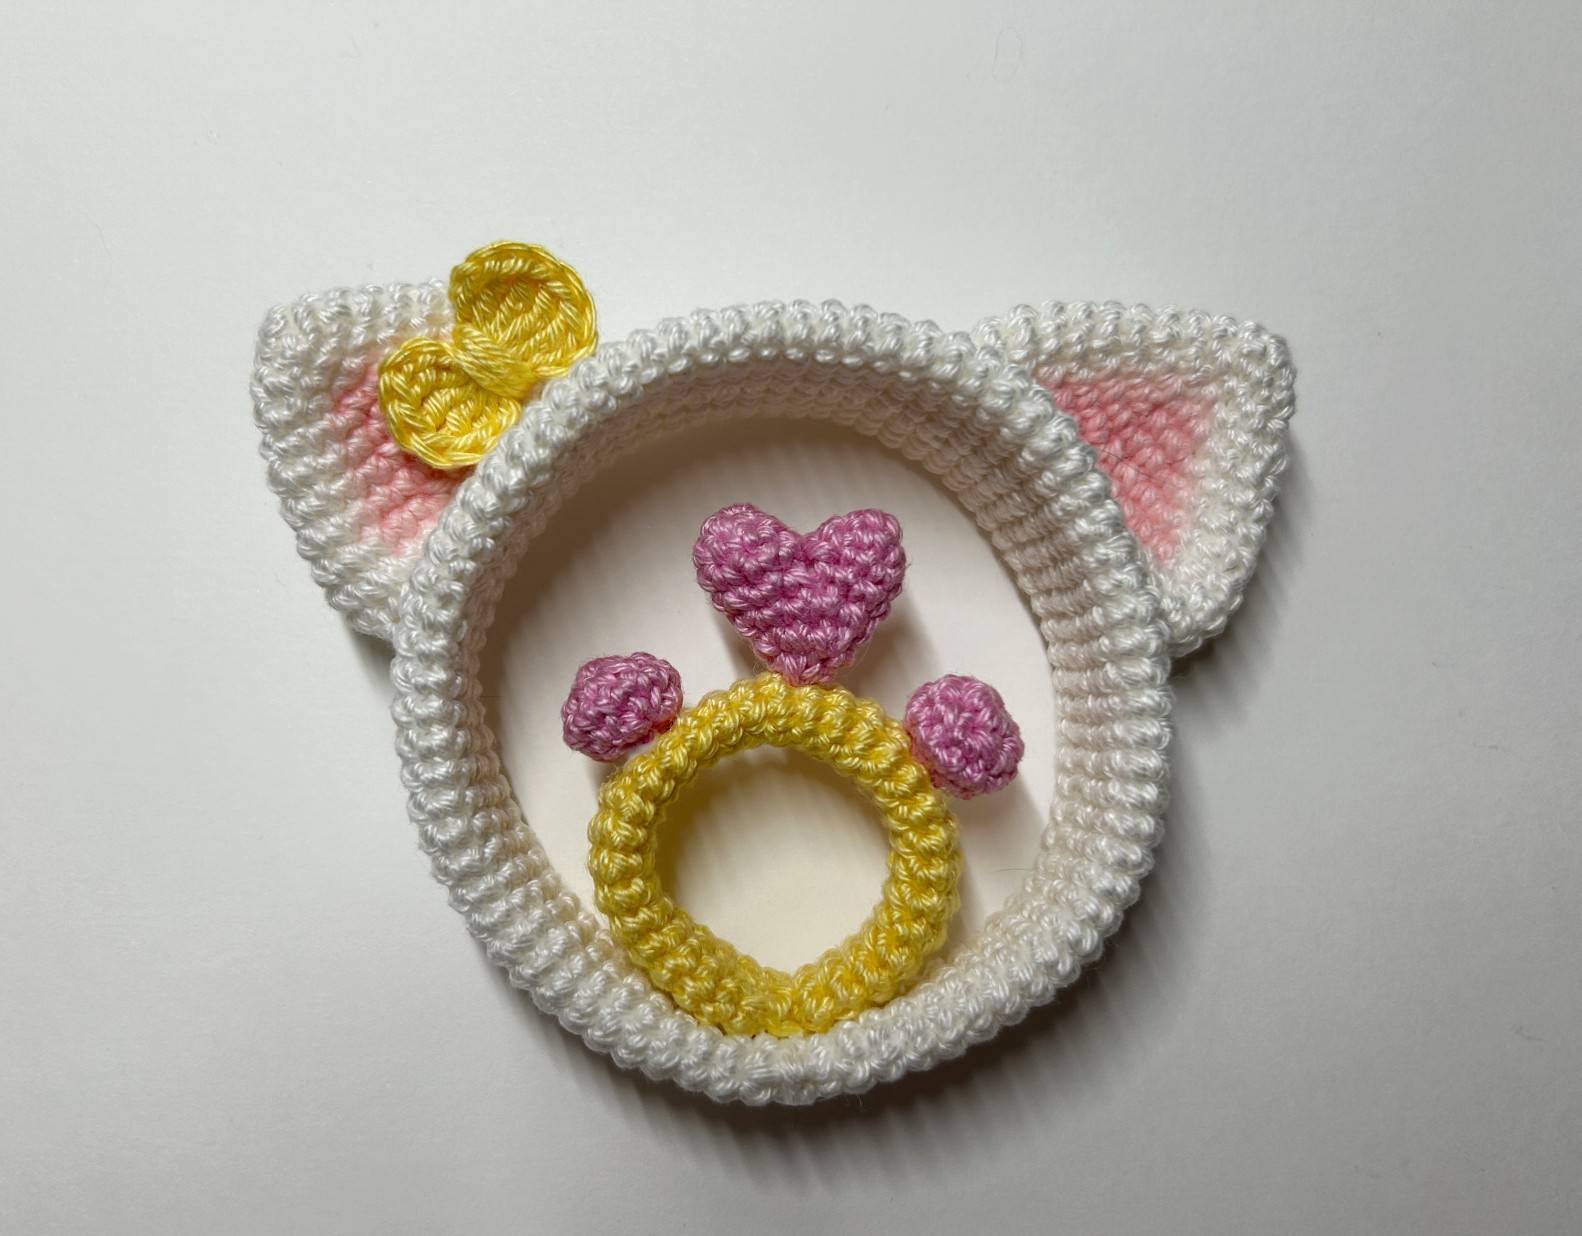
Glue the small arc of a circle in the large one
to its base and centered.
Glue the large arc of a circle onto the yellow
base.
If you make this pattern, don’t hesitate to share it on Instagram by tag me @my_rainbow_crochet so that I can pass you on in my story or on Facebook to send me a photo of your achievement that I would incorporate into the album of your achievements!
Seeing your achievements is always a huge pleasure for me!
See you soon Rainbows ! 🙂🌈