This post contains affiliate links.
Hello Rainbows 🌈
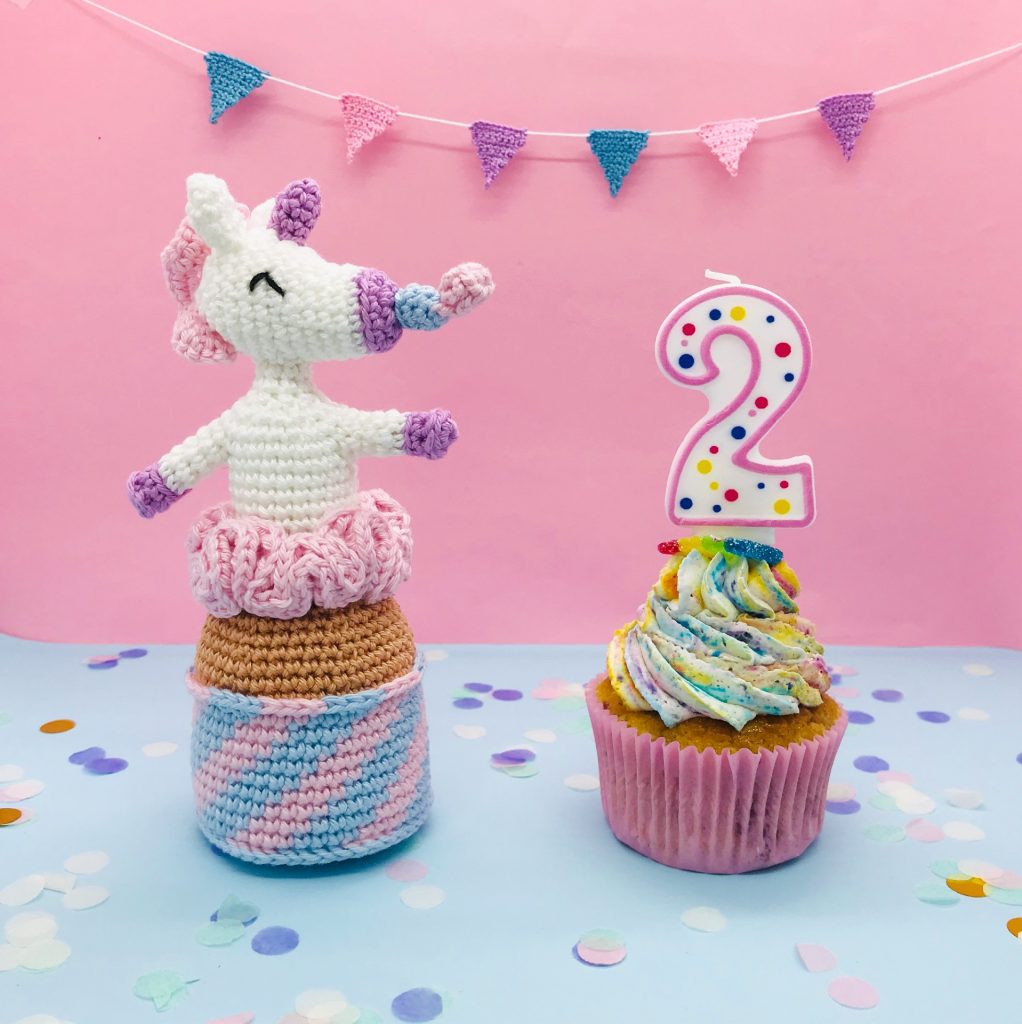
We continue this momentum of surprises for my 2 years of activity as a designer behind My Rainbow Crochet with the second pattern of this month (yes others are still waiting for you 👀). If you don’t want to miss the release of the next ones, you can subscribe to my Instagram account!
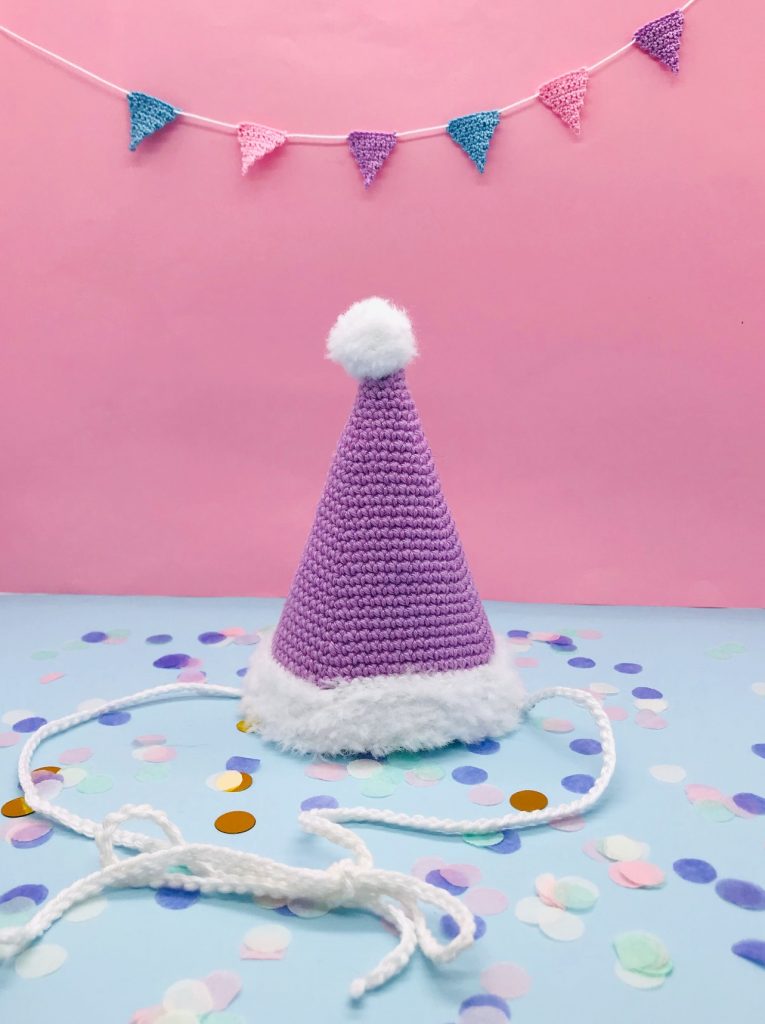
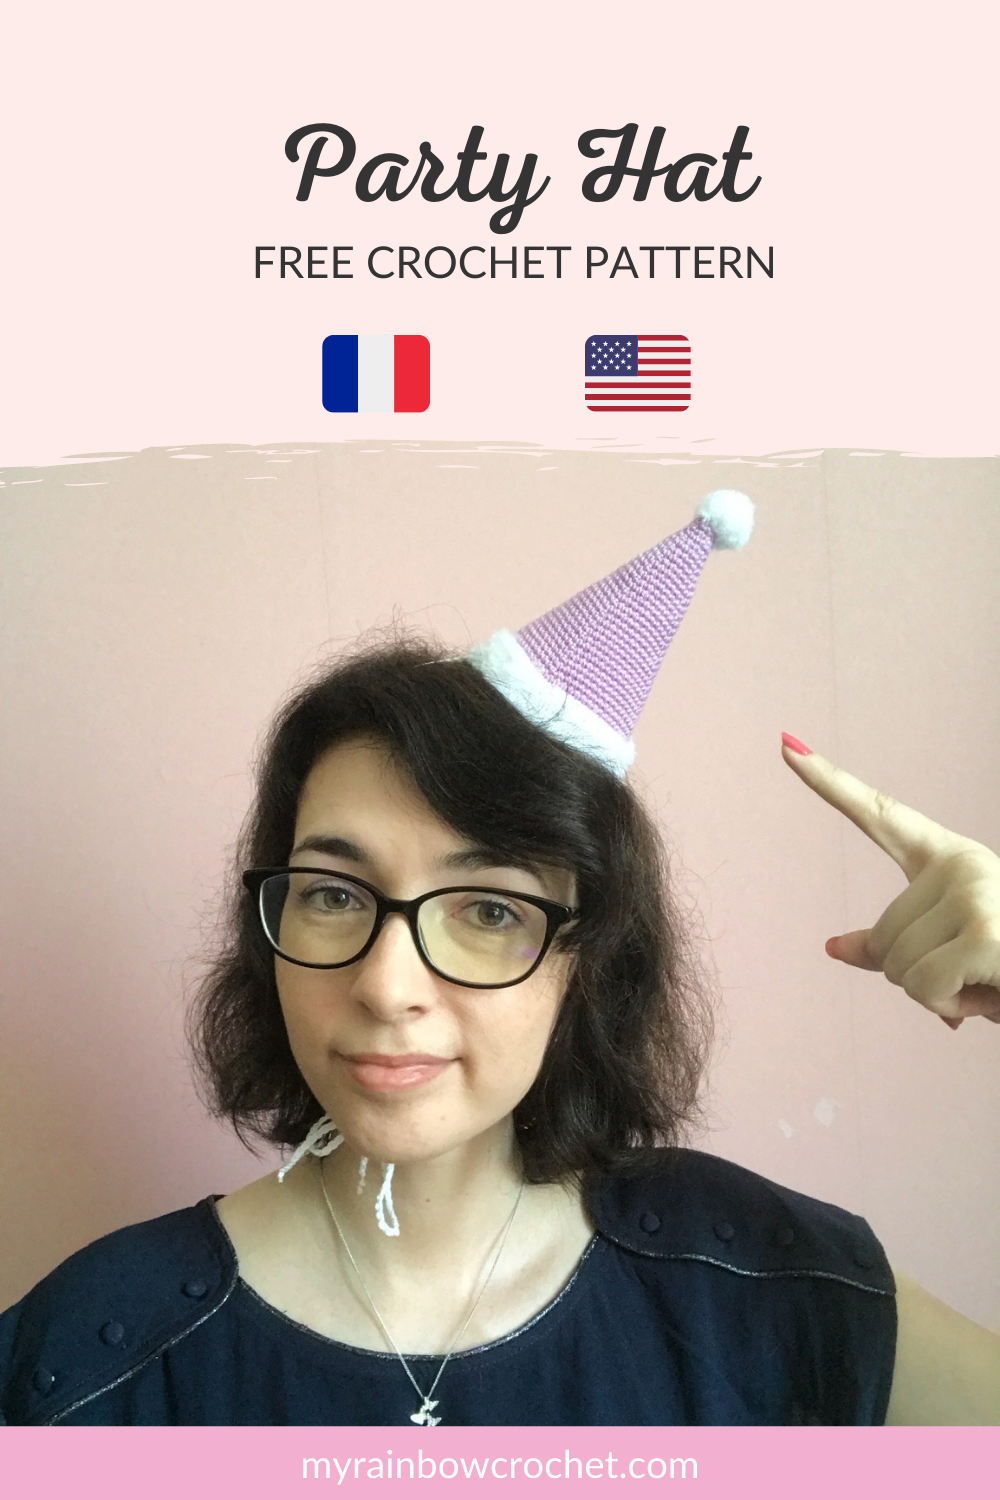
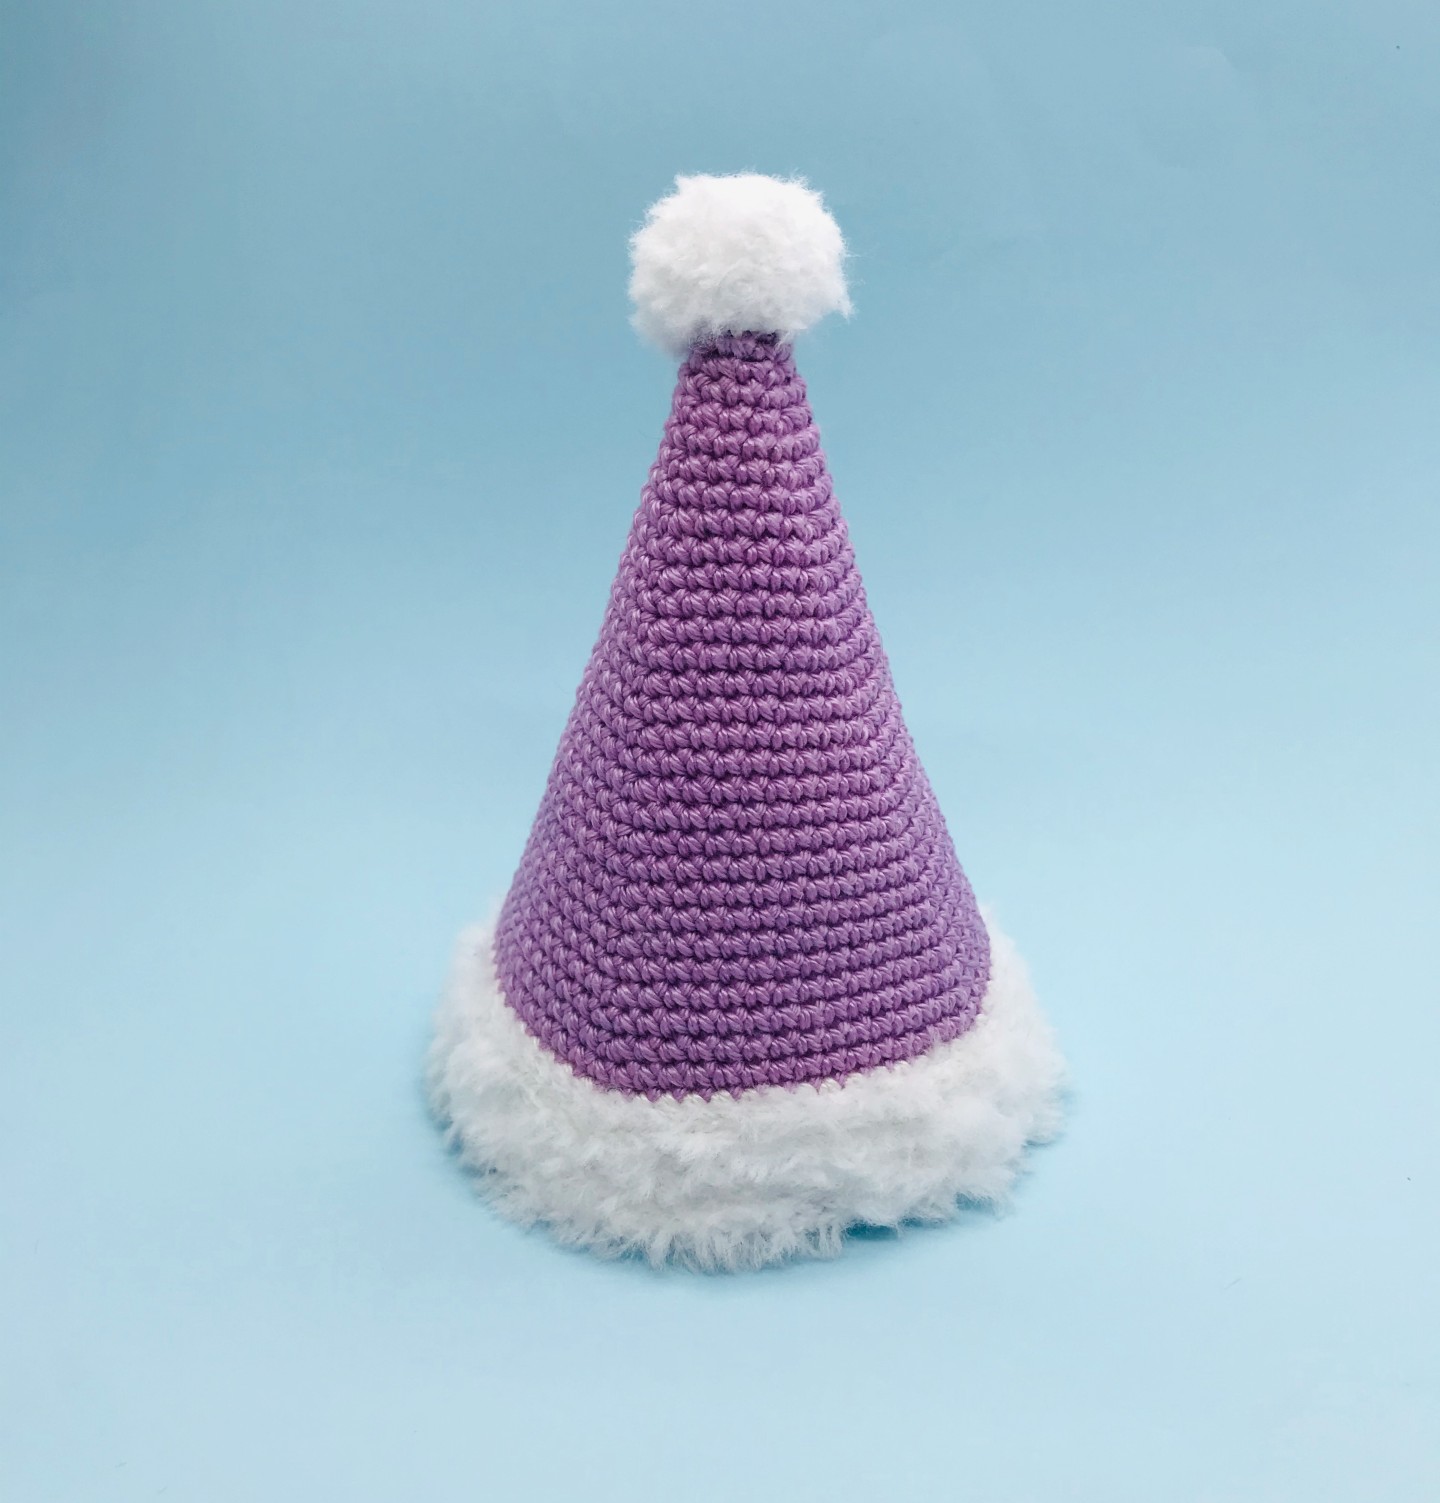
After the release of the Birthday Unicorn Cupcake, here is a new pattern to complete your outfit for all birthday parties: the party hat.
Very easy to make, to decorate in all the colors you want!
The positive aspect if you crochet this hat is that you can reuse it for several parties, an ecological side compared to cardboard hats which are almost always used only once. In addition to having fun crocheting it of course! 😄
Ready to get into the festive spirit with me? Discover the pattern below 🥳🔽

Material you need
If you want to use the same material as mine, I am attaching few links below.
These are affiliate links on Amazon. As an Amazon Associate I earn from qualifying purchases.
- Crochet Hook 2,5 mm
- Cotton yarn suitable for crocheting 2.5 of the colors of your choice
- Fur-like or soft yarn
- Wool needle
- Stitch markers
- Glue (or textile adhesive)
- Rigid paper (canson type) or thin cardboard
- Pompom maker (optional)
Shortenings used
R : Row
sc : Single crochet
Inc : Increase
Dec : Decrease
SlSt : Slip stitch
CH : Chain
*…* : Repeat this around the row


🌟 The written explanations🌟
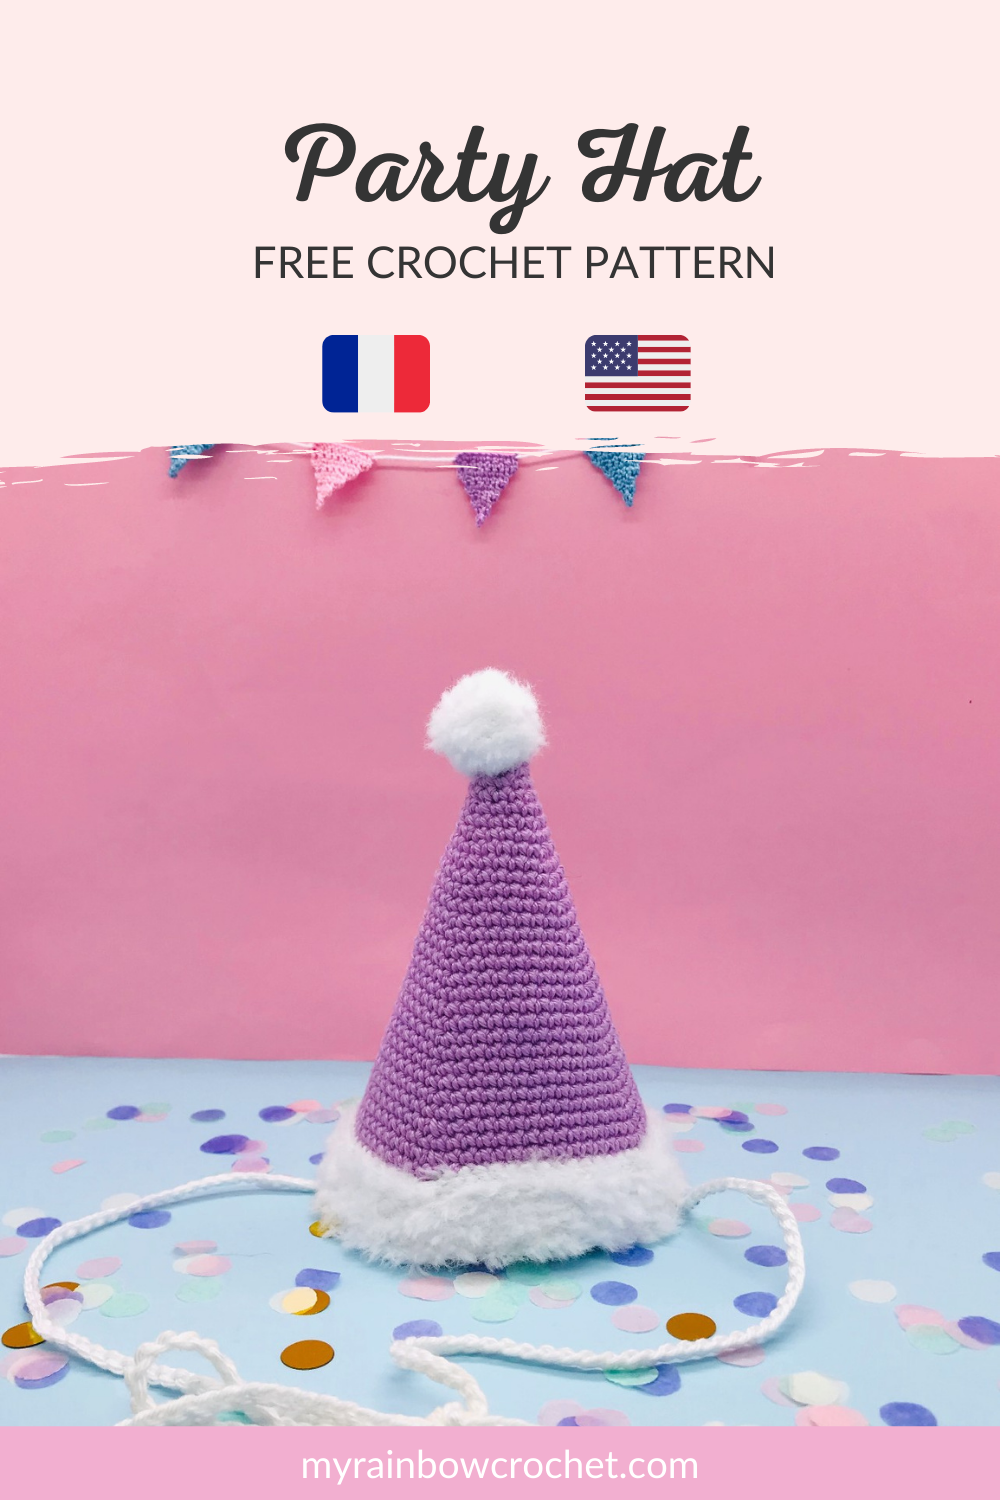
If you prefer to have the printable PDF file of this pattern, you can find it by clicking on the image below 🔽
▶ The base of the hat
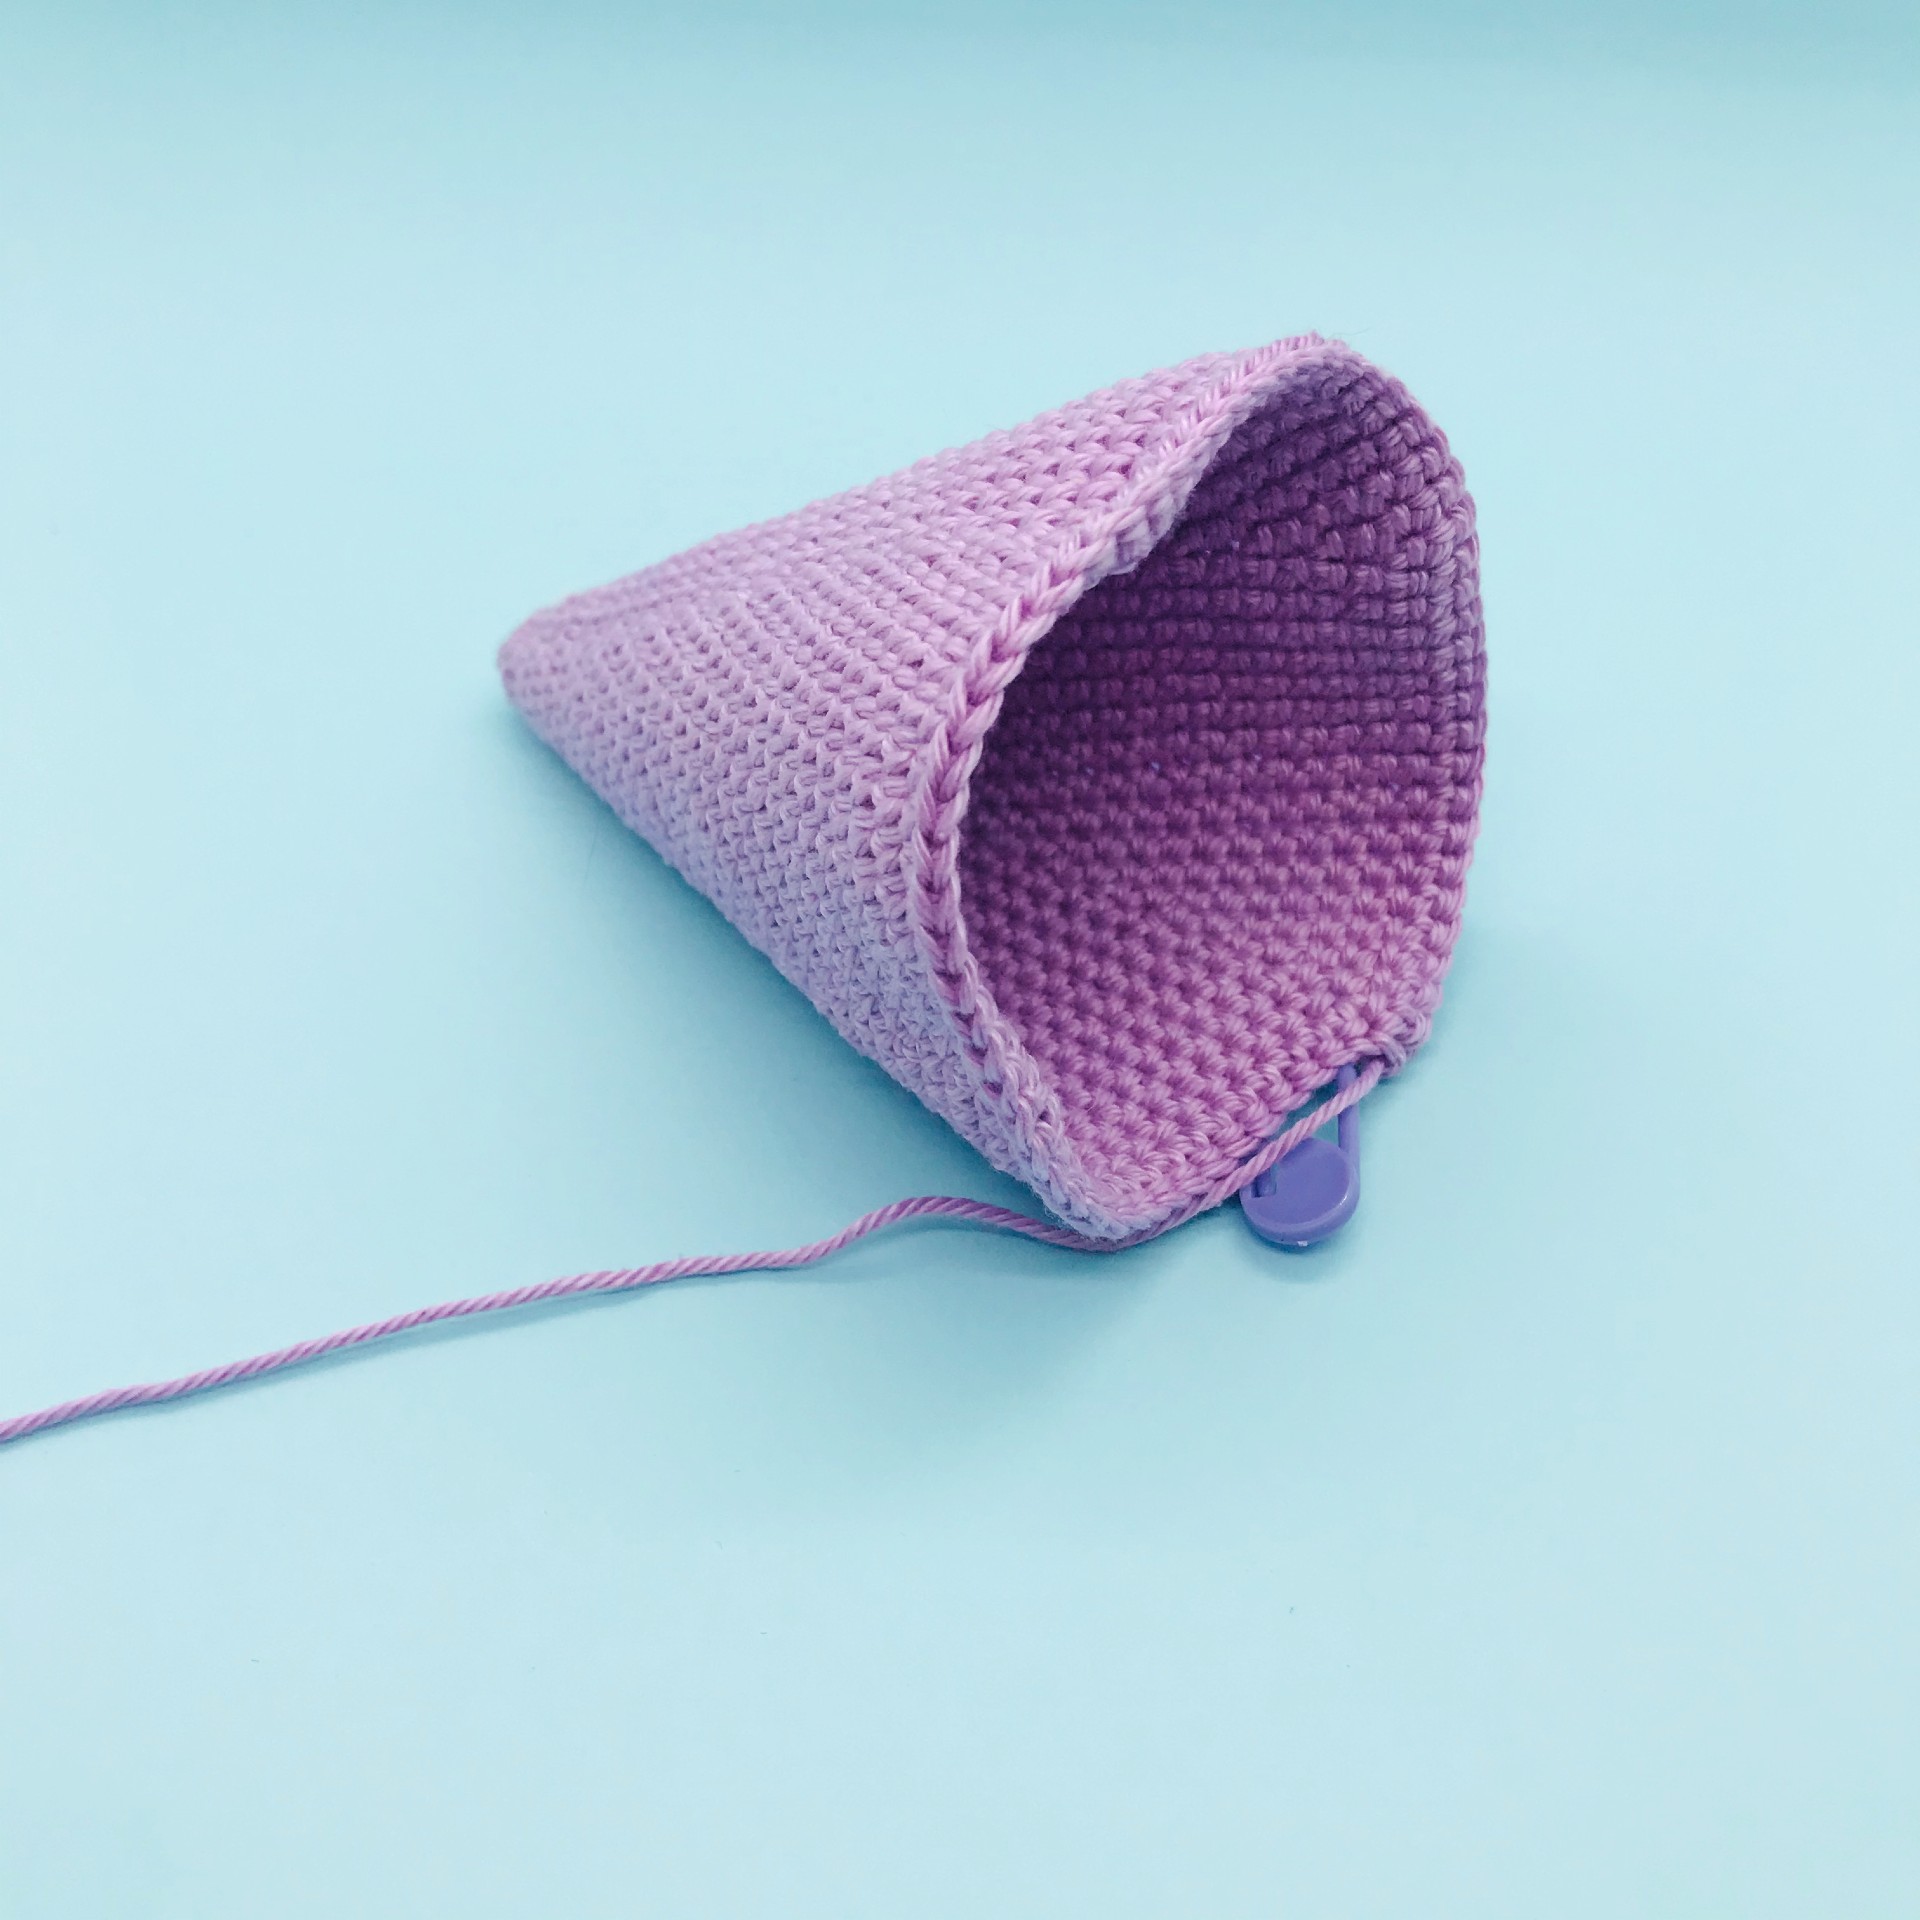
In purple for me:
R1 : magic ring with 4 sc
R2 : 1 Inc in each sc (8)
R3 : sc in each sc (8)
R4 : *1 sc, 1 Inc* x4 (12)
R5 : sc in each sc (12)
R6 : *2 sc, 1 Inc* x4 (16)
R7 : sc in each sc (16)
R8 : *3 sc, 1 Inc* x4 (20)
R9 : sc in each sc (20)
R10 : *4 sc, 1 Inc* x4 (24)
R11 : sc in each sc (24)
R12 : *5 sc, 1 Inc* x4 (28)
R13 : sc in each sc (28)
R14 : *6 sc, 1 Inc* x4 (32)
R15 : sc in each sc (32)
R16 : *7 sc, 1 Inc* x4 (36)
R17 : sc in each sc (36)
R18 : *8 sc, 1 Inc* x4 (40)
R19 : sc in each sc (40)
R20 : *9 sc, 1 Inc* x4 (44)
R21 : sc in each sc (44)
R22 : *10 sc, 1 Inc* x4 (48)
R23 : sc in each sc (48)
R24 : *11 sc, 1 Inc* x4 (52)
R25 : sc in each sc (52)
R26 : *12 sc, 1 Inc* x4 (56)
R27 : sc in each sc (56)
R28 : *13 sc, 1 Inc* x4 (60)
R29 : sc in each sc (60)
R30 : *14 sc, 1 Inc* x4 (64)
R31 : sc in each sc (64)
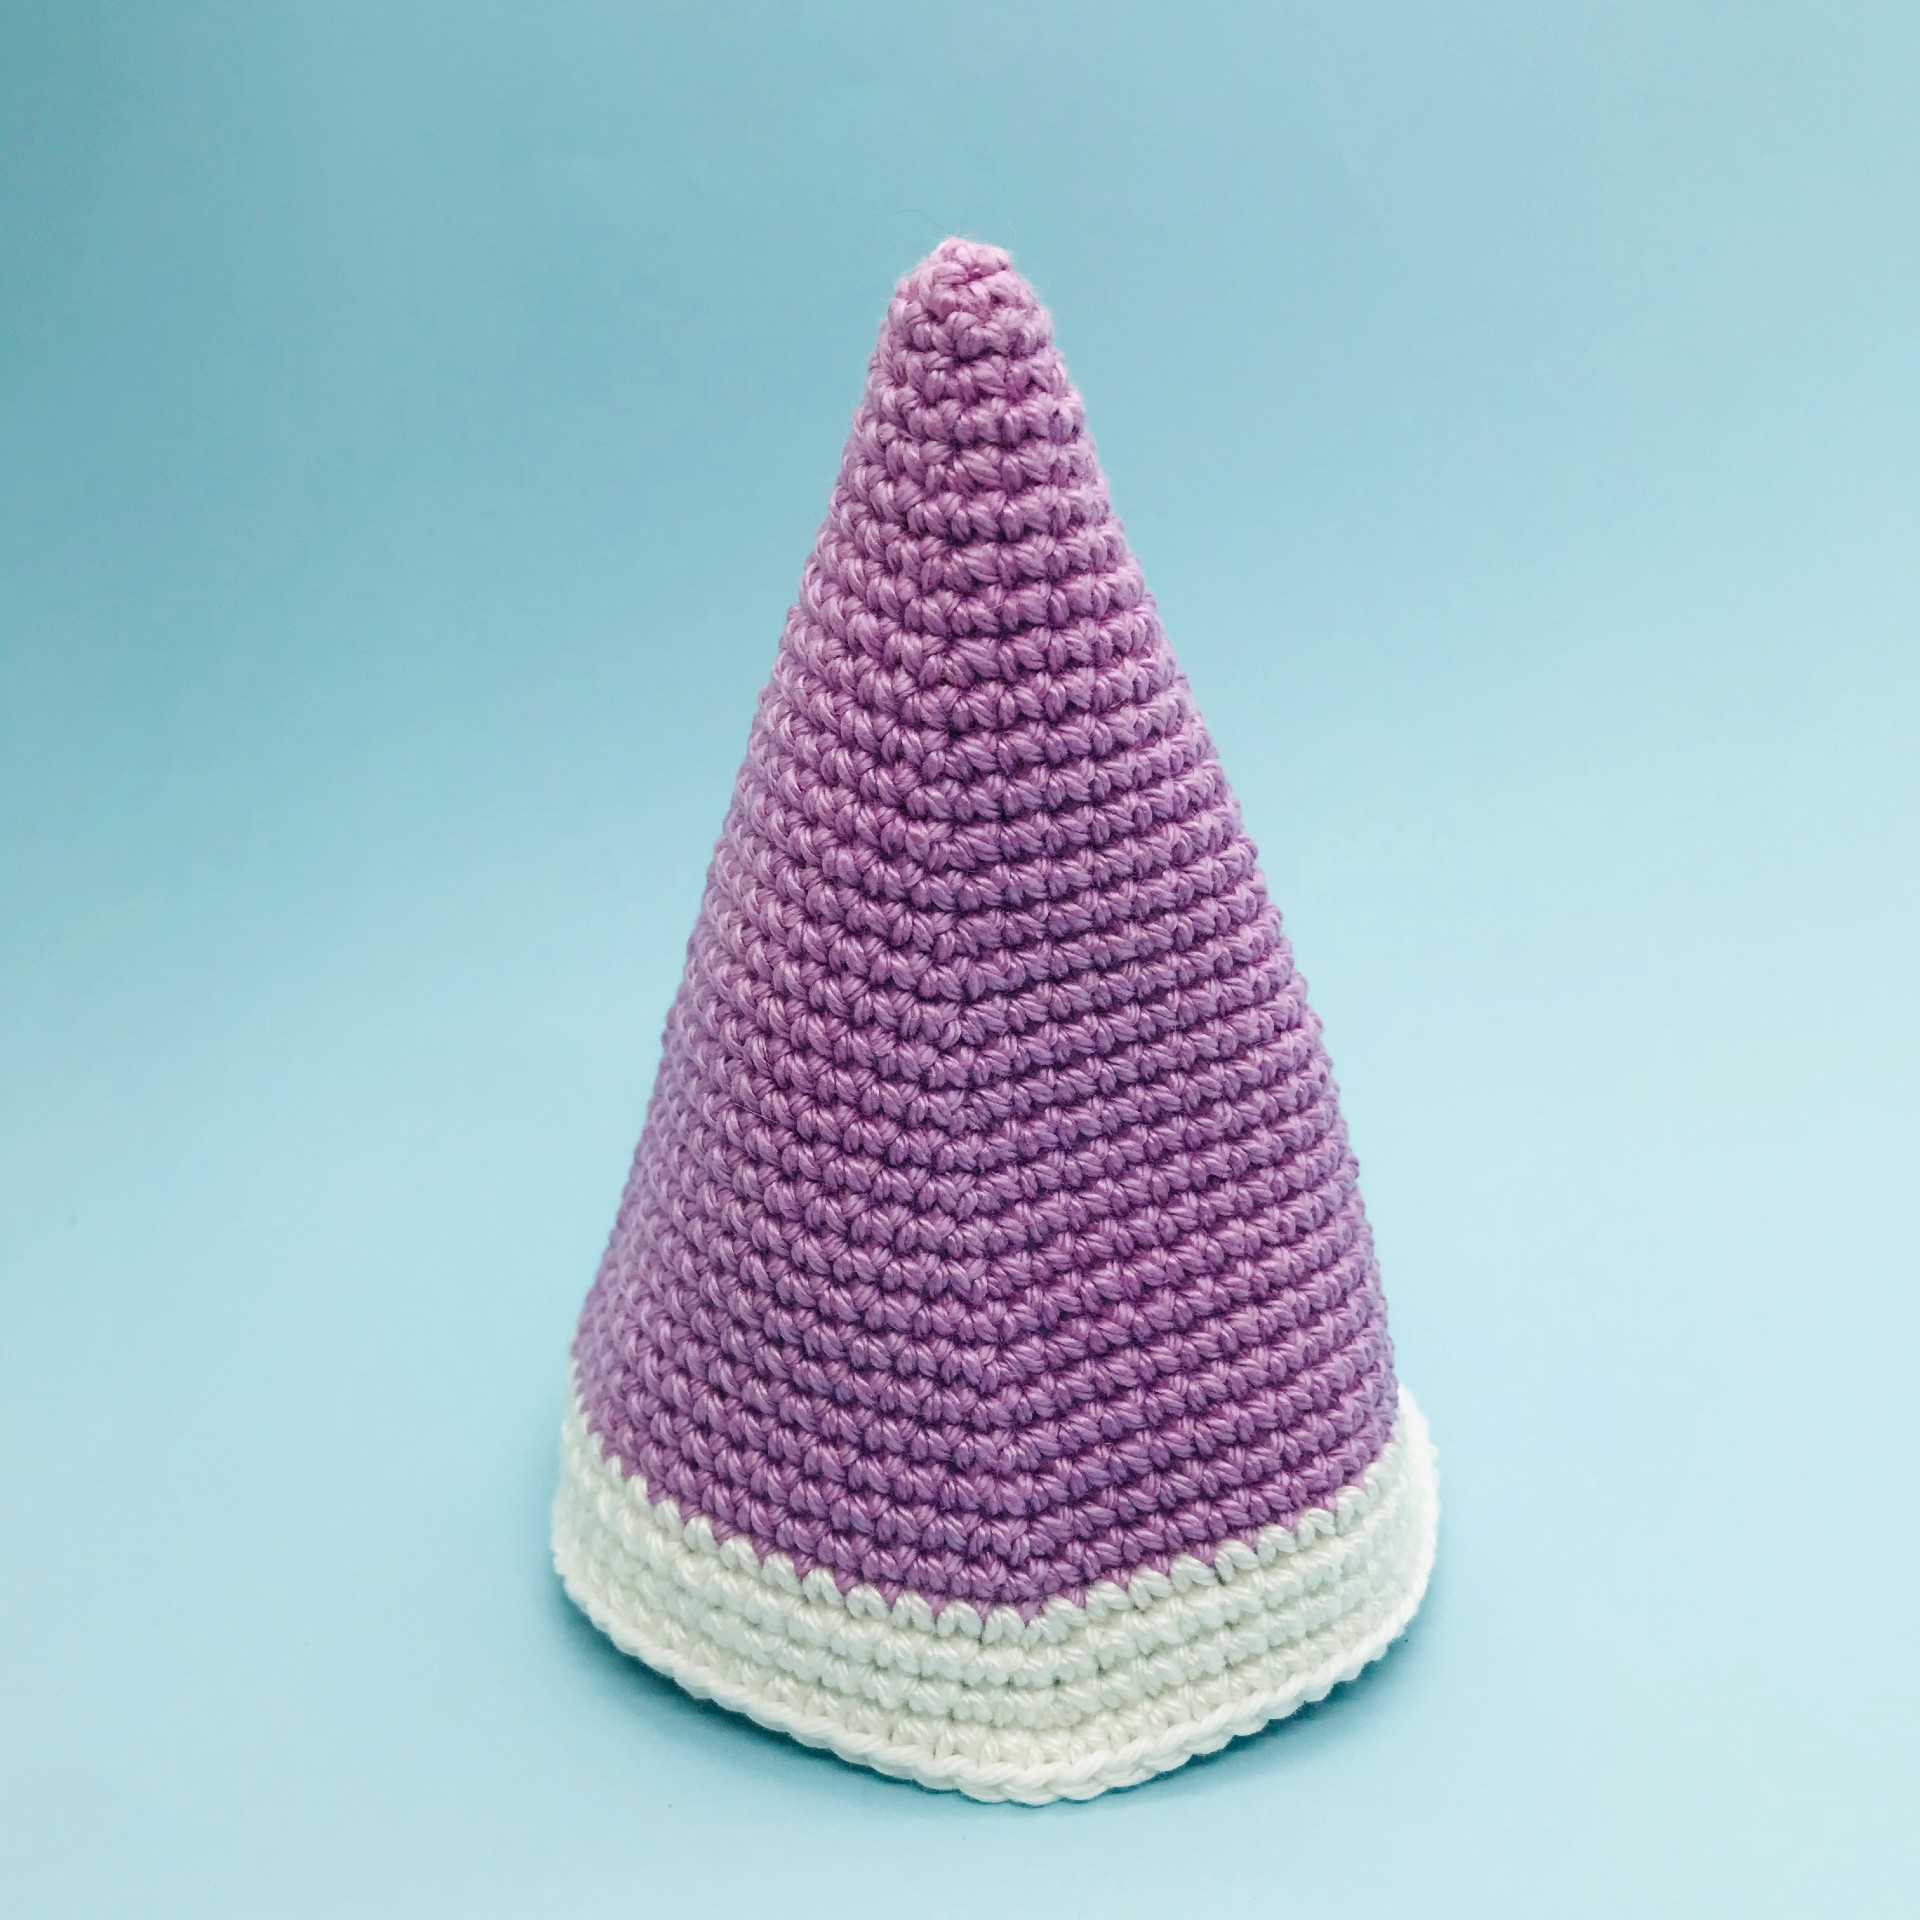
In white:
R32 : *15 sc, 1 Inc* x4 (68)
R33 : sc in each sc (68)
R34 : *16 sc, 1 Inc* x4 (72)
R35 : sc in each sc (72)
➡ Cut and tuck the yarn.
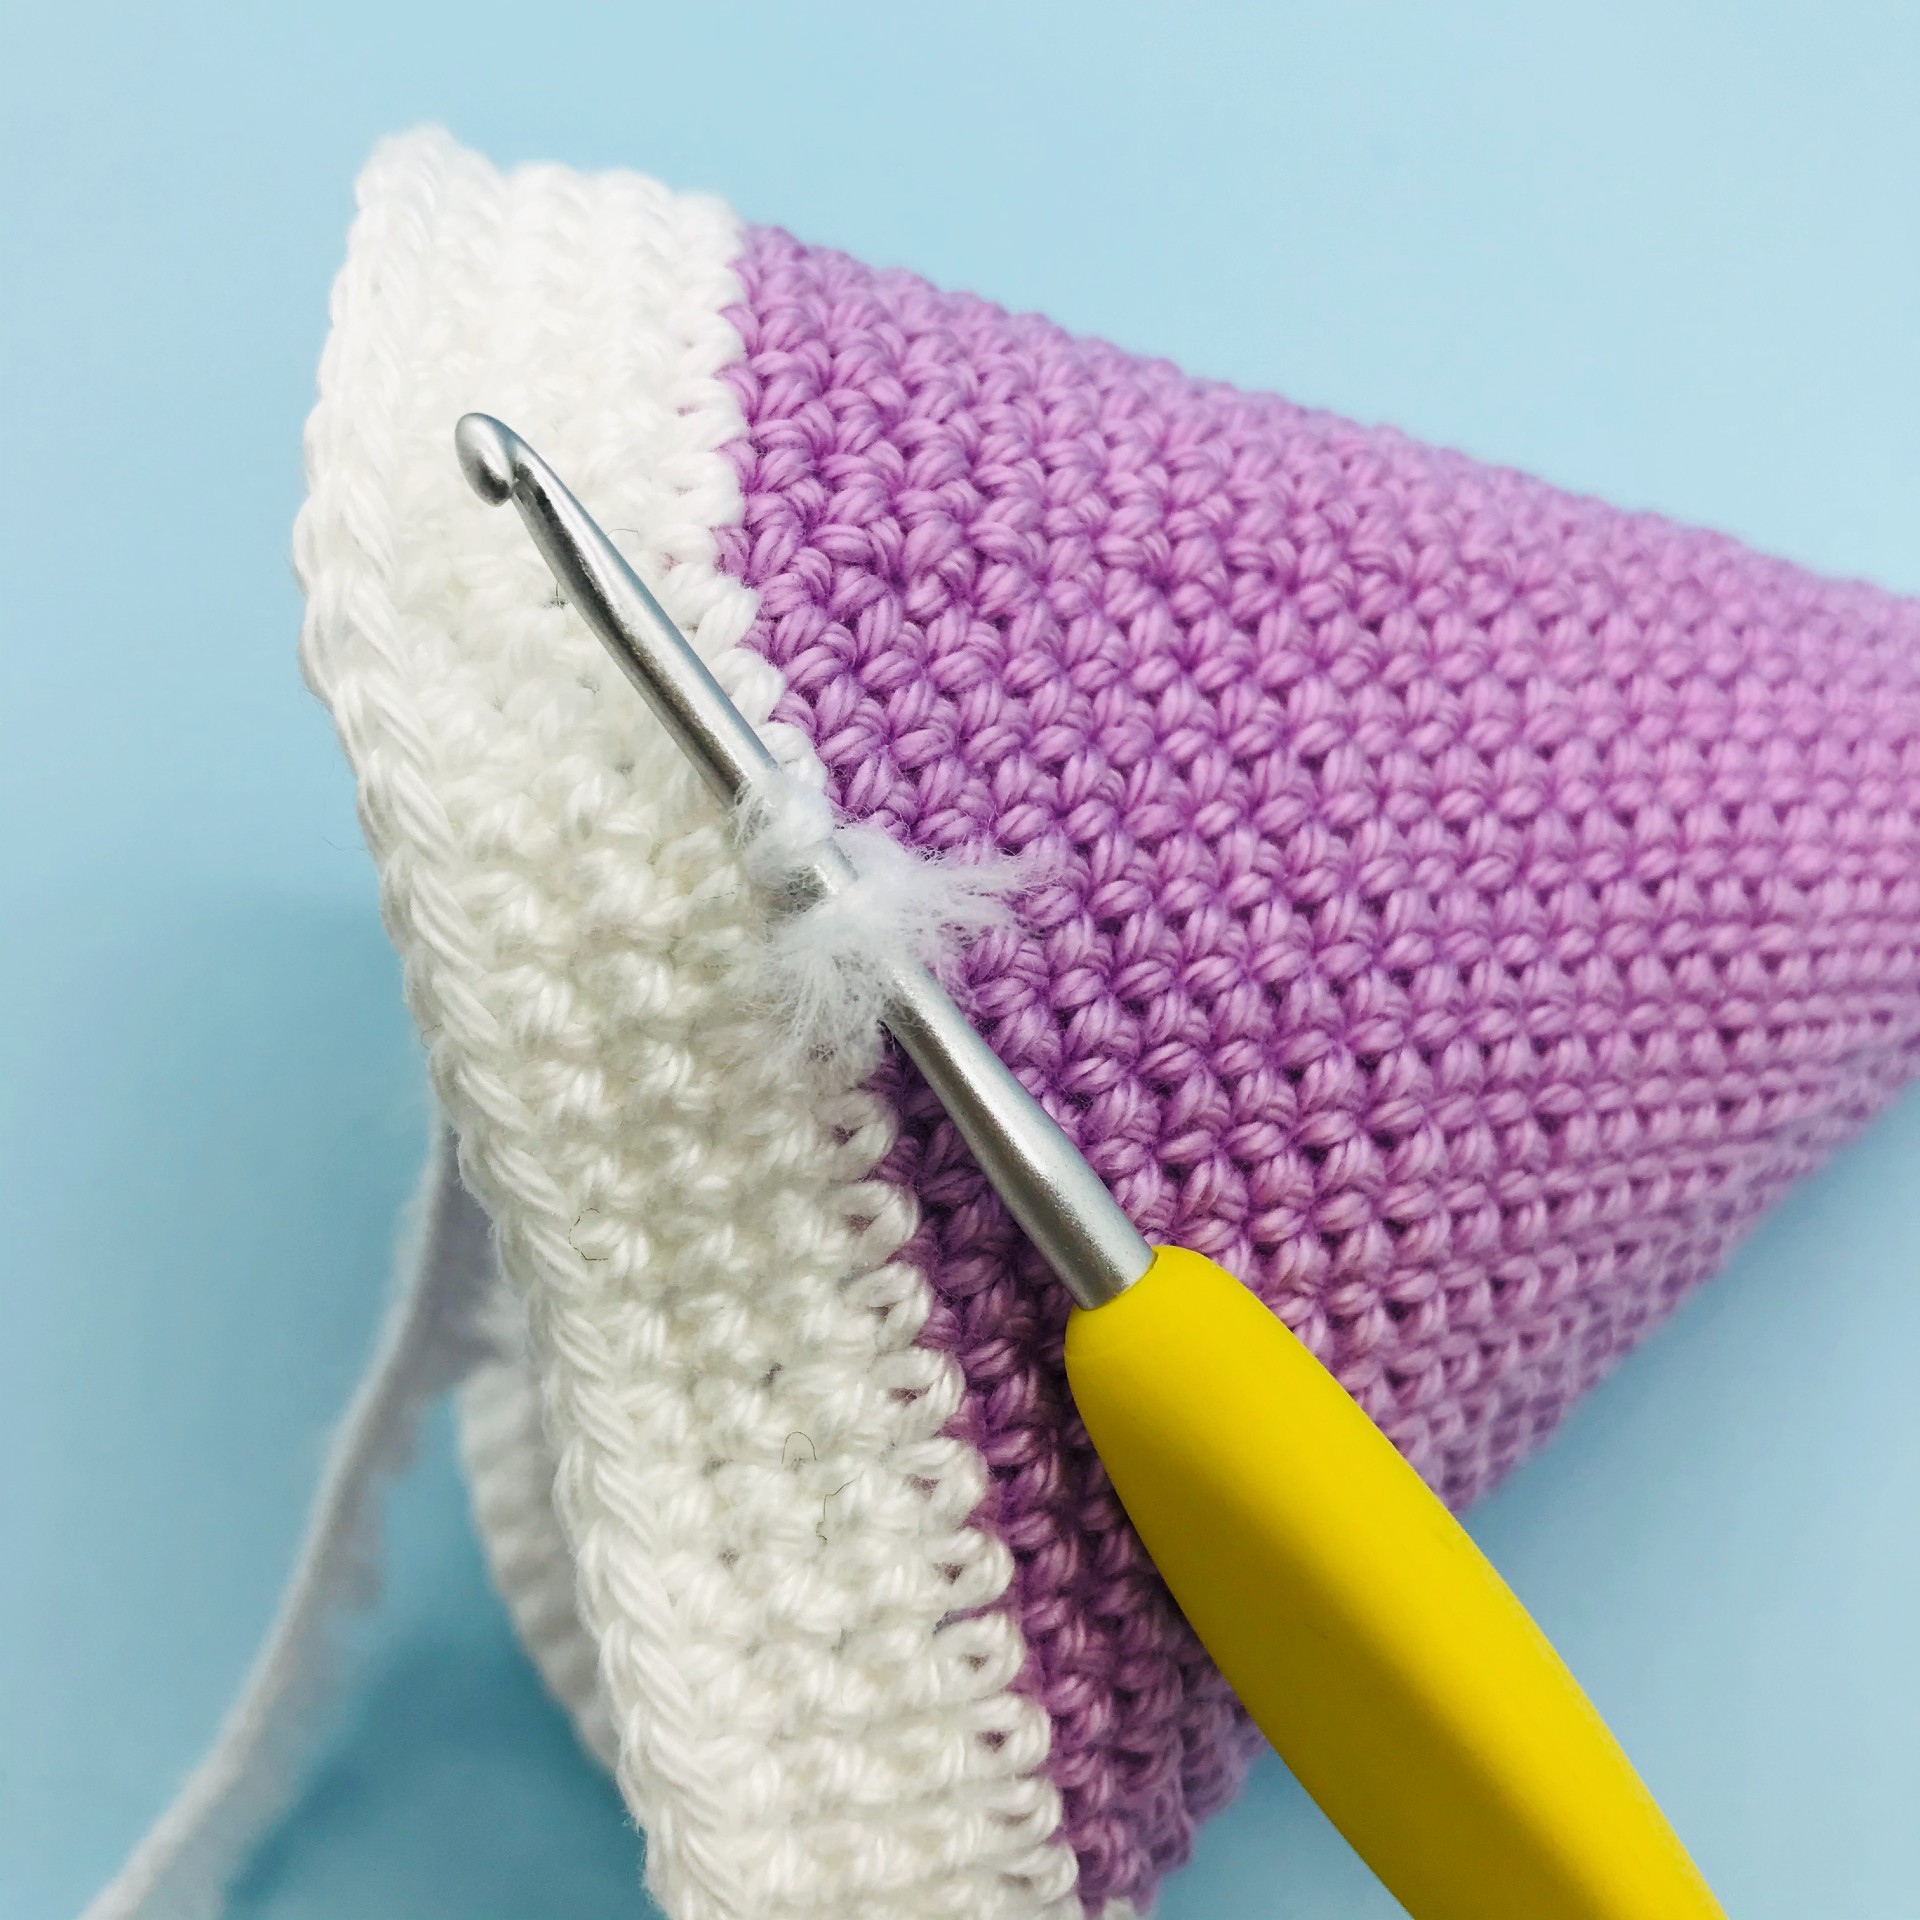
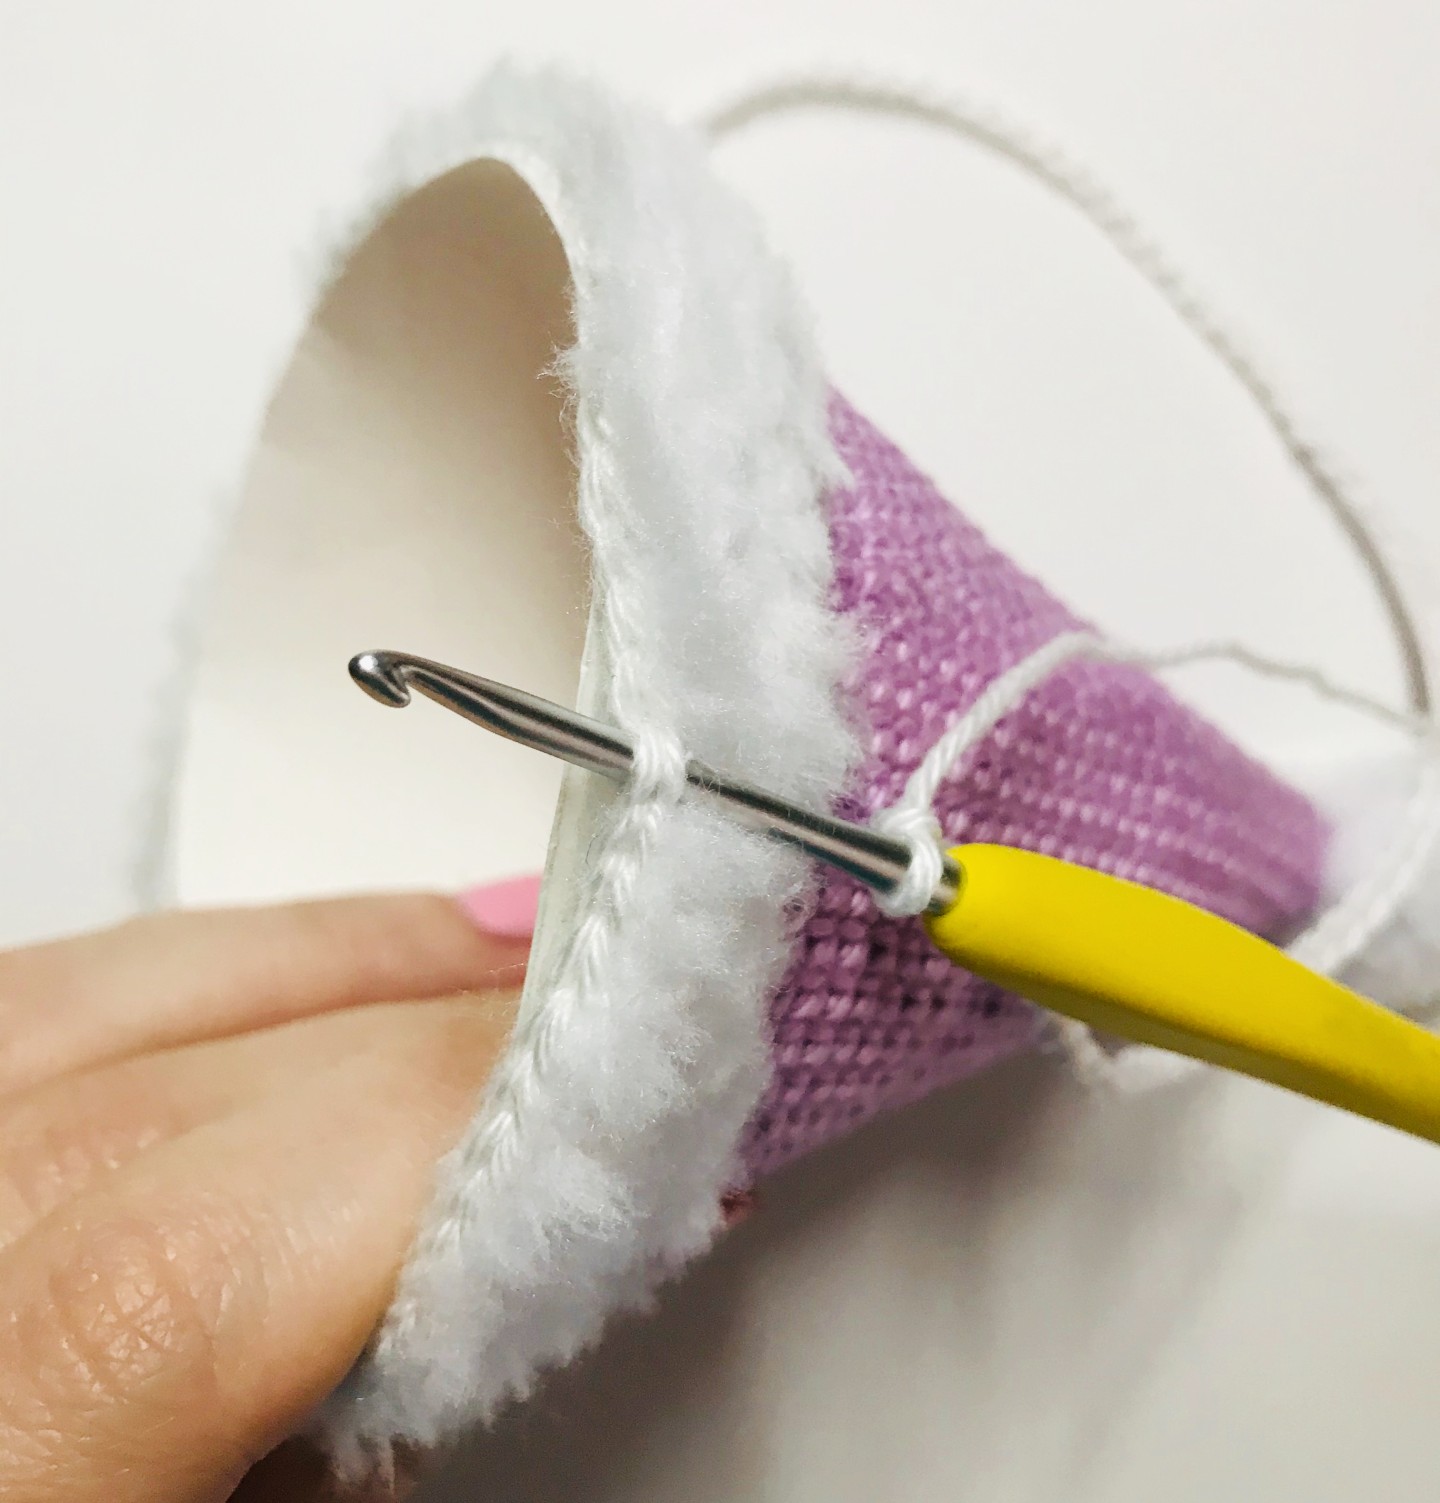
▶ Fur Embroidery

Make a slip knot with the fur yarn.
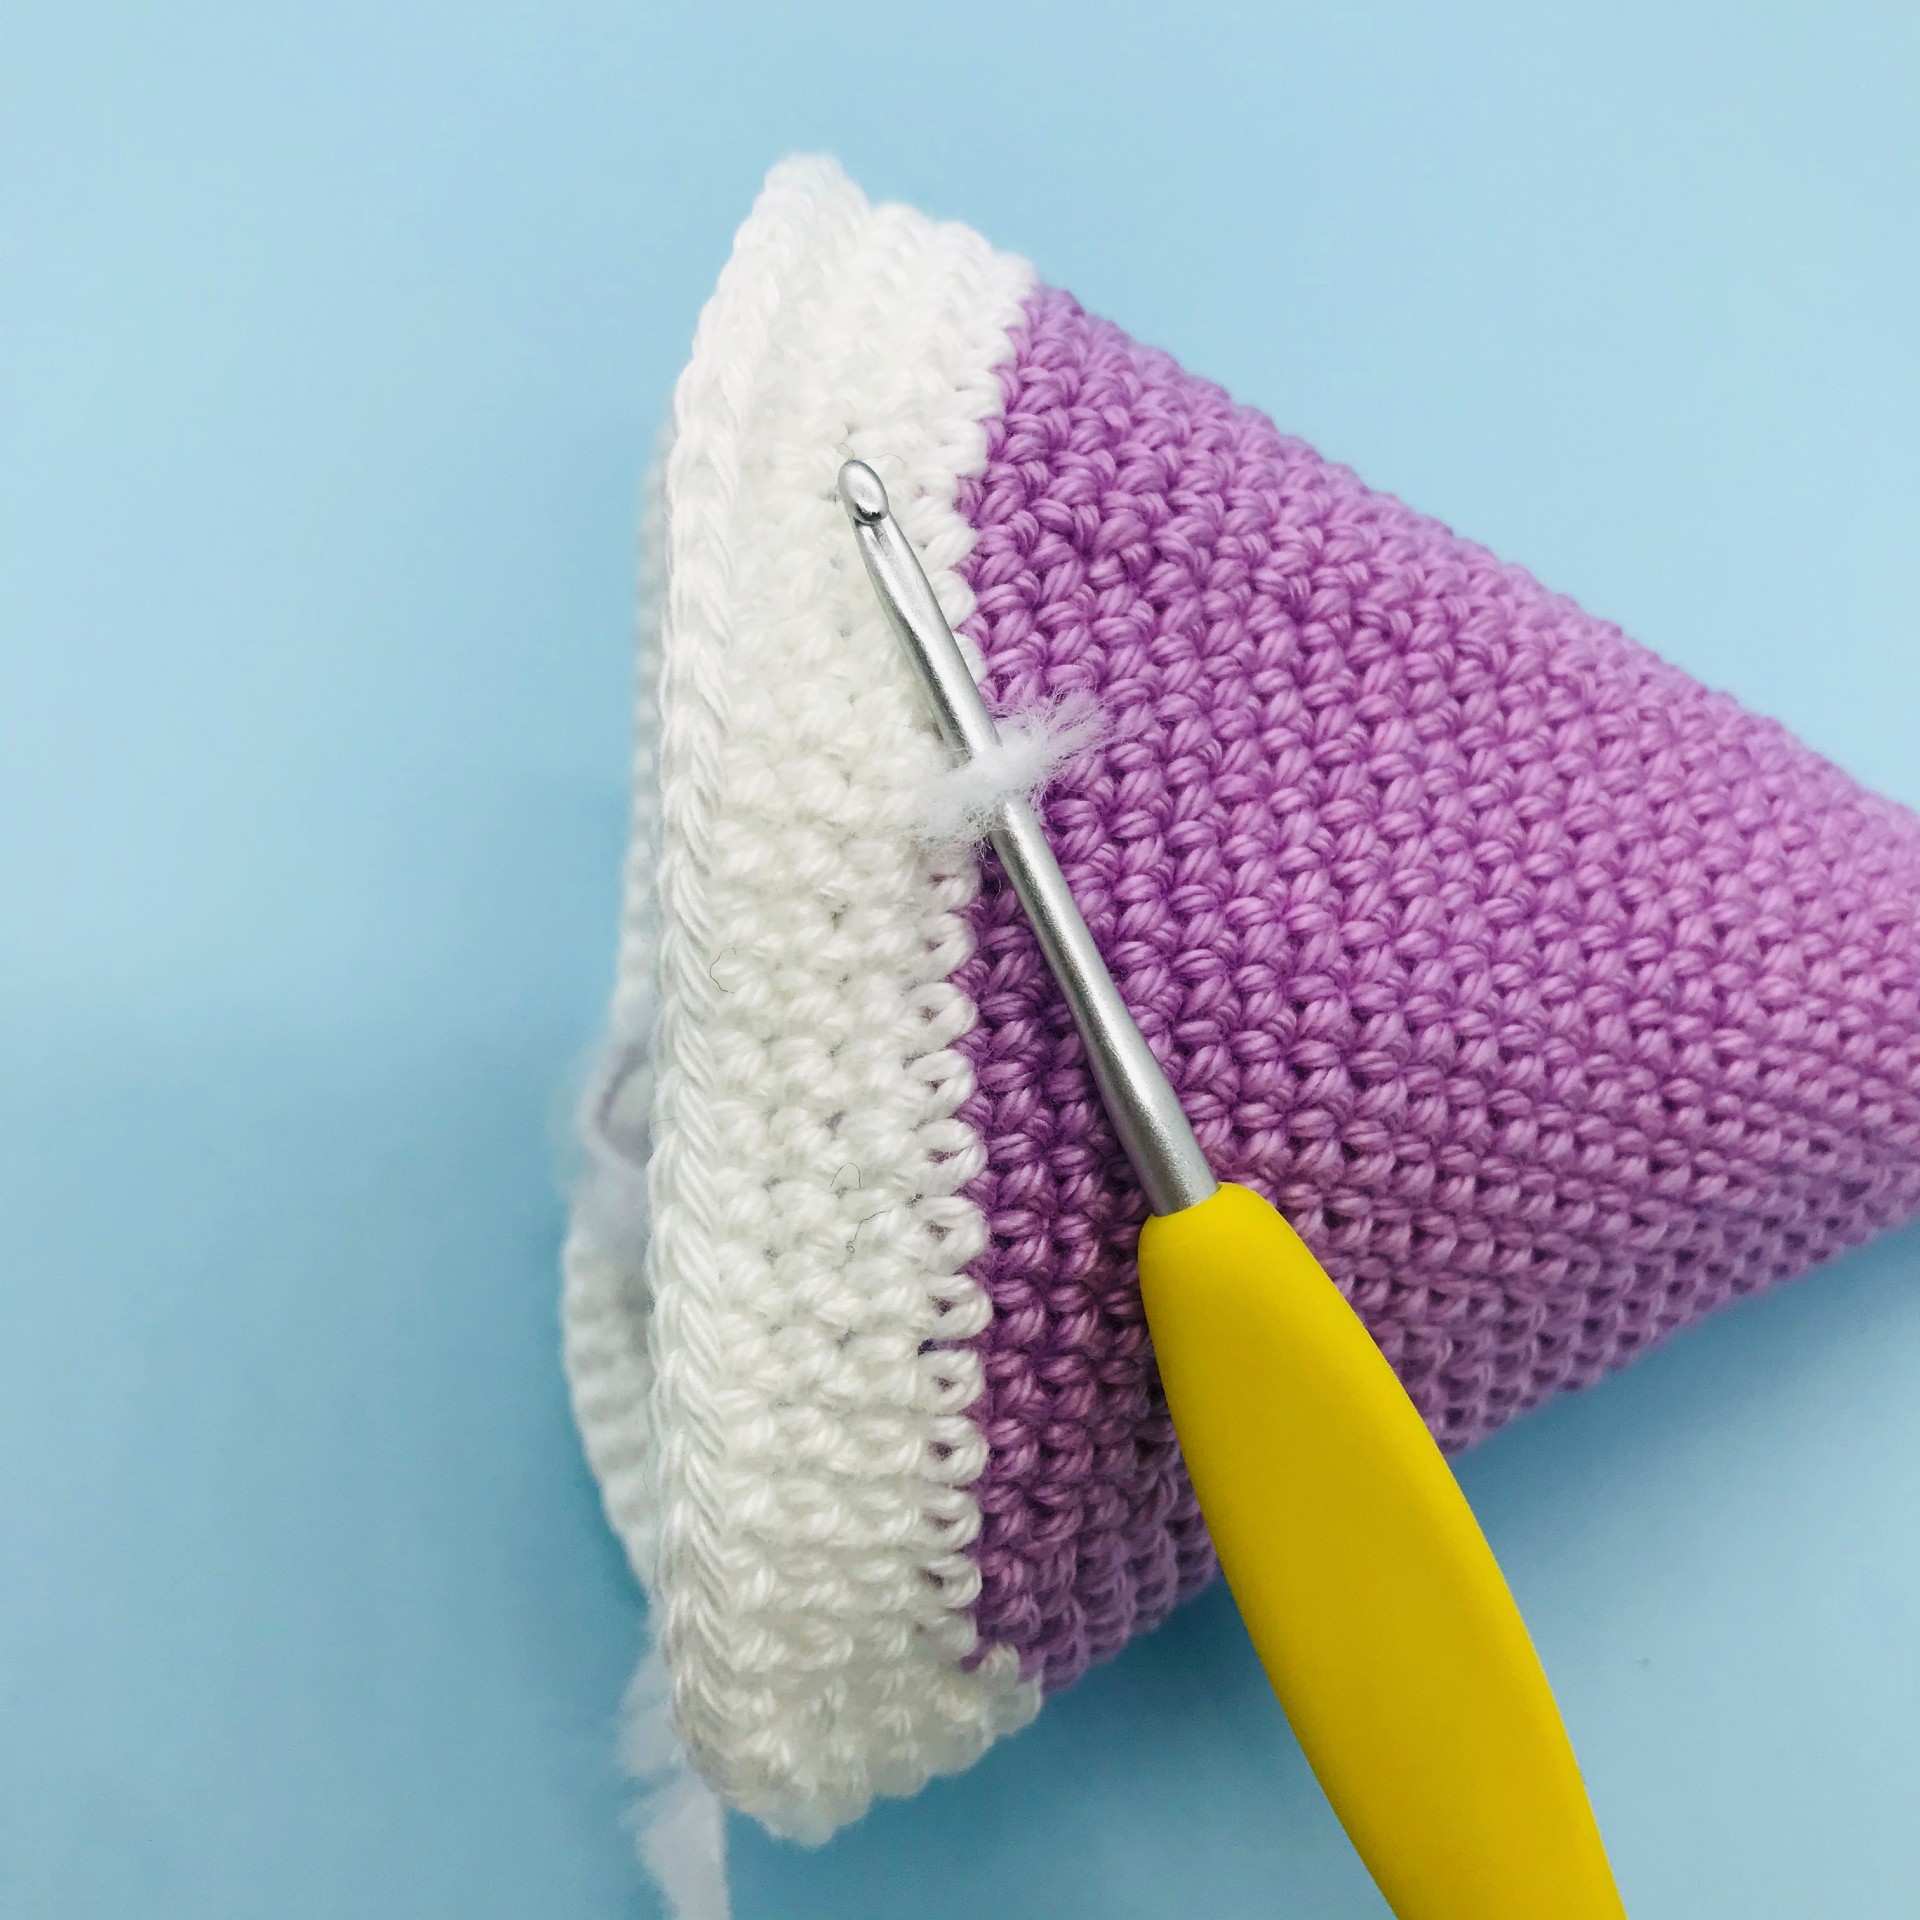
Tuck the hook into a stitch of the 1st white row at the purple border and bring out the fur loop.
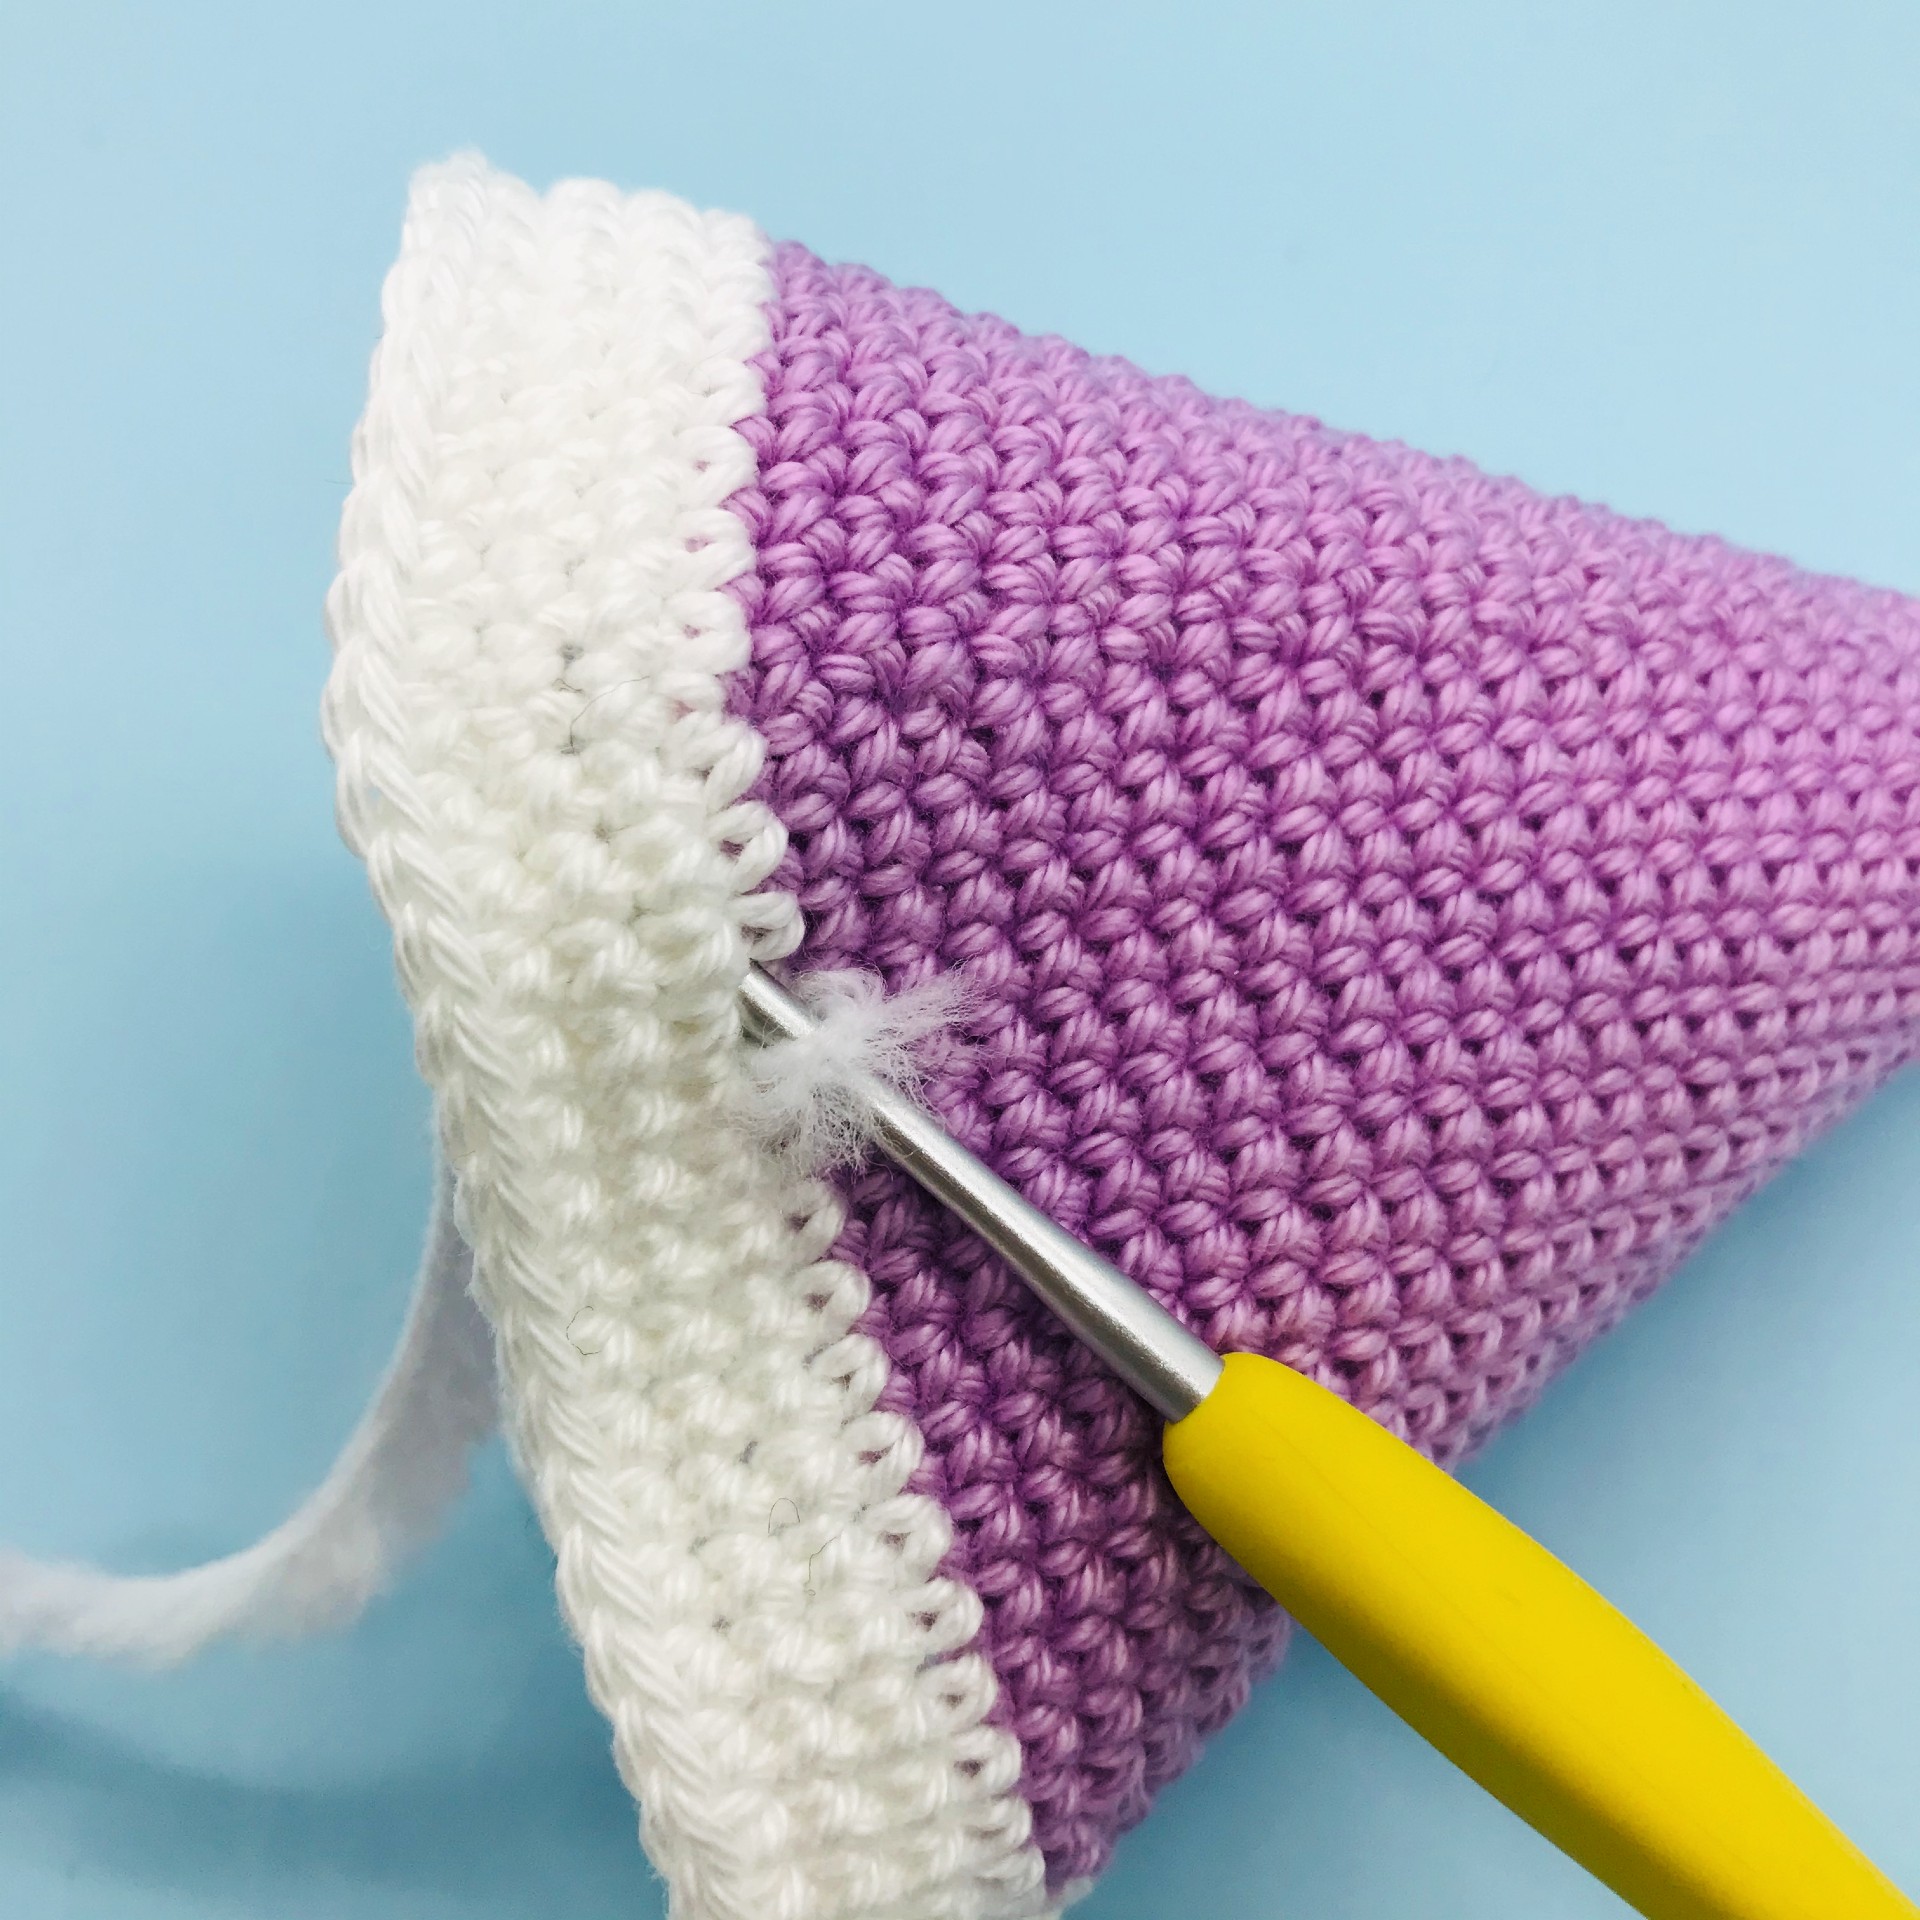
Tuck the hook into the next stitch.
To bring out the thread and have two loops on its hook.
Find more magic patterns ✨
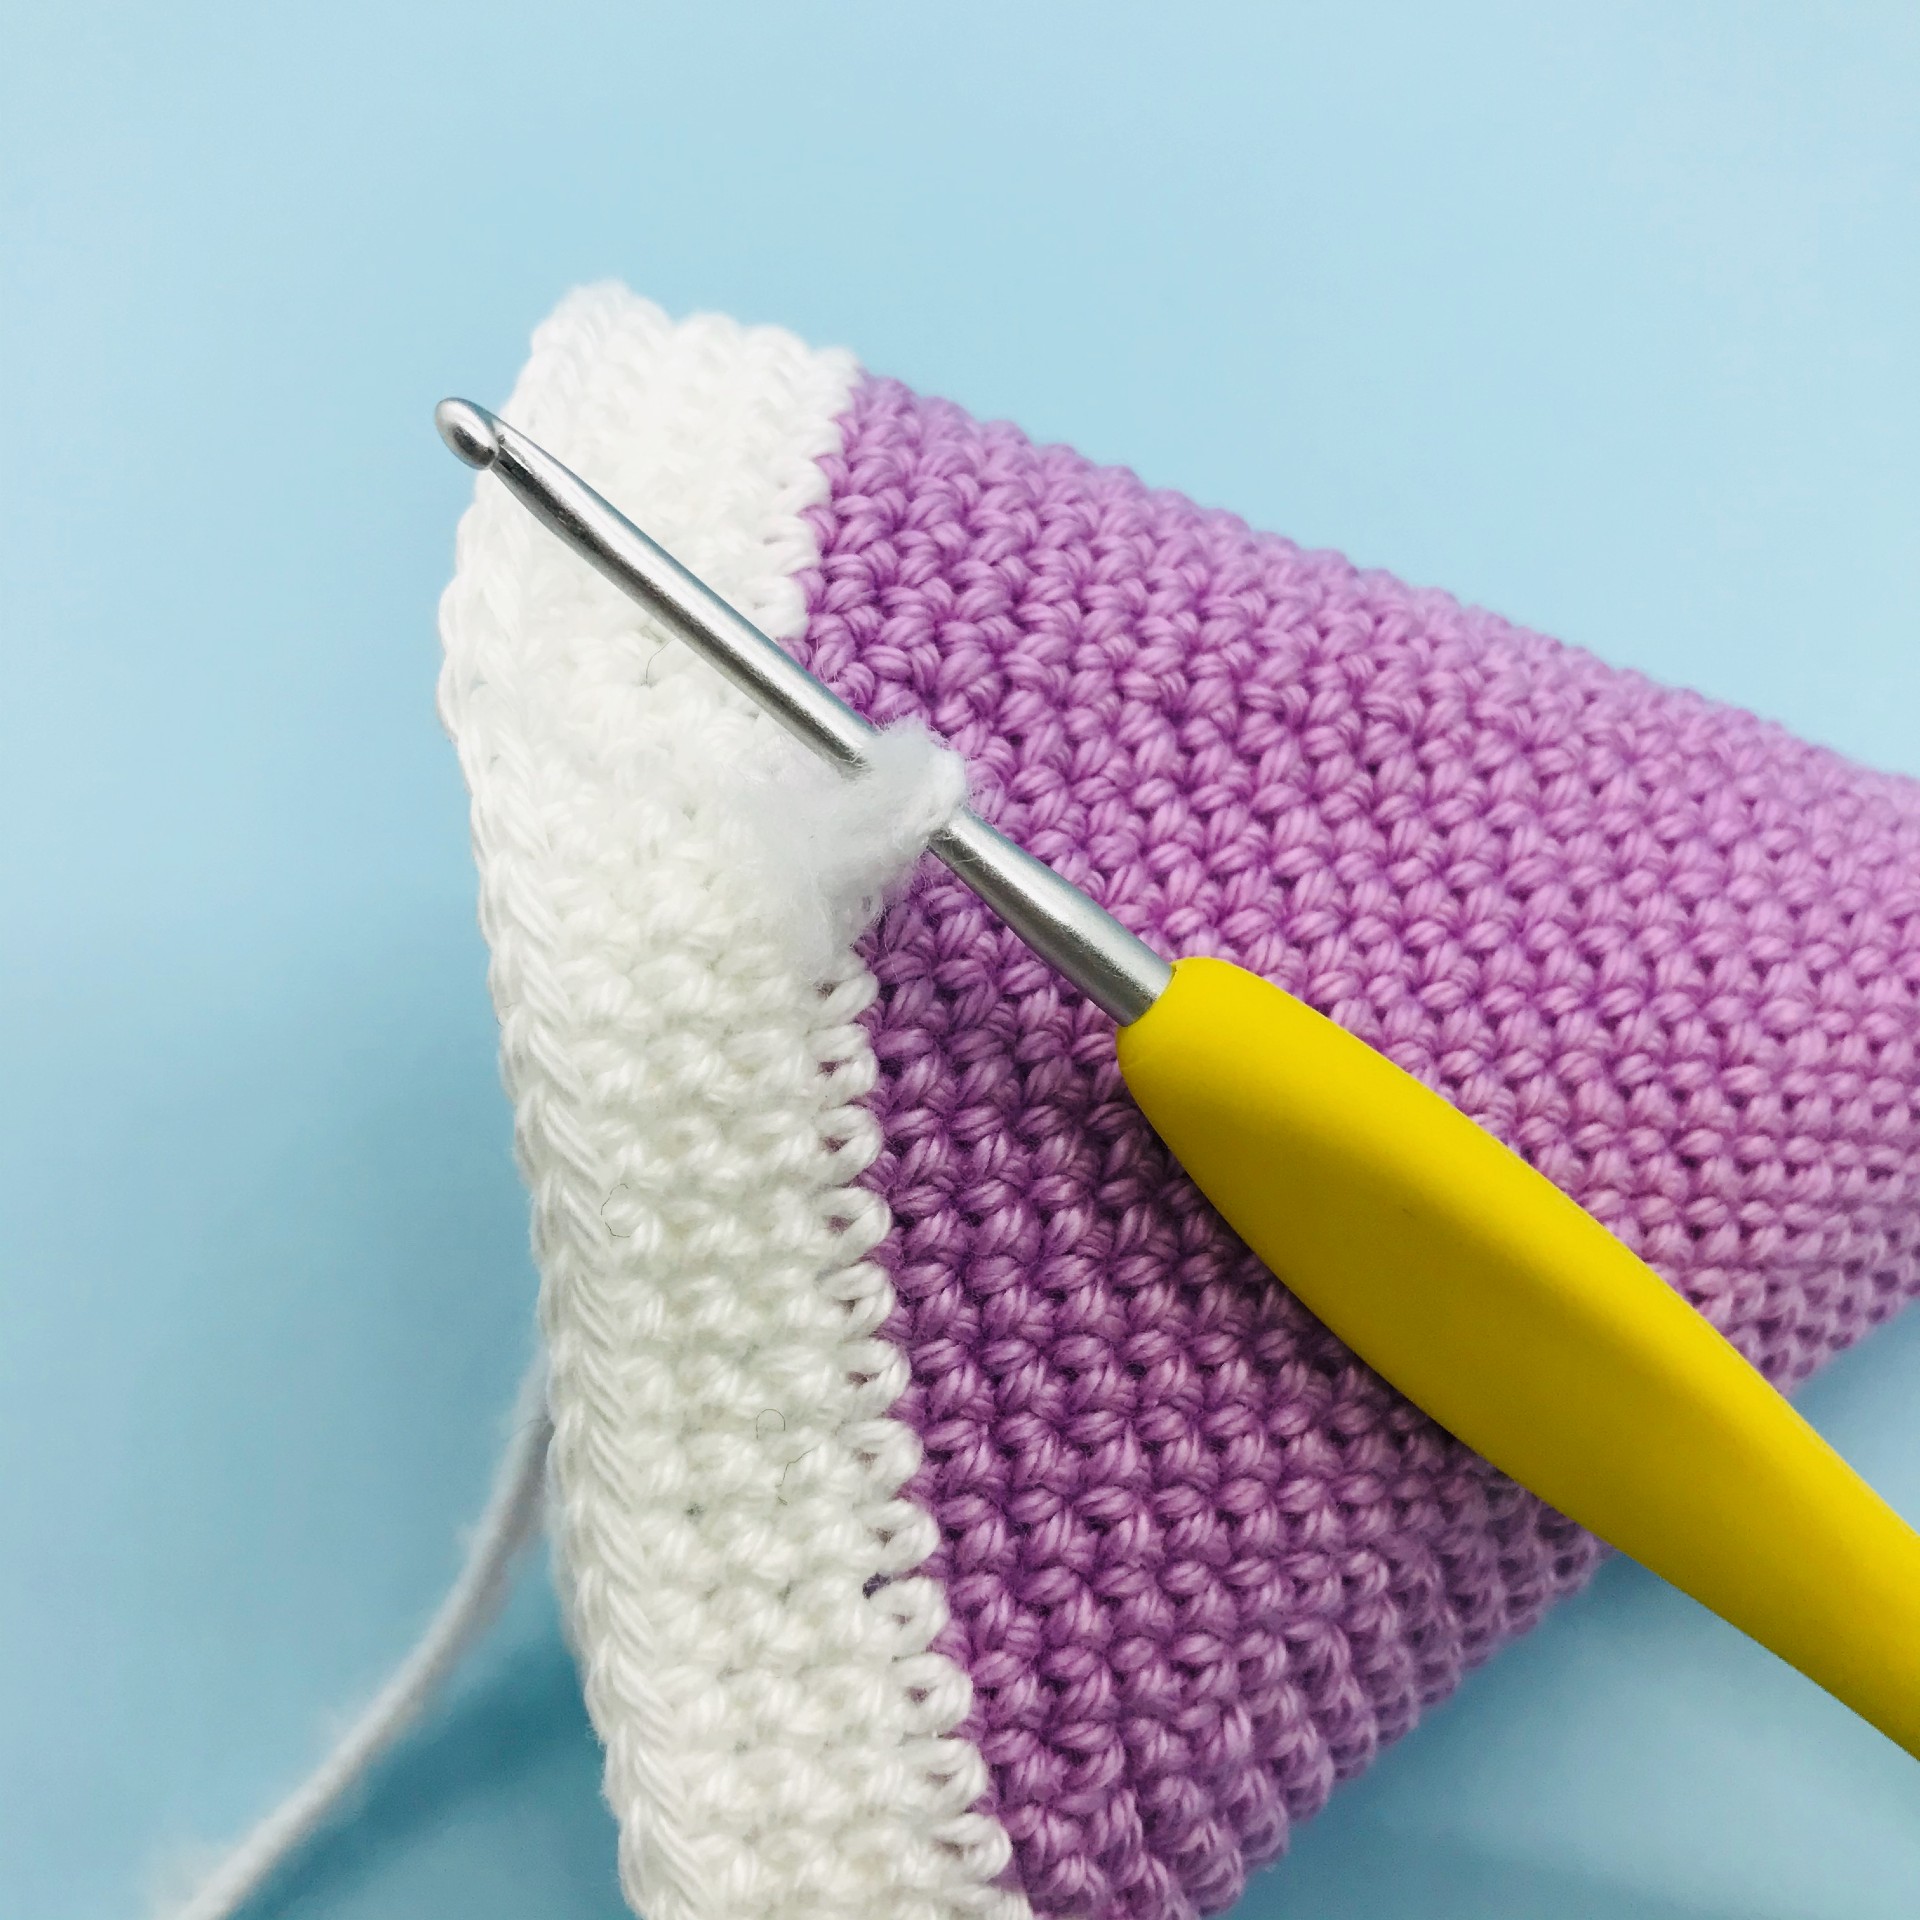
Make 1 SlSt with these two loops.

Do the same on this whole row and on the next 3 white rows.
▶ The Pompom
➡ With the pompom maker (I used the 25 mm), make a pompom with the white fur yarn.
➡ You can also use another method than the maker pompom. Several videos on youtube present them like this https://www.youtube.com/watch?v=zxd7tlkvkAg
🌟 Assembly and finishes 🌟
▶ The pompom
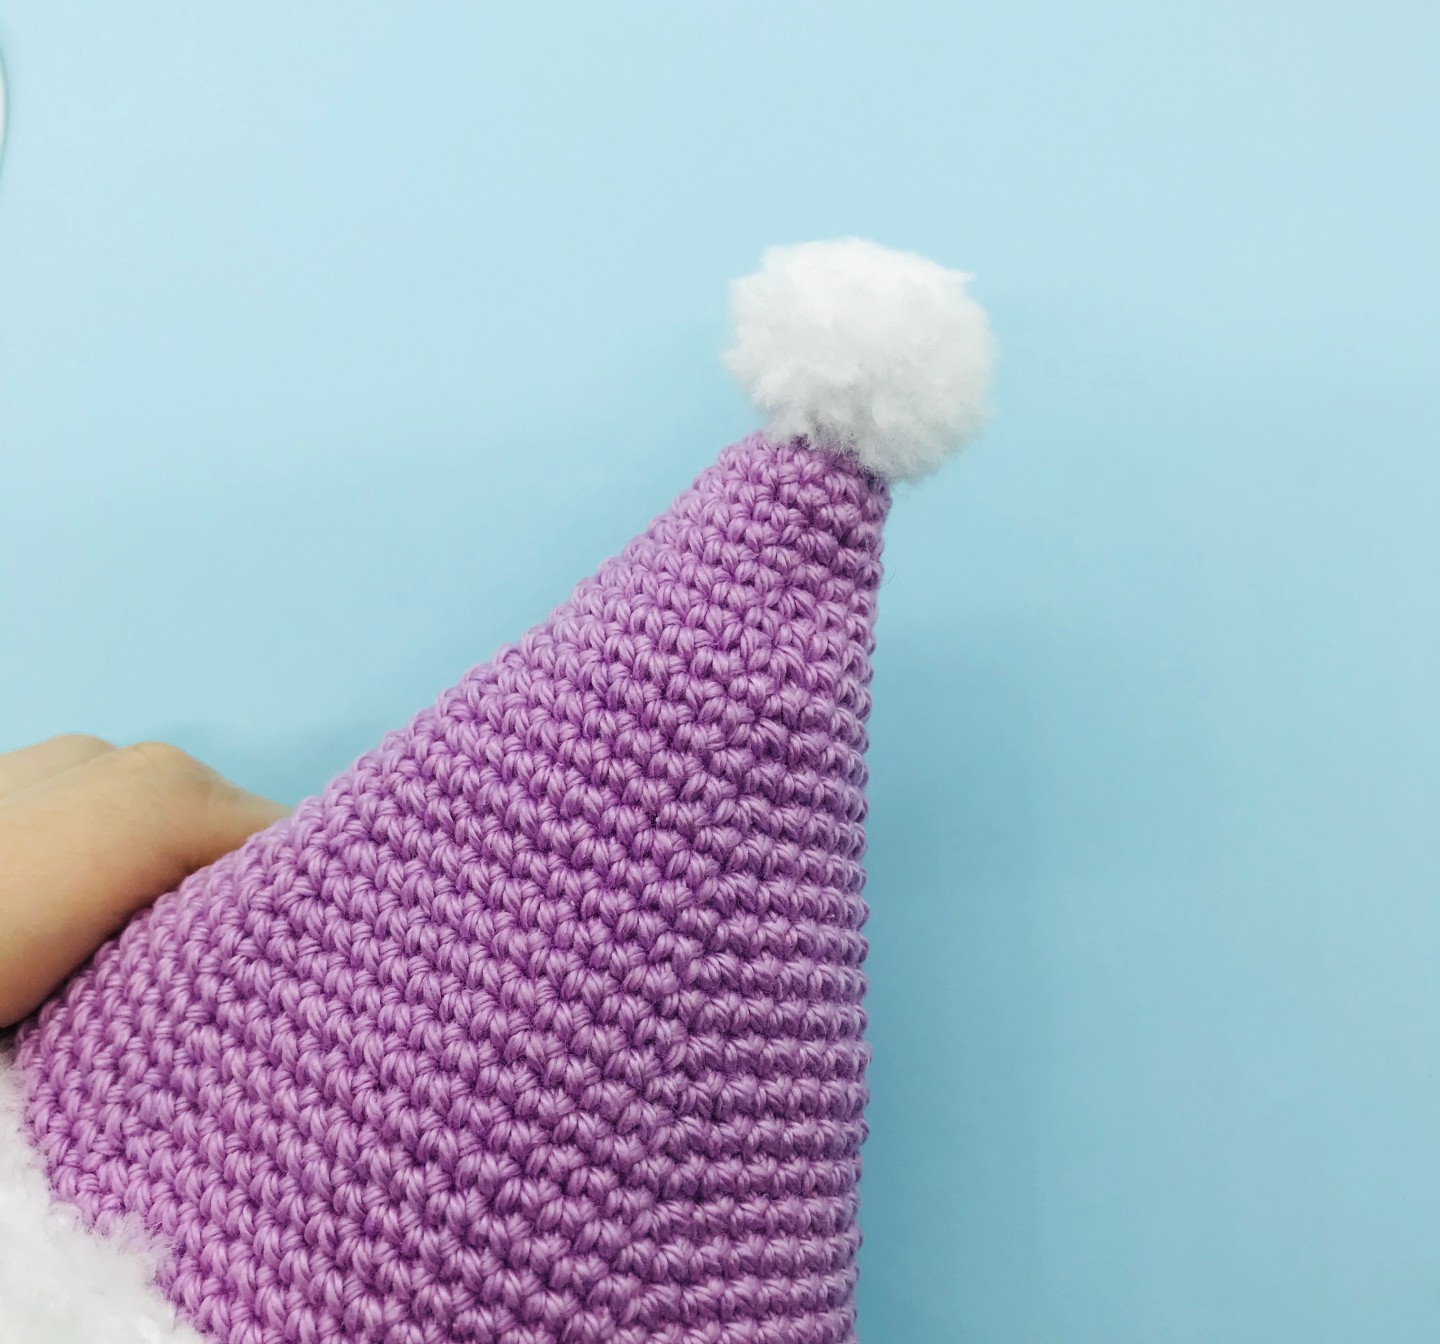
Either sew the pompom to the top of the hat or glue it on.
▶ The rigid lining of the hat
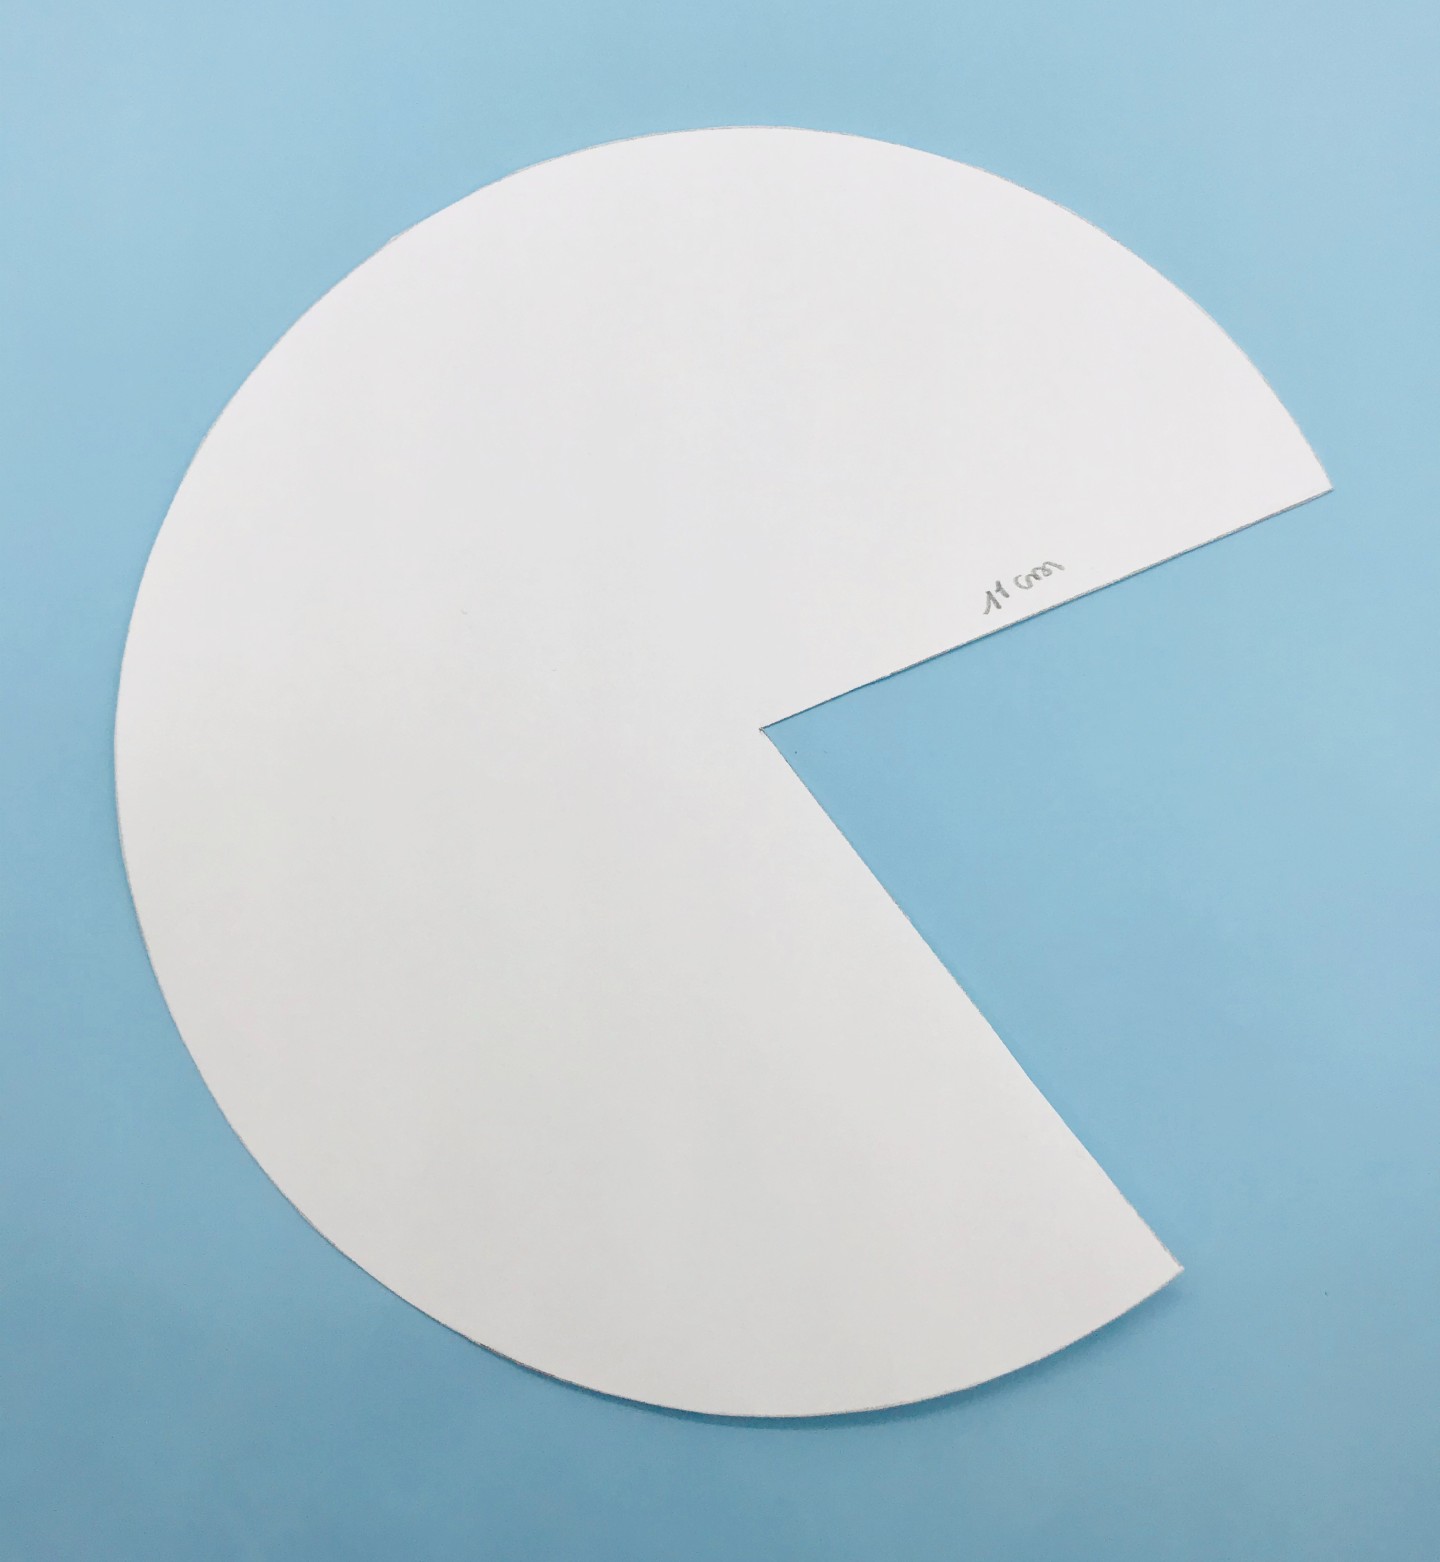
With thin cardboard or a sheet of stiff paper, draw a circle with a radius of 11 cm (or the height of your hat). Cut a triangle inside.
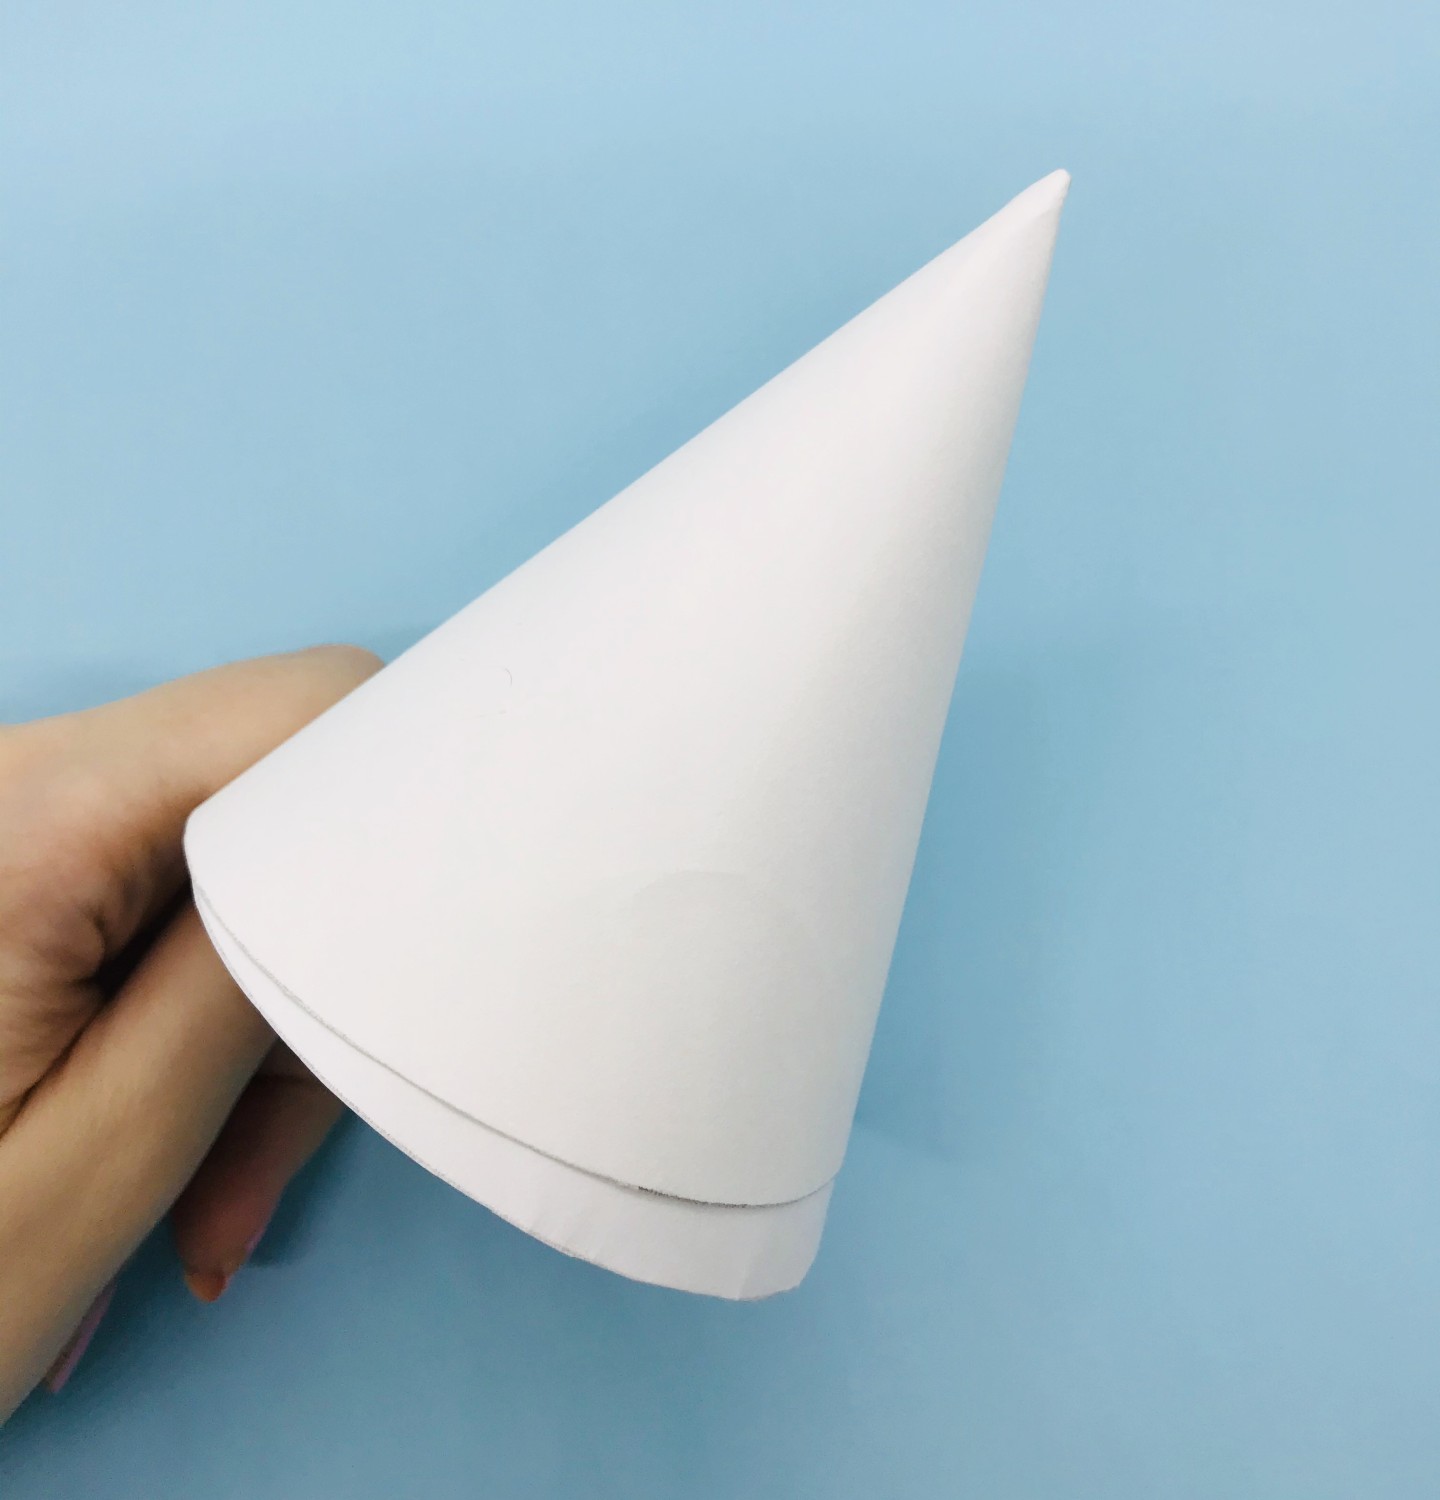
Roll up the sheet on itself to form a cone and adjust it to the width of the hat by inserting it inside. Stabilize the shape by taping the inside.
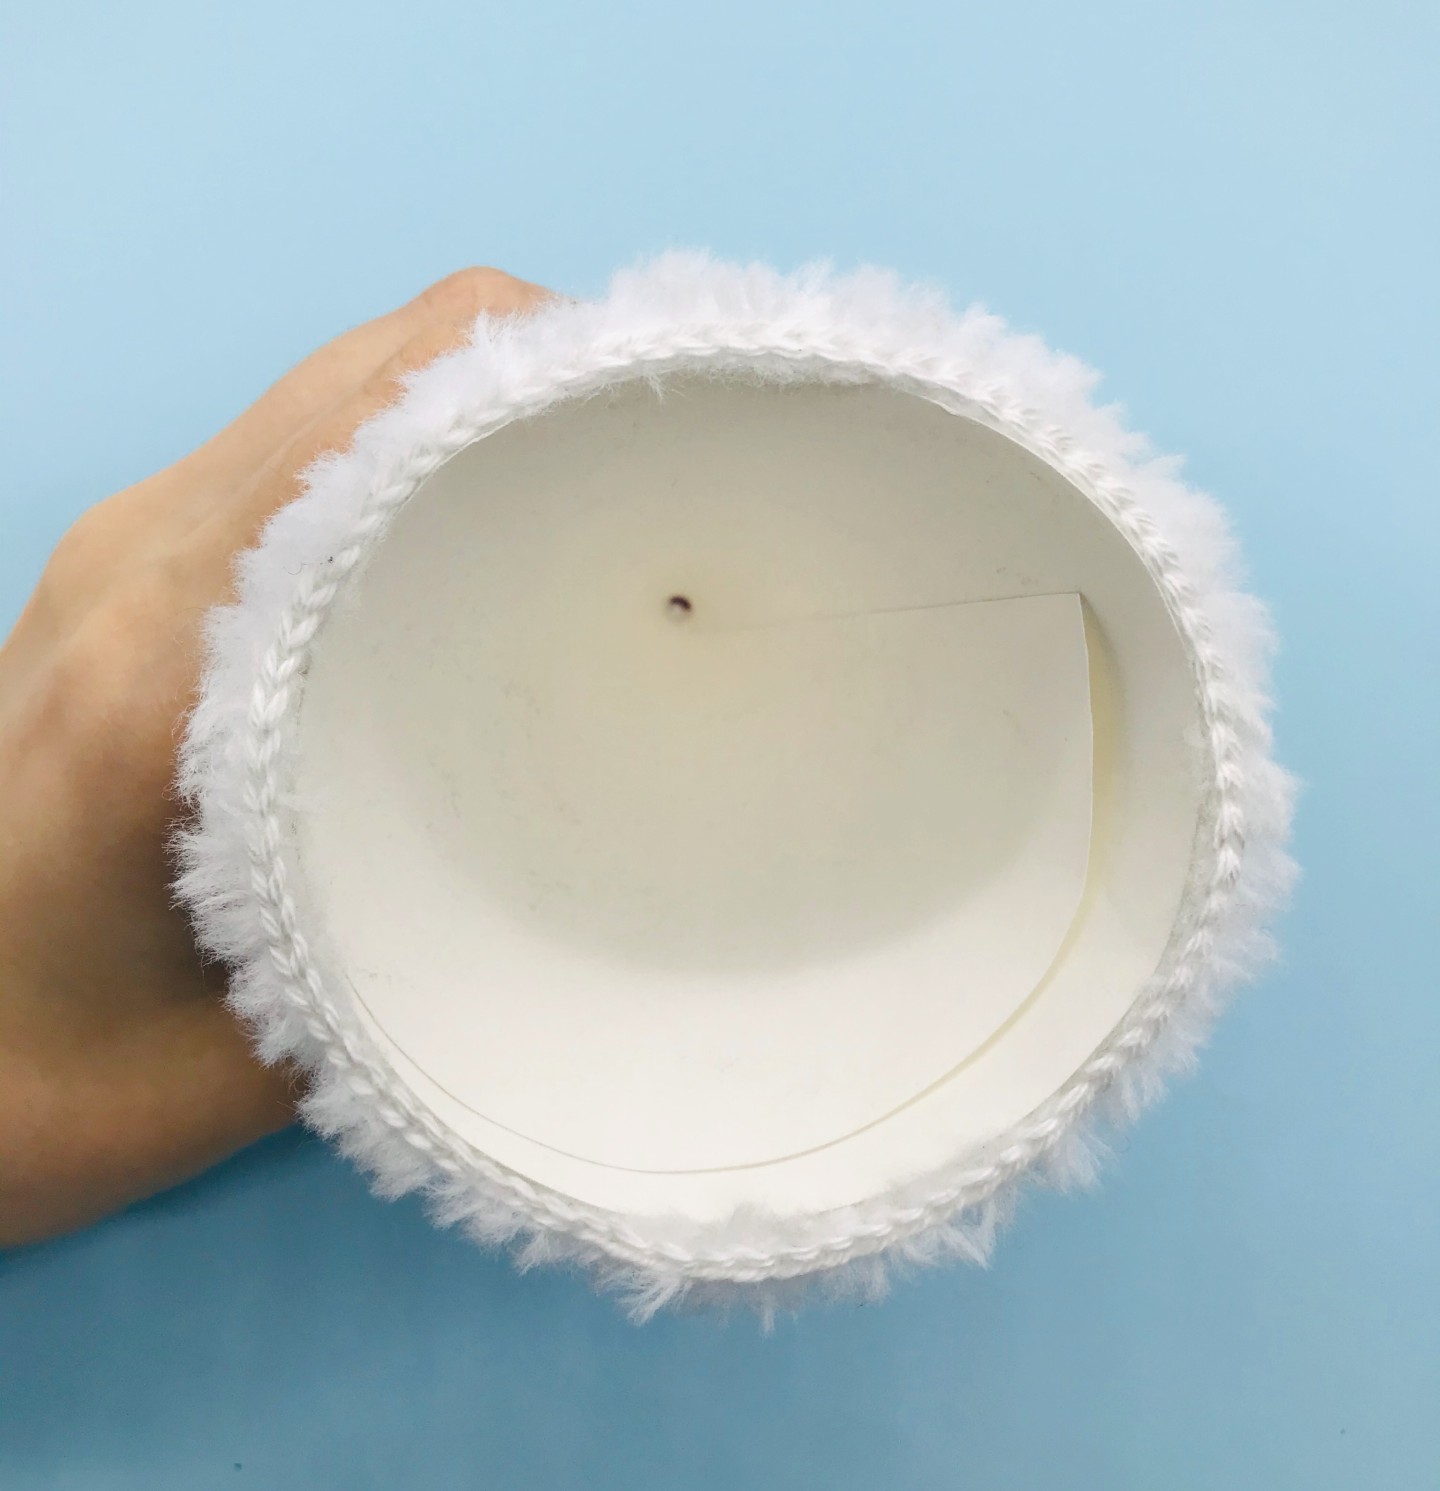
Take out the cone, secured with the tape, and apply glue especially around the outside and insert it again in the hat so that it sticks to the wall.
▶ The strings to tie the hat
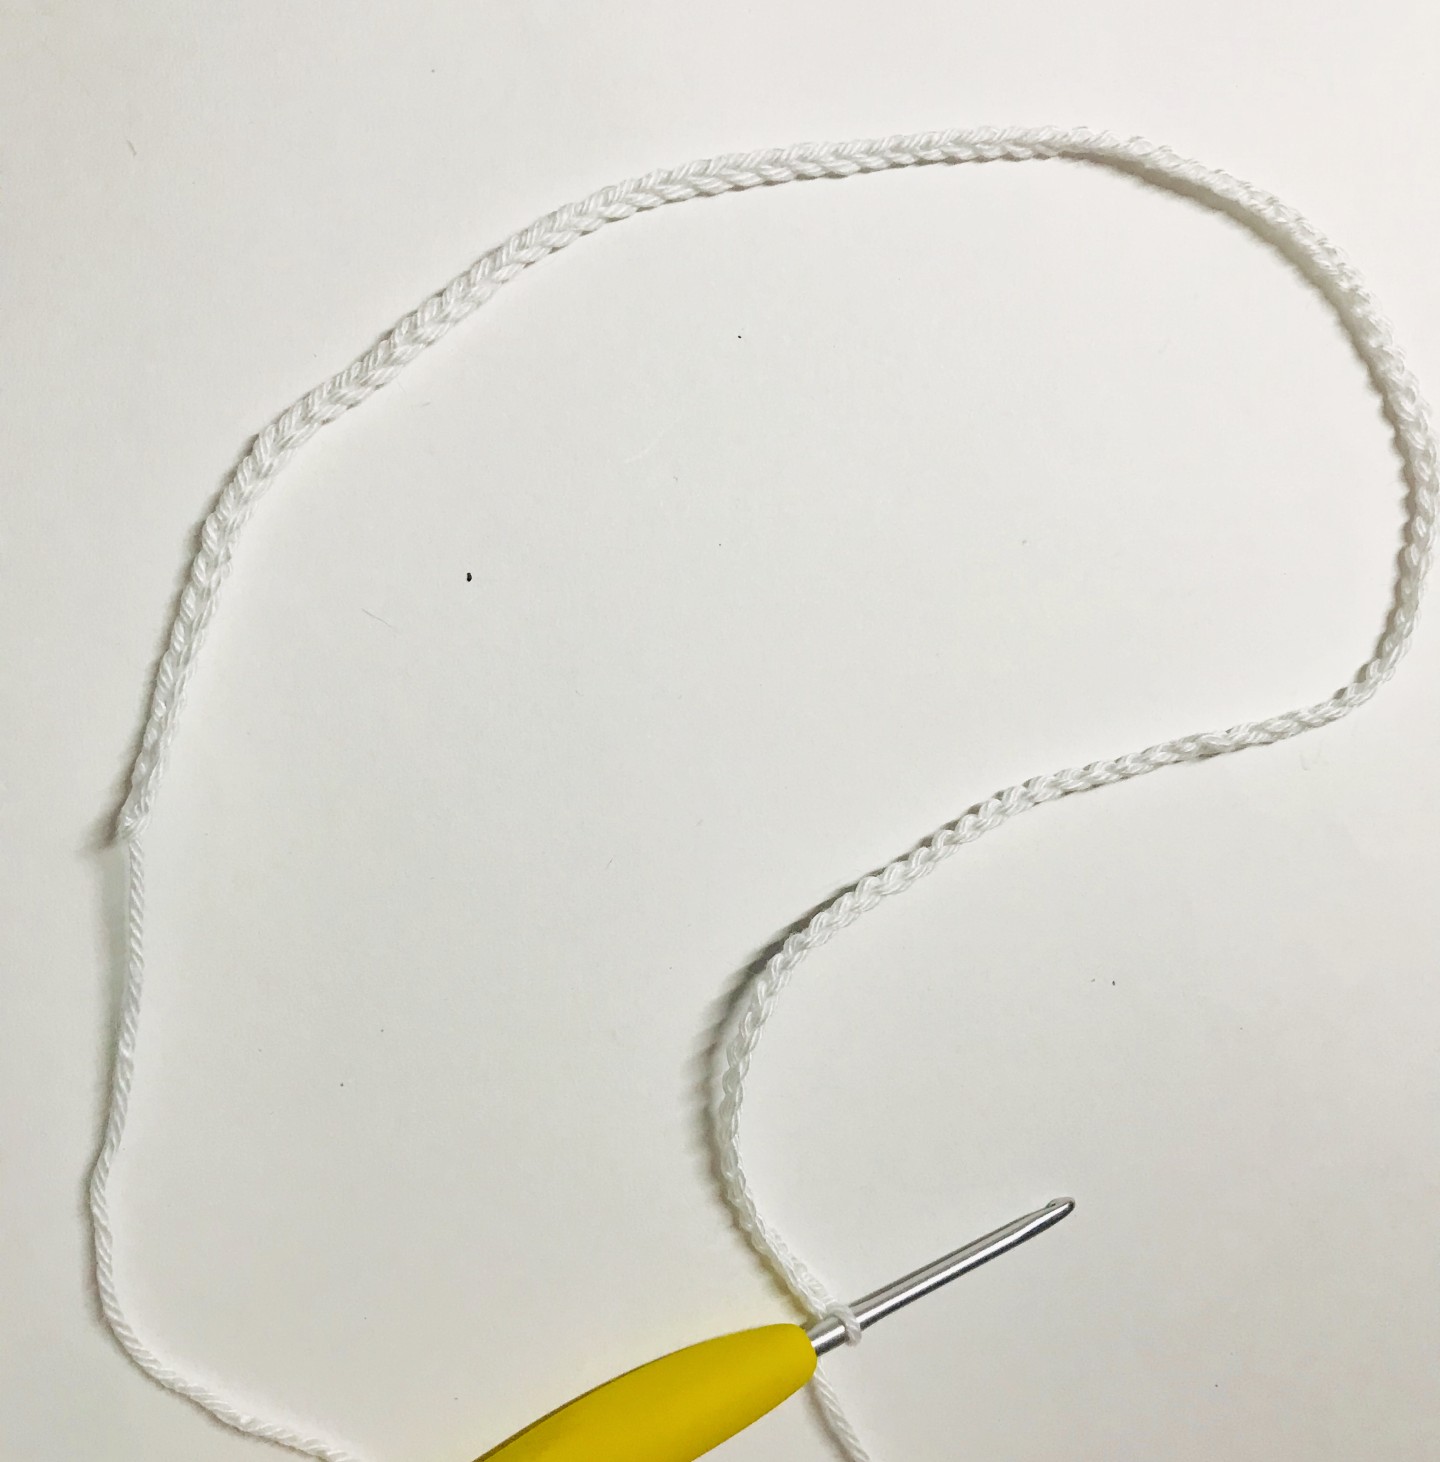
Cast on a chain of 100 sc.
Slip the hook into 1 stitch from the last row and make 1 SlSt.

Make a second chain and attach it to the opposite side of the first in parallel.

Make a double knot at each end of the chains to secure them and cut the excess thread.
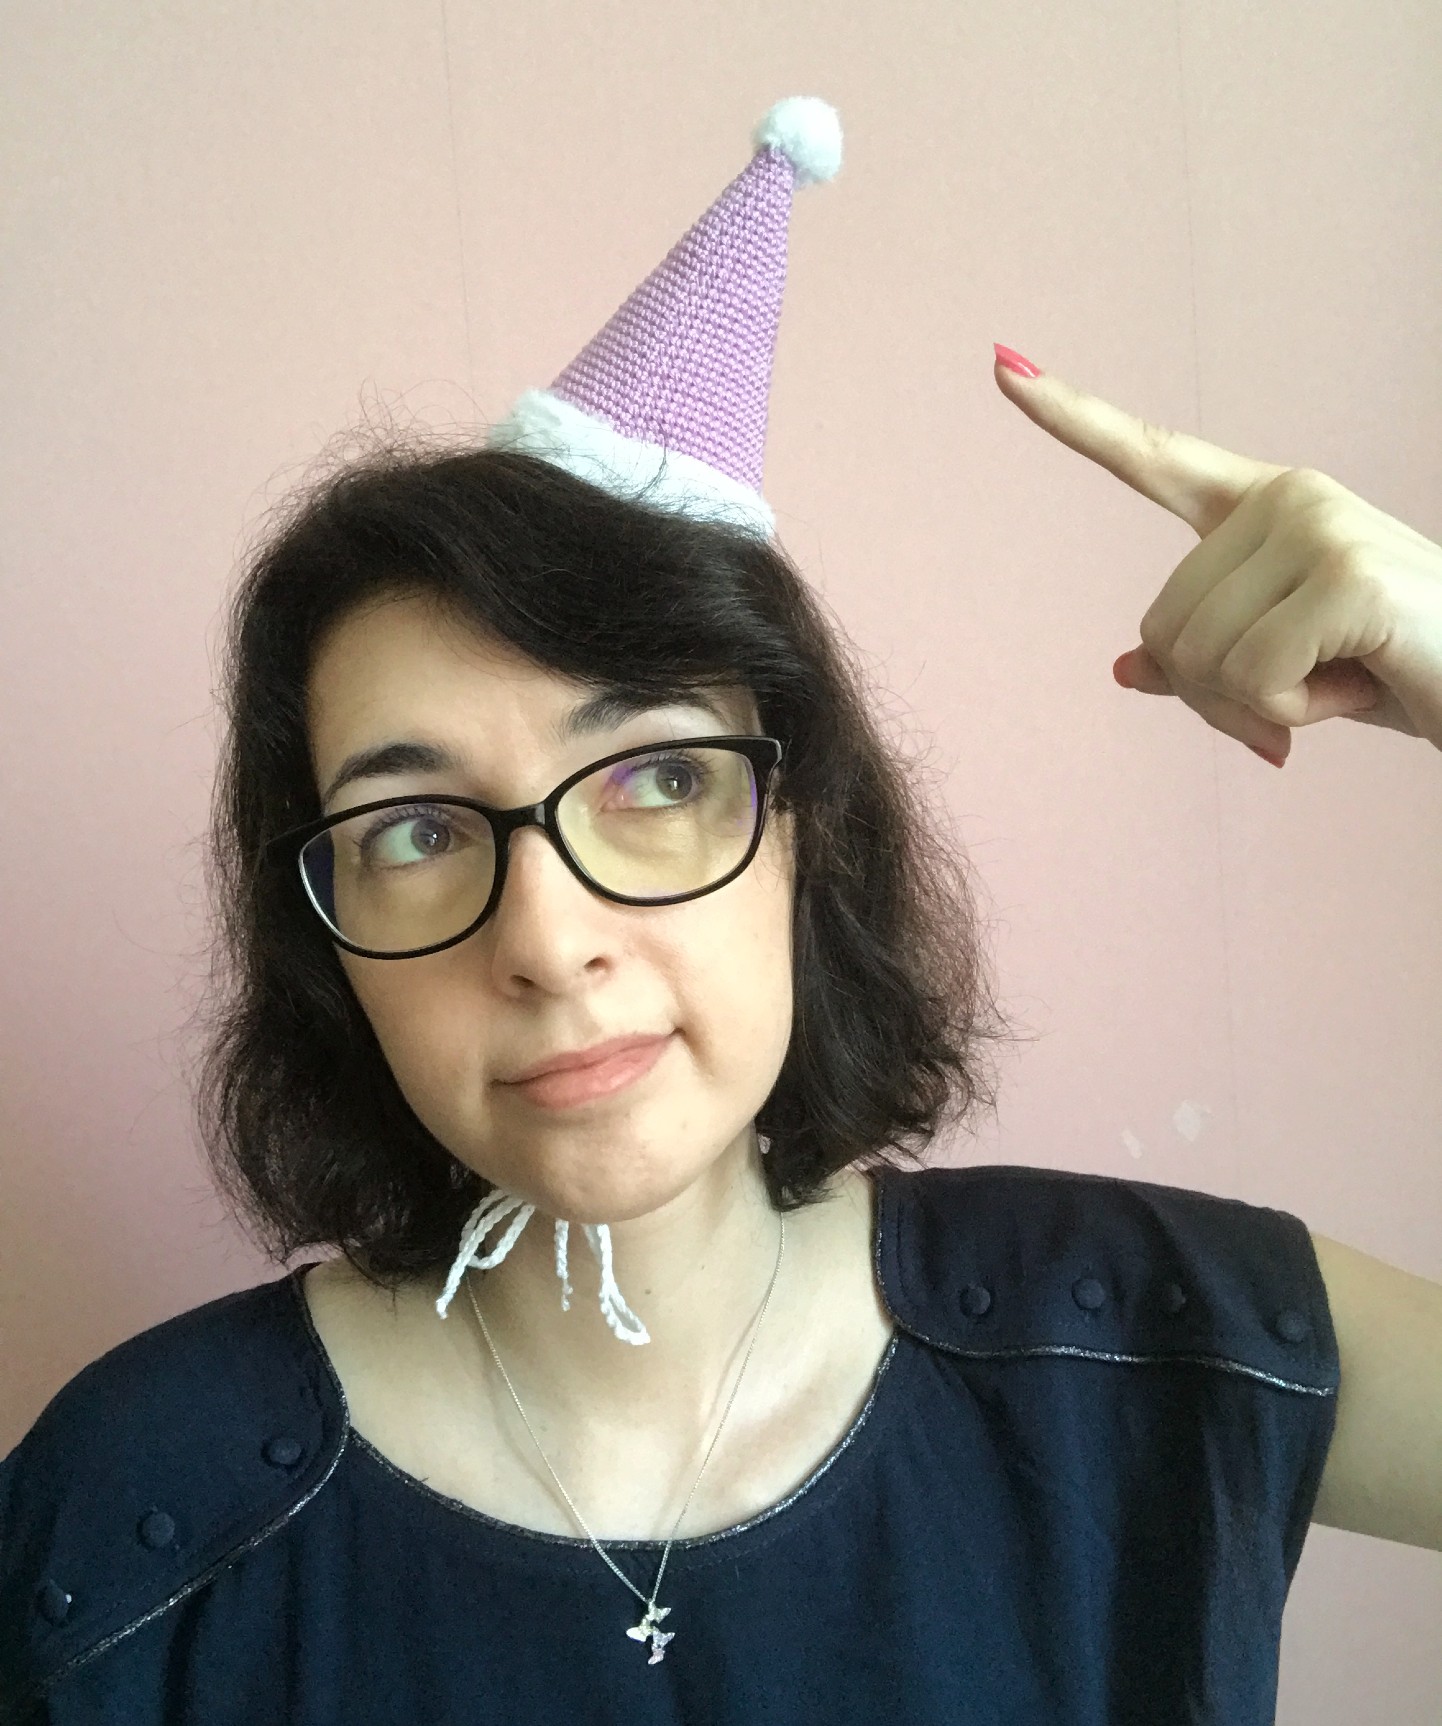
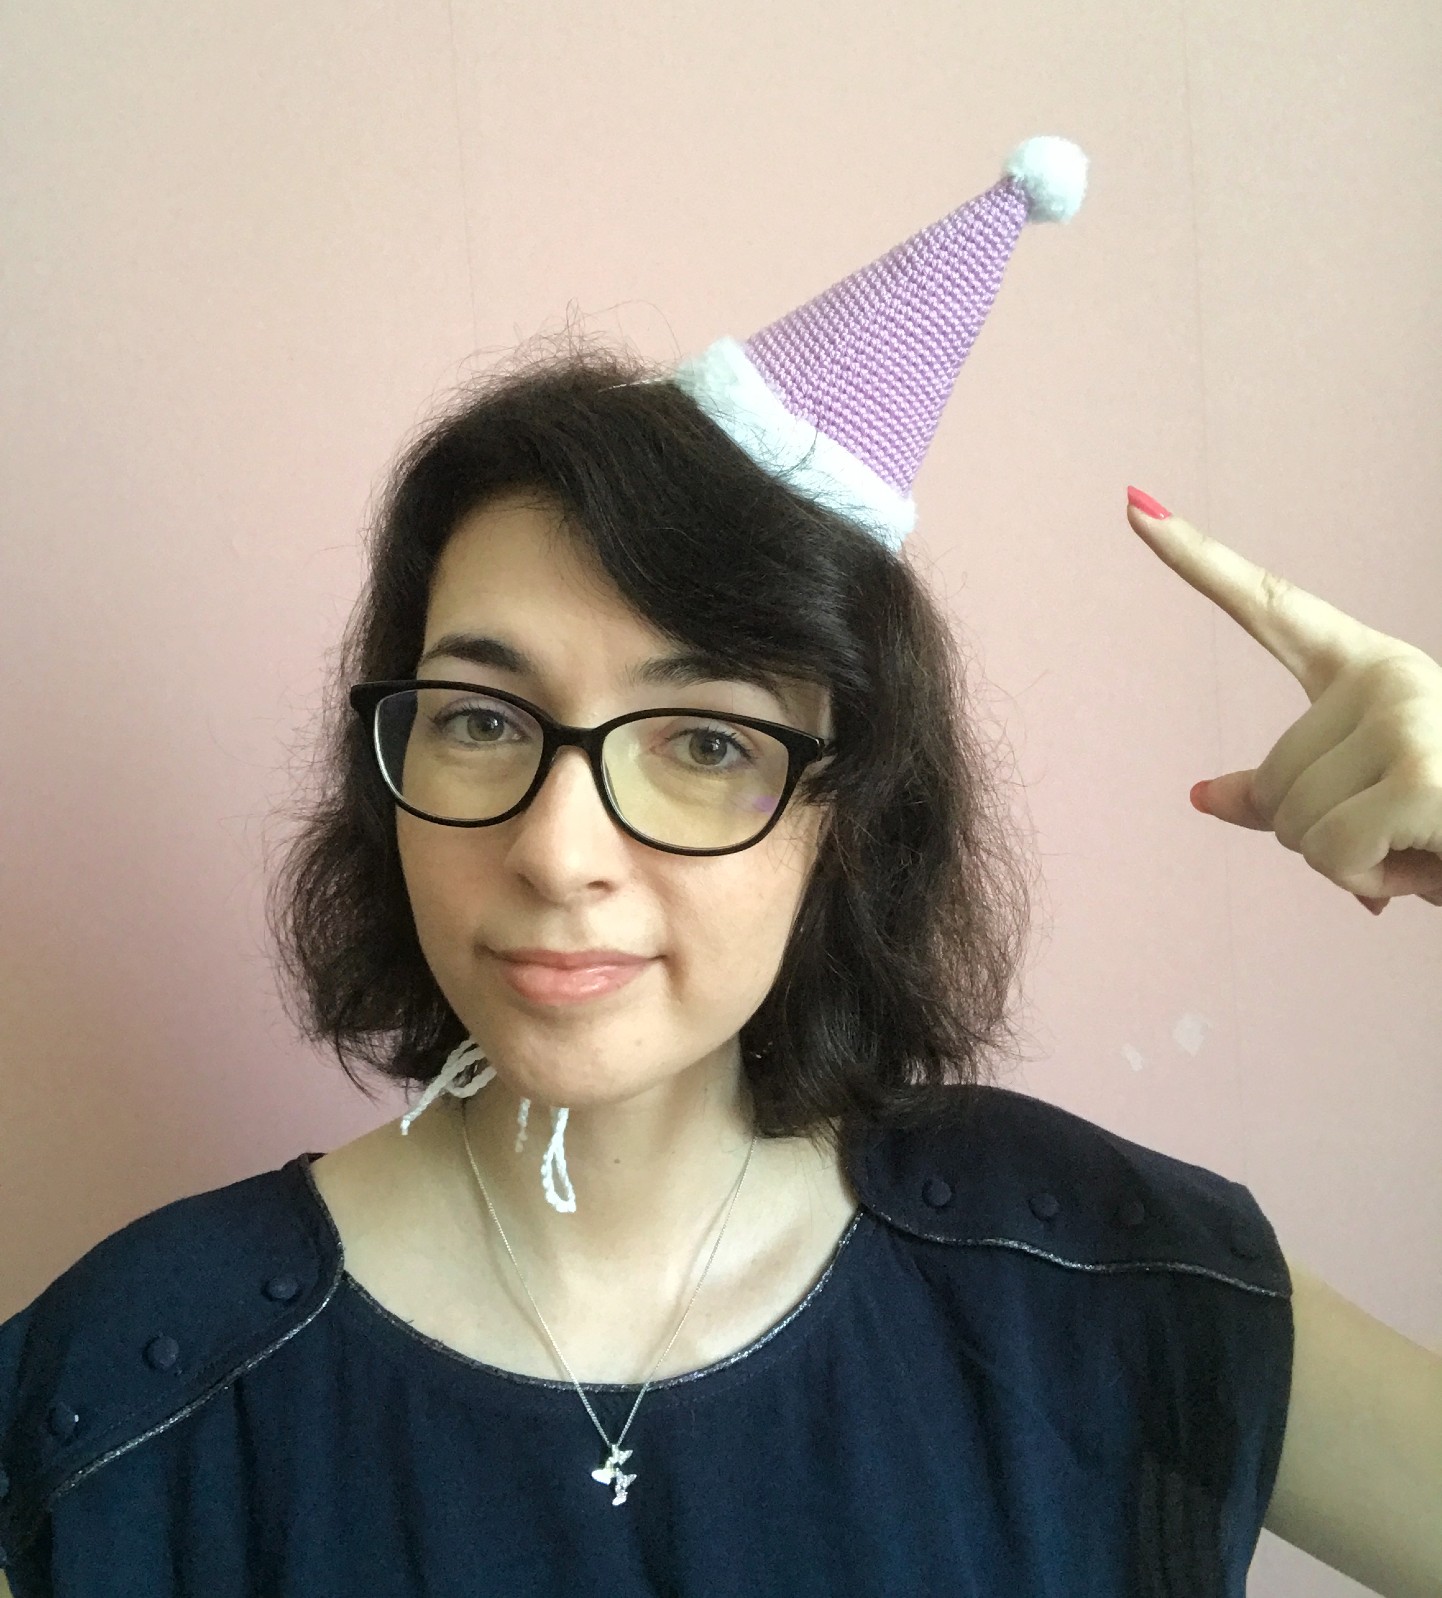
There you go, you’re ready to party with your hat on! 🥳
If you make this pattern, don’t hesitate to share it on Instagram by tag me @my_rainbow_crochet so that I can pass you on in my story or on Facebook to send me a photo of your achievement that I would incorporate into the album of your achievements!
Seeing your achievements is always a huge pleasure for me!
All rights reserved. You can not resell, share, modify or publish this pattern.
This pattern is for PERSONAL use only. The pattern may not be, in whole or in part, reproduced, published (online or printed), modified or resold according to article L.122-4 of the french intellectual property code.
You can sell the finished products, if they are made by you, in limited quantities and by providing the name of the designer. Please add the following information to the description of the amigurumi sold:
“This plush was handmade by … (your name) from a pattern created by My Rainbow Crochet”
Copyright 2022 MyRainbowCrochet
See you soon Rainbows ! 🙂🌈