This post contains affiliate links.
Hello Rainbows ! 🌈
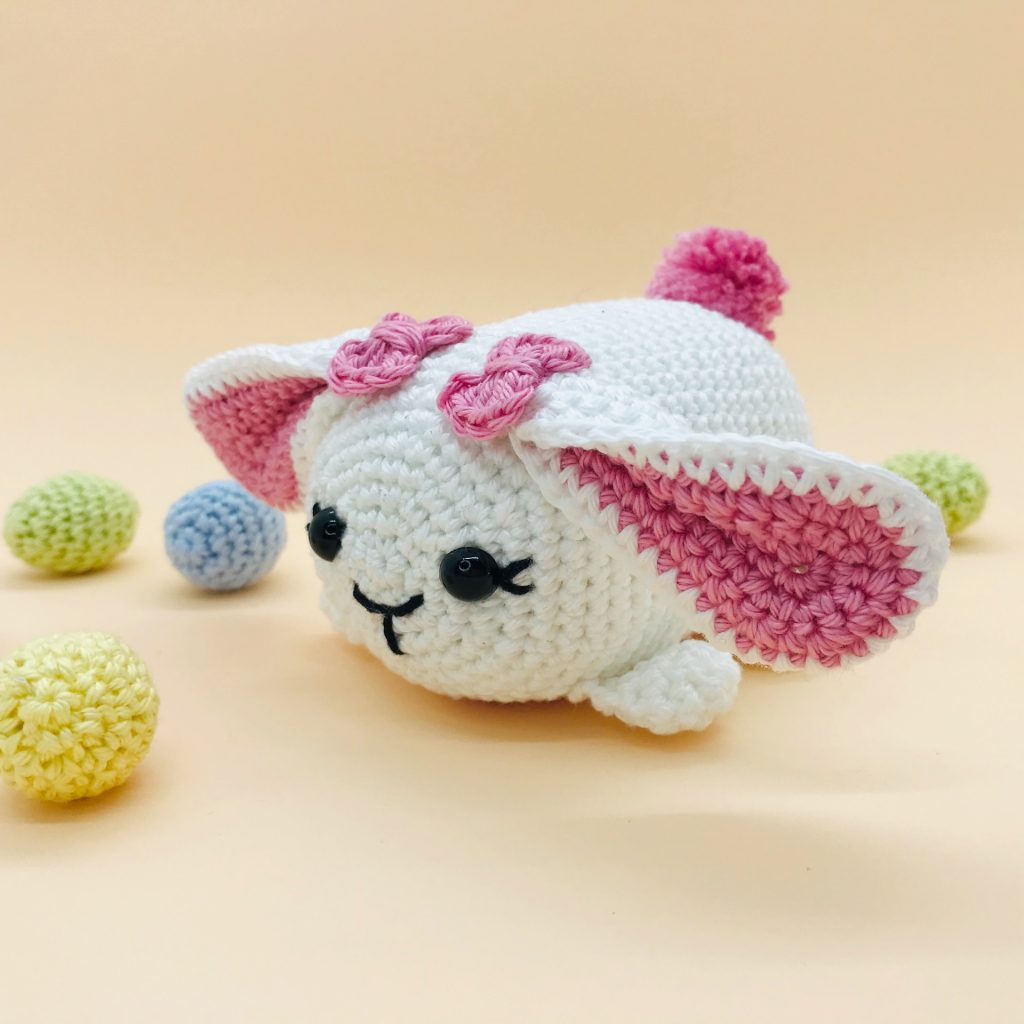
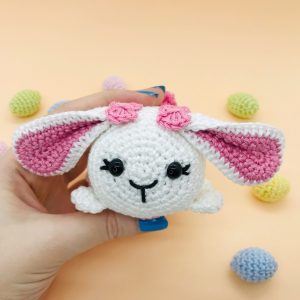
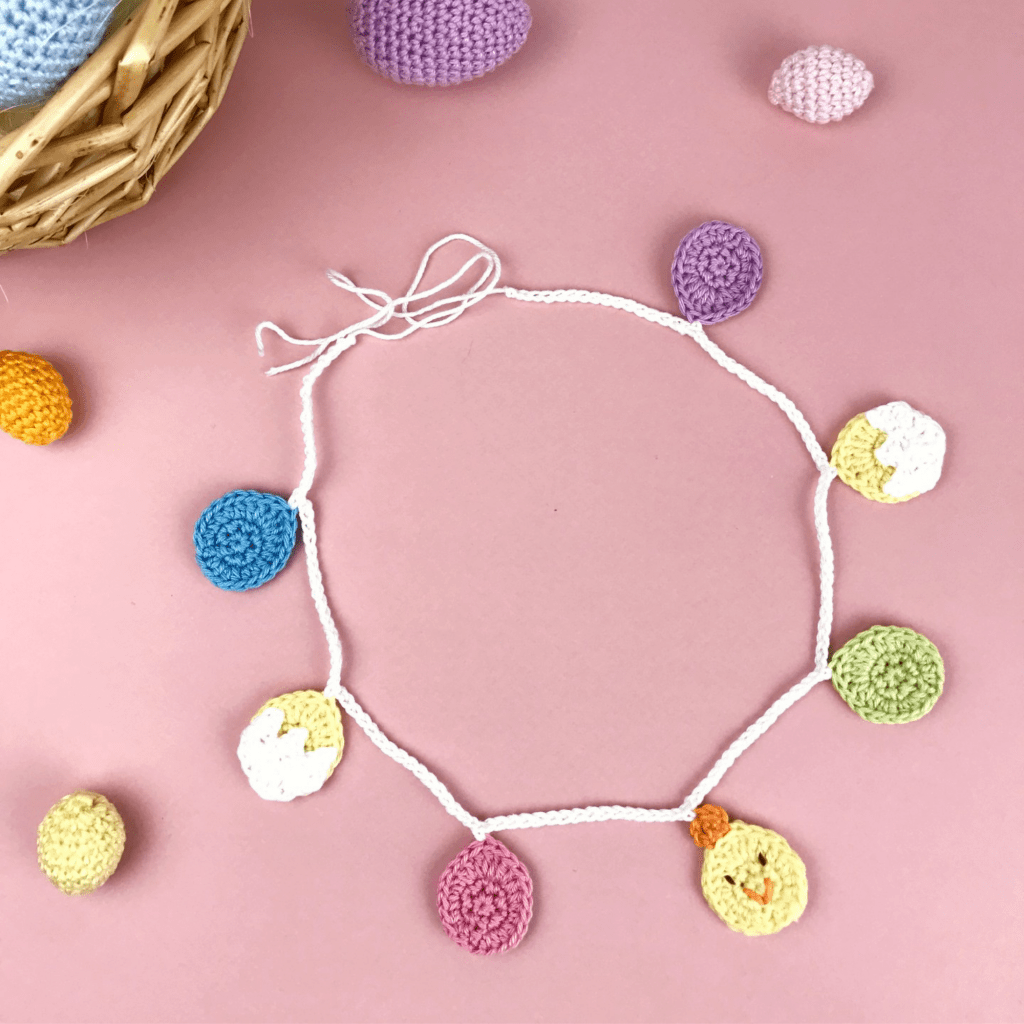
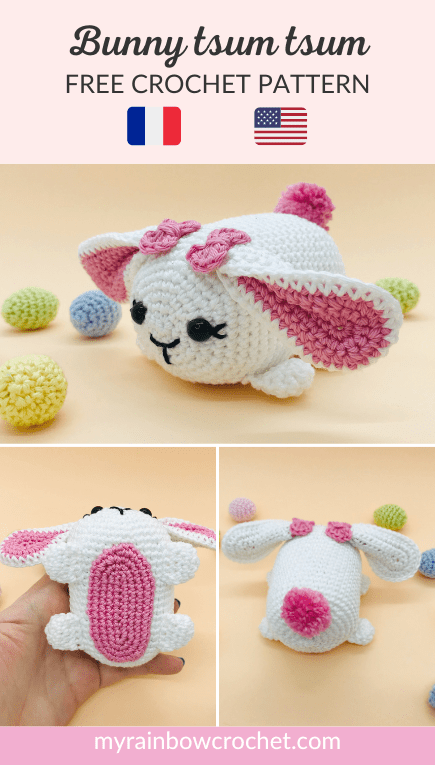
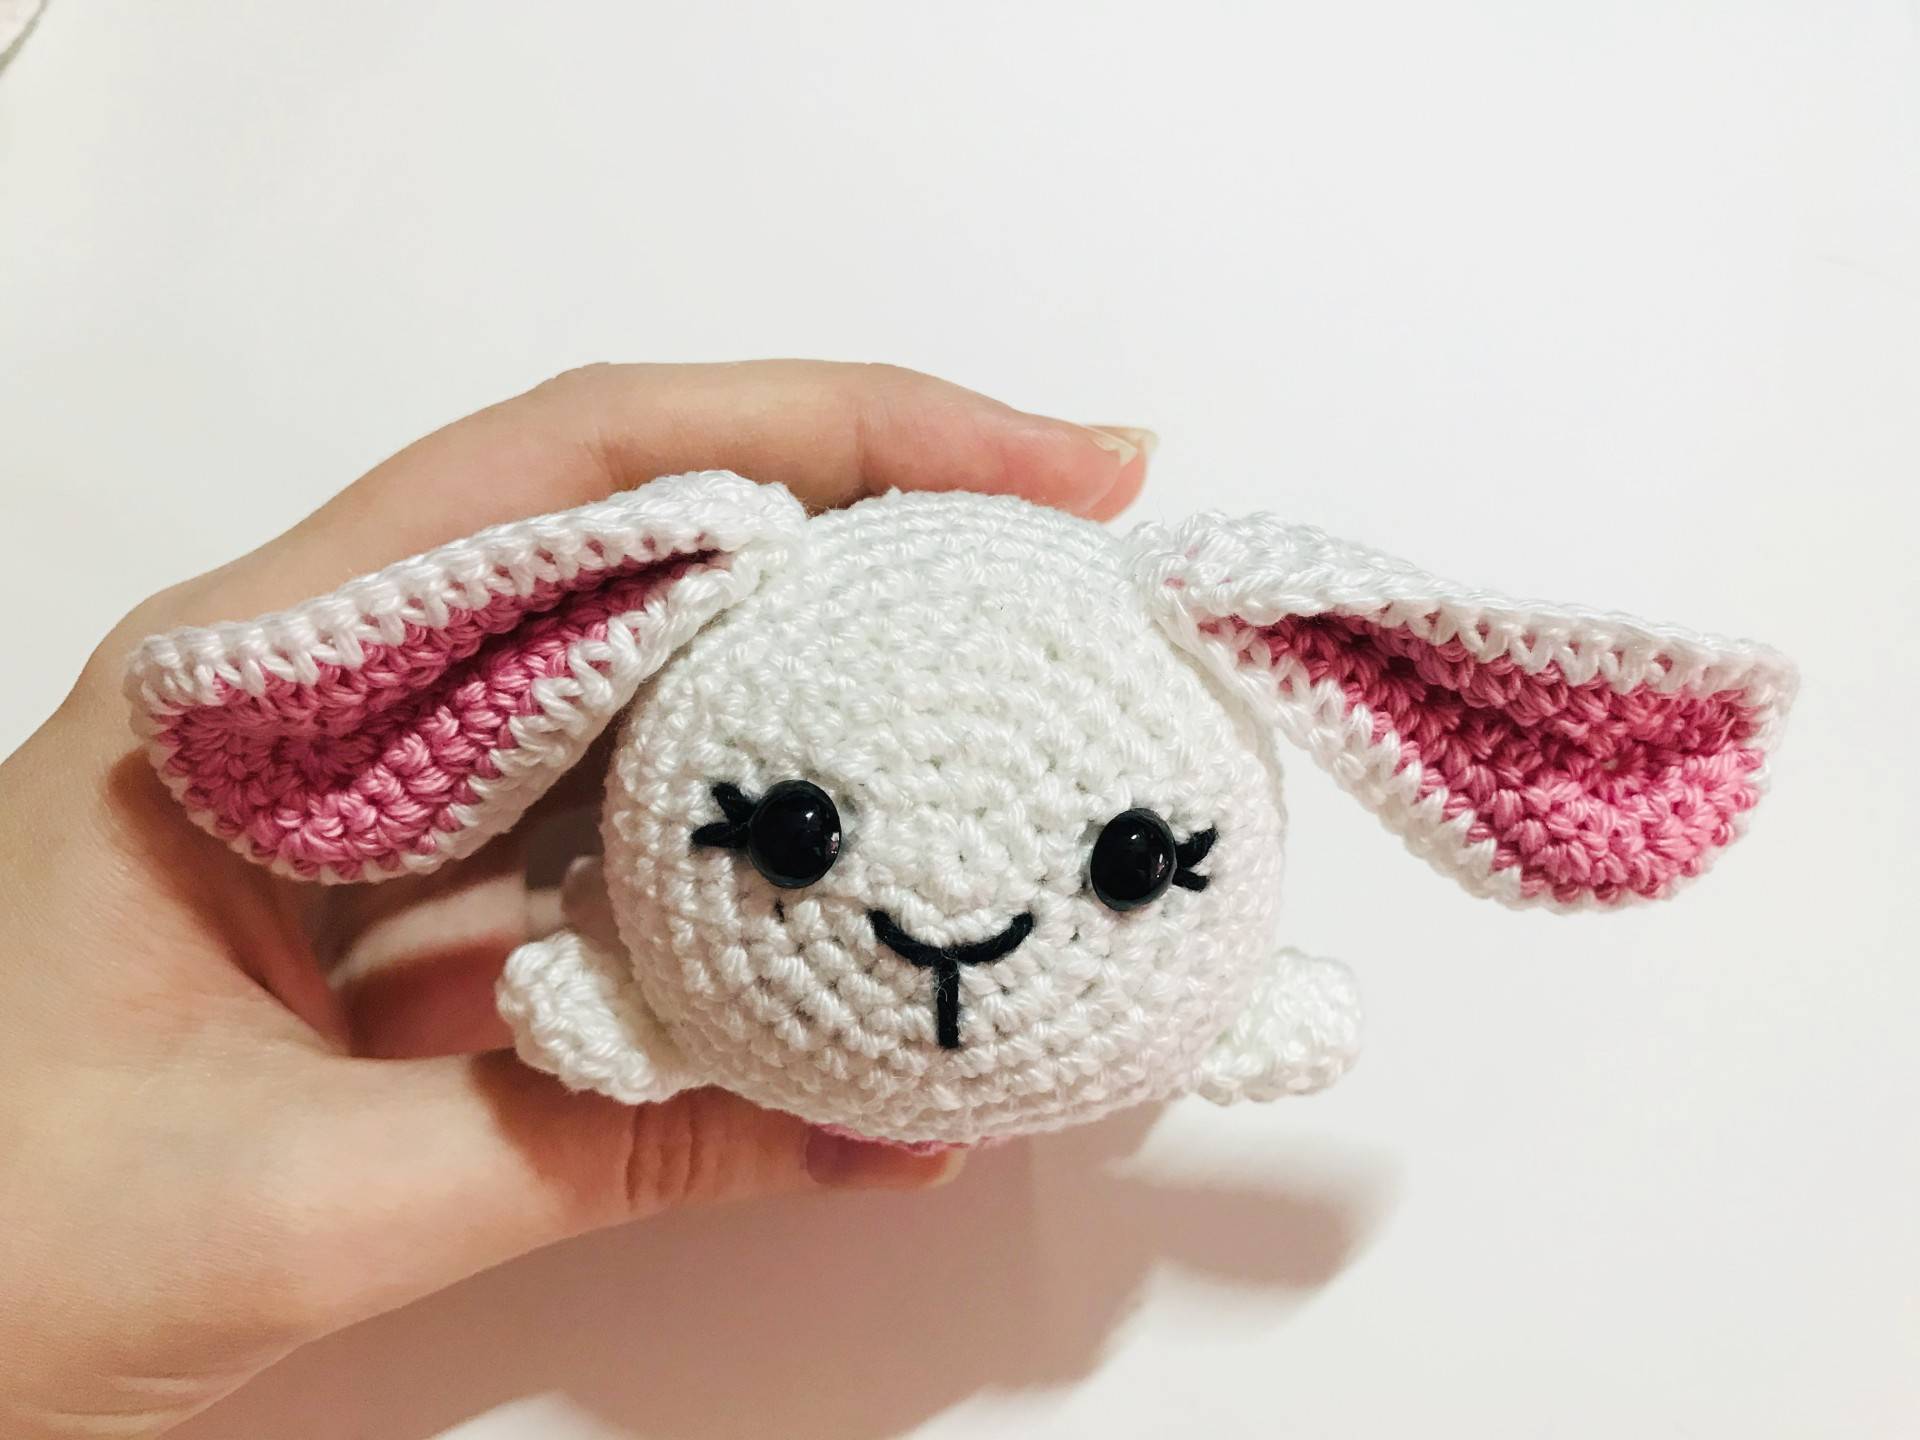
To celebrate Easter, what better than crocheting a little rabbit that fits in your hand? 🐰
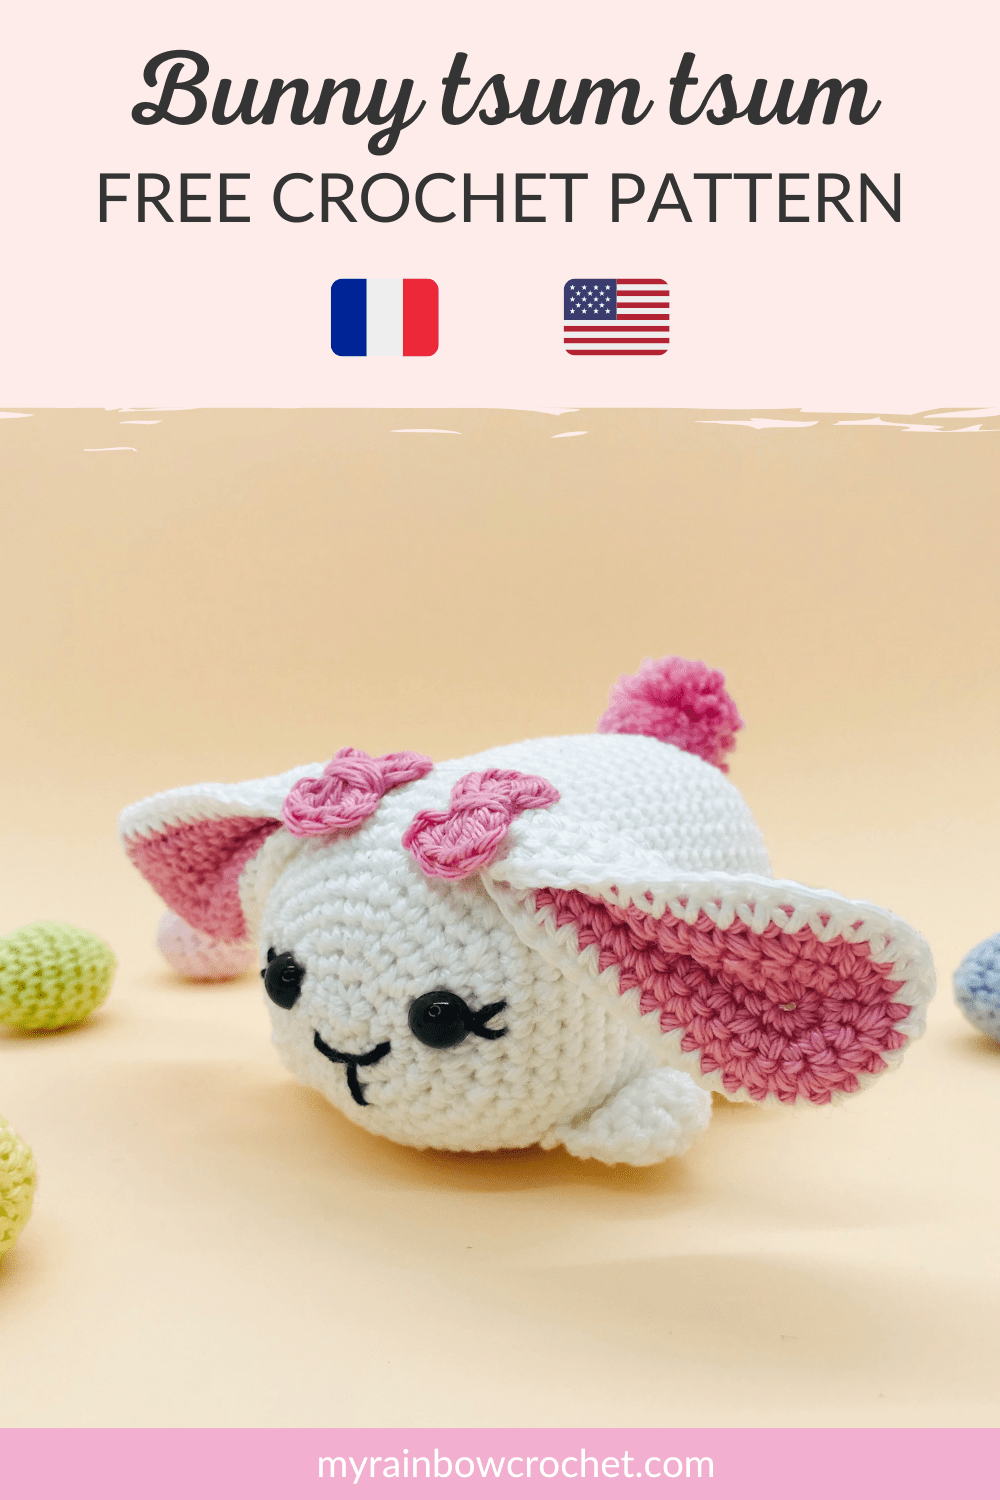
I present to you the pattern of the Bunny Tsum tsum 🐰, inspired by Disney’s Tsum tsum plushes! The Bunny Tsum tsum has a very particular role for Easter. I’ll let you discover her story below 😉
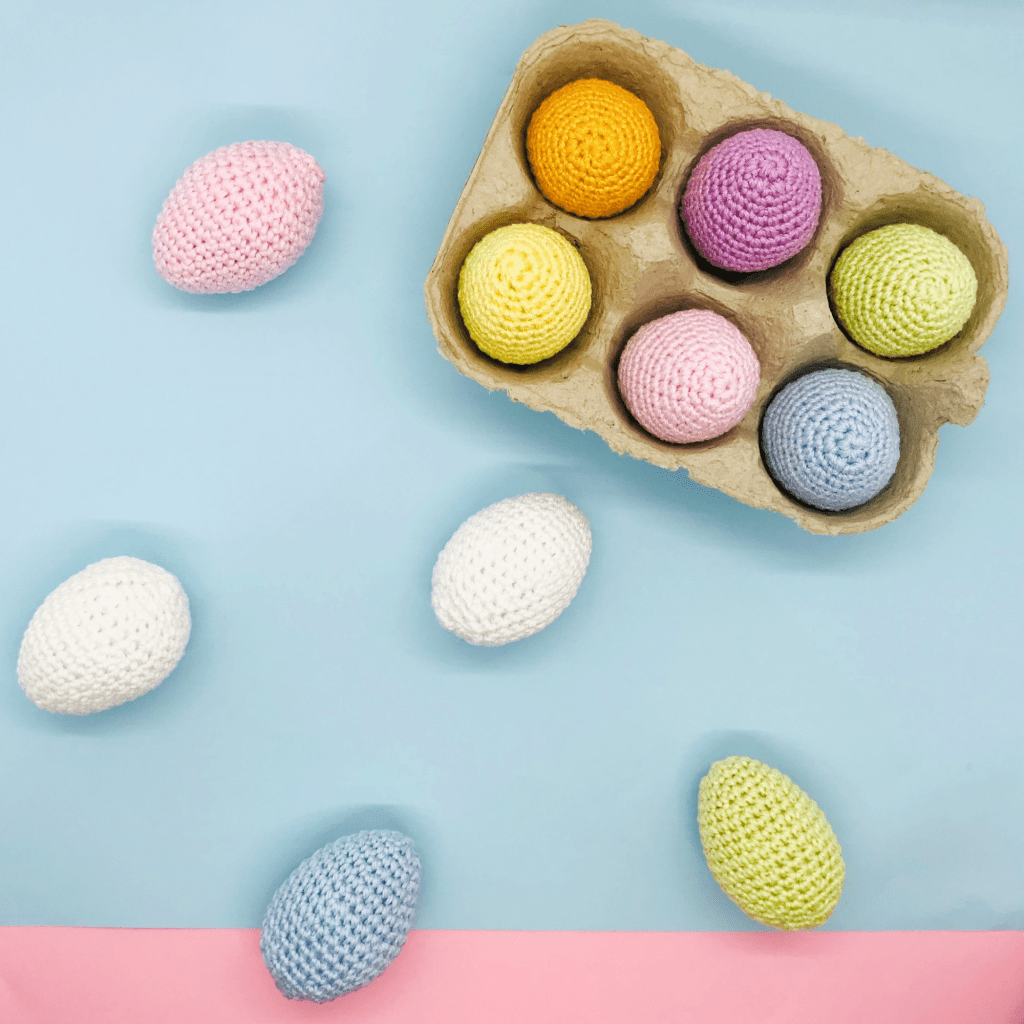
If you would like other patterns in the Easter theme, there are plenty available on my site!
I am sharing this crochet pattern of the Bunny tsum tsum tsum for free below and also in PDF format on my shop if you want to keep it with you!


🐰 The story 🐰
“Inspired by Disney’s Tsum Tsum plush toys, the Tsum Tsum bunny makes its debut in spring and especially for Easter. She has released her most beautiful knots for her ears and can’t wait to hide eggs for the delight of children (and
adults). Adopt her and she’ll take care of the egg hunt in your garden!“
To see her in more detail, I made a little video for you 😊
🐣 Inspiration 🐣
With the crochet pattern of the Bunny tsum tsum, I wanted to continue in my collection of tsum tsum but this time in the Easter theme! I also wanted to create a girlfriend for Gaelia, the Easter fairy. Between them, they are going to help you with the Easter egg hunt. 🤩
If you love the specific shape of tsum tsum, I also have two versions of crochet patterns to make unicorns with the Unicorn tsum tsum with my version from 2017 and my version from 2021.
🐇 Some technical details about the Bunny tsum tsum 🐇
Among the advantages of this crochet pattern, it is very easy and quick to make whether you are a beginner or not. I have also well detailed each of the steps so that you succeed as easily as possible and especially without overthinking it!
This crochet pattern will also allow you to learn how to make small pompoms to embellish your Bunny tsum tsum with a pretty tail. You can use a set to make pompoms or use a simpler method with the means at hand. 😊
Its pattern is suitable for people with an advanced beginner level in crochet.

🐰 Material you need 🐰
If you want to use the same material as mine, I am attaching few links below.
These are affiliate links on Amazon. As an Amazon Associate I earn from qualifying purchases.
- Crochet 2,5 mm or a crochet hook suitable for your yarn
- Cotton yarns (fingering) : White, pink and black
- Yarn needle
- Stitch marker
- Scissors
- Stuffing
- Tacky glue
- Pompom maker 20 mm (or other tool to make it)
- A pair of 0.8 cm safety eyes
🐣 Finished size 🐣
Length: 8.5 cm (3.14 inches)
Width: 6 cm (2.36 inches)
Height: 5 cm (1.96 inches)
🌟 Abbreviations used 🌟
R : Row
sc : Single crochet
Inc : Increase
Dec : Decrease
CH : Chain
SlSt : Slip stitch
hdc : Half double crochet
dc : Double crochet
tr : Treble
ssc : Starting single crochet
*…* : Repeat around the row
[…] : In the same stitch
Find more magic patterns ! ✨

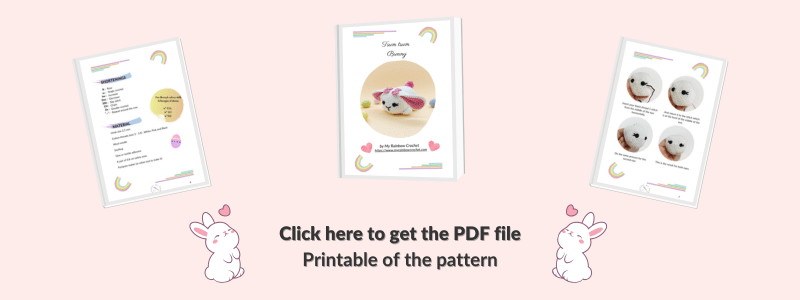
🐰 The pattern in PDF format 🐰
If you prefer to have the printable PDF file of this pattern, you can find it by clicking on the image below 🔽
🐣 Written explanations 🐣
🐰 The body
(to be done with white yarn)
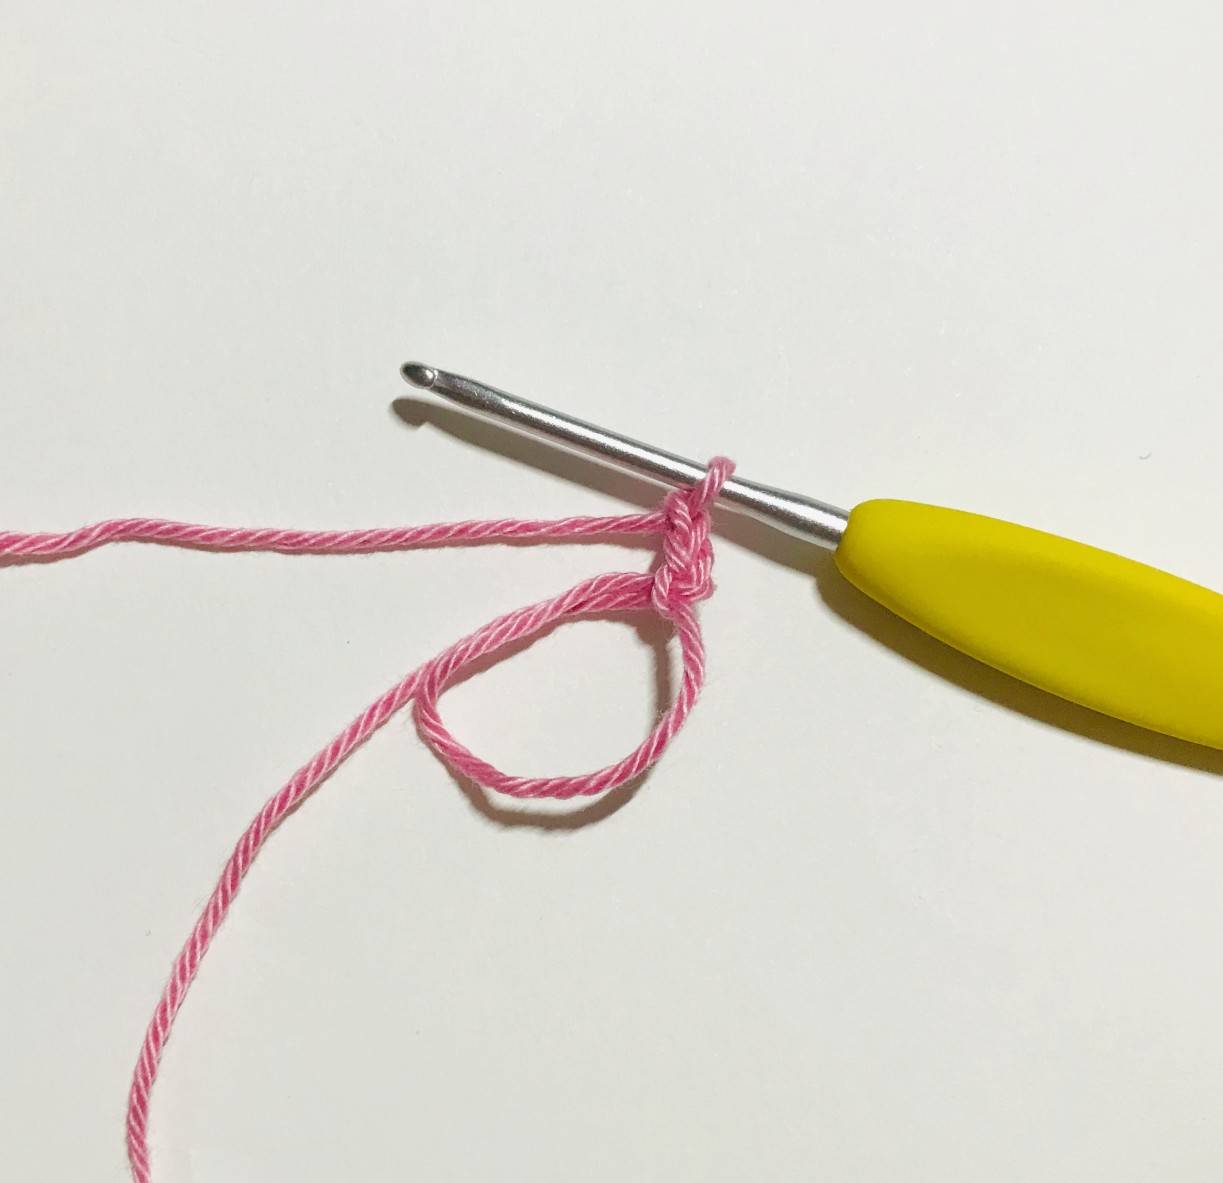
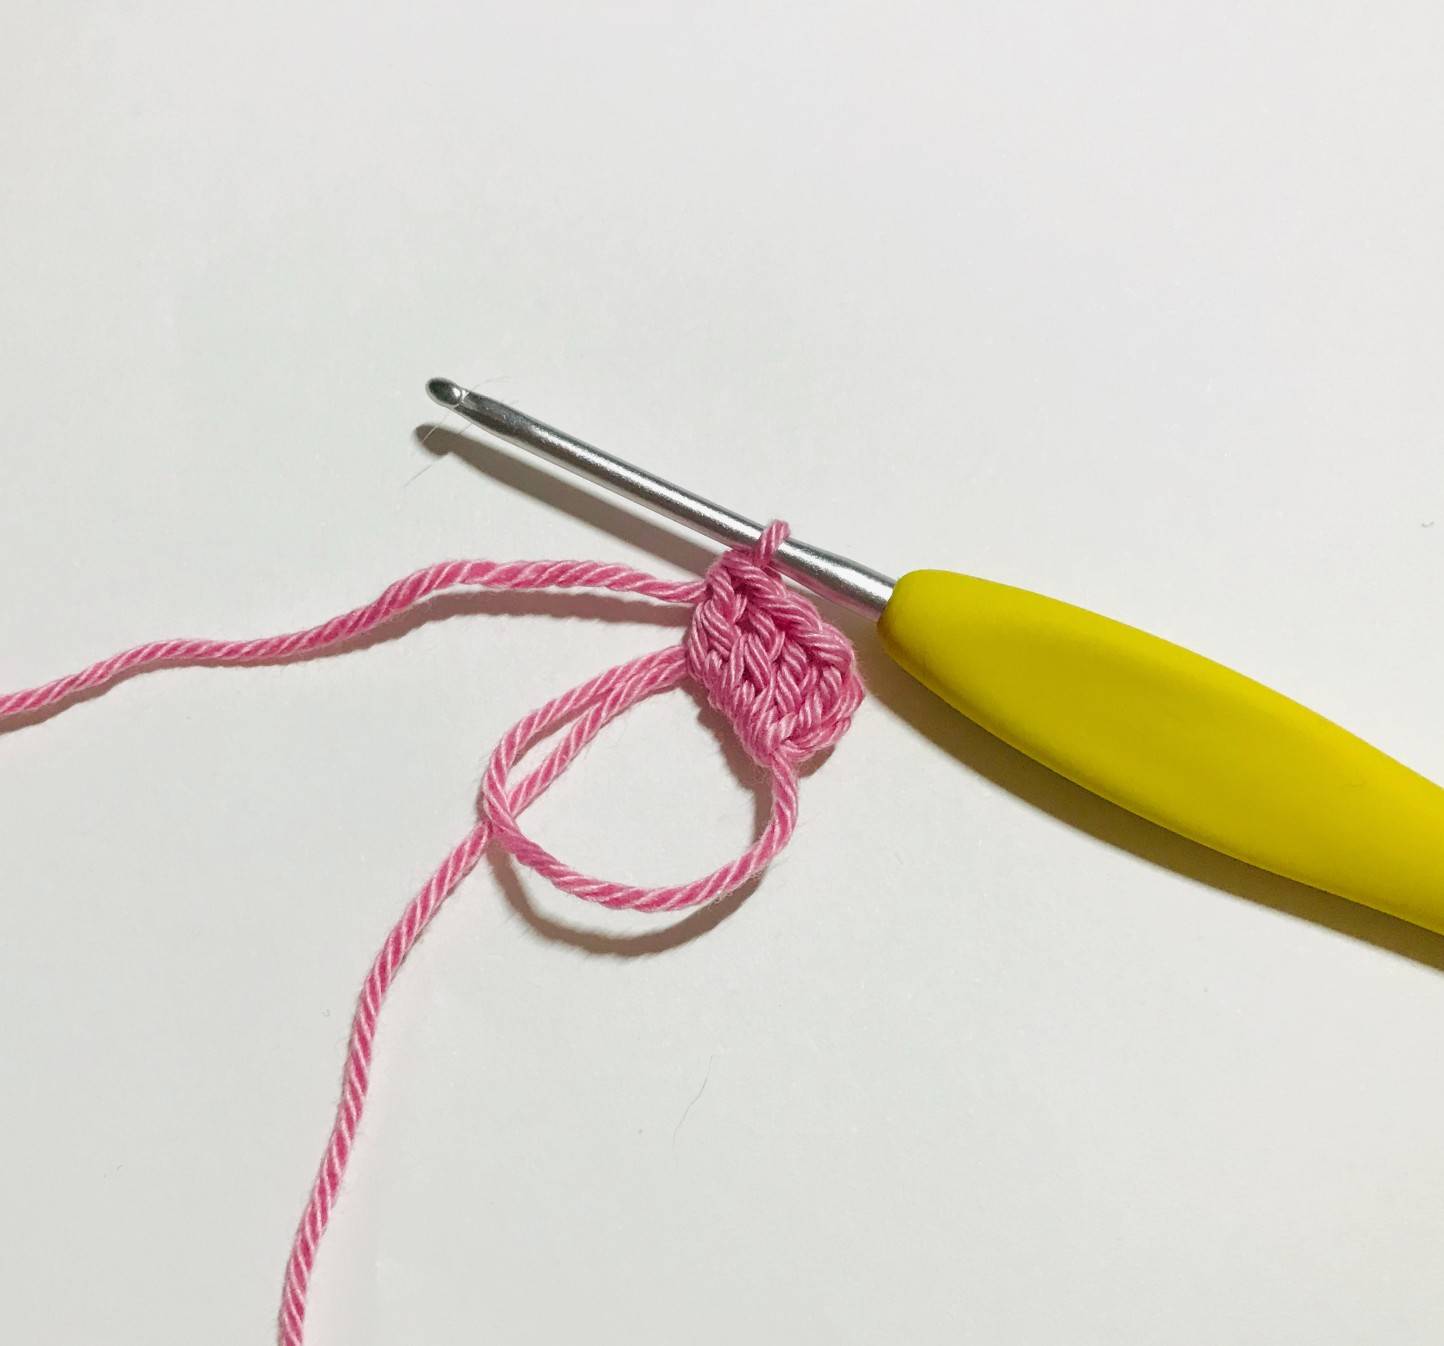
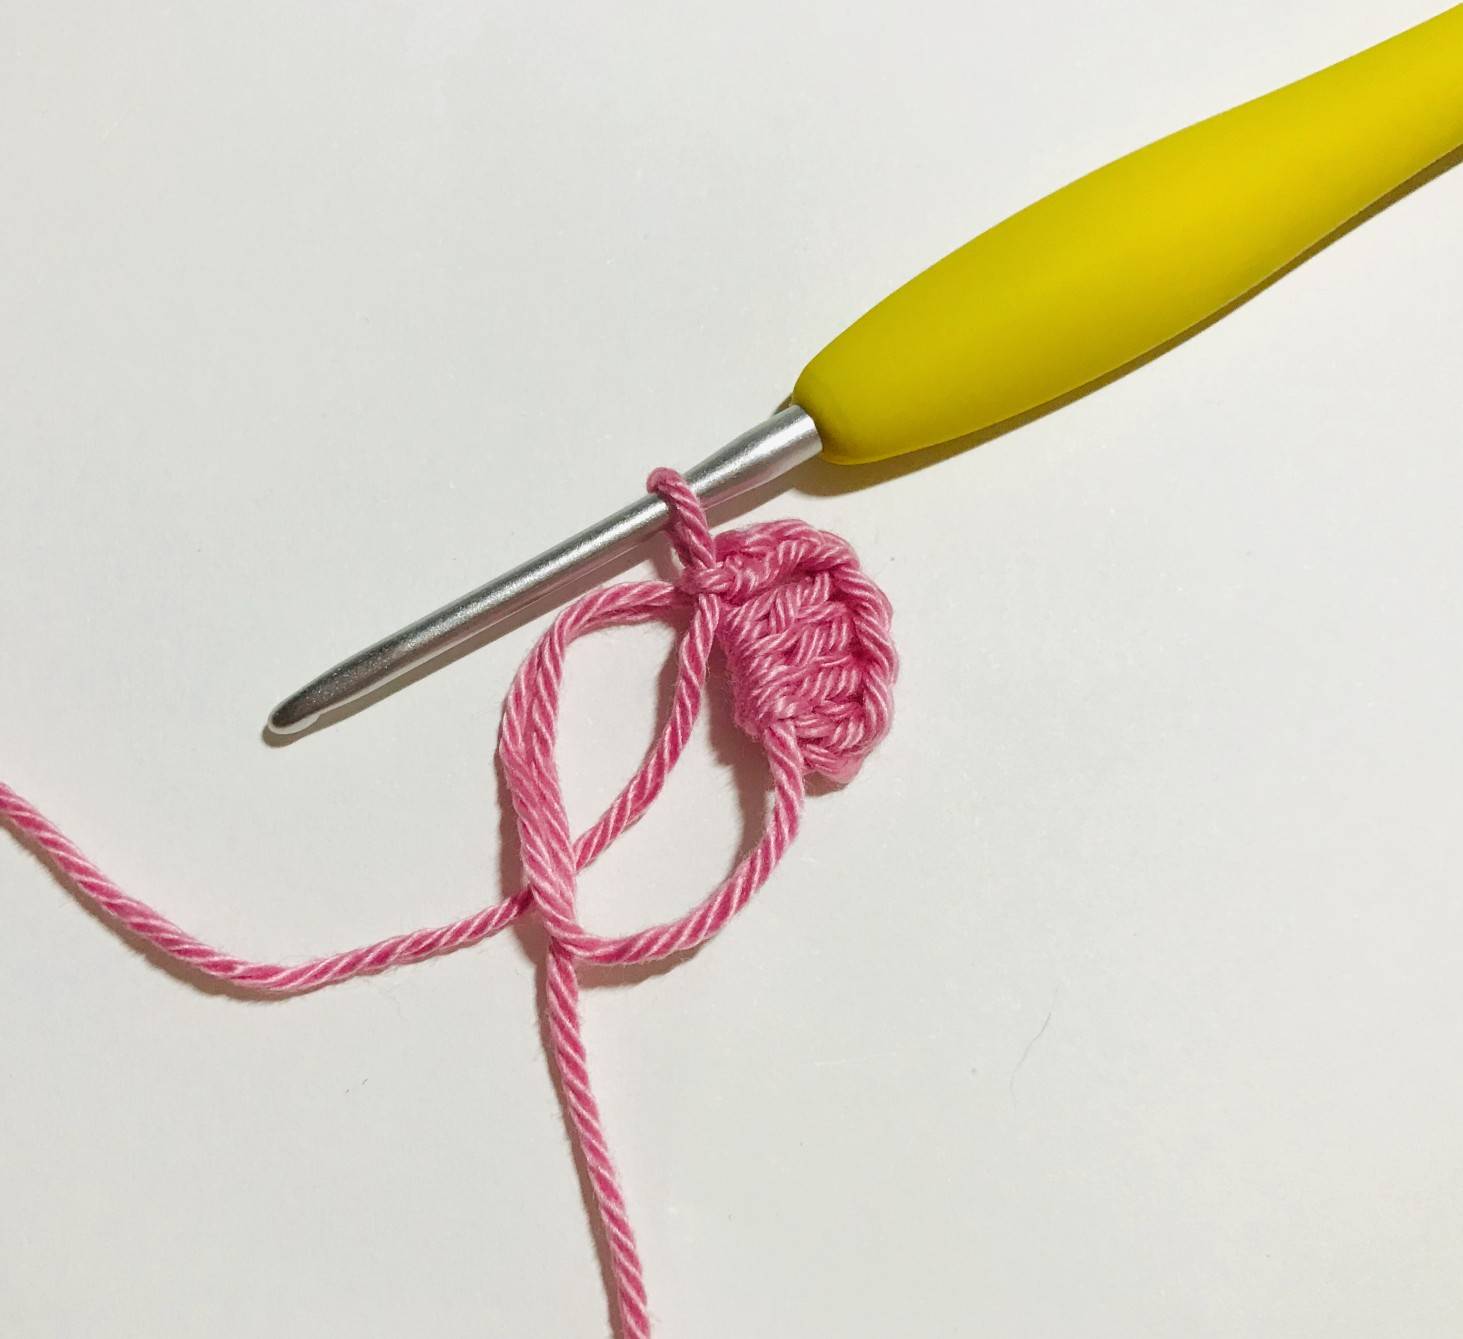
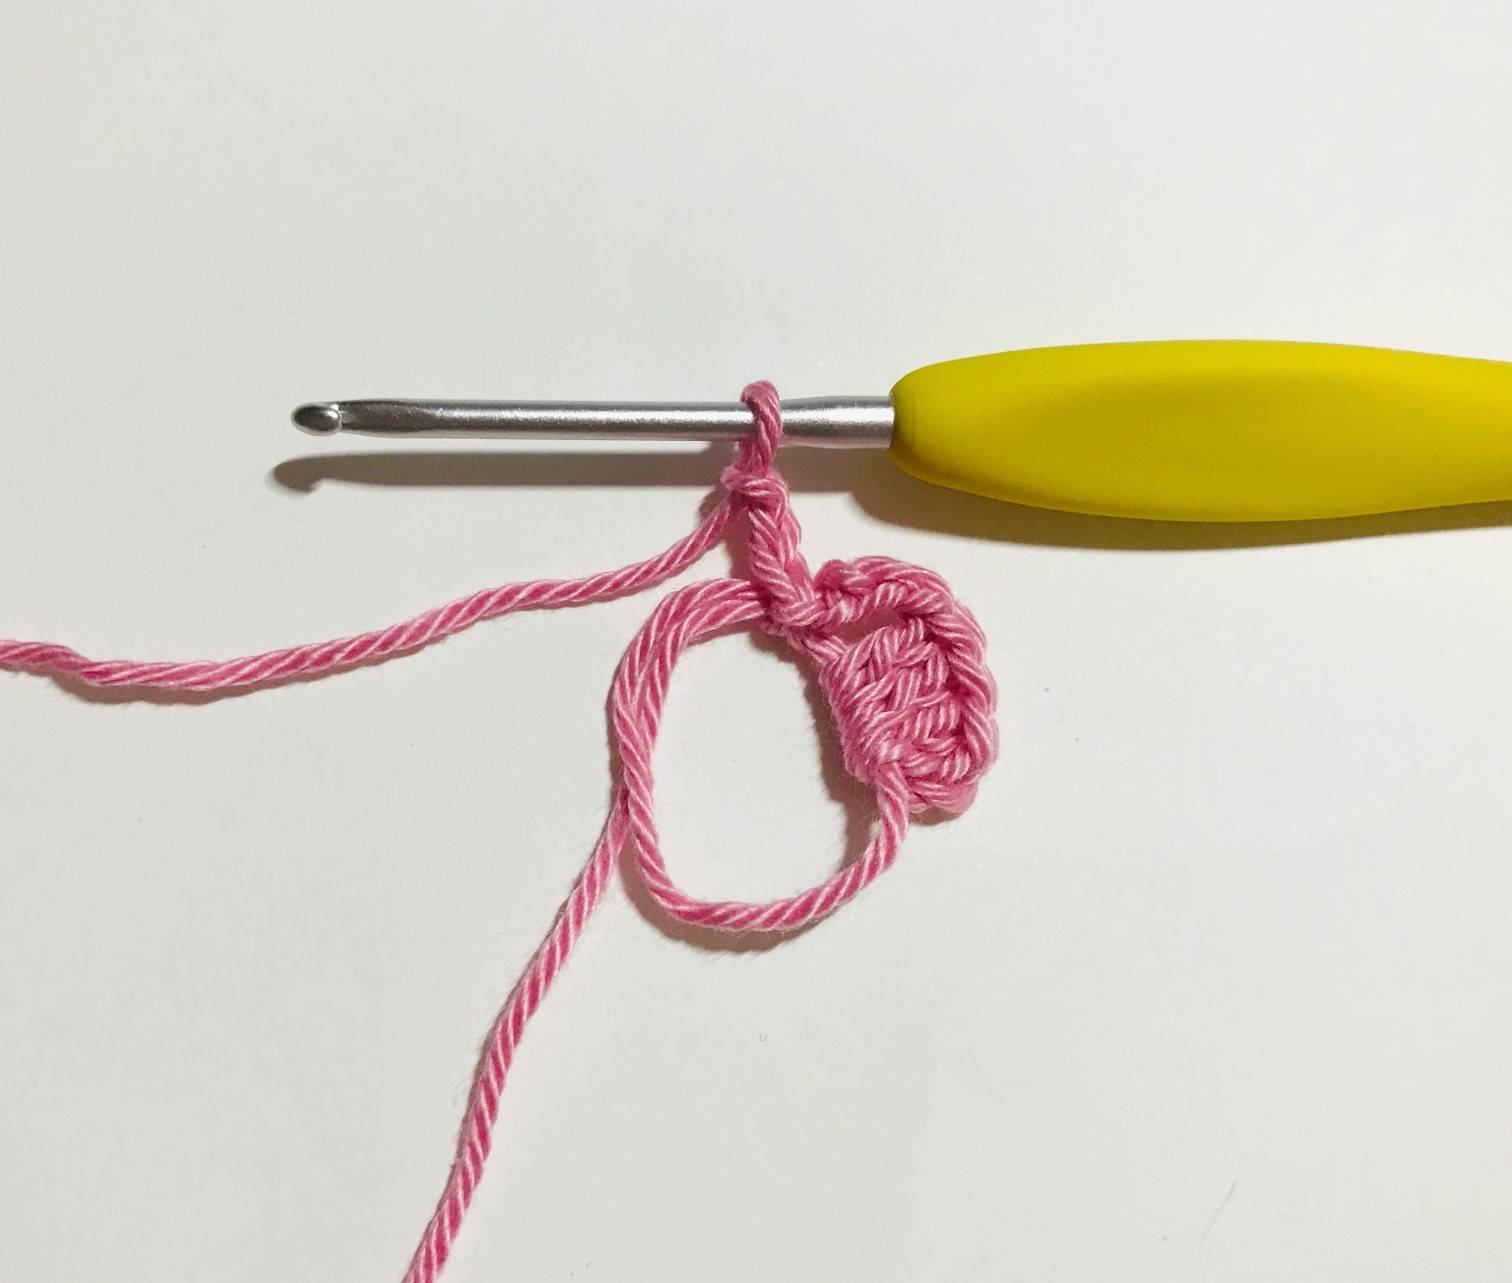
R1: magic ring with 6 sc
R2: 1 Inc in each sc (12)
R3: *1 sc, 1 Inc* x6 (18)
R4: 1 sc, 1 Inc, *2 sc, 1 Inc* x5, 1 sc (24)
R5: *3 sc, 1 Inc* x6 (30)
R6: 3 sc, 1 Inc, *4 sc, 1 Inc* x5, 1 sc (36)
R7: *5 sc, 1 Inc* x6 (42)
R8: sc in each sc (42)
R9: *13 sc, 1 Inc* x3 (45)
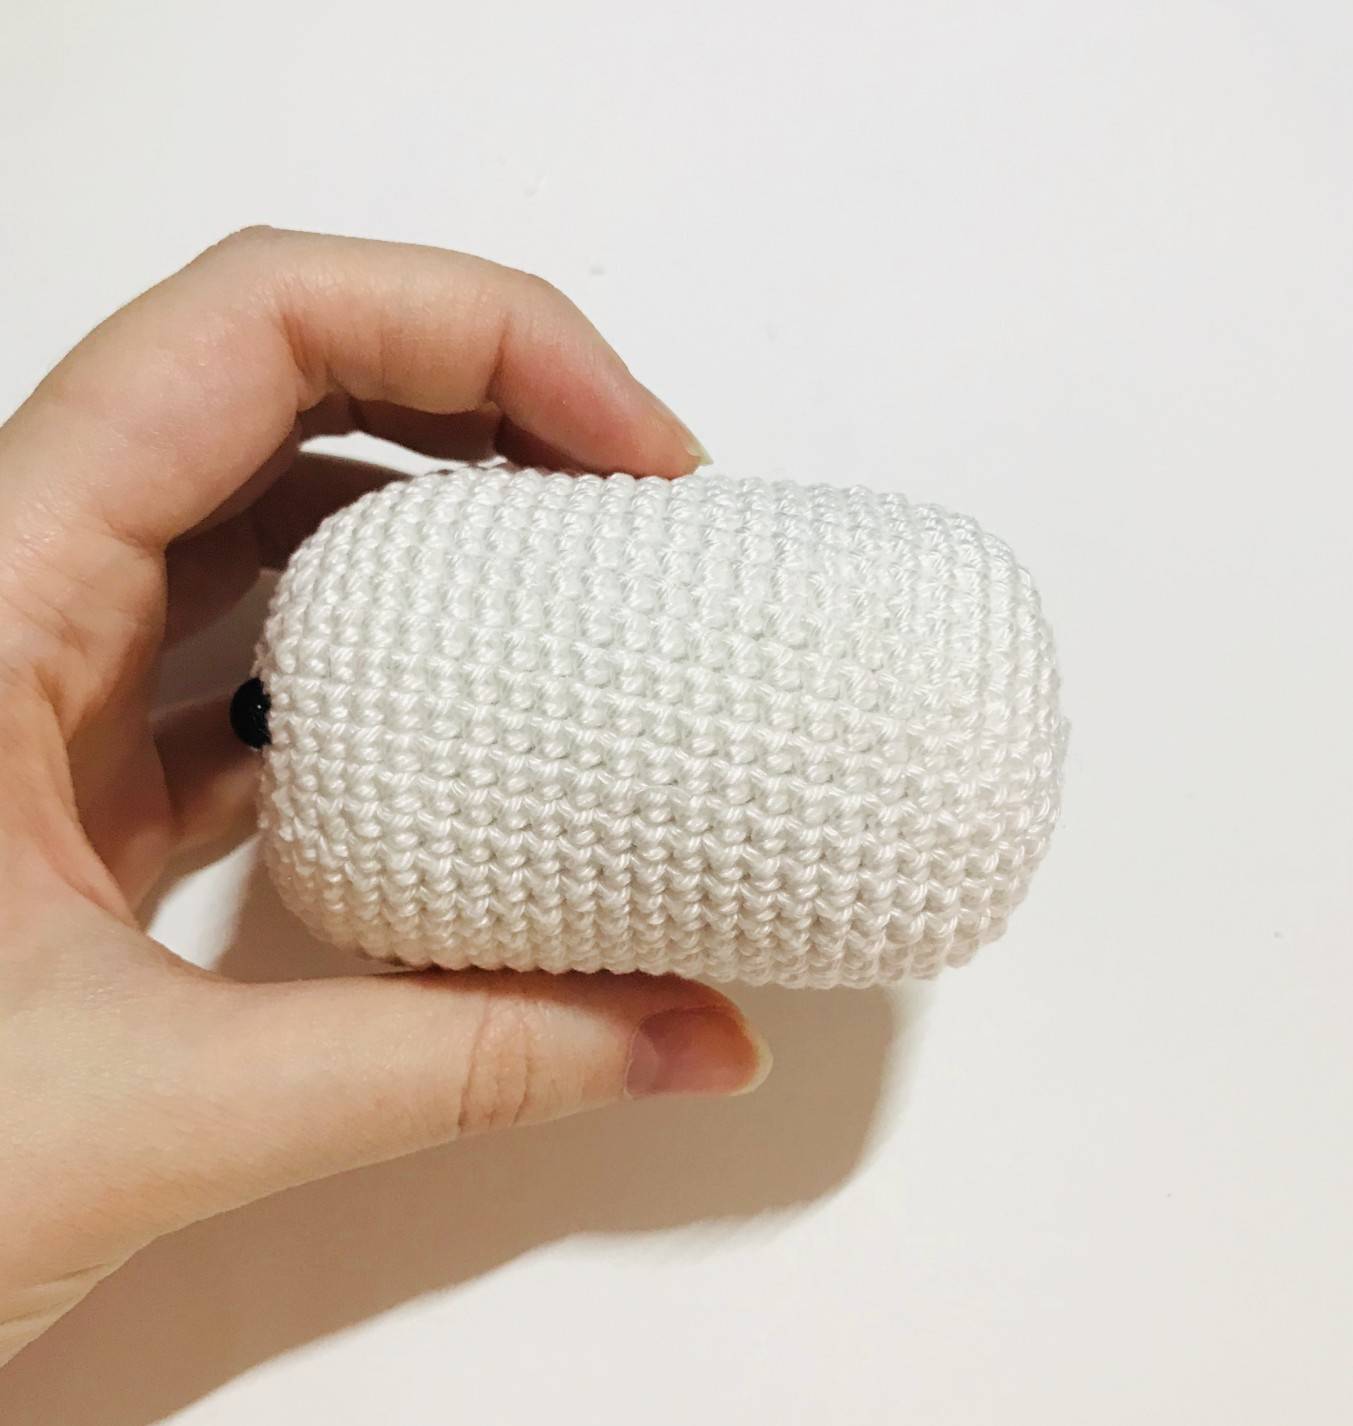
R10 to R24: sc in each sc (45)
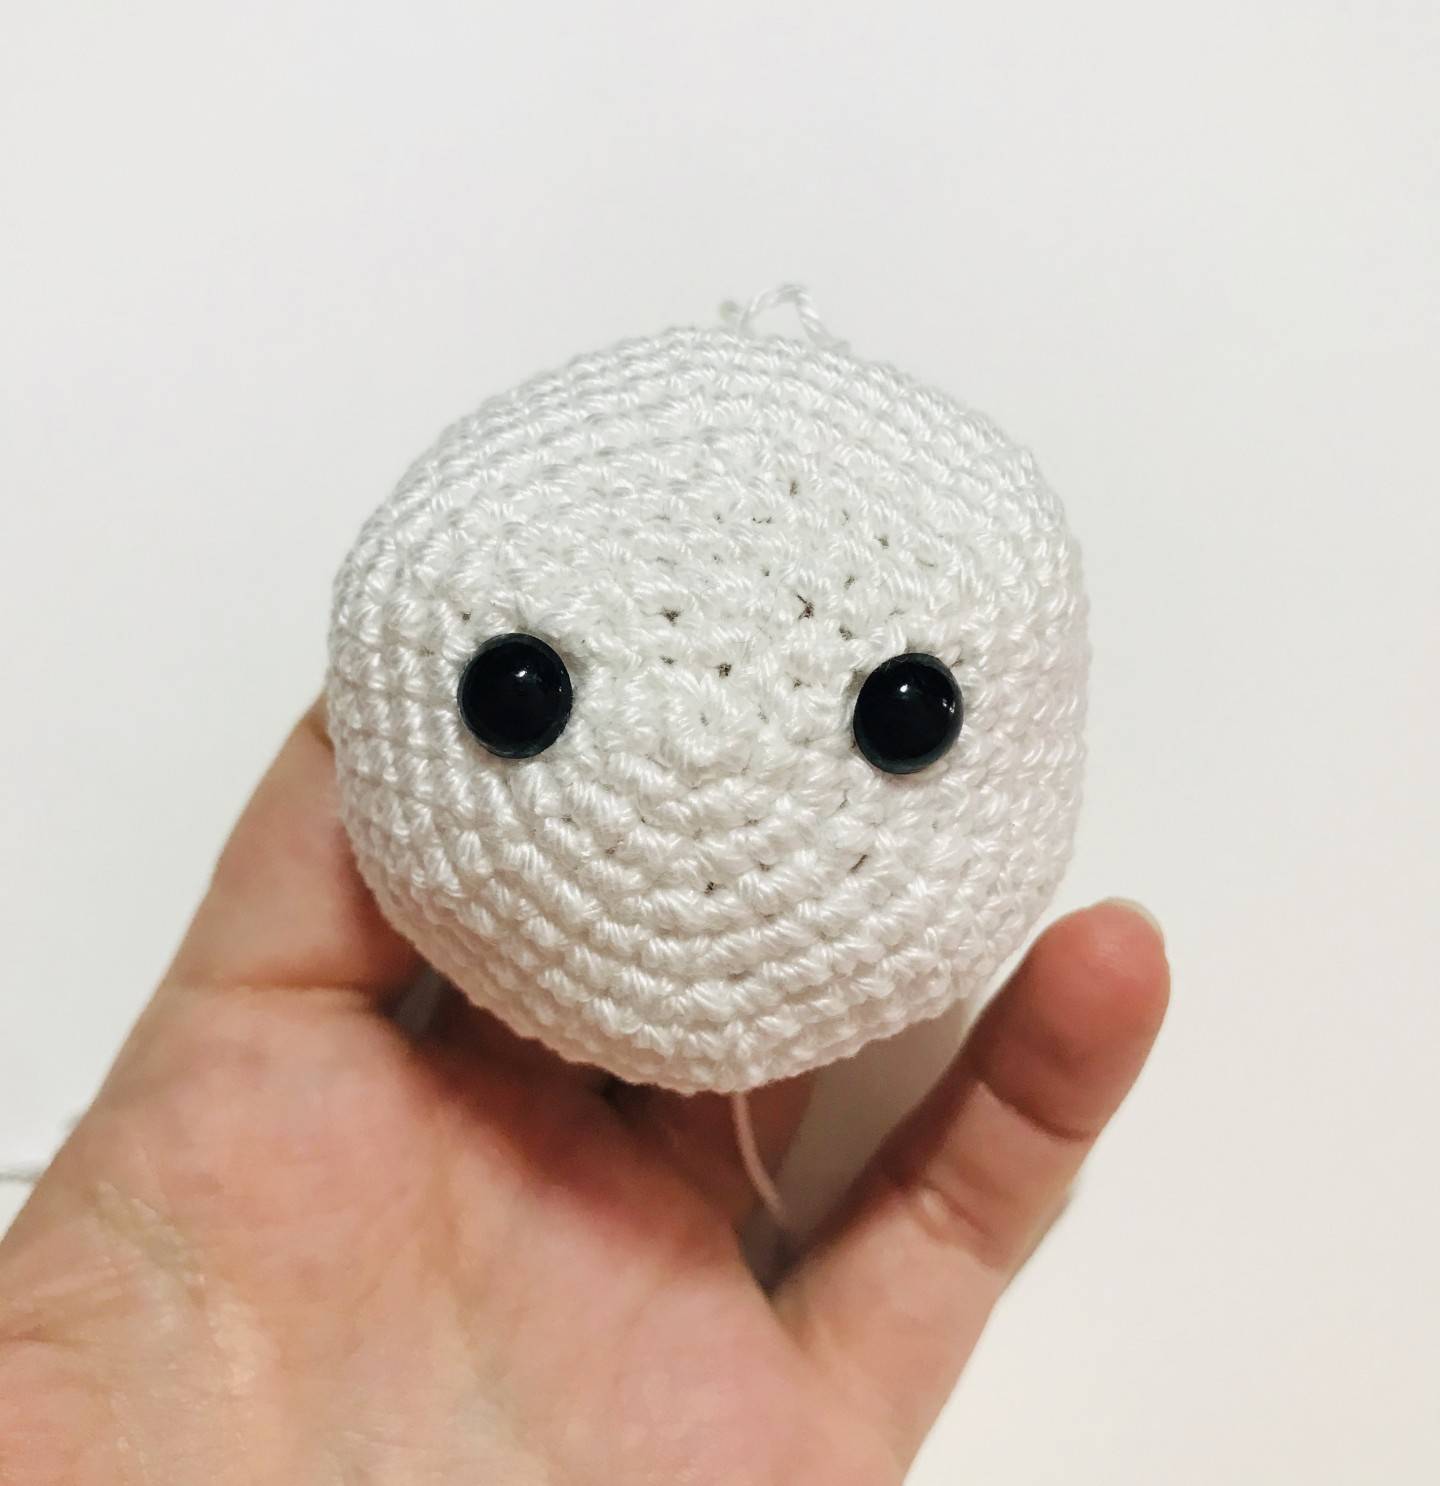
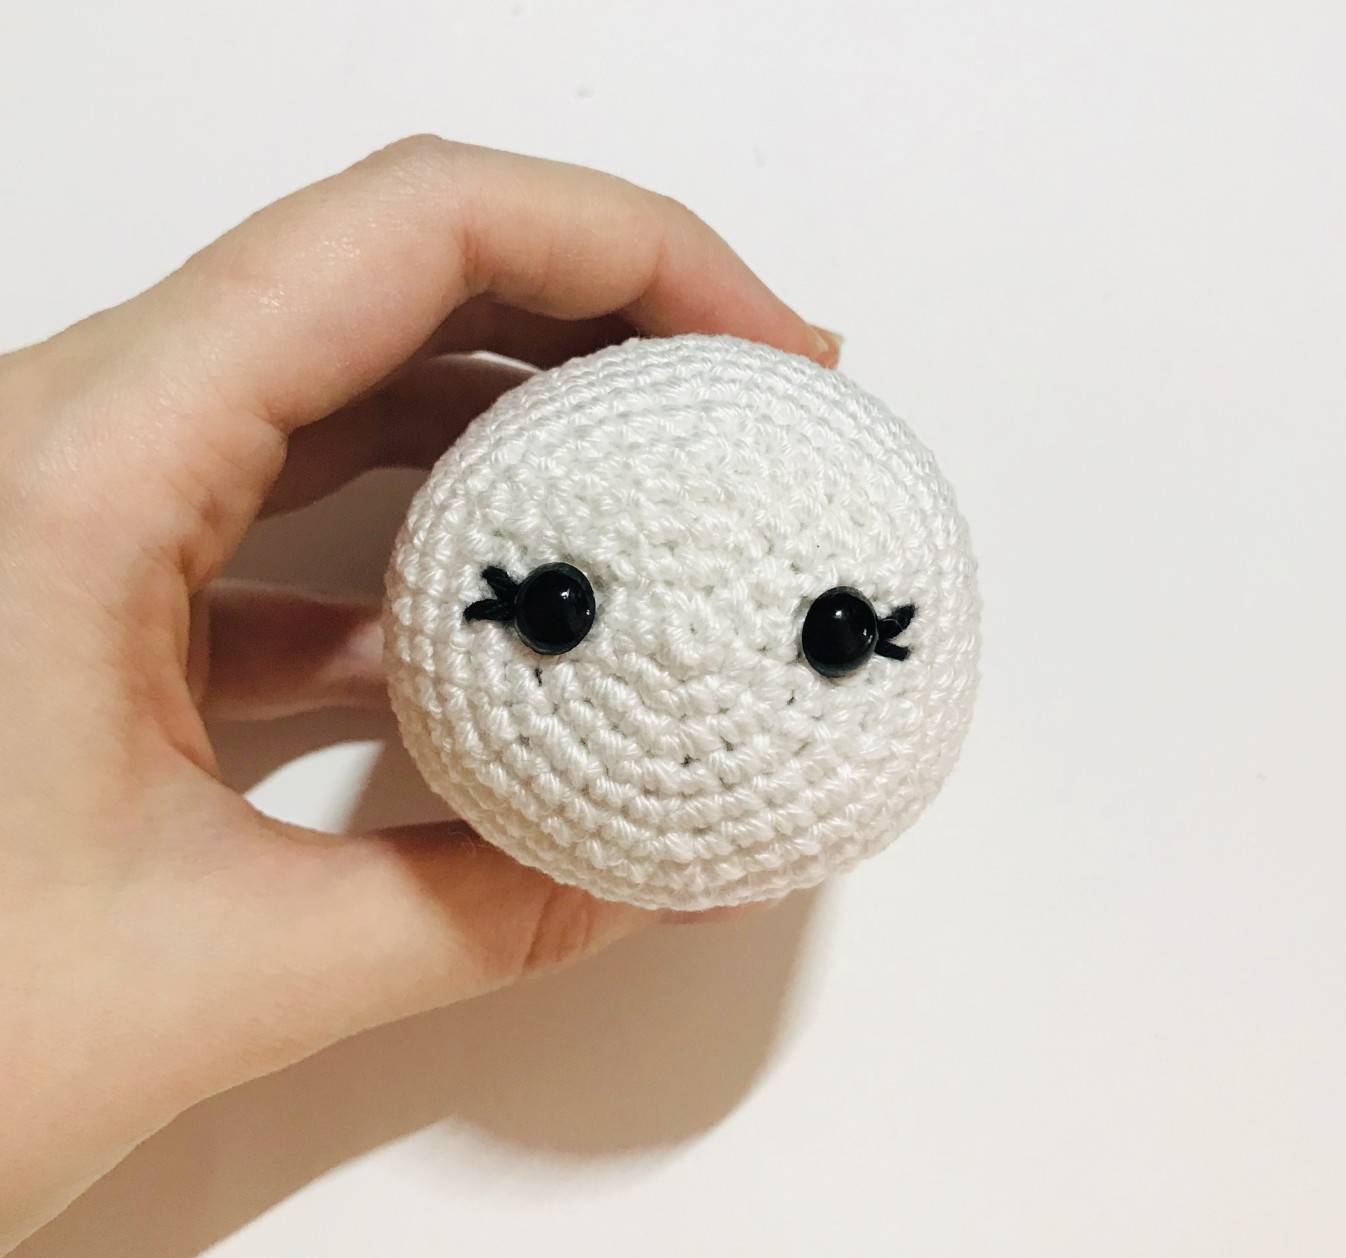
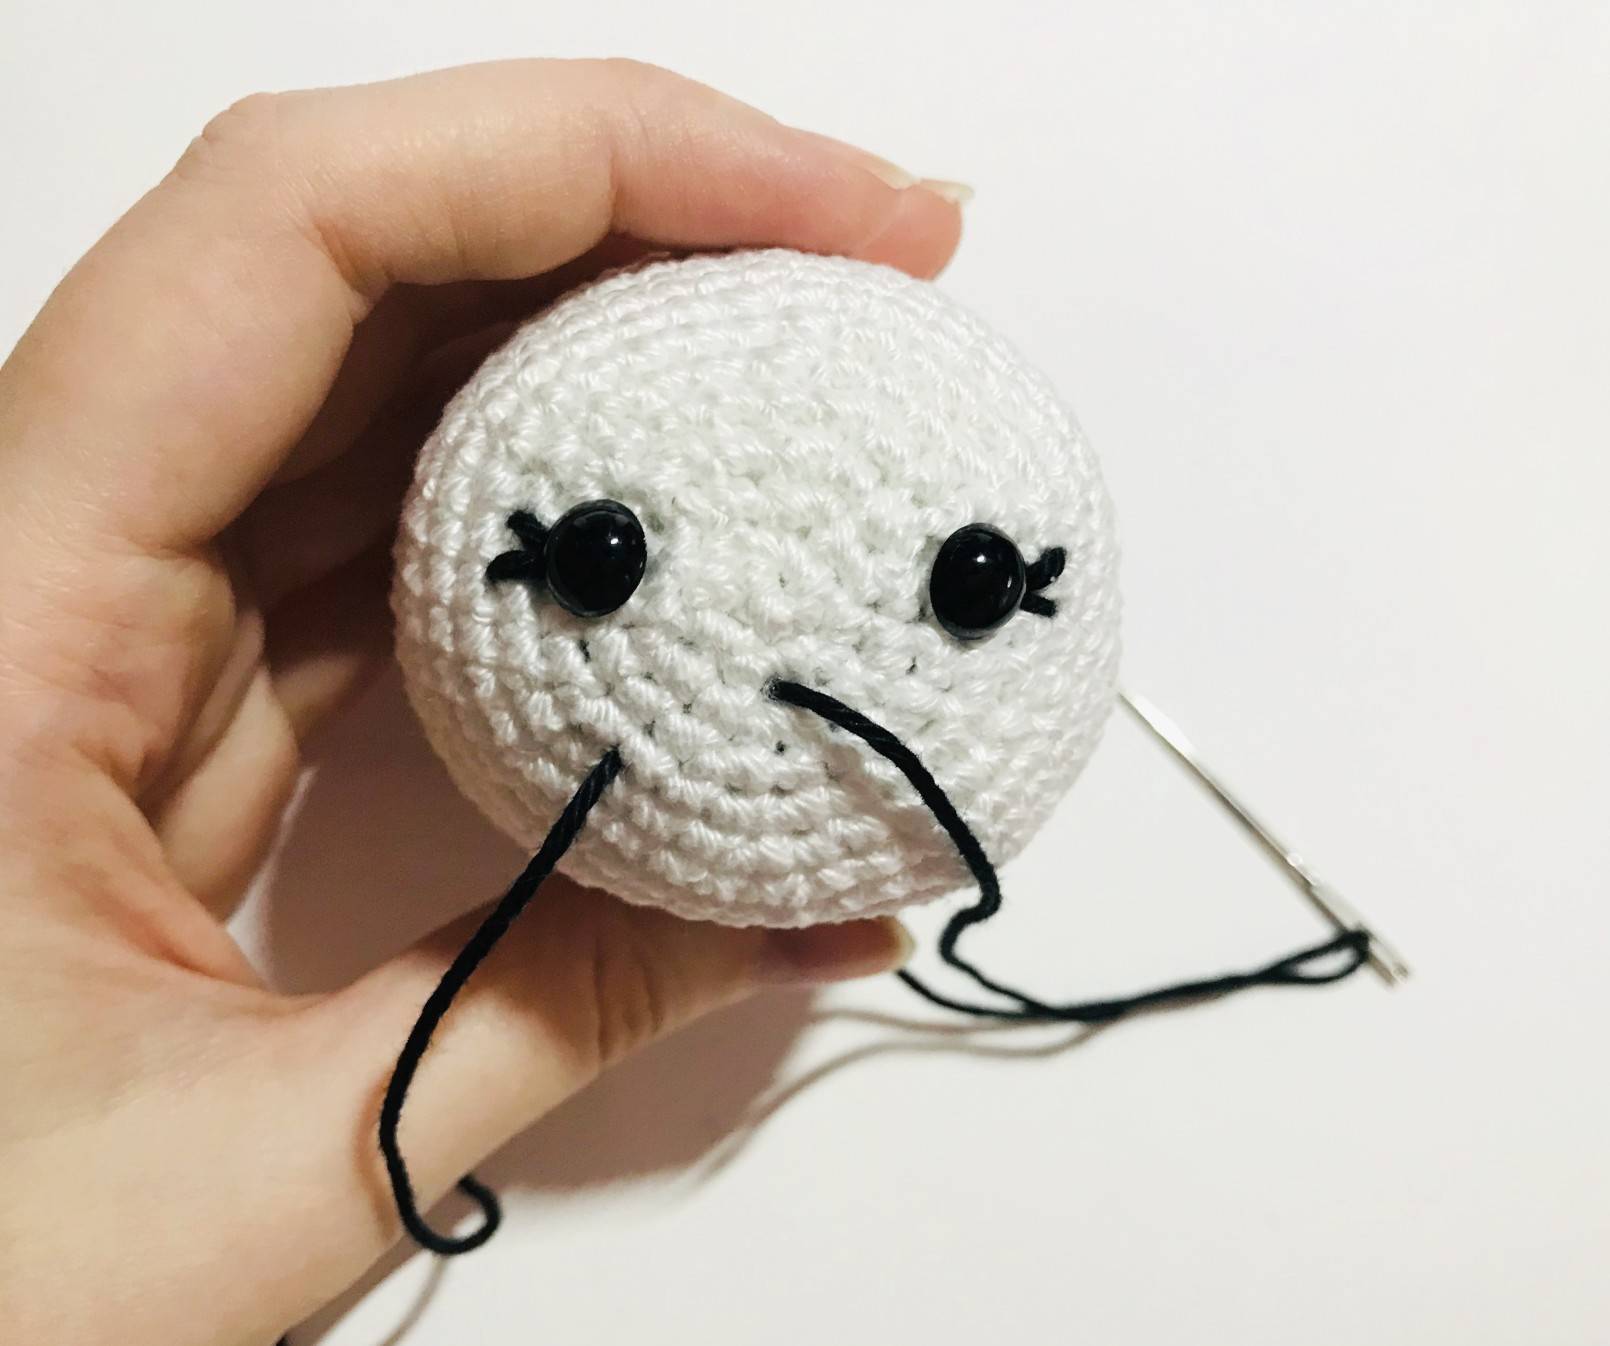
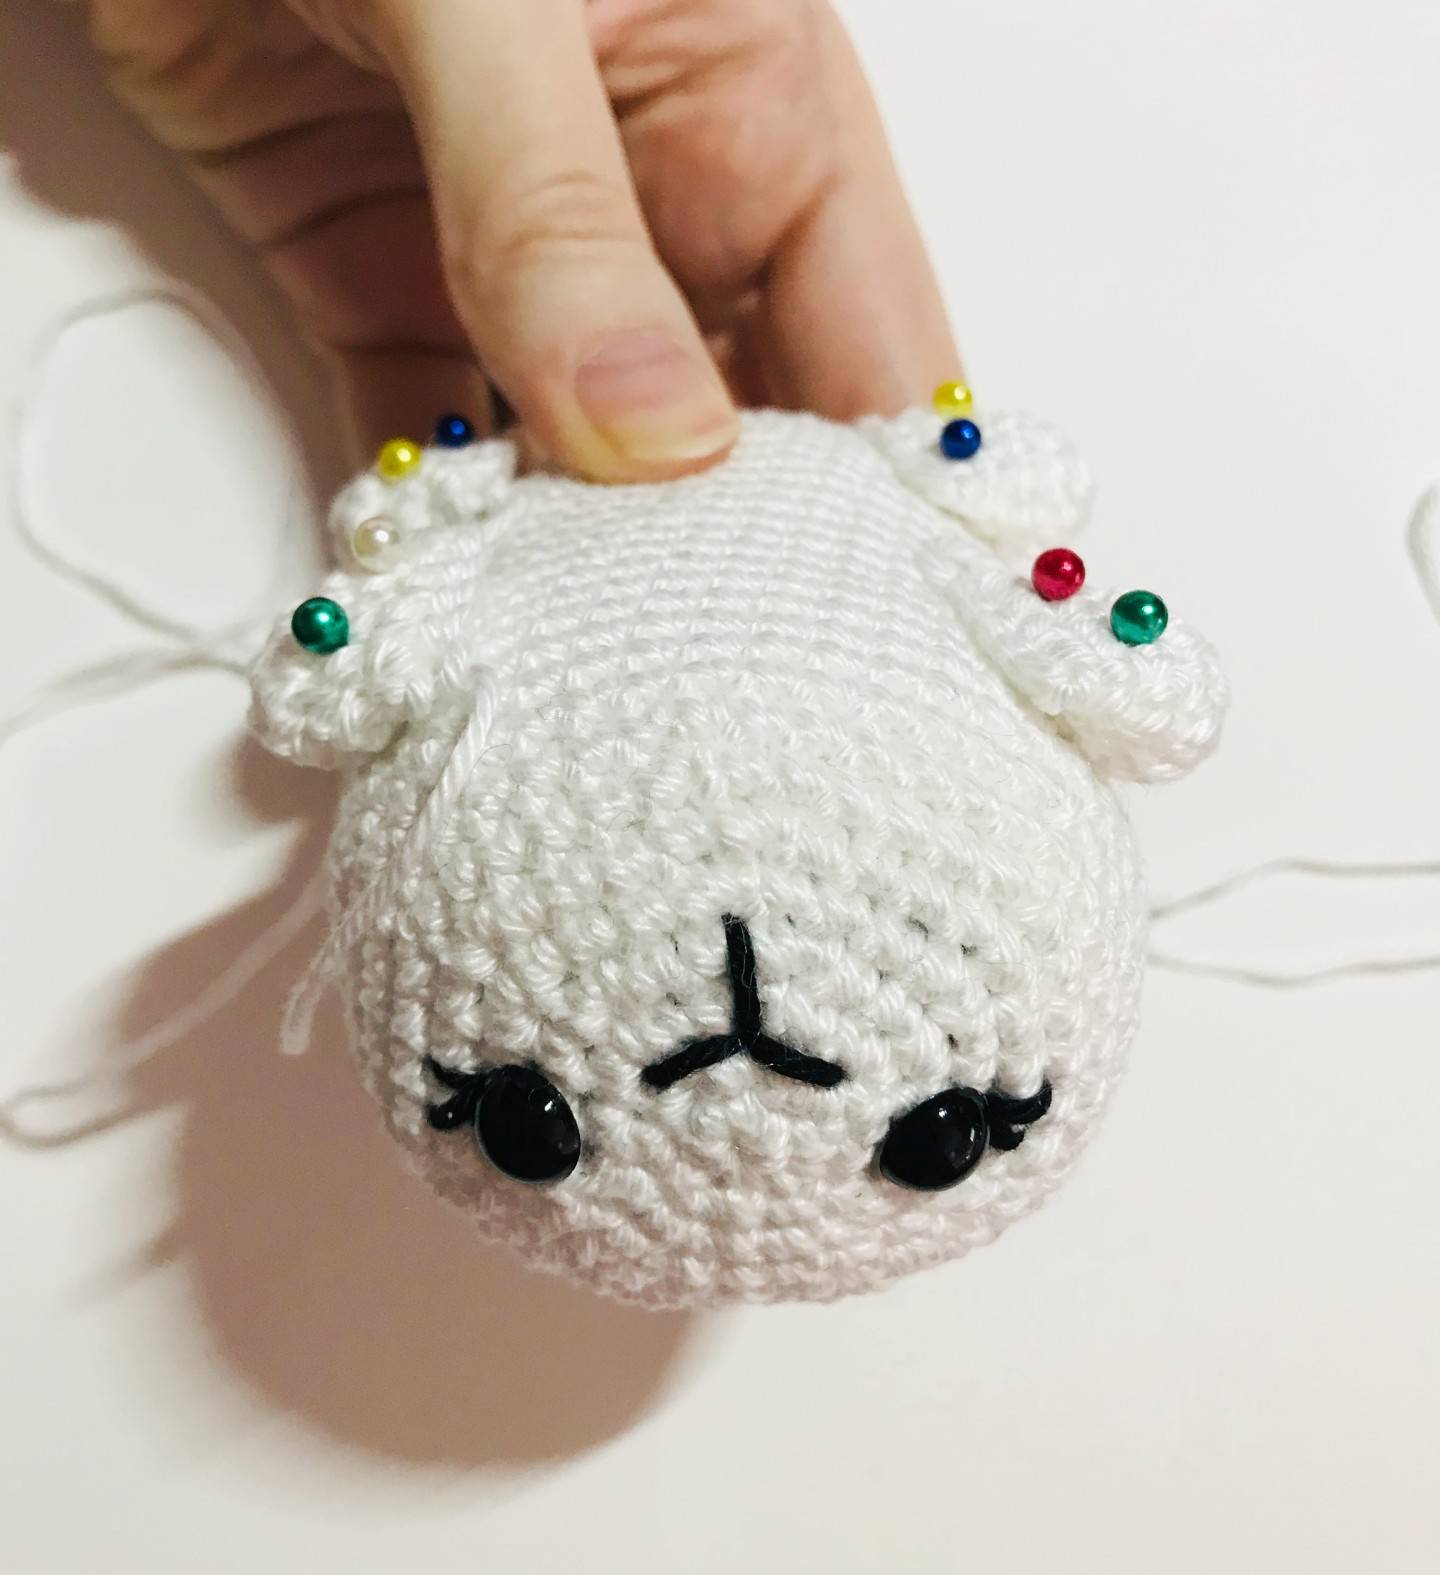
Place the safety eyes 4 stitches from the center for each eye and at the same level as the center
vertically.
Embroider the eyelashes (see detailed explanations below).
R25: *13 sc, 1 dec* x3 (42)
R26: sc in each sc (42)
R27: *5 sc, 1 dec* x6 (36)
R28: 3 sc, 1 dec, *4 sc, 1 dec* x5, 1 sc (30)
Gradually stuff.
R29: *3 sc, 1 dec* x6 (24)
R30: 1 sc, 1 dec, *2 sc, 1 dec* x5, 1 sc(18)
R31: * 1 sc, 1 dec* x6 (12)
R32: 6 decreases (6)
R33: Fasten off and pass it through
the front loop of the 6 remaining
stitches. Tighten and weave in ends.
All rights reserved. You can not resell, share, modify or publish this pattern.
This pattern is for PERSONAL use only. The pattern may not be, in whole or in part, reproduced, published (online or printed), modified or resold according to article L.122-4 of the french intellectual property code.
You can sell the finished products, if they are made by you, in limited quantities and by providing the name of the designer. Please add the following information to the description of the amigurumi sold:
“This plush was handmade by … (your name) from a pattern created by My Rainbow Crochet”
Copyright 2021 MyRainbowCrochet
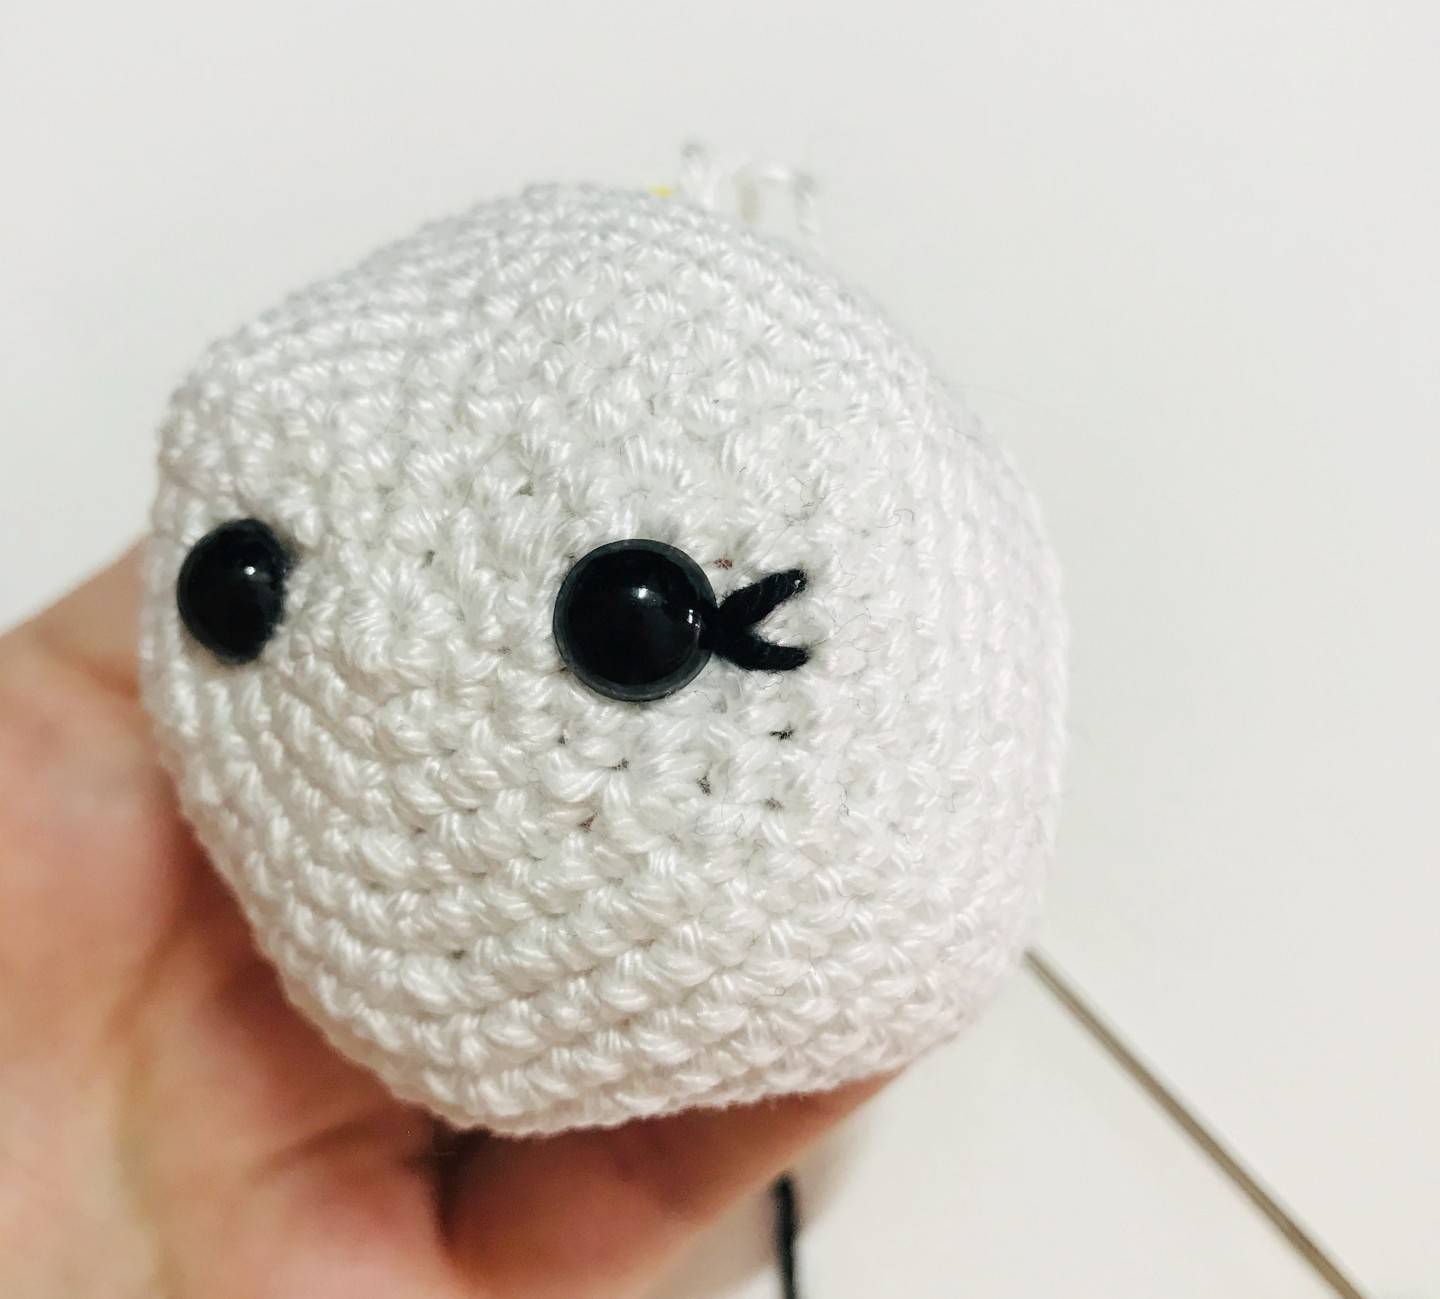
Eyes embroidery
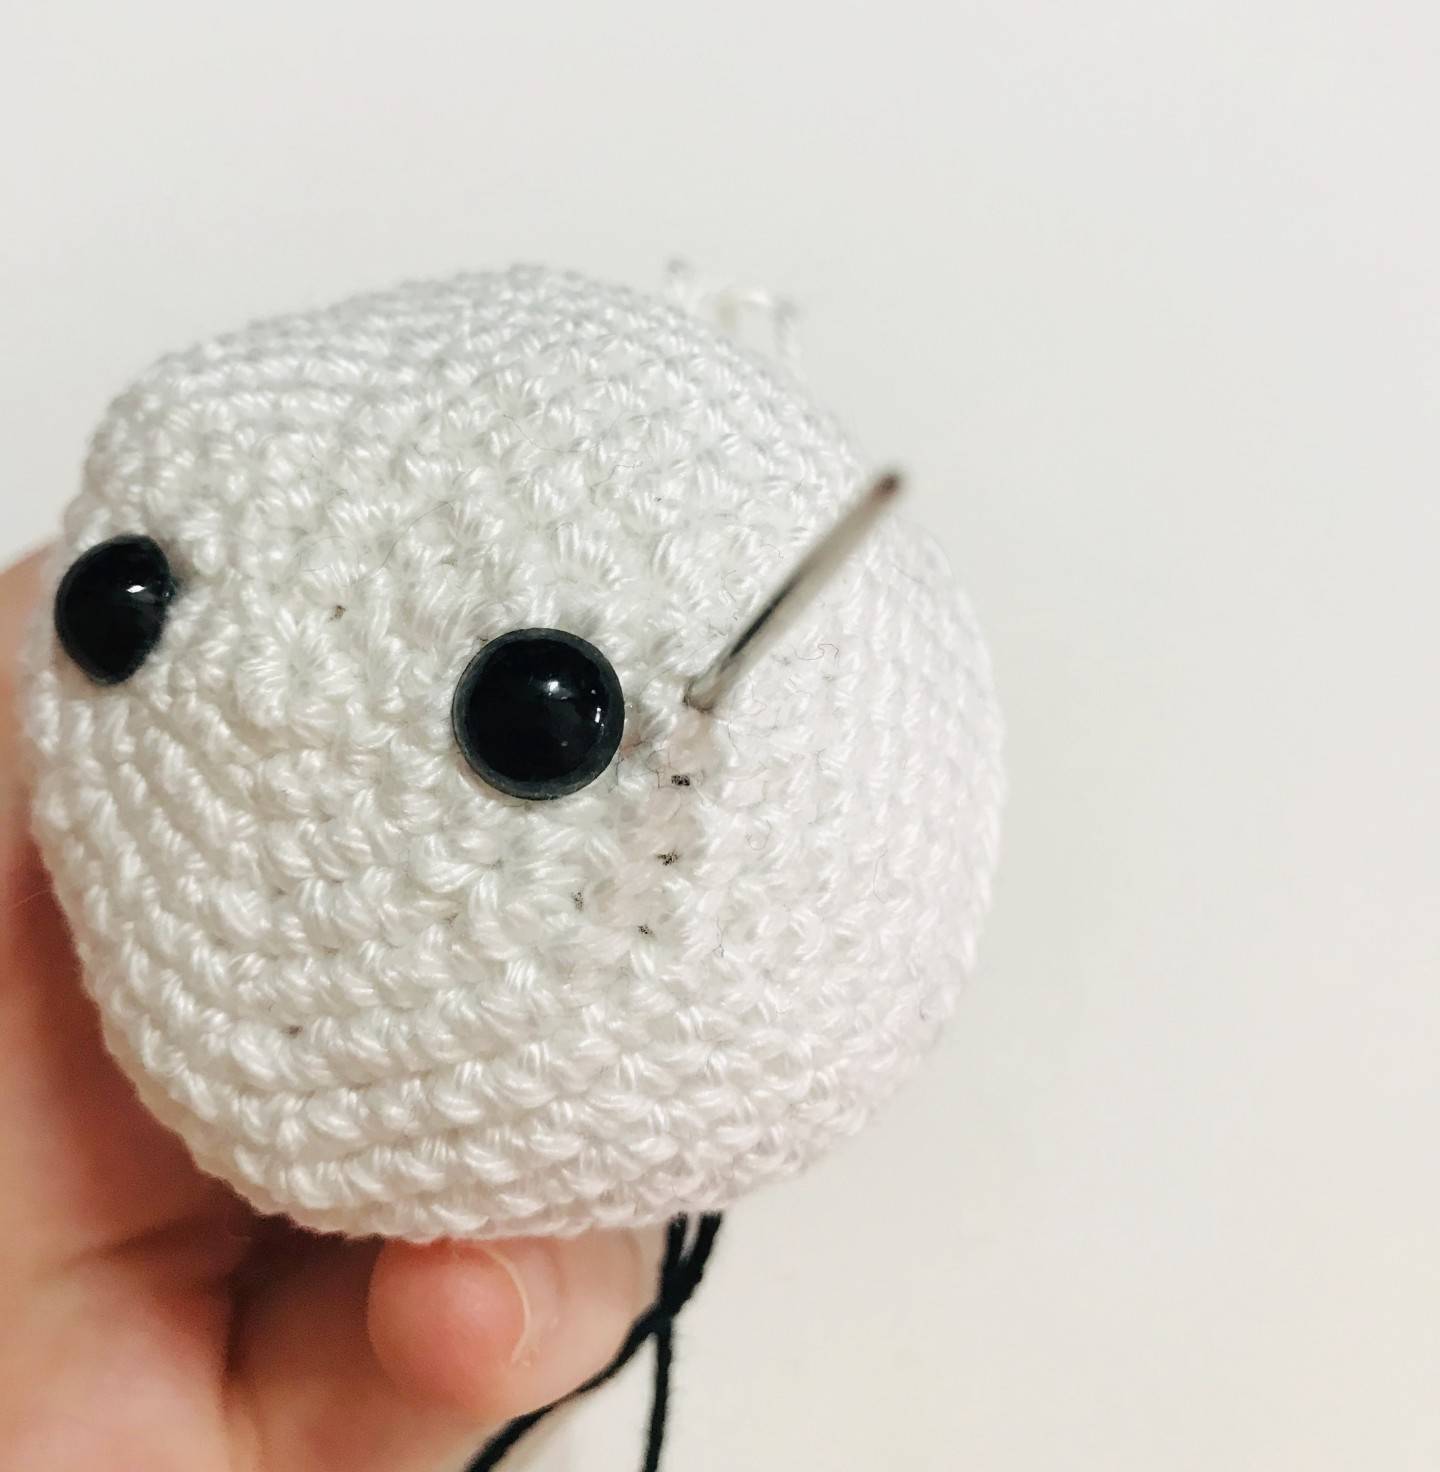
Insert your black thread 1 row
above the middle of the eye.
And return it to the stitch which
is at the level of the middle of the
eye.
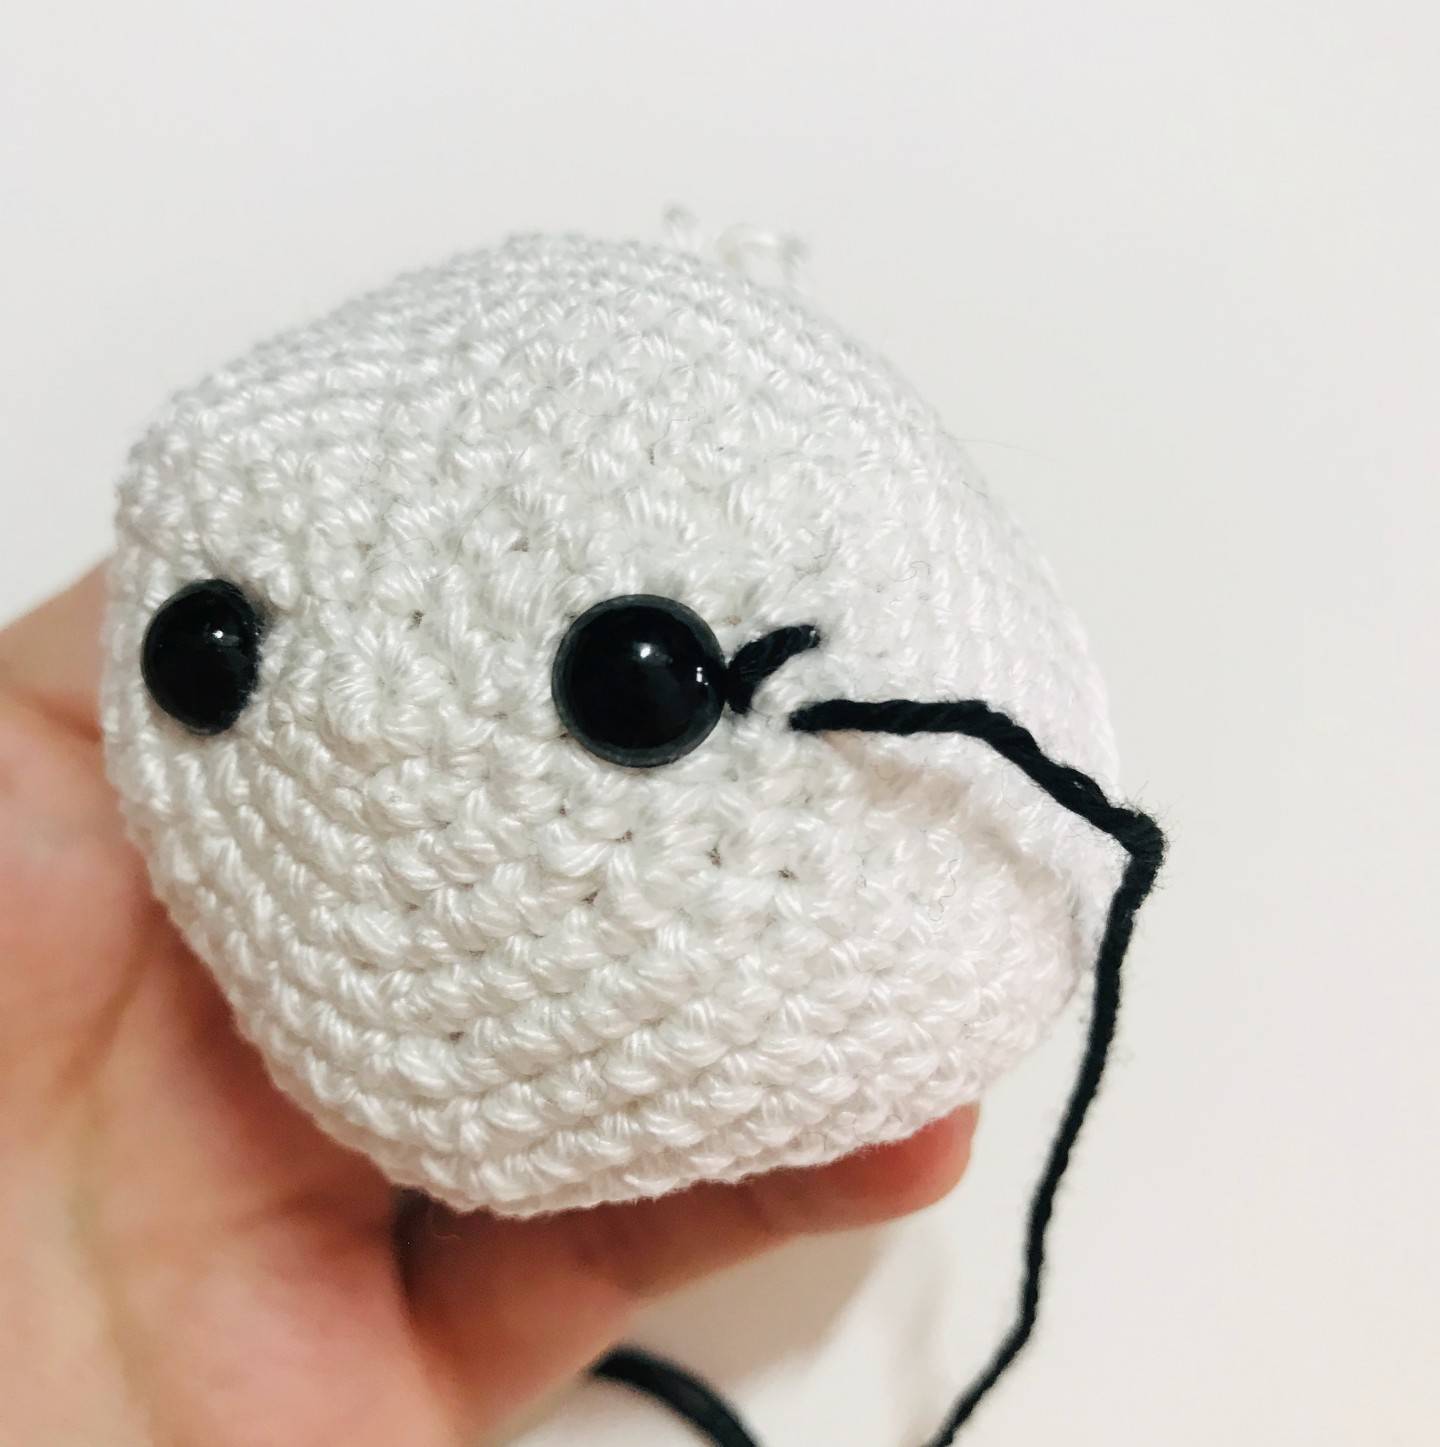
Insert your black thread 1 stitch
from the middle of the eye
horizontally.
And return it to the stitch which
is at the level of the middle of the
eye.
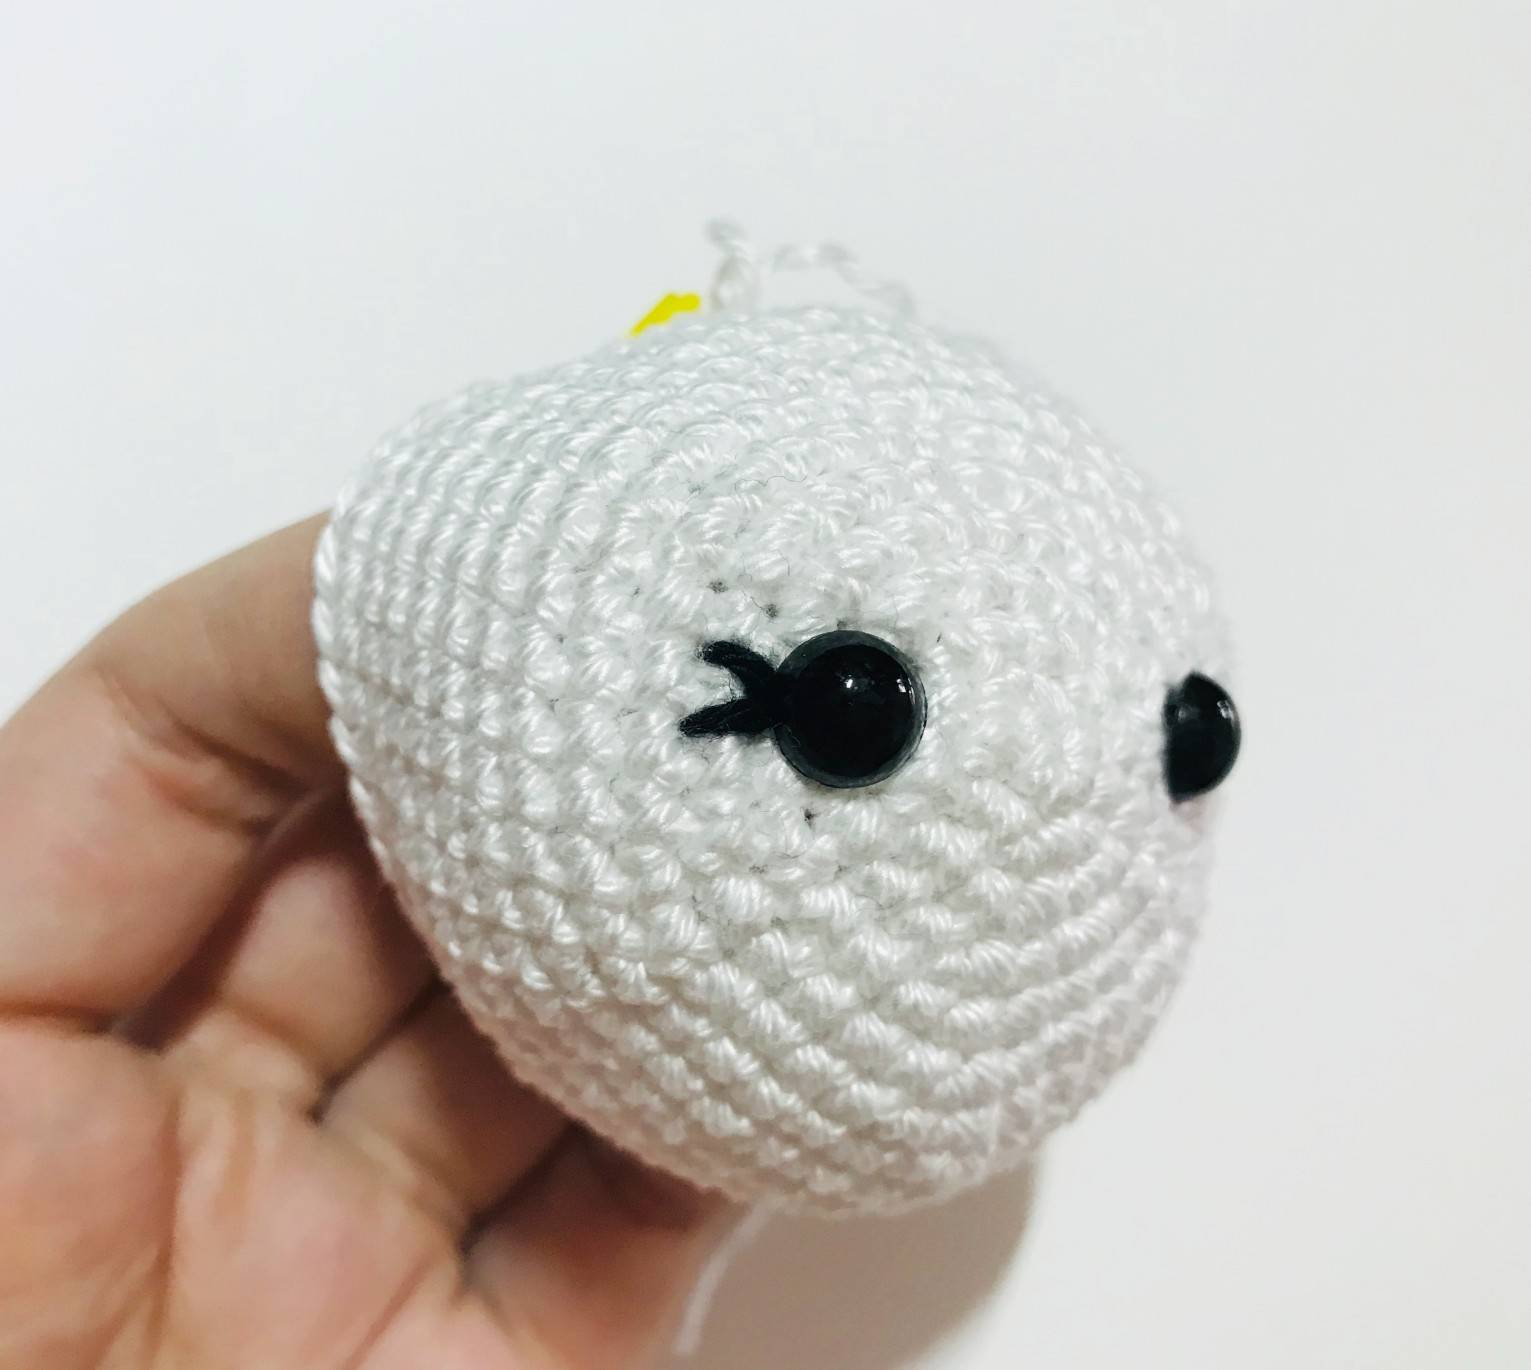
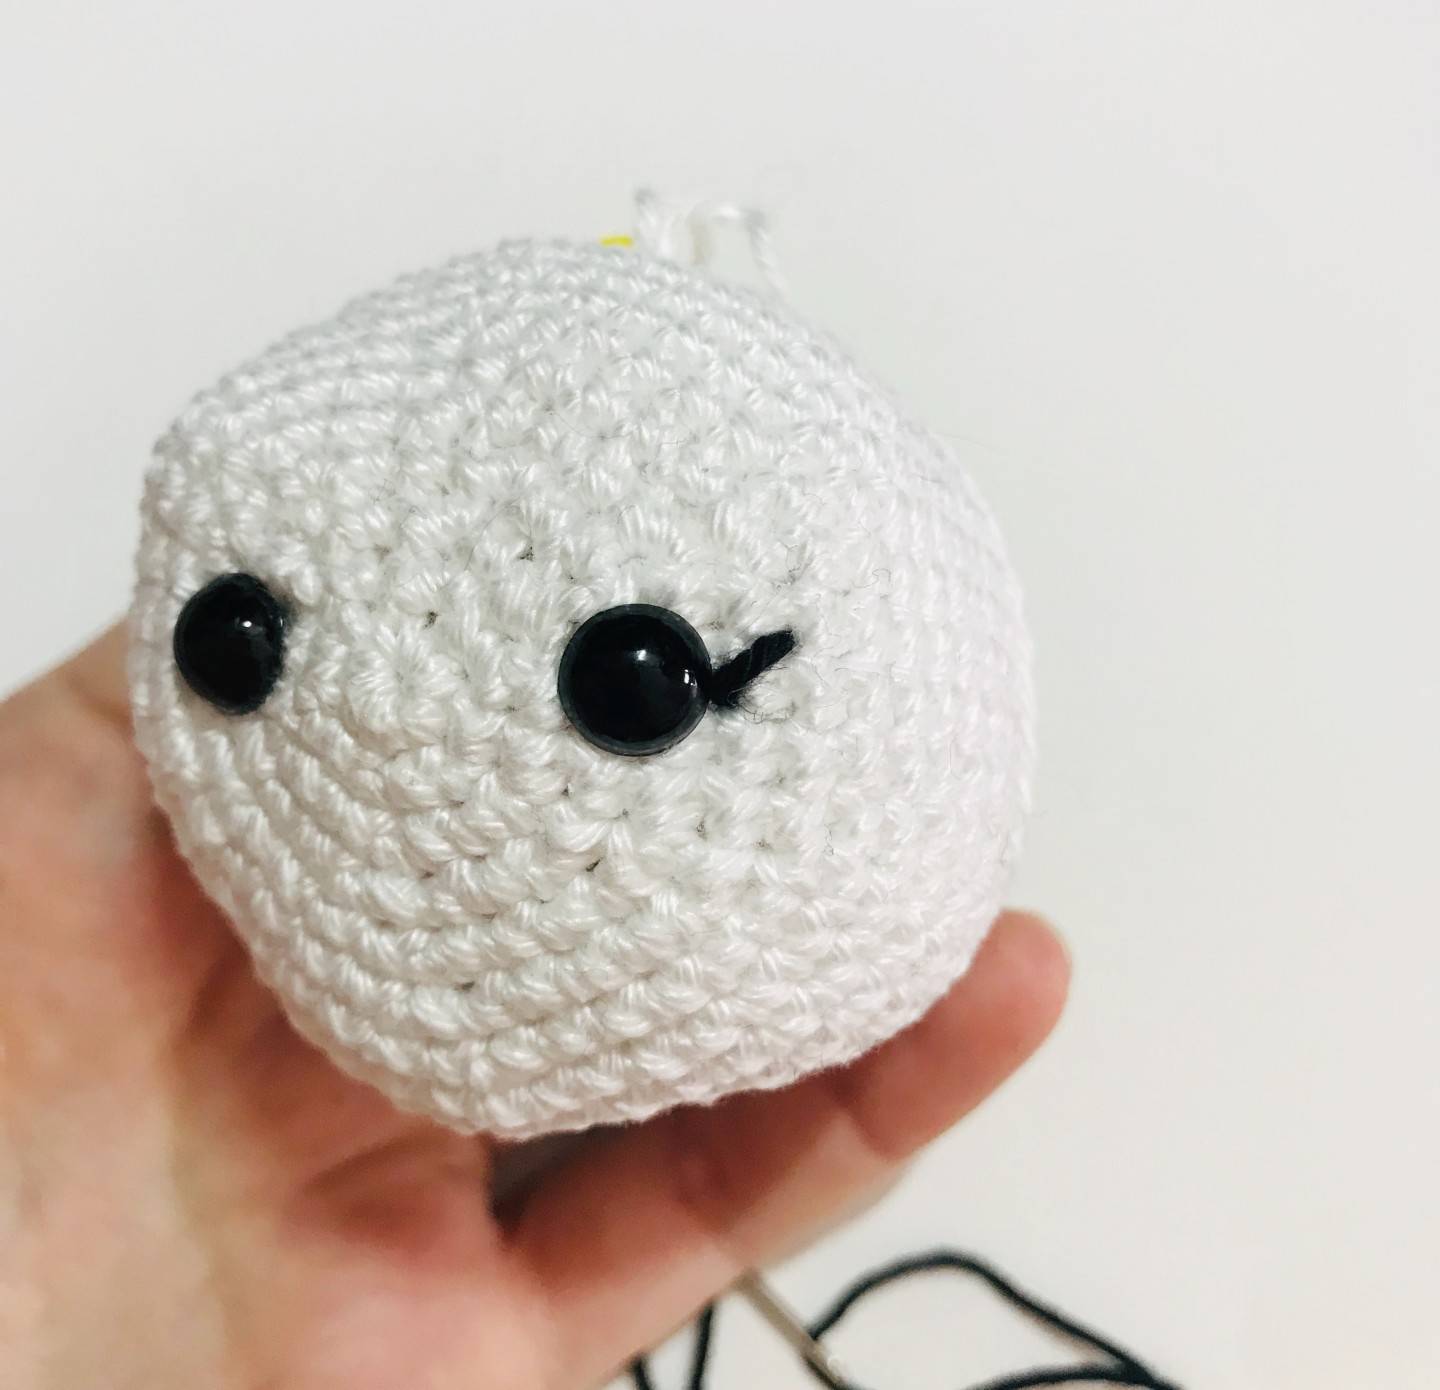
Do the same process for the
second eye.
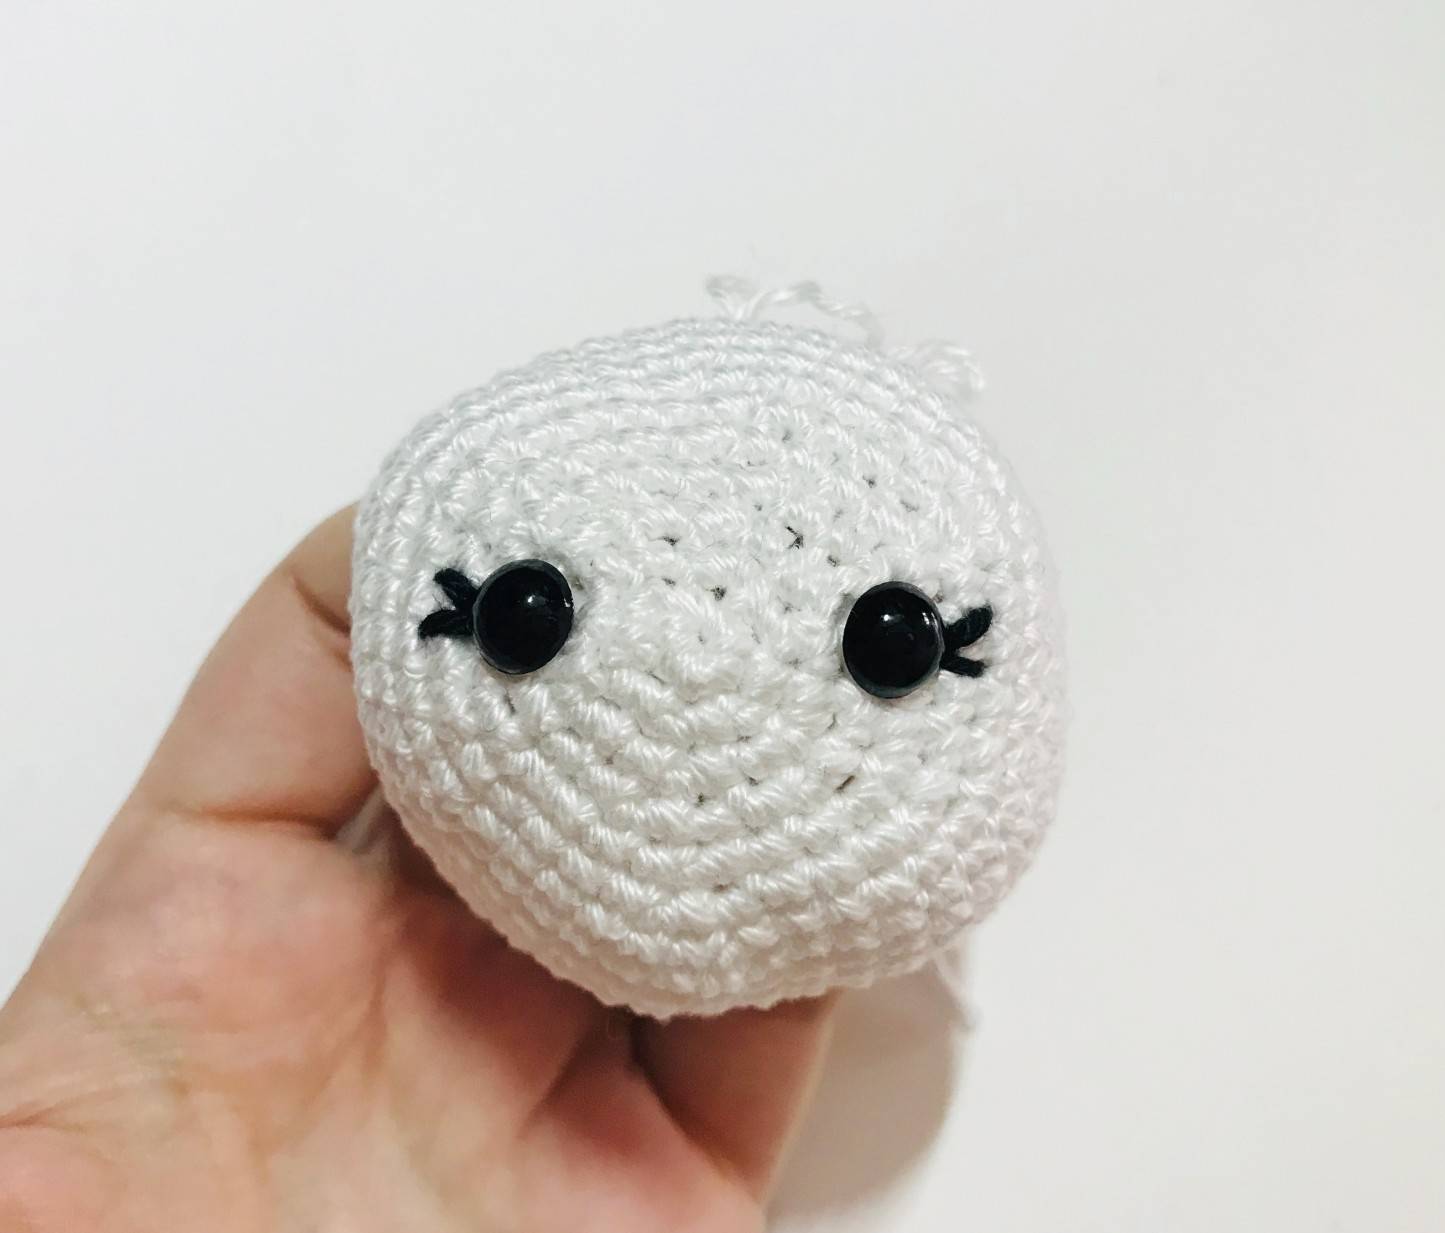
This is the result for both eyes.
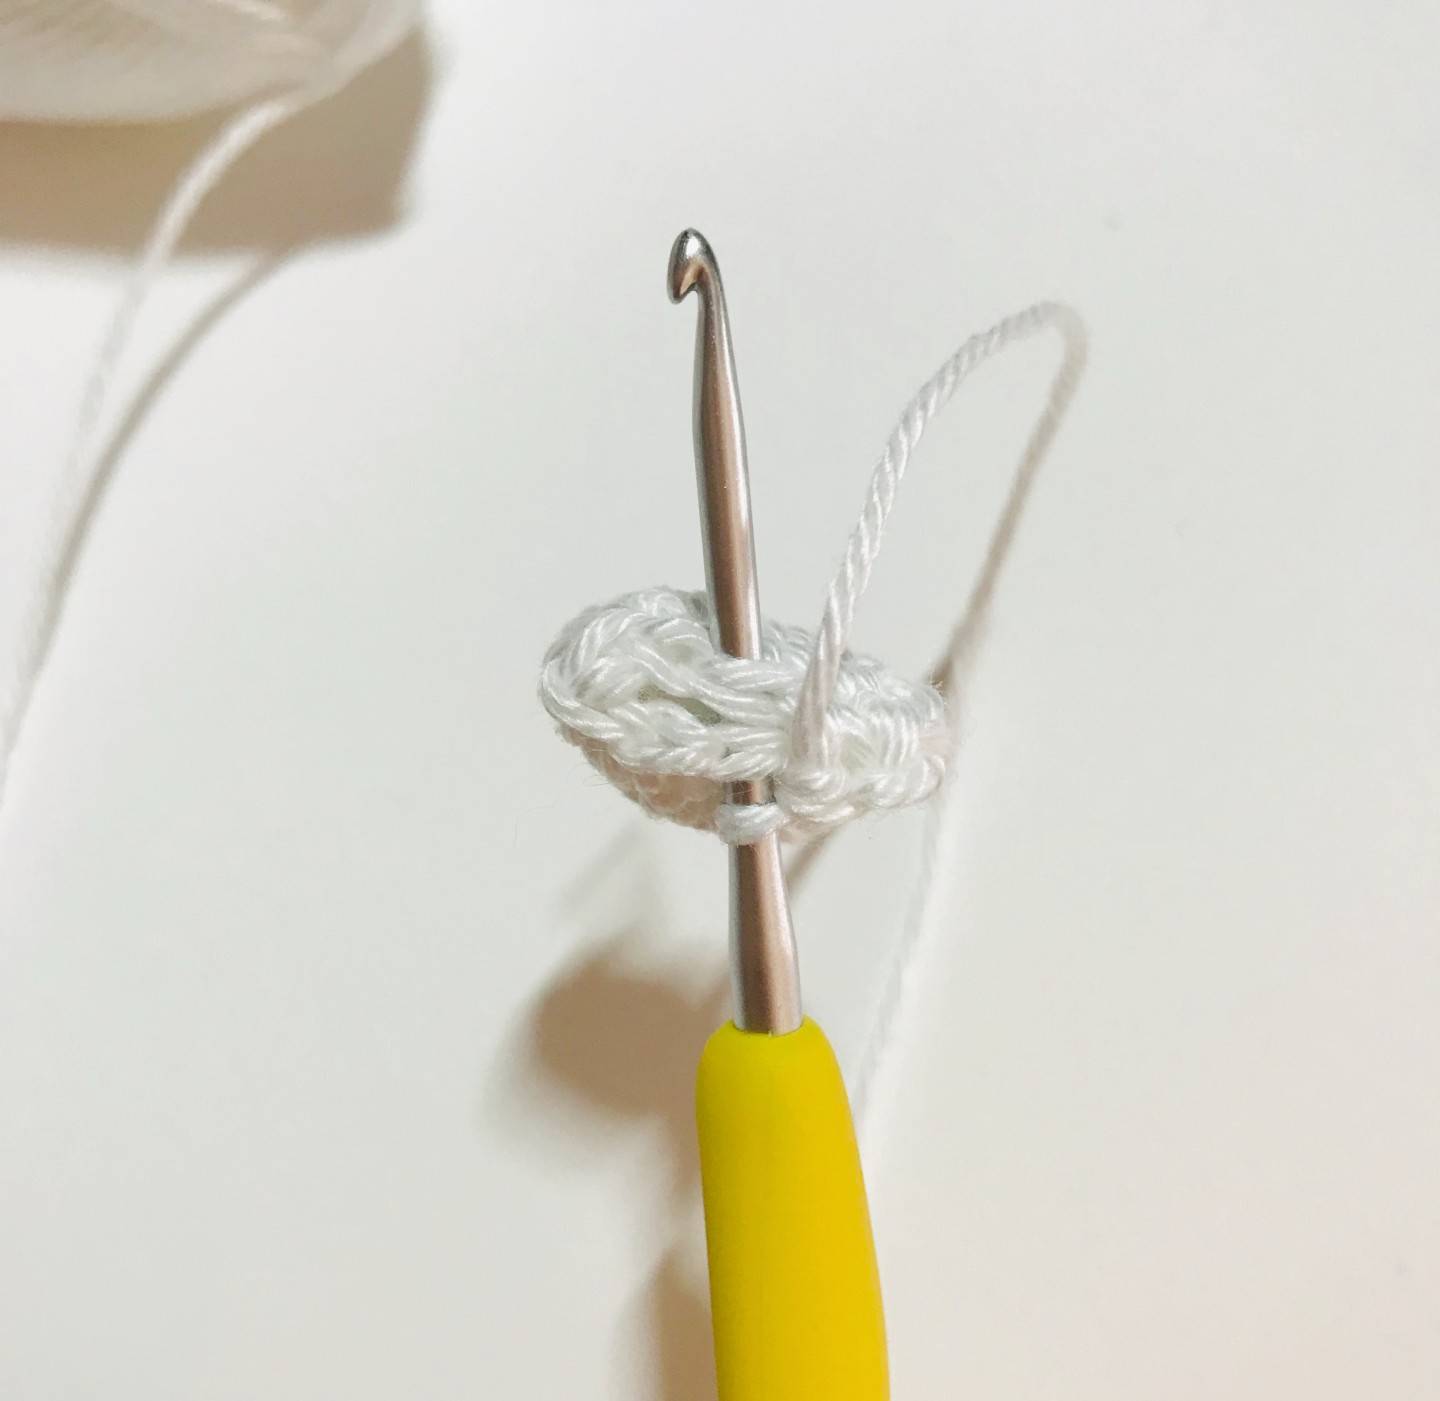
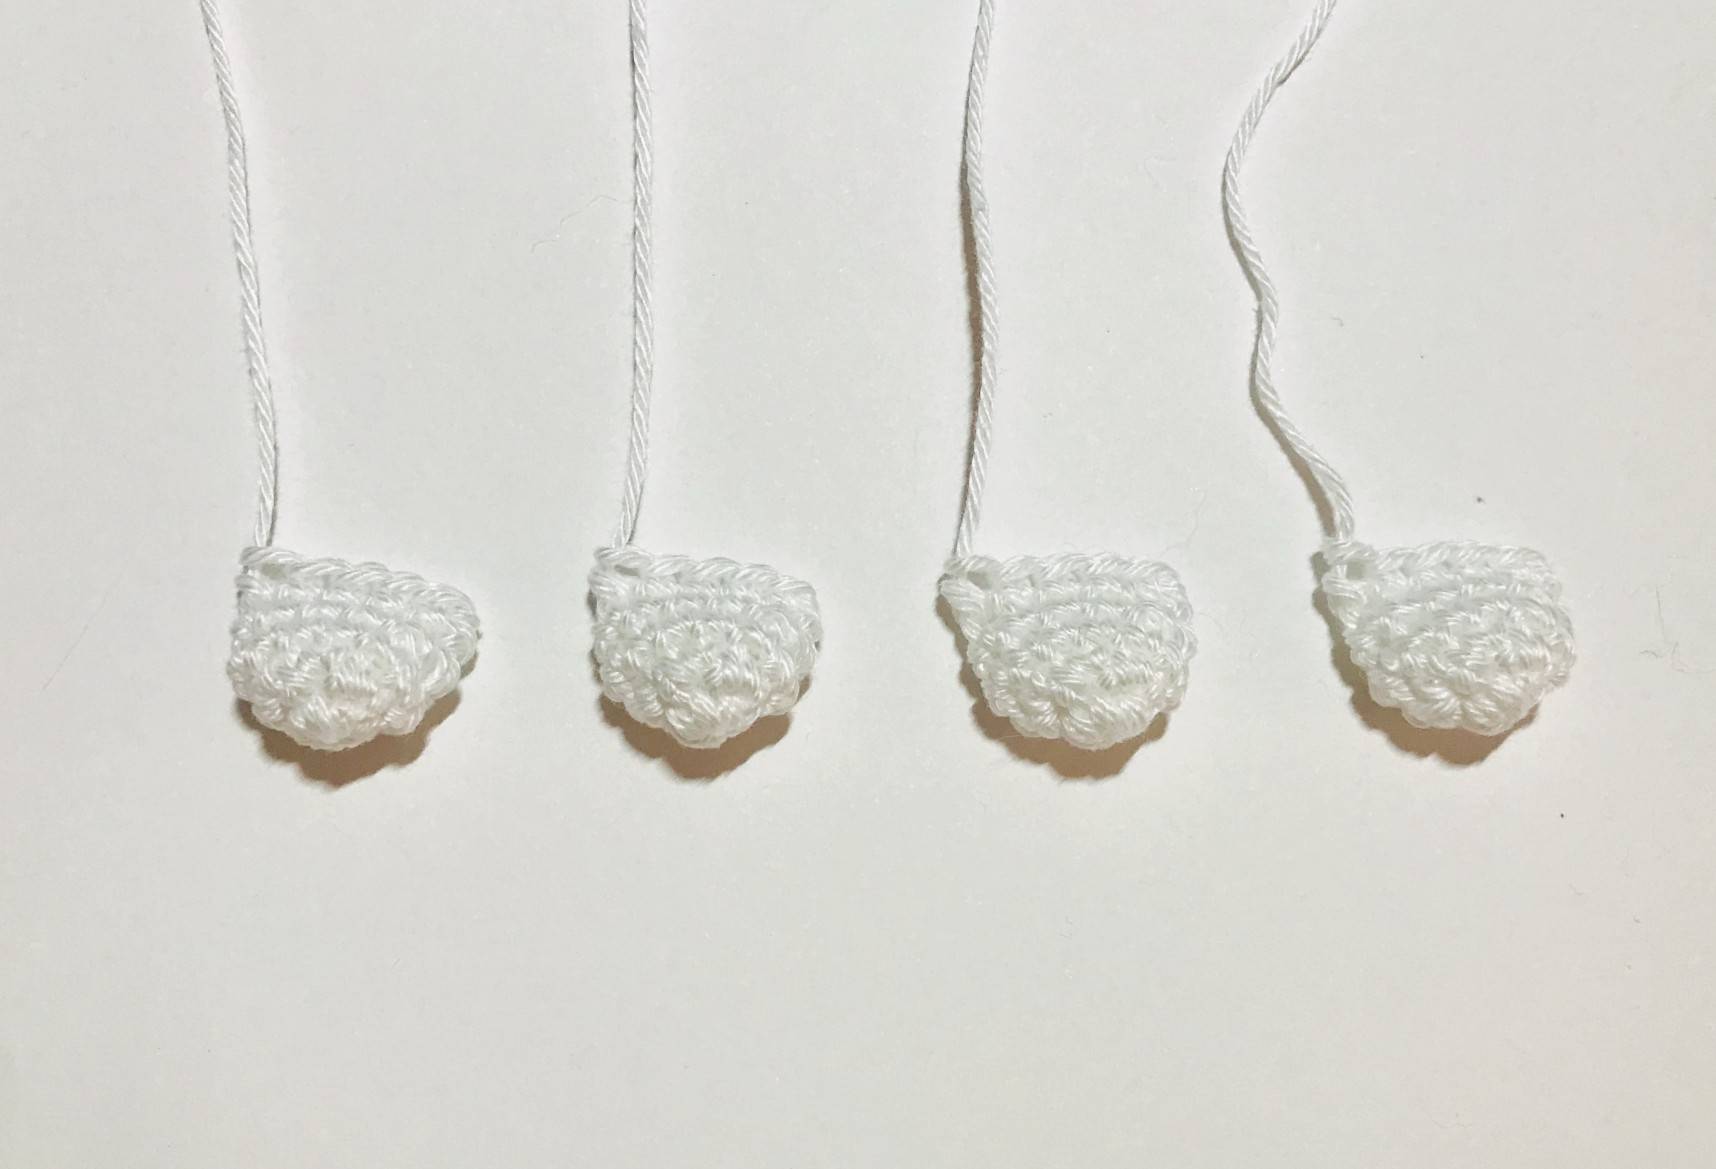
🐣 The paws x4
(to be done with white yarn)
R1: magic ring with 6 sc
R2: 1 Inc in each sc (12)
R3: scin each sc (12)
R4: *1 dec, 4 sc* x2 (10)
Stuff very lightly.
R5: Close by joining the two edges with 5 sc.
Fasten off by keeping some yarn for sewing later.
✨ Receive your Magic e-book with 5 free patterns! ✨
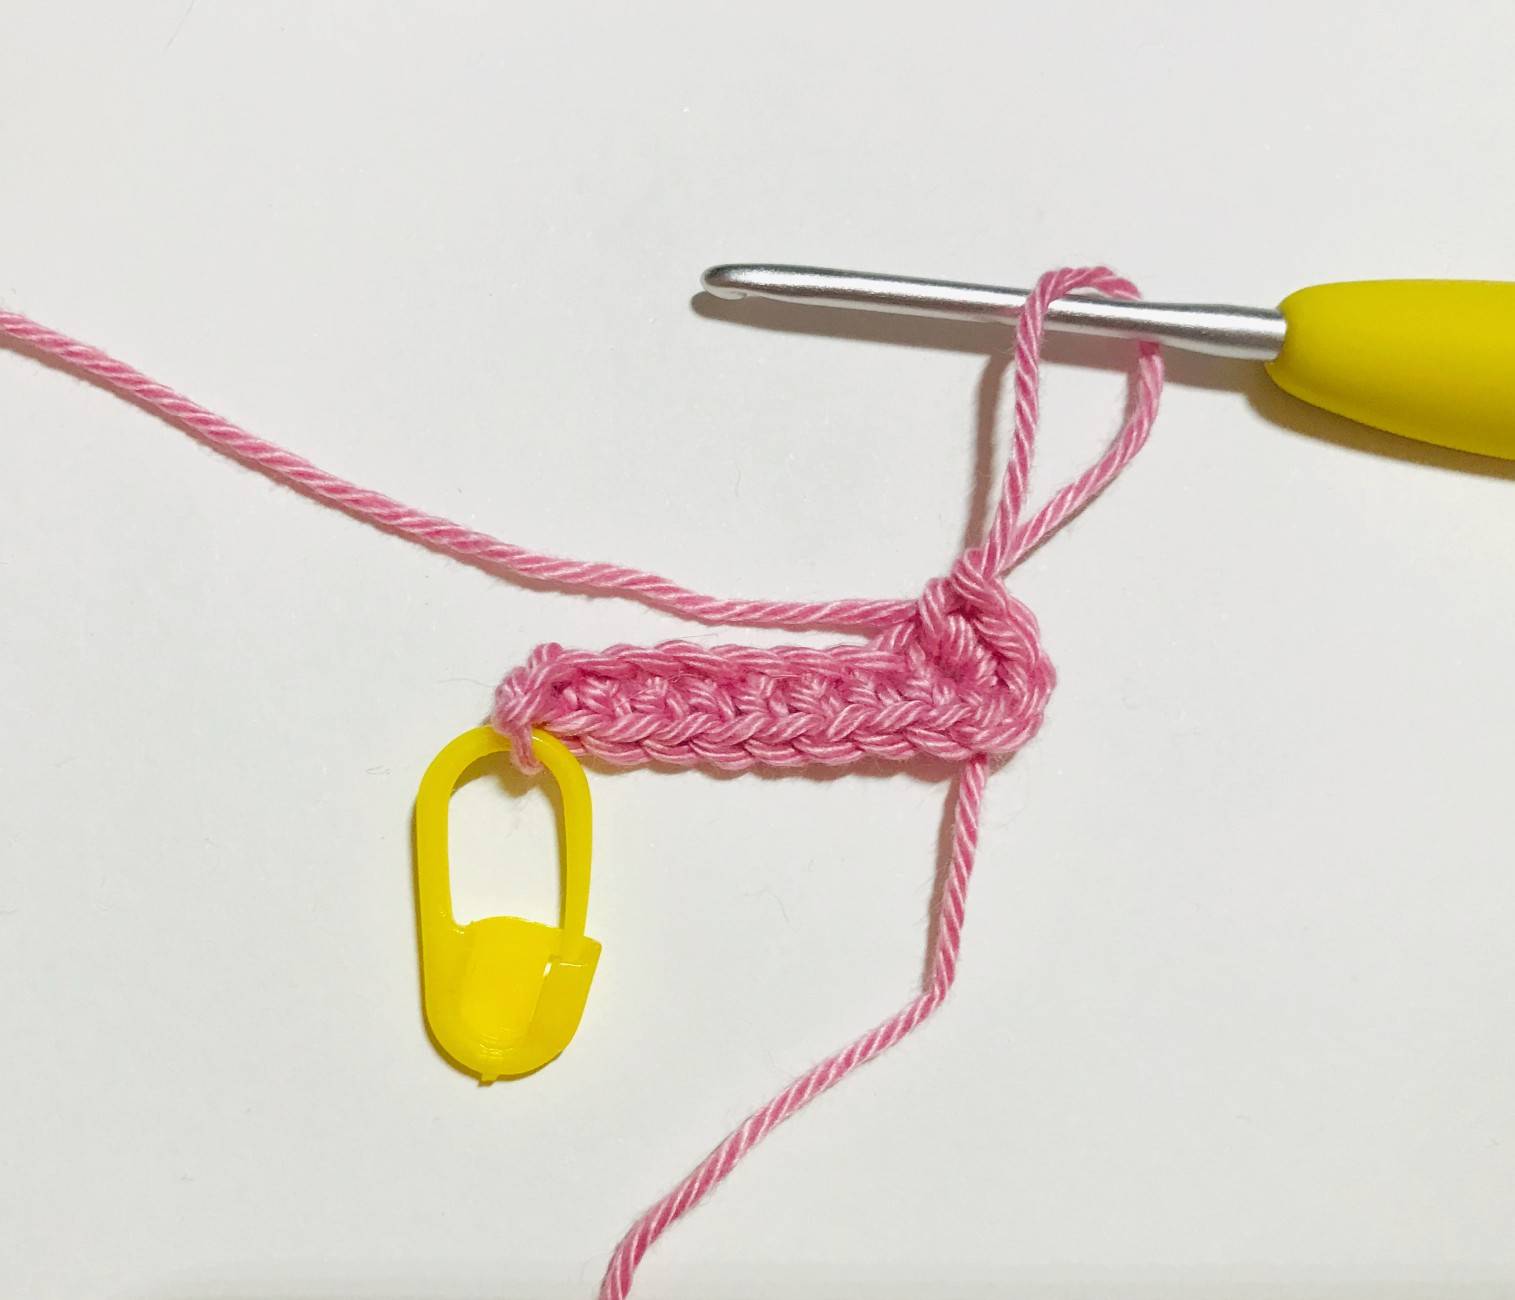
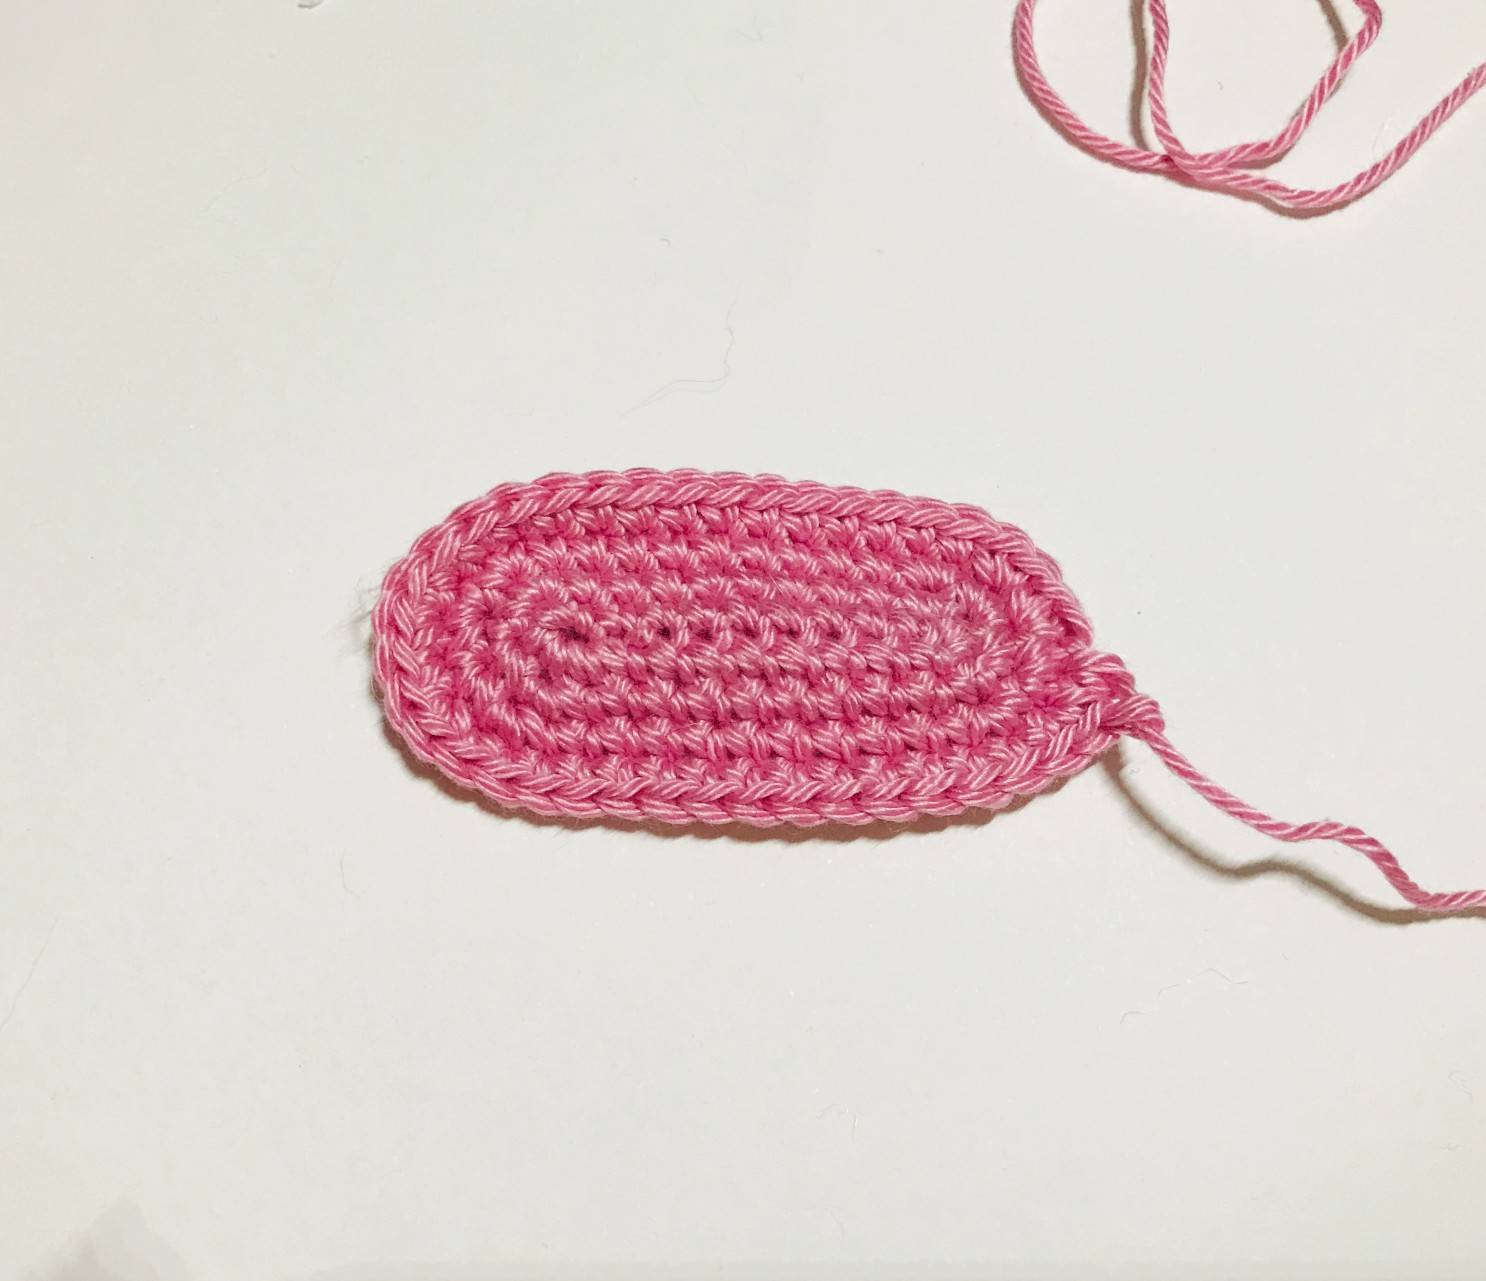
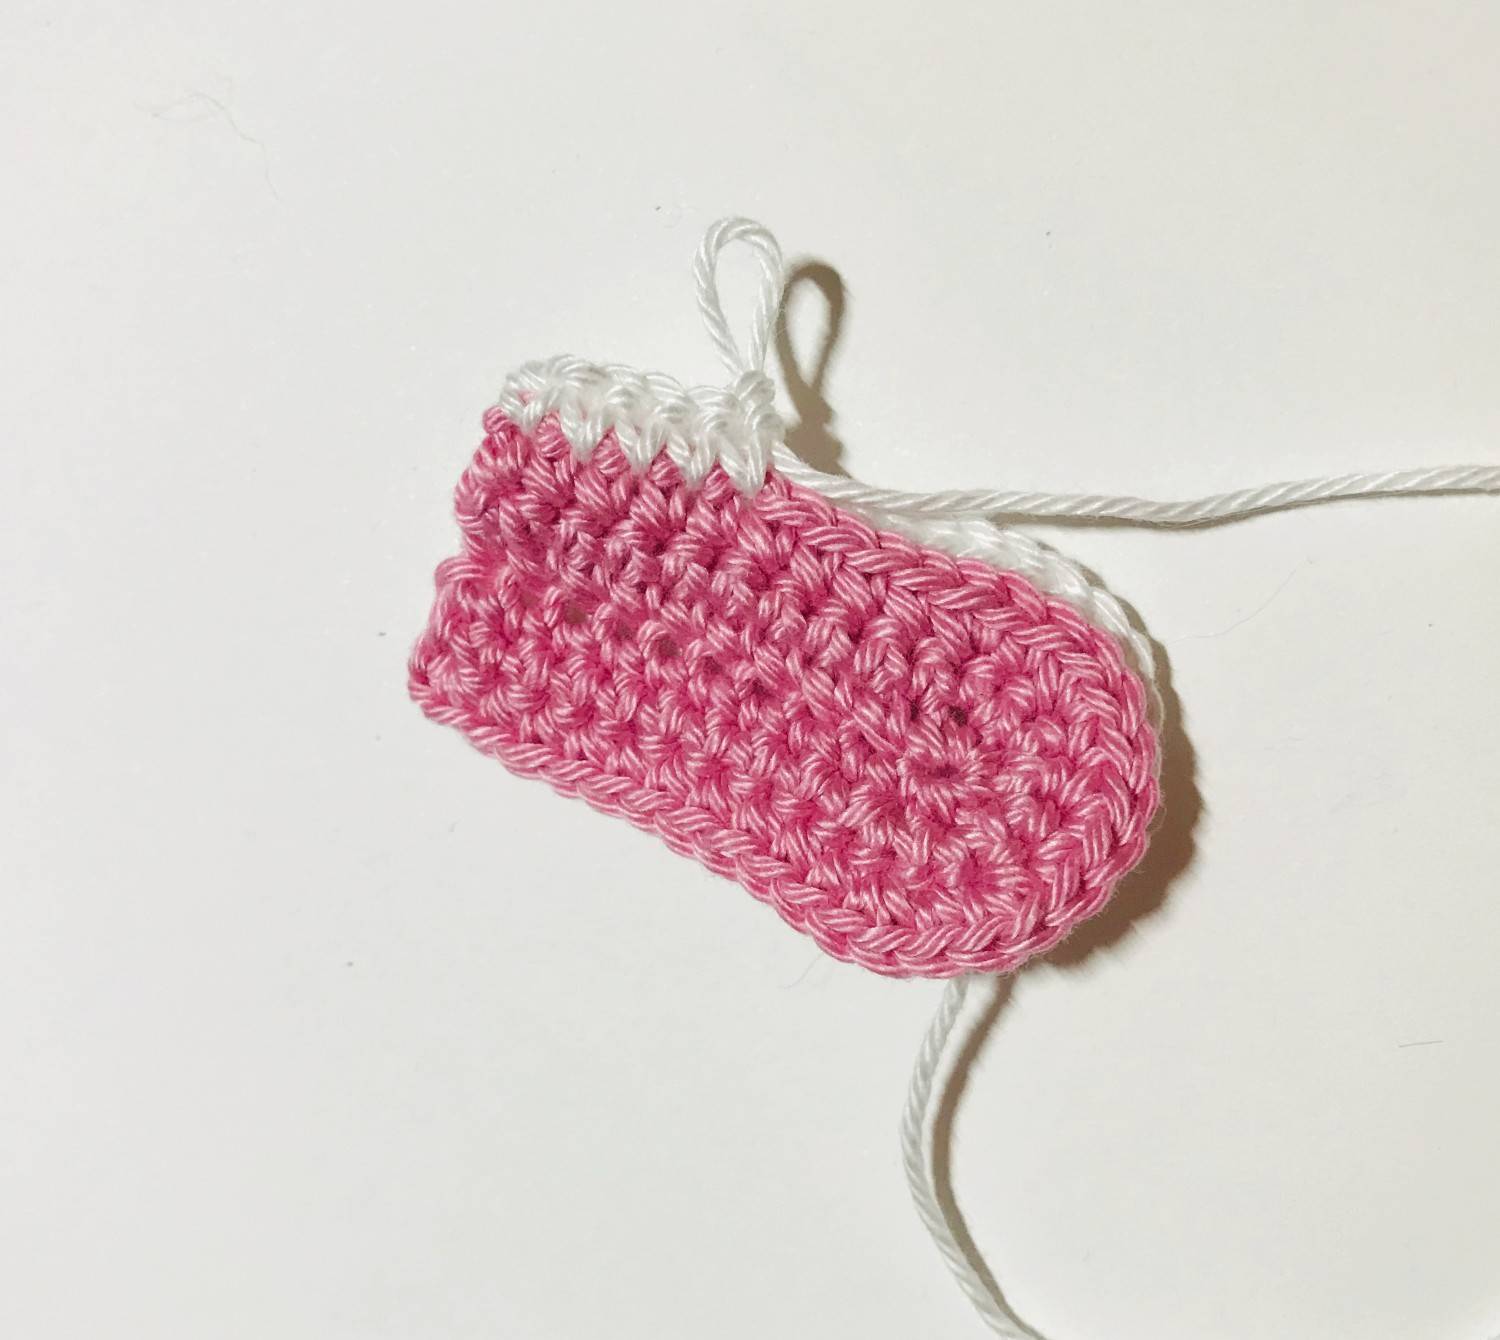
🐇 The belly lining
(to be done with pink yarn)
R1: CH 9
R2: CH 1, 8 sc, 5 sc in the same stitch, 7 sc, 1 Inc (22)
R3: 1 Inc, 8 sc, 3 Inc, 9 sc, 1 Inc (27)
R4: 2 Inc, 9 sc, 4 Inc, 10 sc, 2 Inc (35)
R5: 2 Inc, 14 sc, 1 Inc, 1 sc, 1 Inc, 11 sc, 1 Inc, 1 sc (40)
Fasten off by keeping a good length for sewing later.

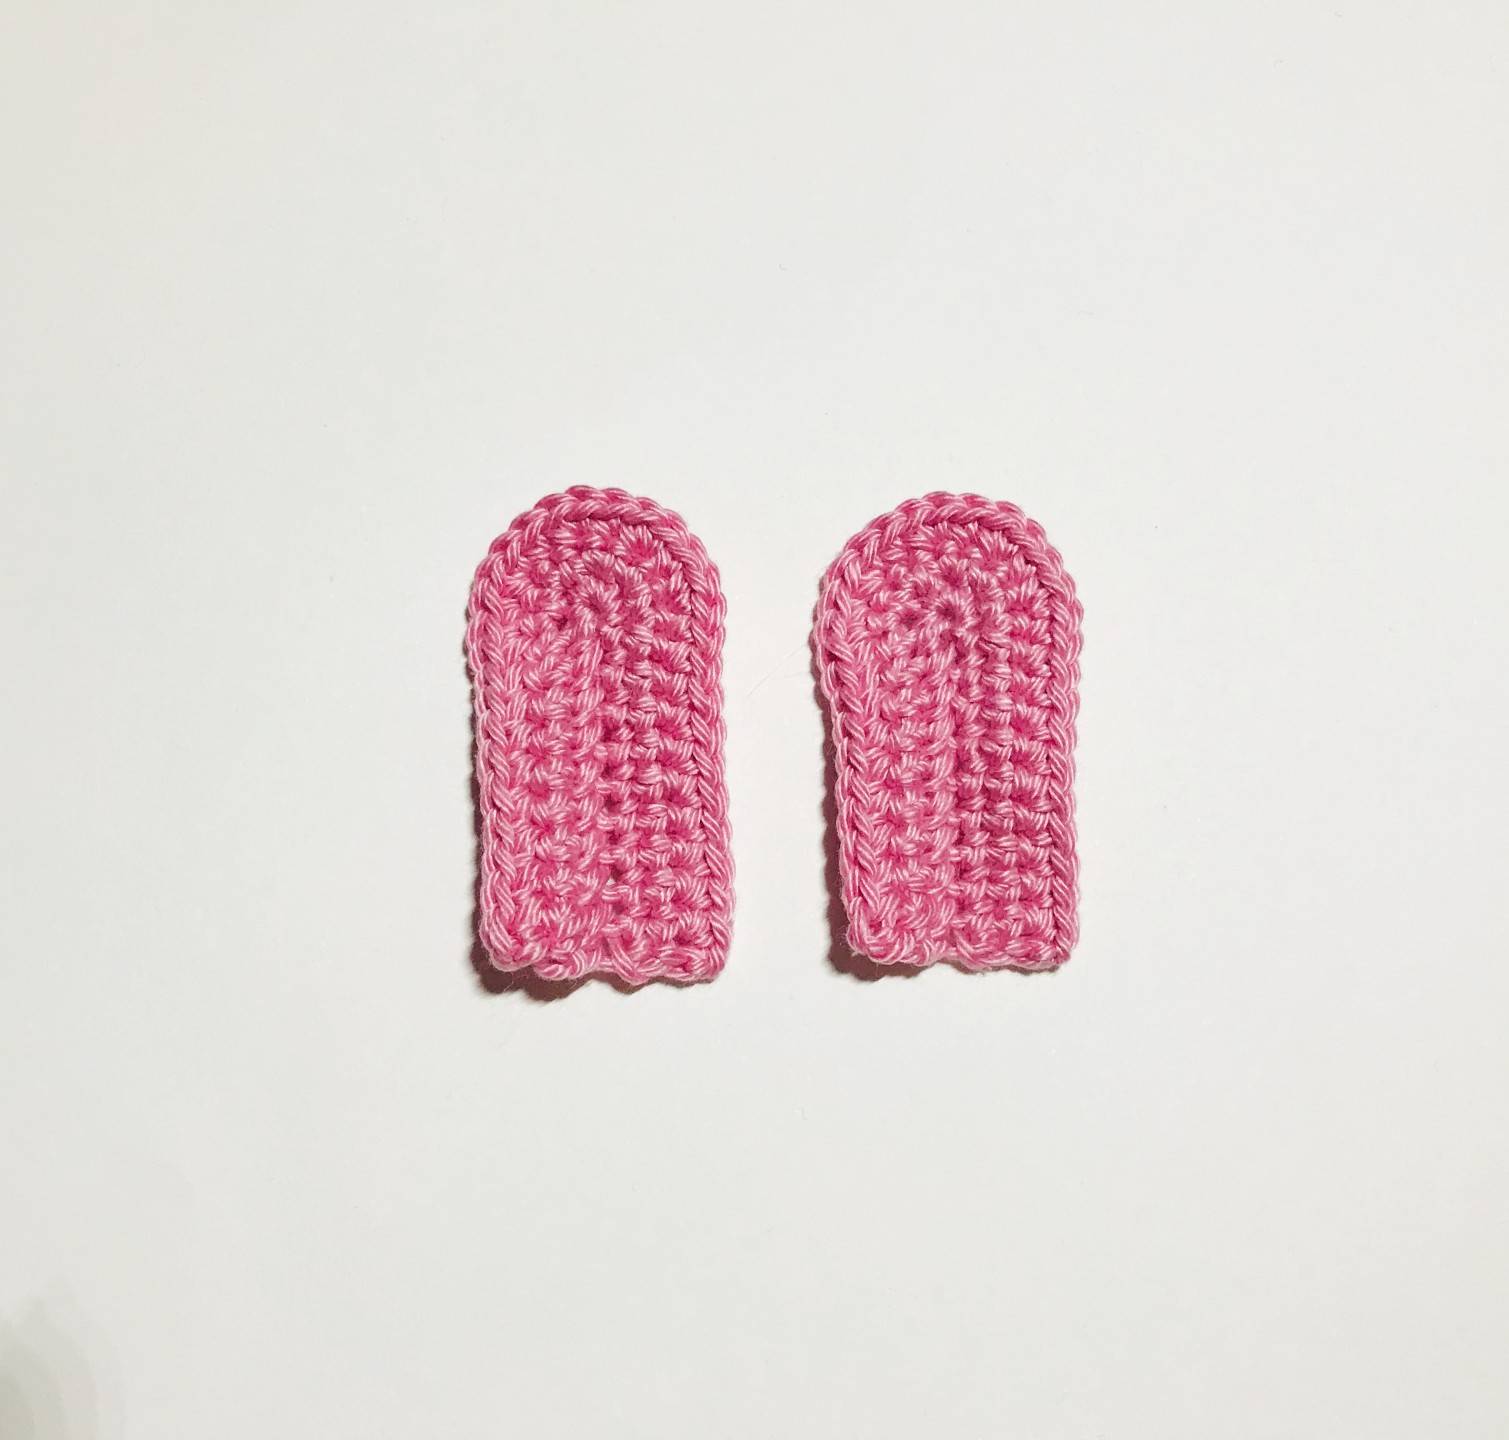
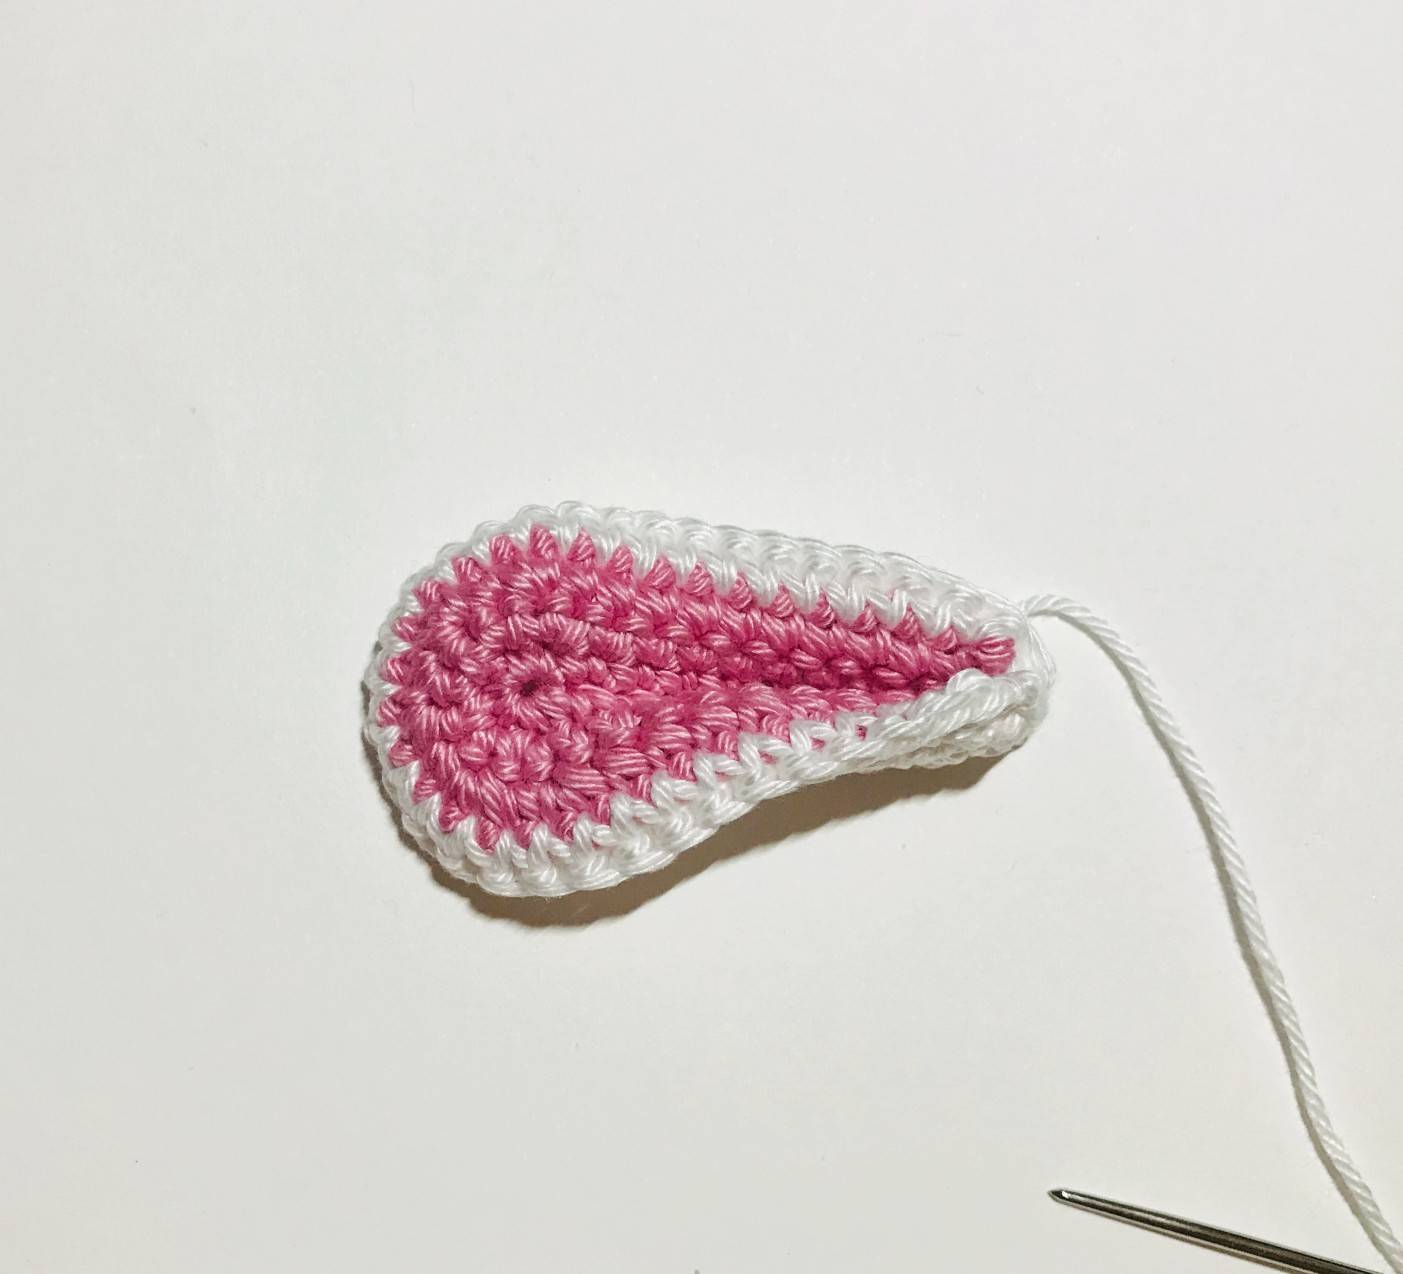
🐰 The ears x2
(to be done with white and pink yarns)
In pink (inner part) x2:
R1: CH 10
R2: CH 1, 9 sc, 5 sc in same stitch, 9 sc (23)
R3: CH 1, turn, 9 sc, 5 Inc in same stitch, 9 sc (28)
R4: CH 1, turn, 9 sc, *1 sc, 1 Inc* x5, 9 sc (33)
Fasten off and Weave in ends.
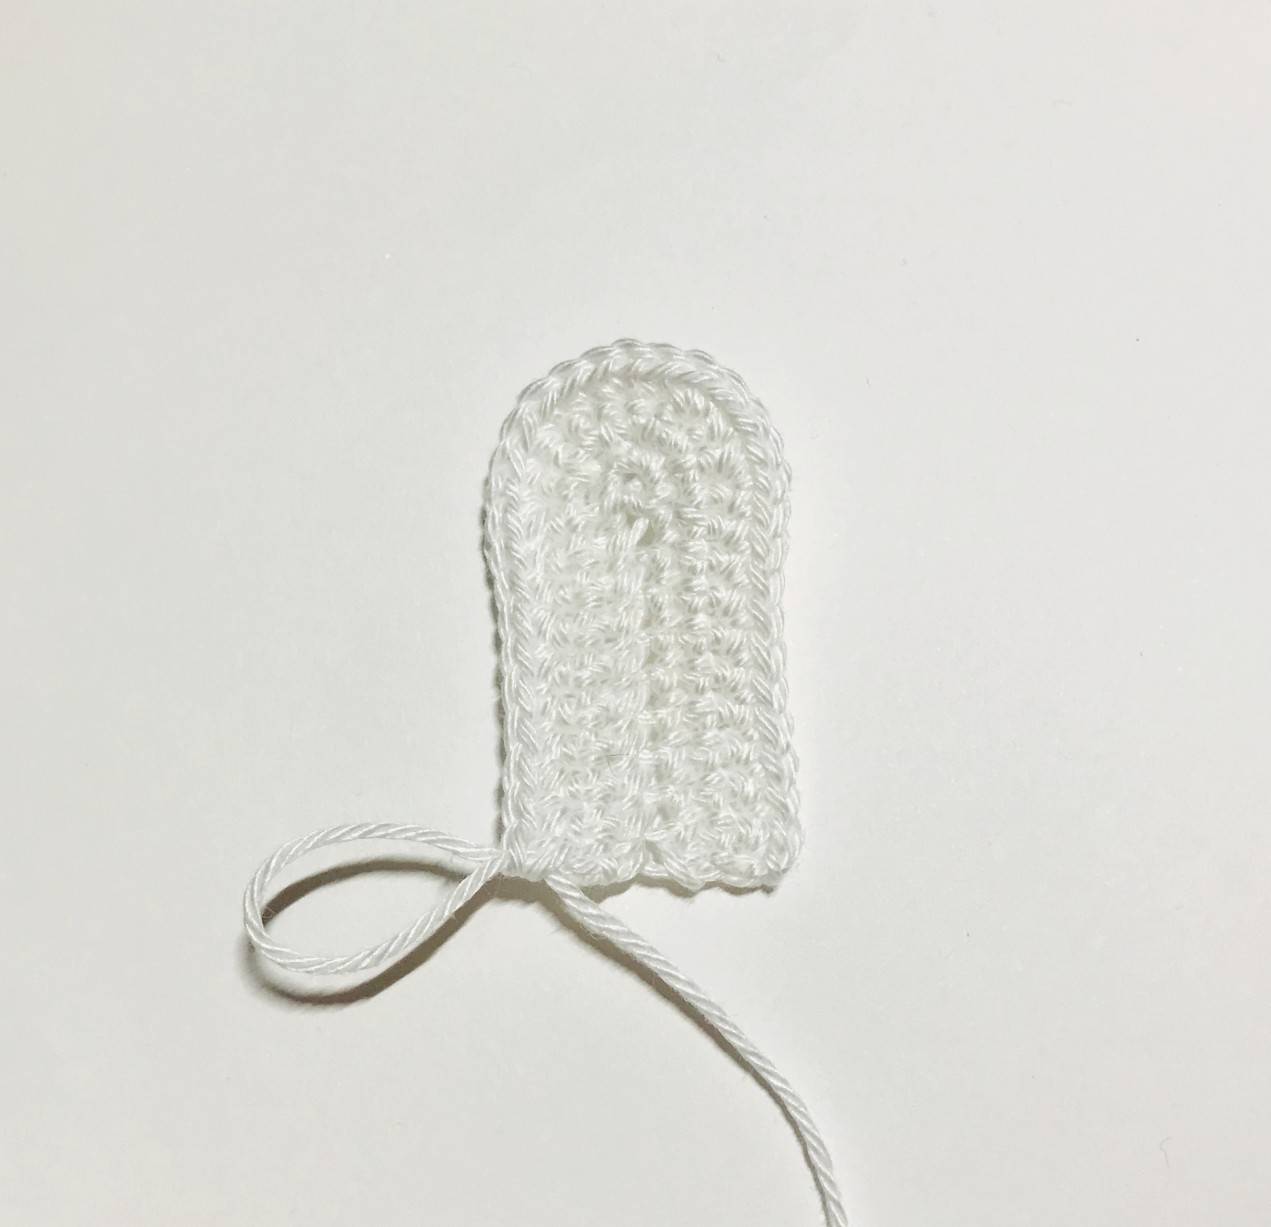
In white (outer part) x2:
R1: CH 10
R2: CH 1, 9 sc, 5 sc in same stitch, 9 sc (23)
R3: CH 1, turn, 9 sc, 5 Inc in same stitch, 9 sc (28)
R4: CH 1, turn, 9 sc, *1 sc, 1 Inc* x5, 9 sc (33)
Keep the yarn to continue with the next row below.
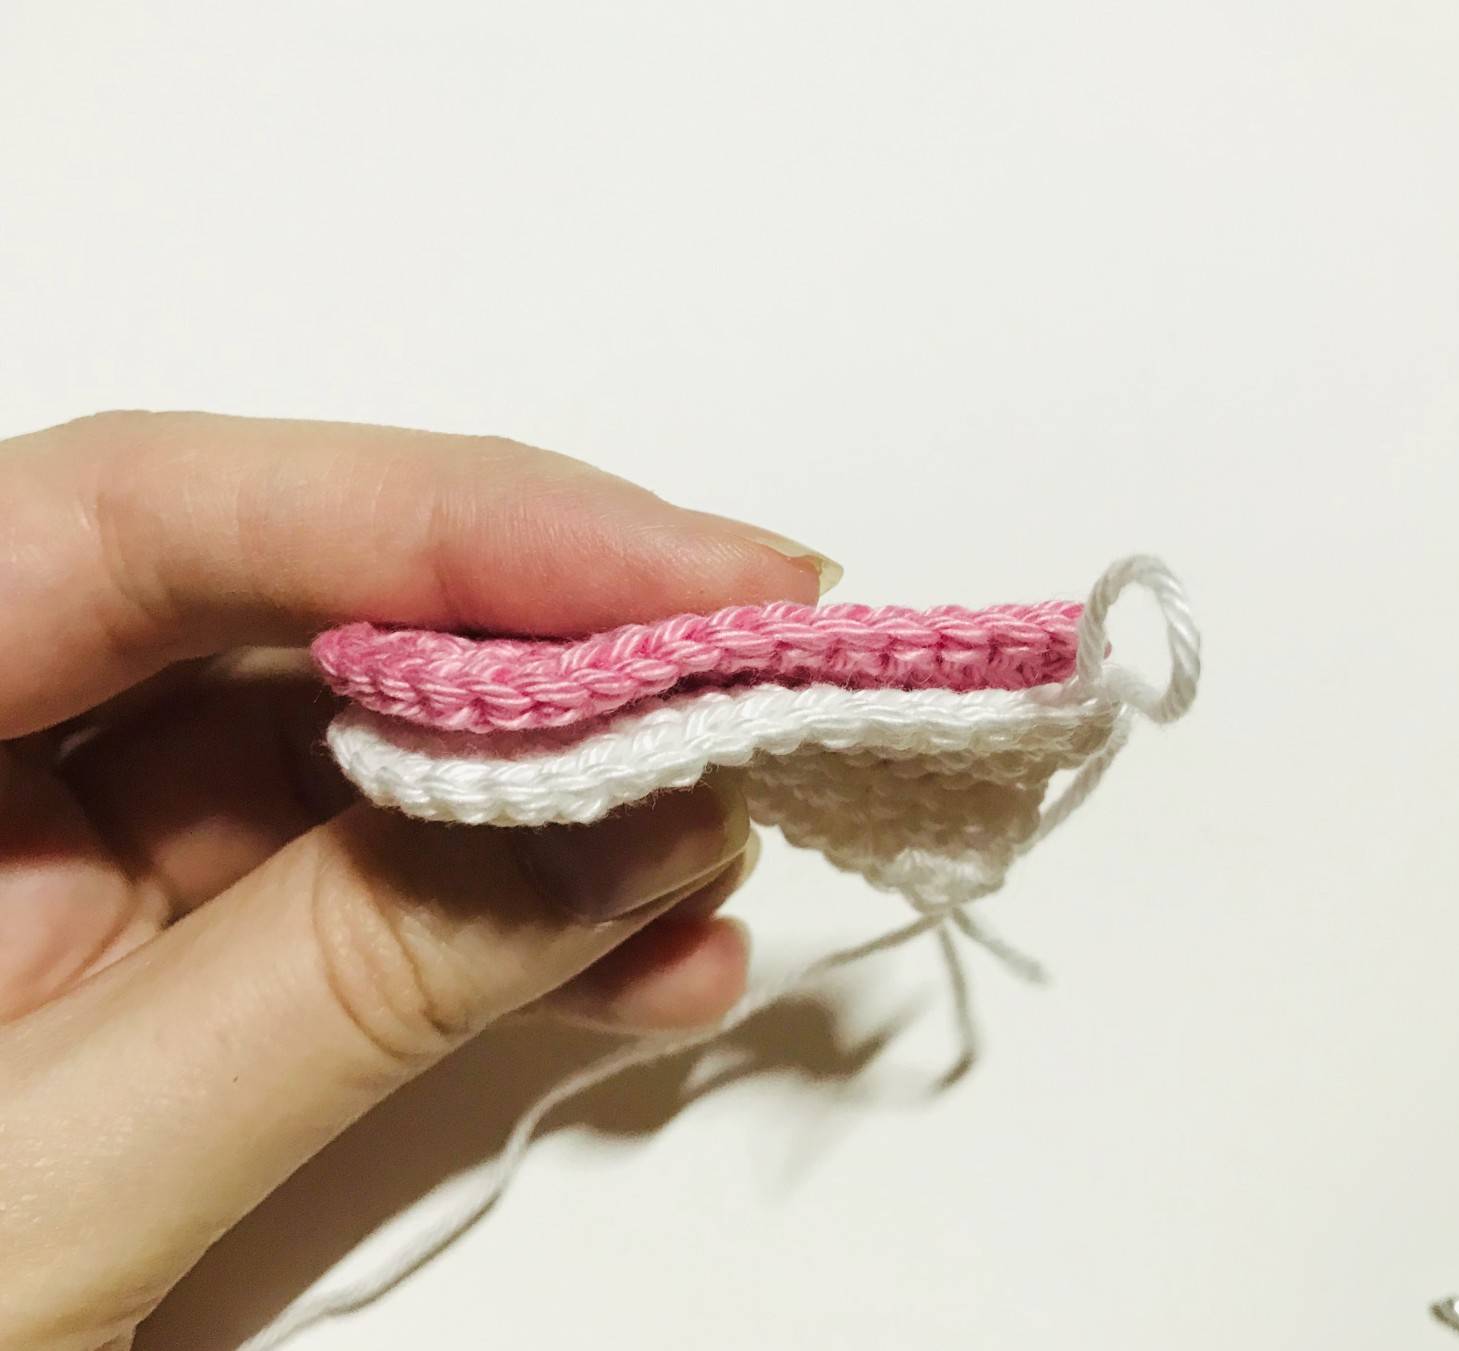
Positioning of the pink and white
parts against each other.
Go around the ear to assemble
the two parts with sc.
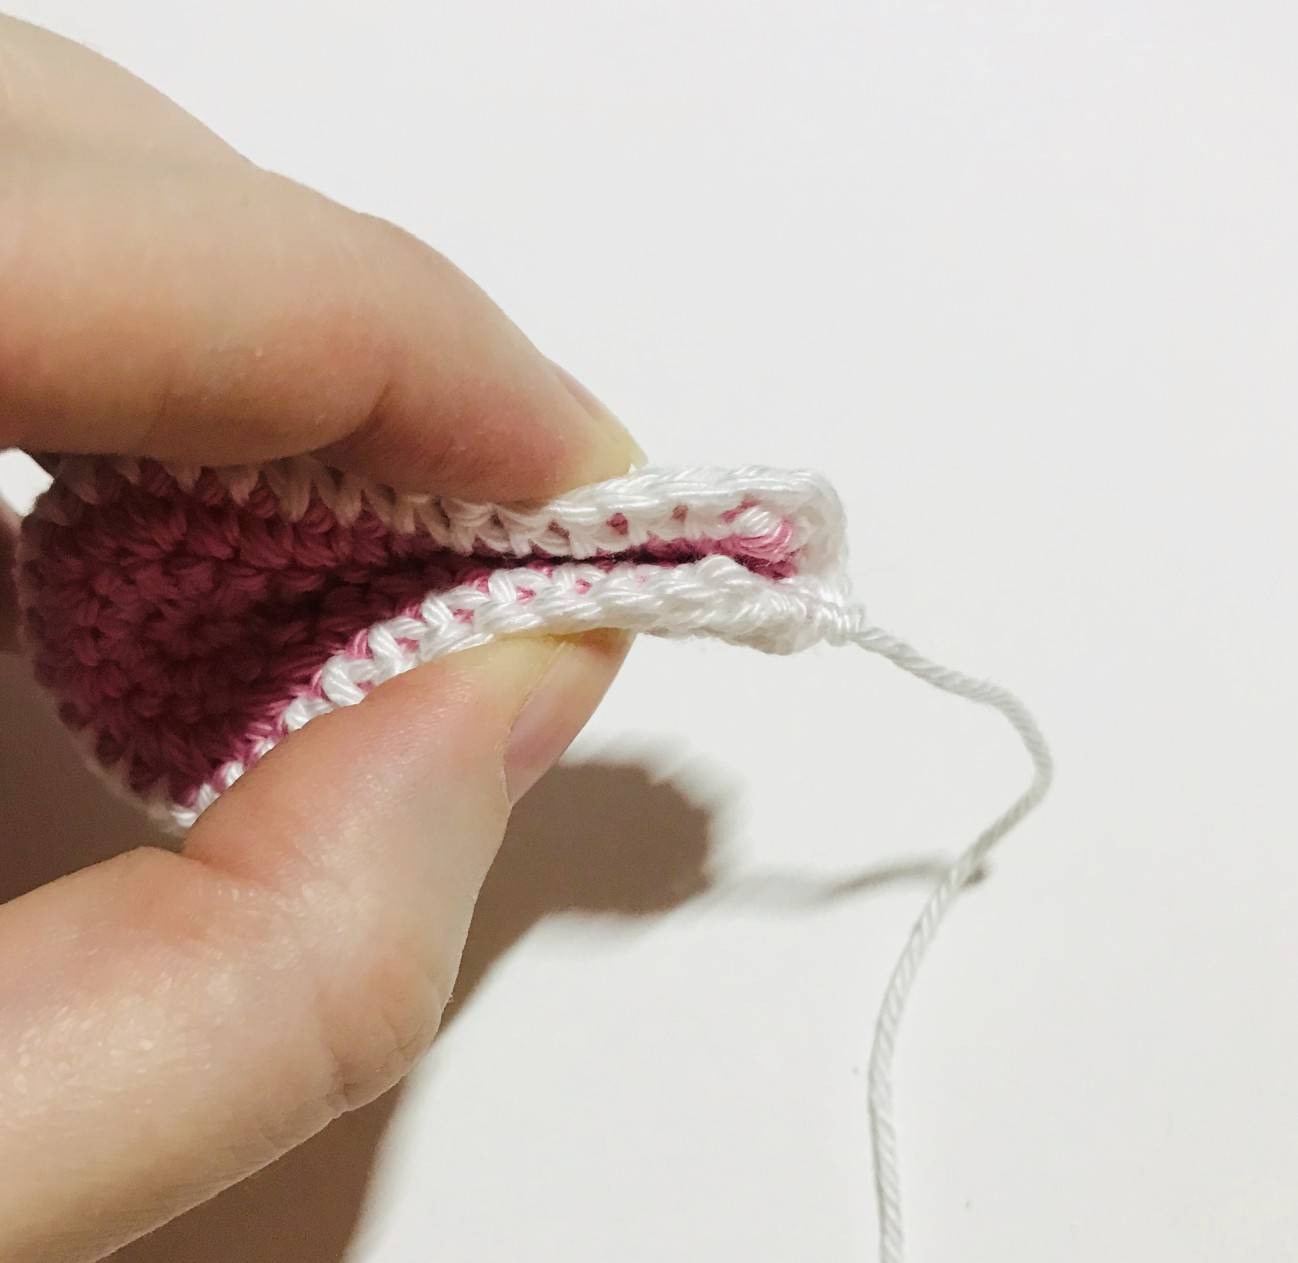
Fold the ear in half at its base.
And sew this length. Save thread
for sewing later.
Find more magic patterns ✨

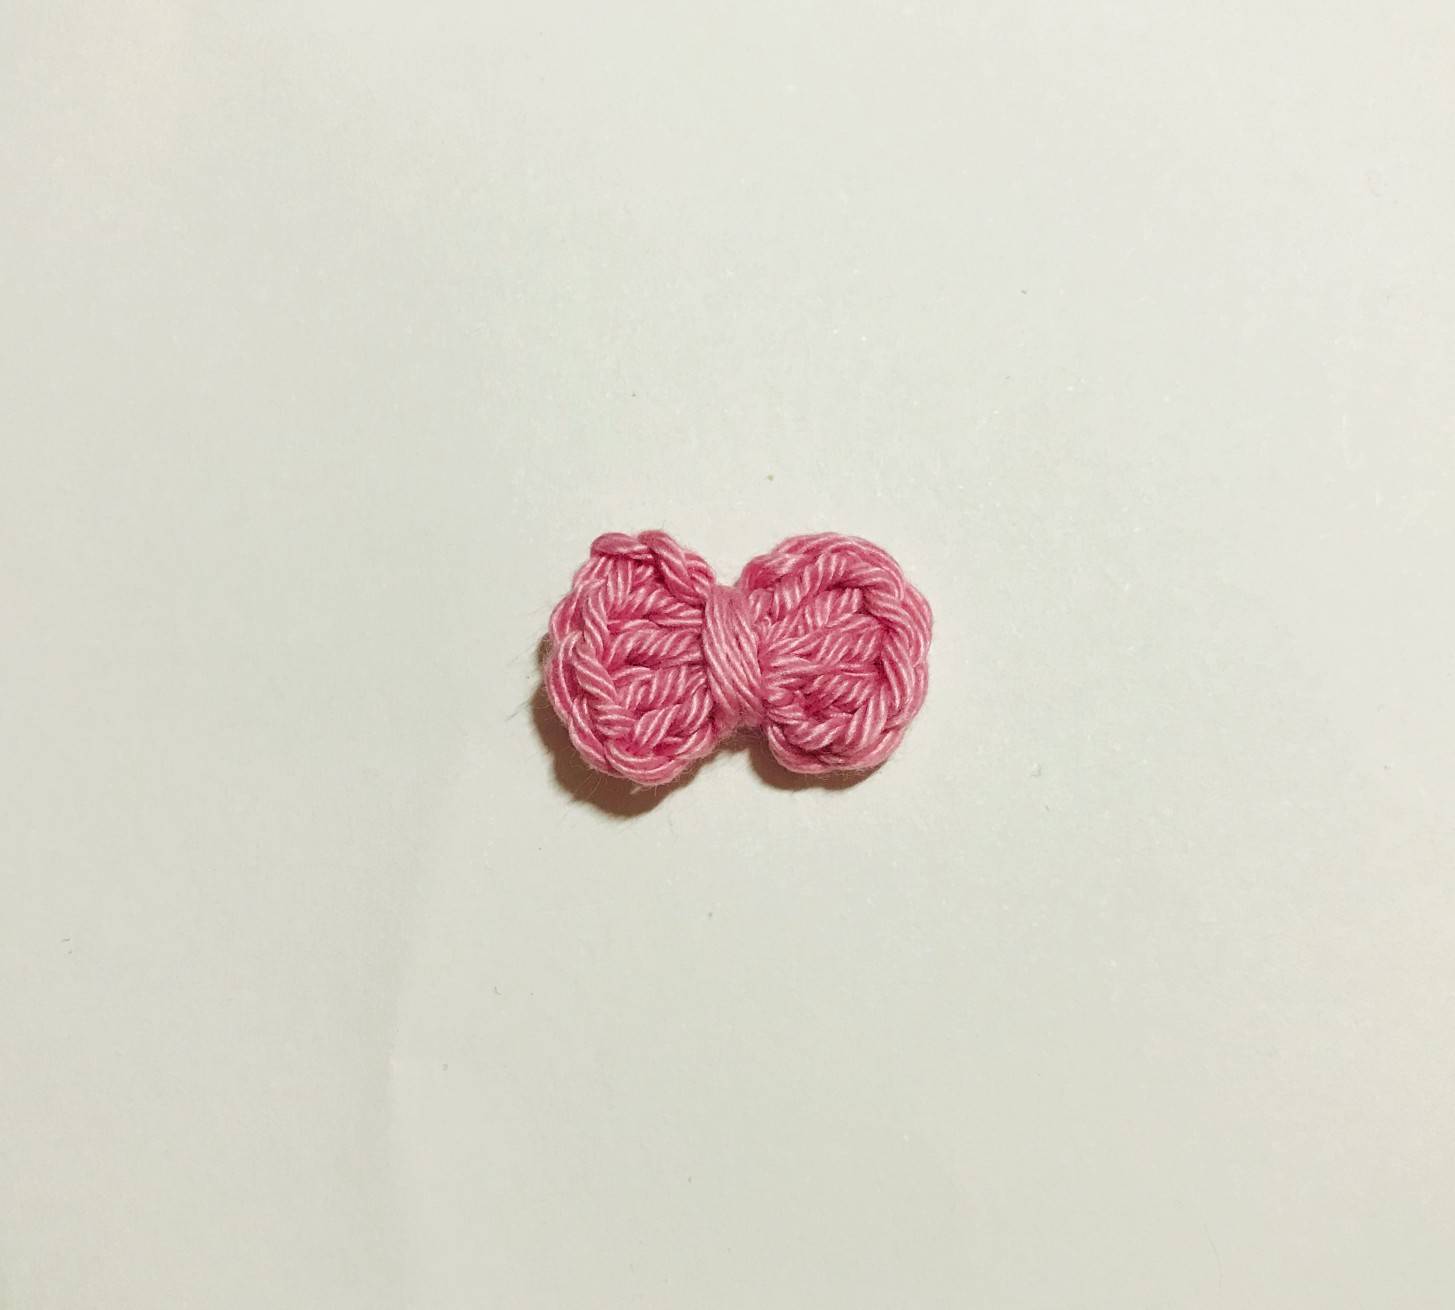
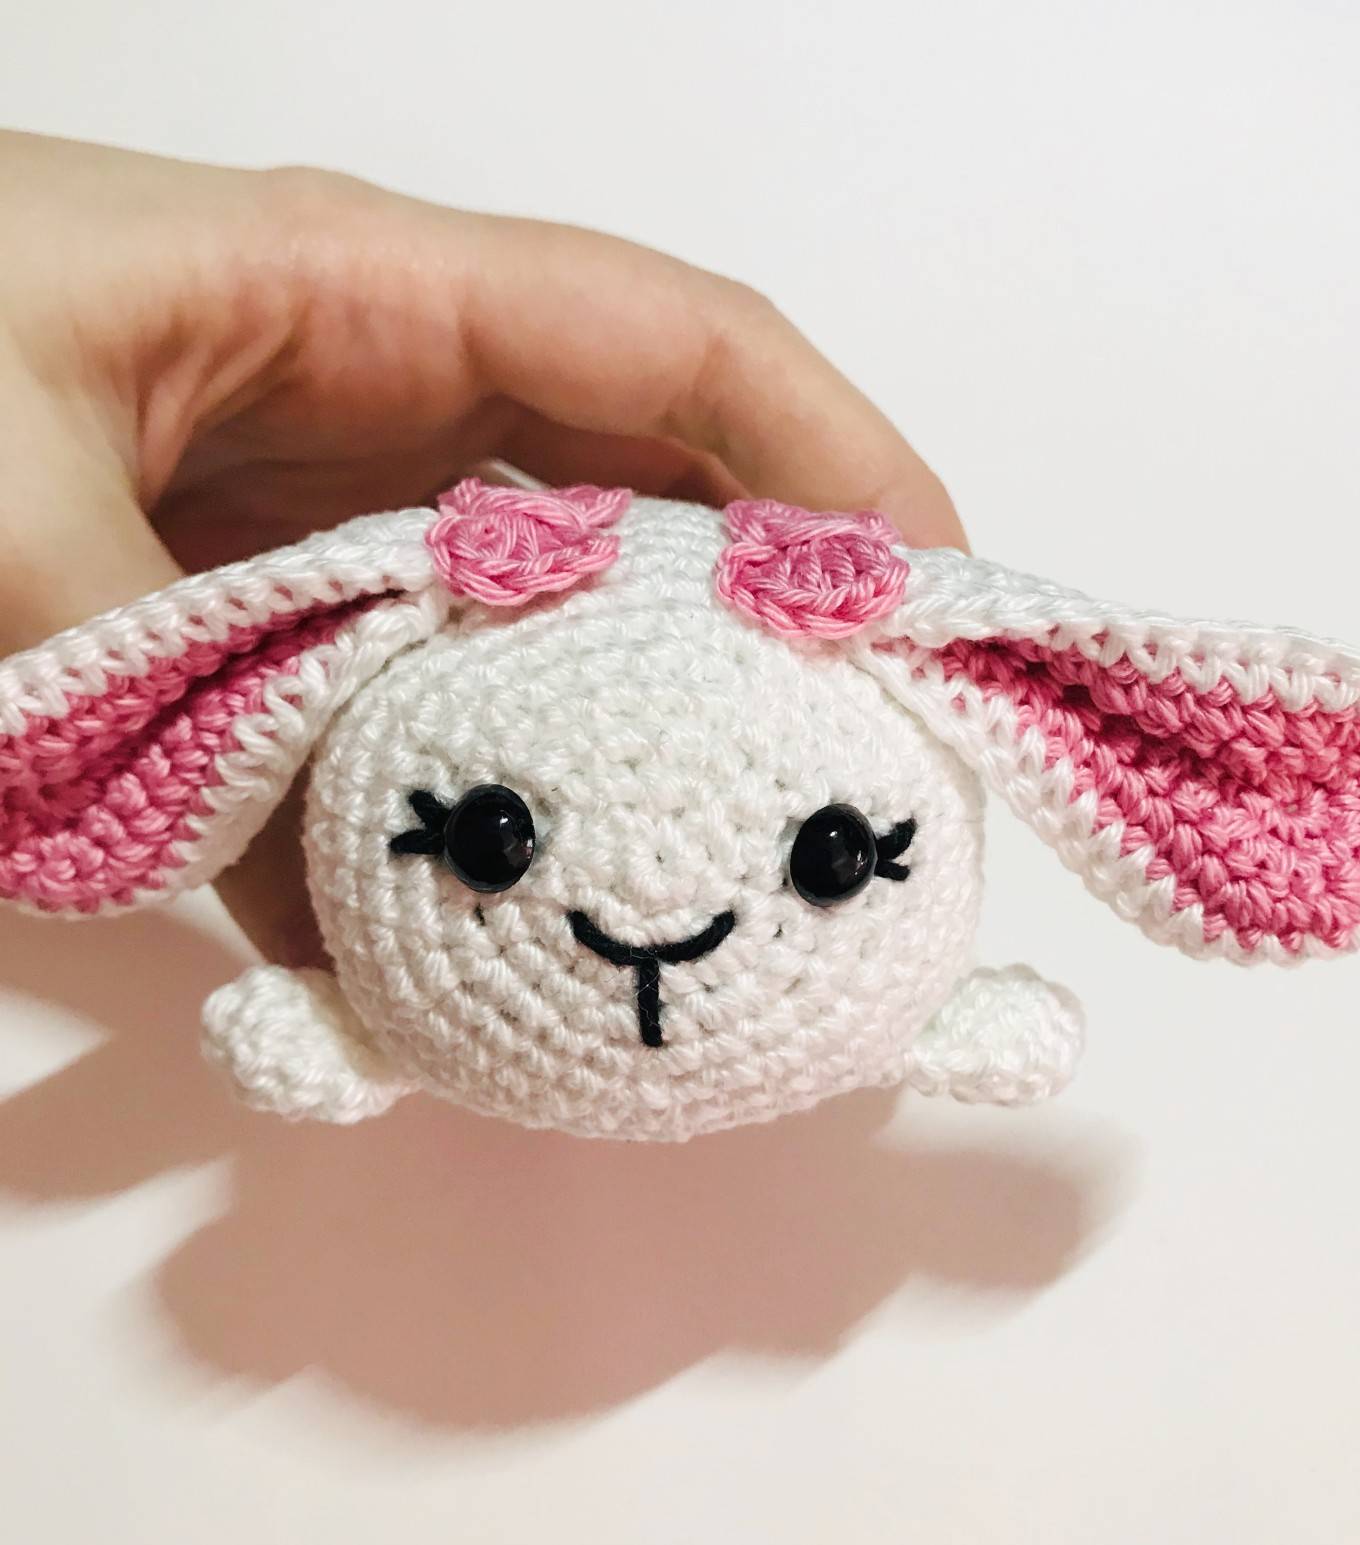
🐣 Bows x2
(to be done with pink yarn)
Make a magic ring and CH 2.
Then, 3 DC in the ring.
And CH 3 that you will reattach
in the ring with 1 SlSt.
Again CH 3.
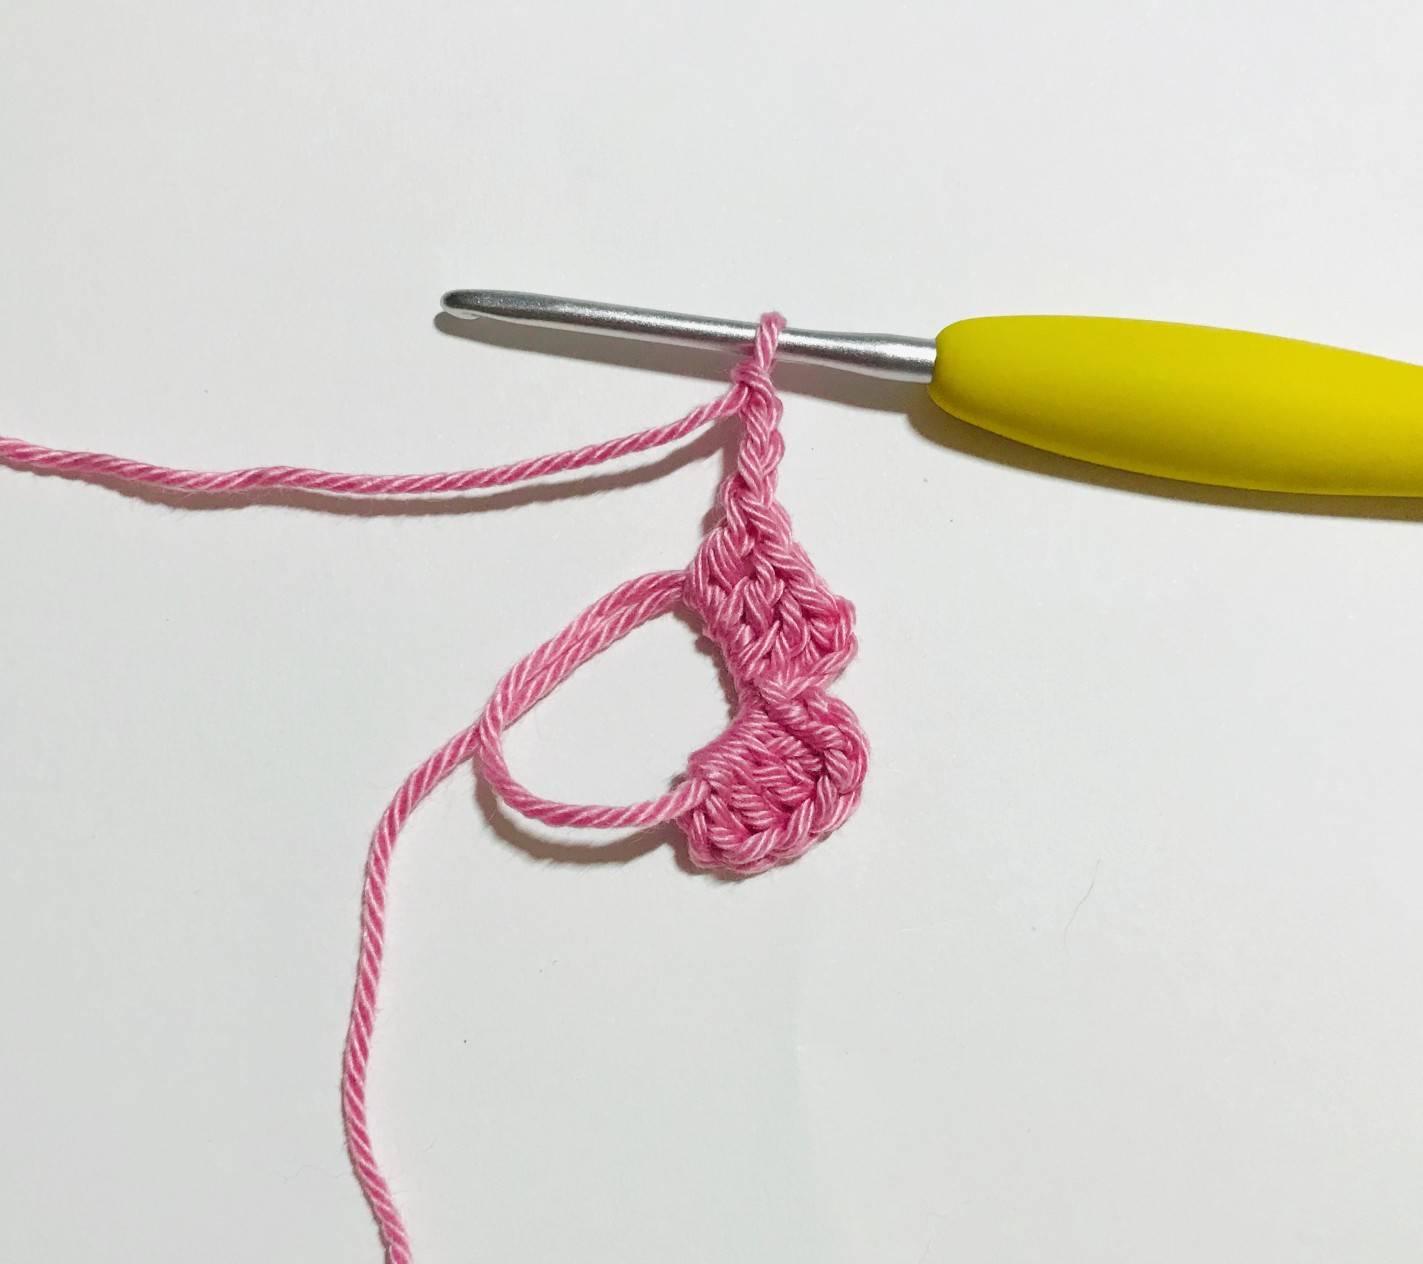
Then 3 dc in the ring and CH 3.
Reattach these CH 3 with 1 SlSt
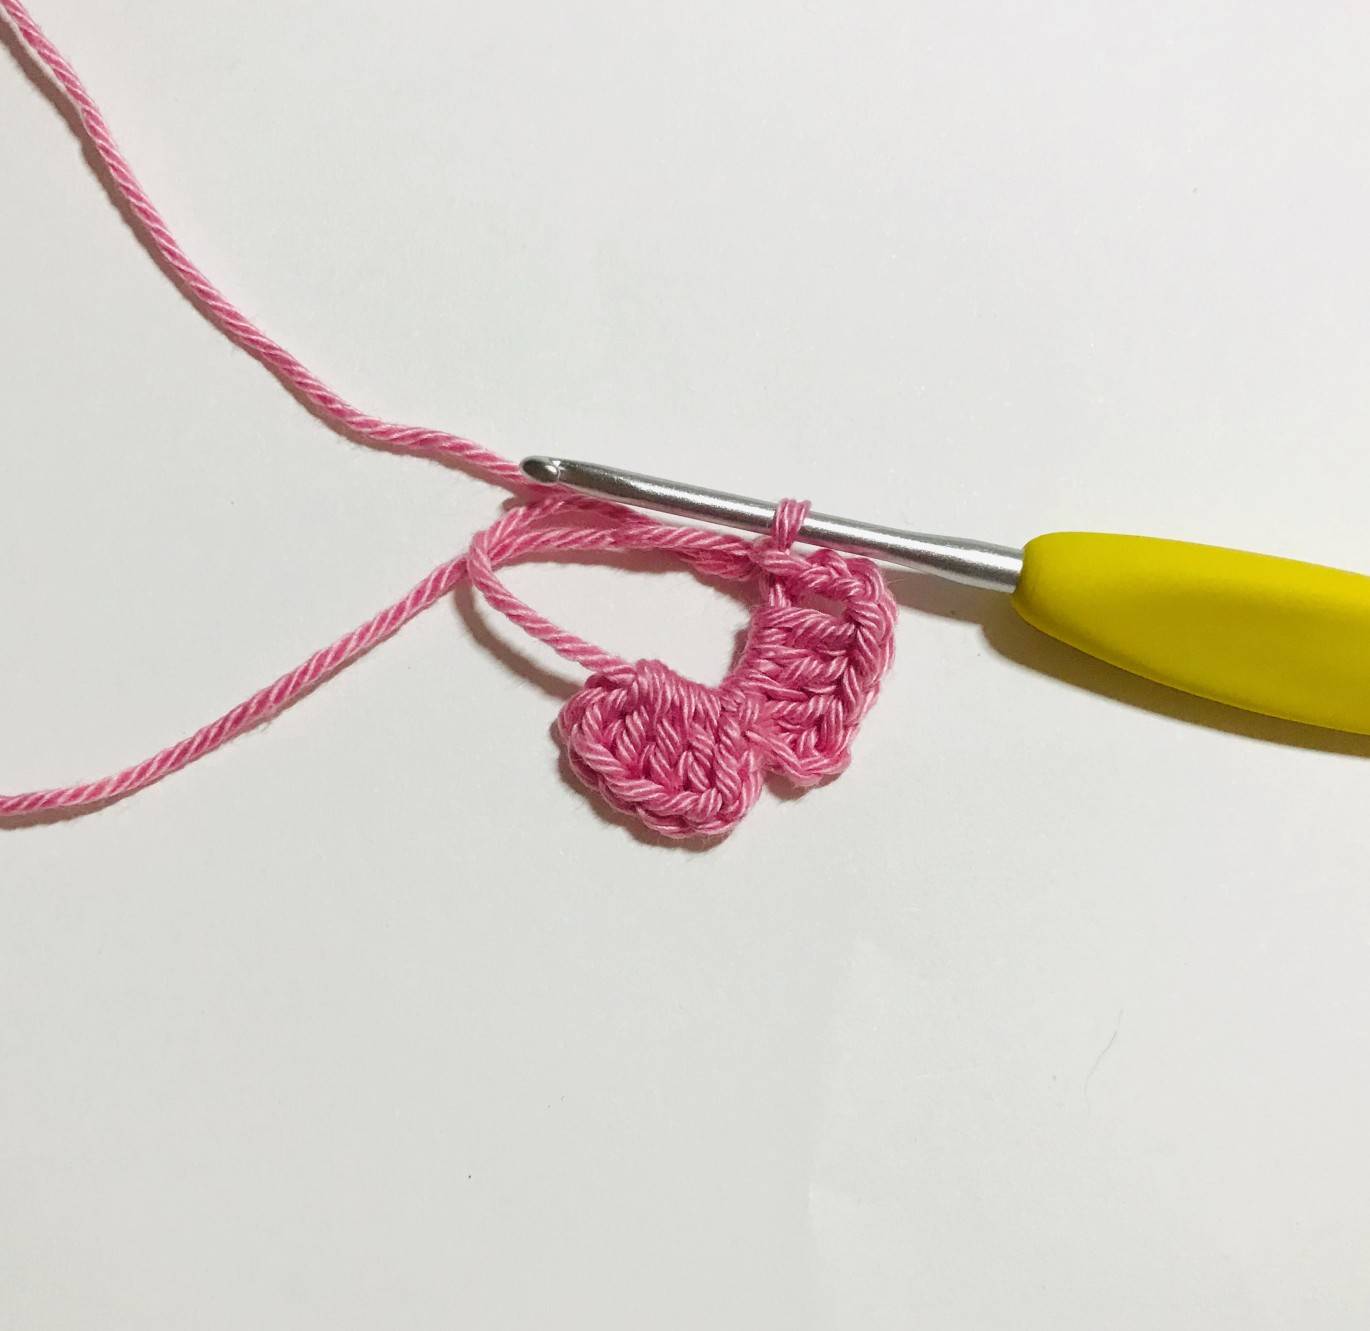
in the ring.
Tighten the circle to find the two
parts of the bow.
Cut your thread, leaving enough
for the next step.
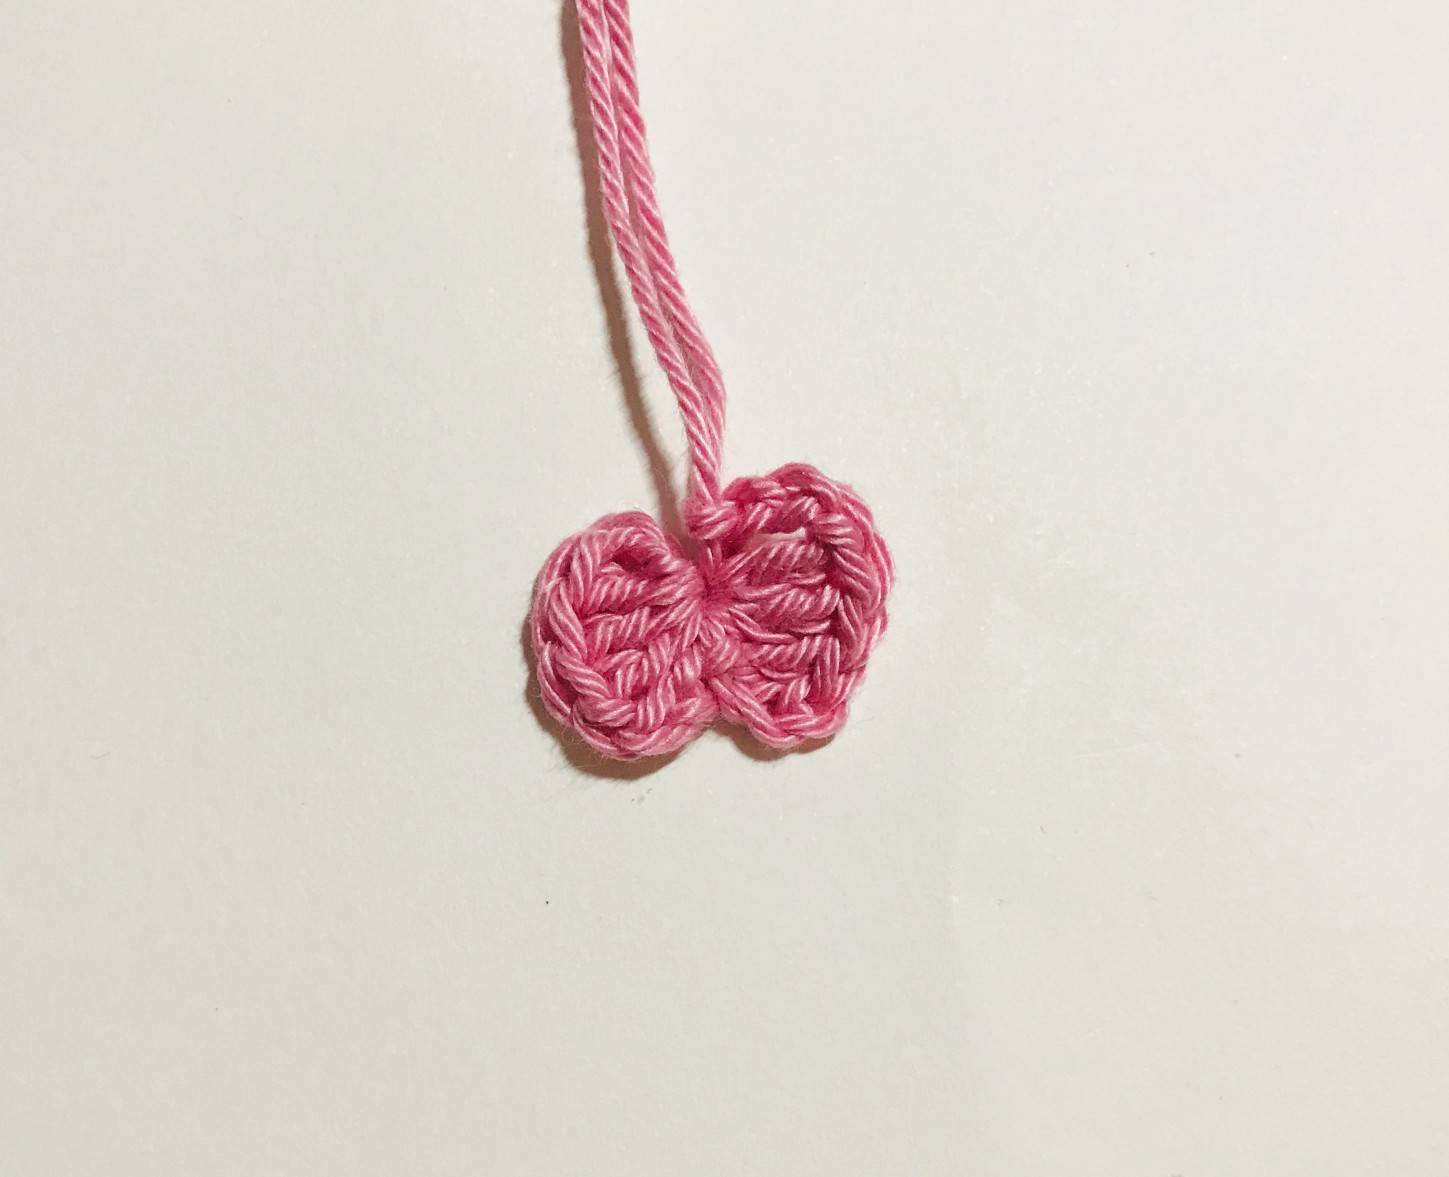
With your remaining thread, wind it 3 times in the middle of the bow.
Tie a knot at the back with the two remaining threads.
Cut the rest of the thread.
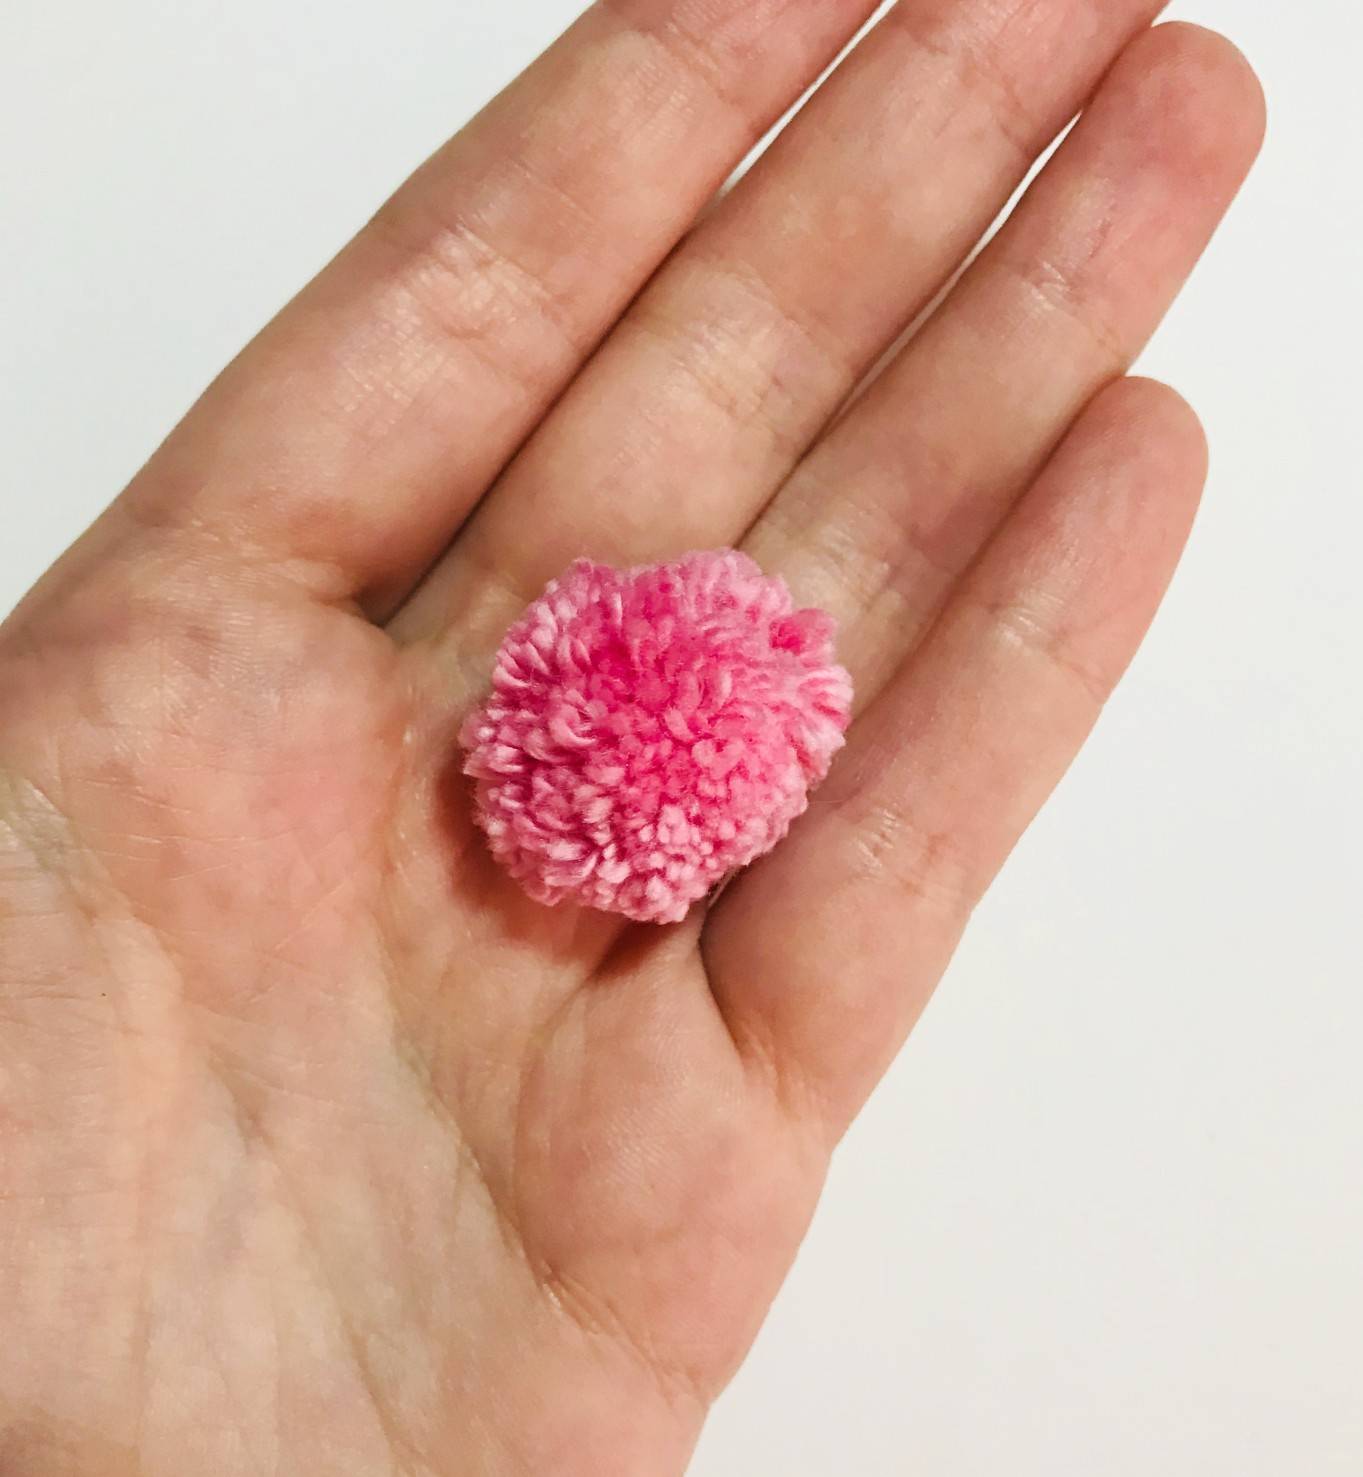
🐇 The tail (pompom)
(to be done with pink yarn)
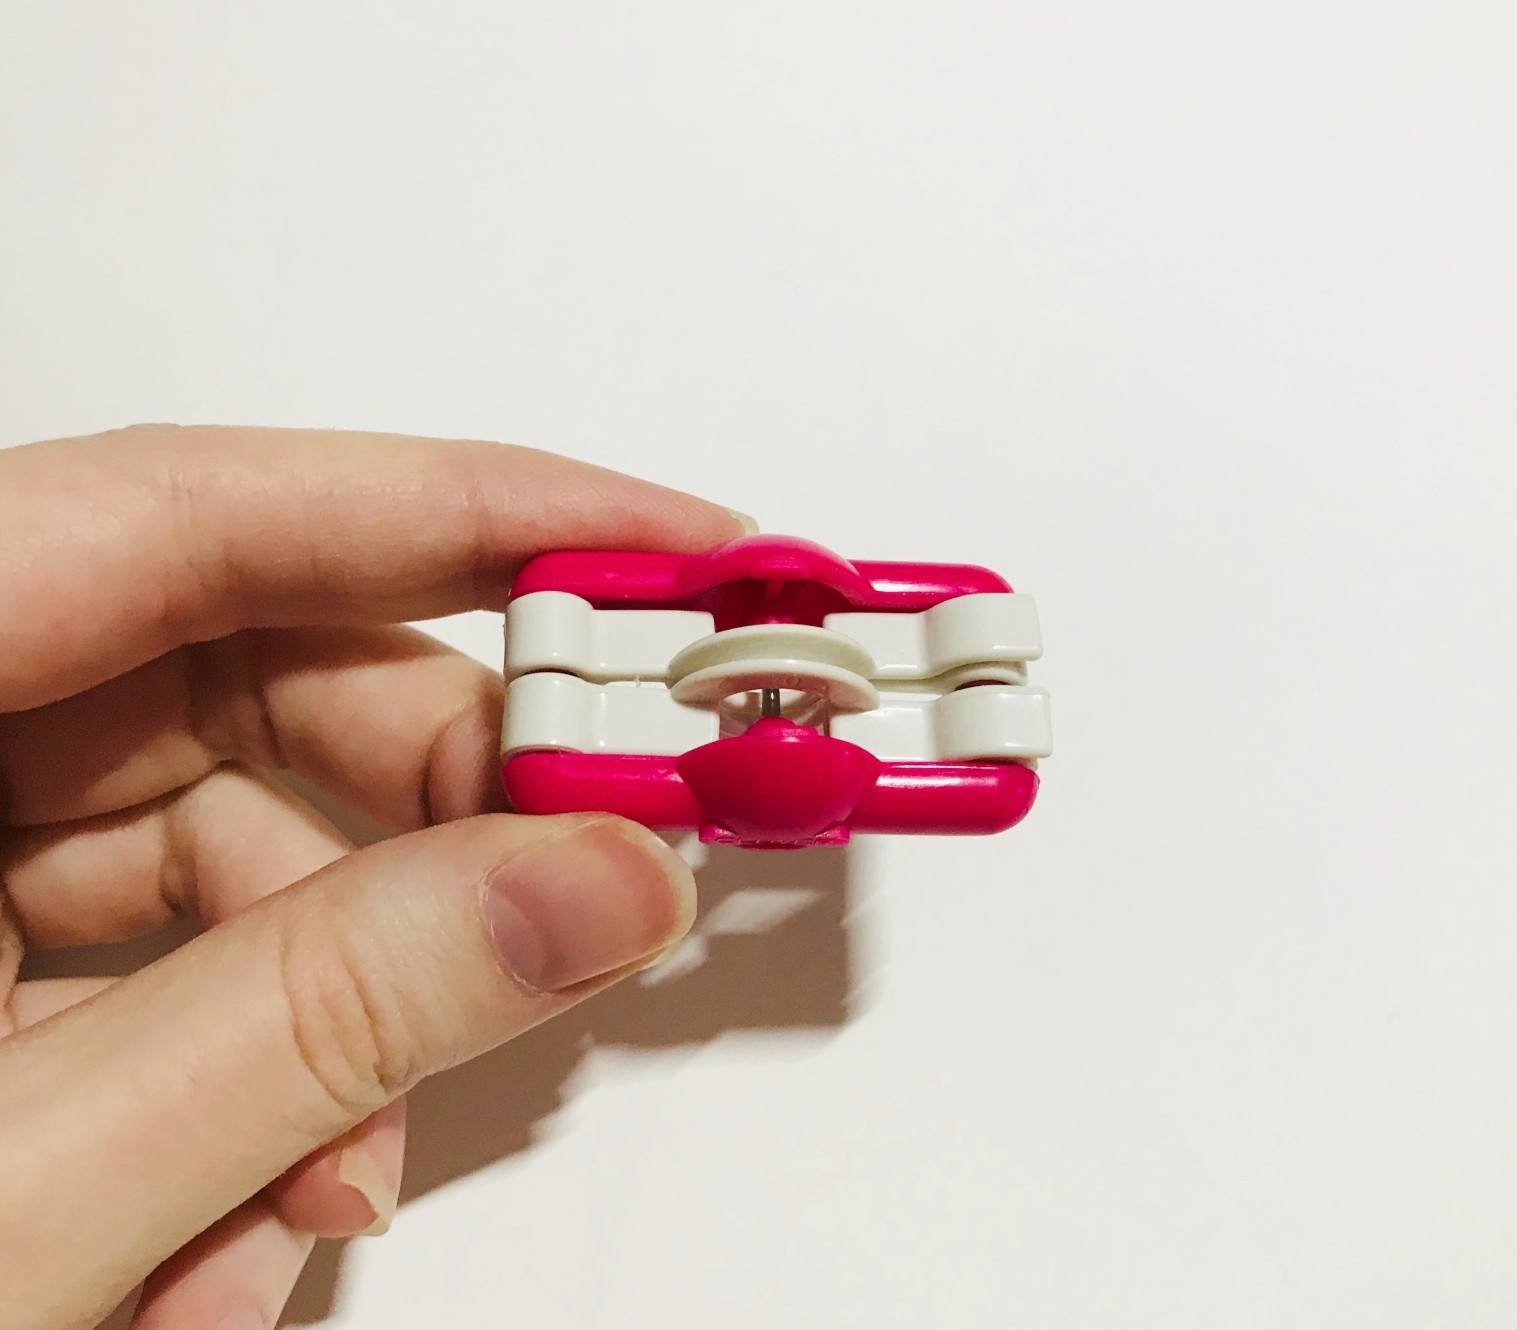
Use your pompom maker with your pink thread. I used a 20mm size set here.
You can also use other methods. Several tutorials are available on youtube like this one:
https://www.youtube.com/watch?v=bkipkSECLVw
🐰 Assembly and finishes 🐰
Nose embroidery
Tuck in your black thread and
bring it out to the stitch just under
the center (the 1st row of the
body)
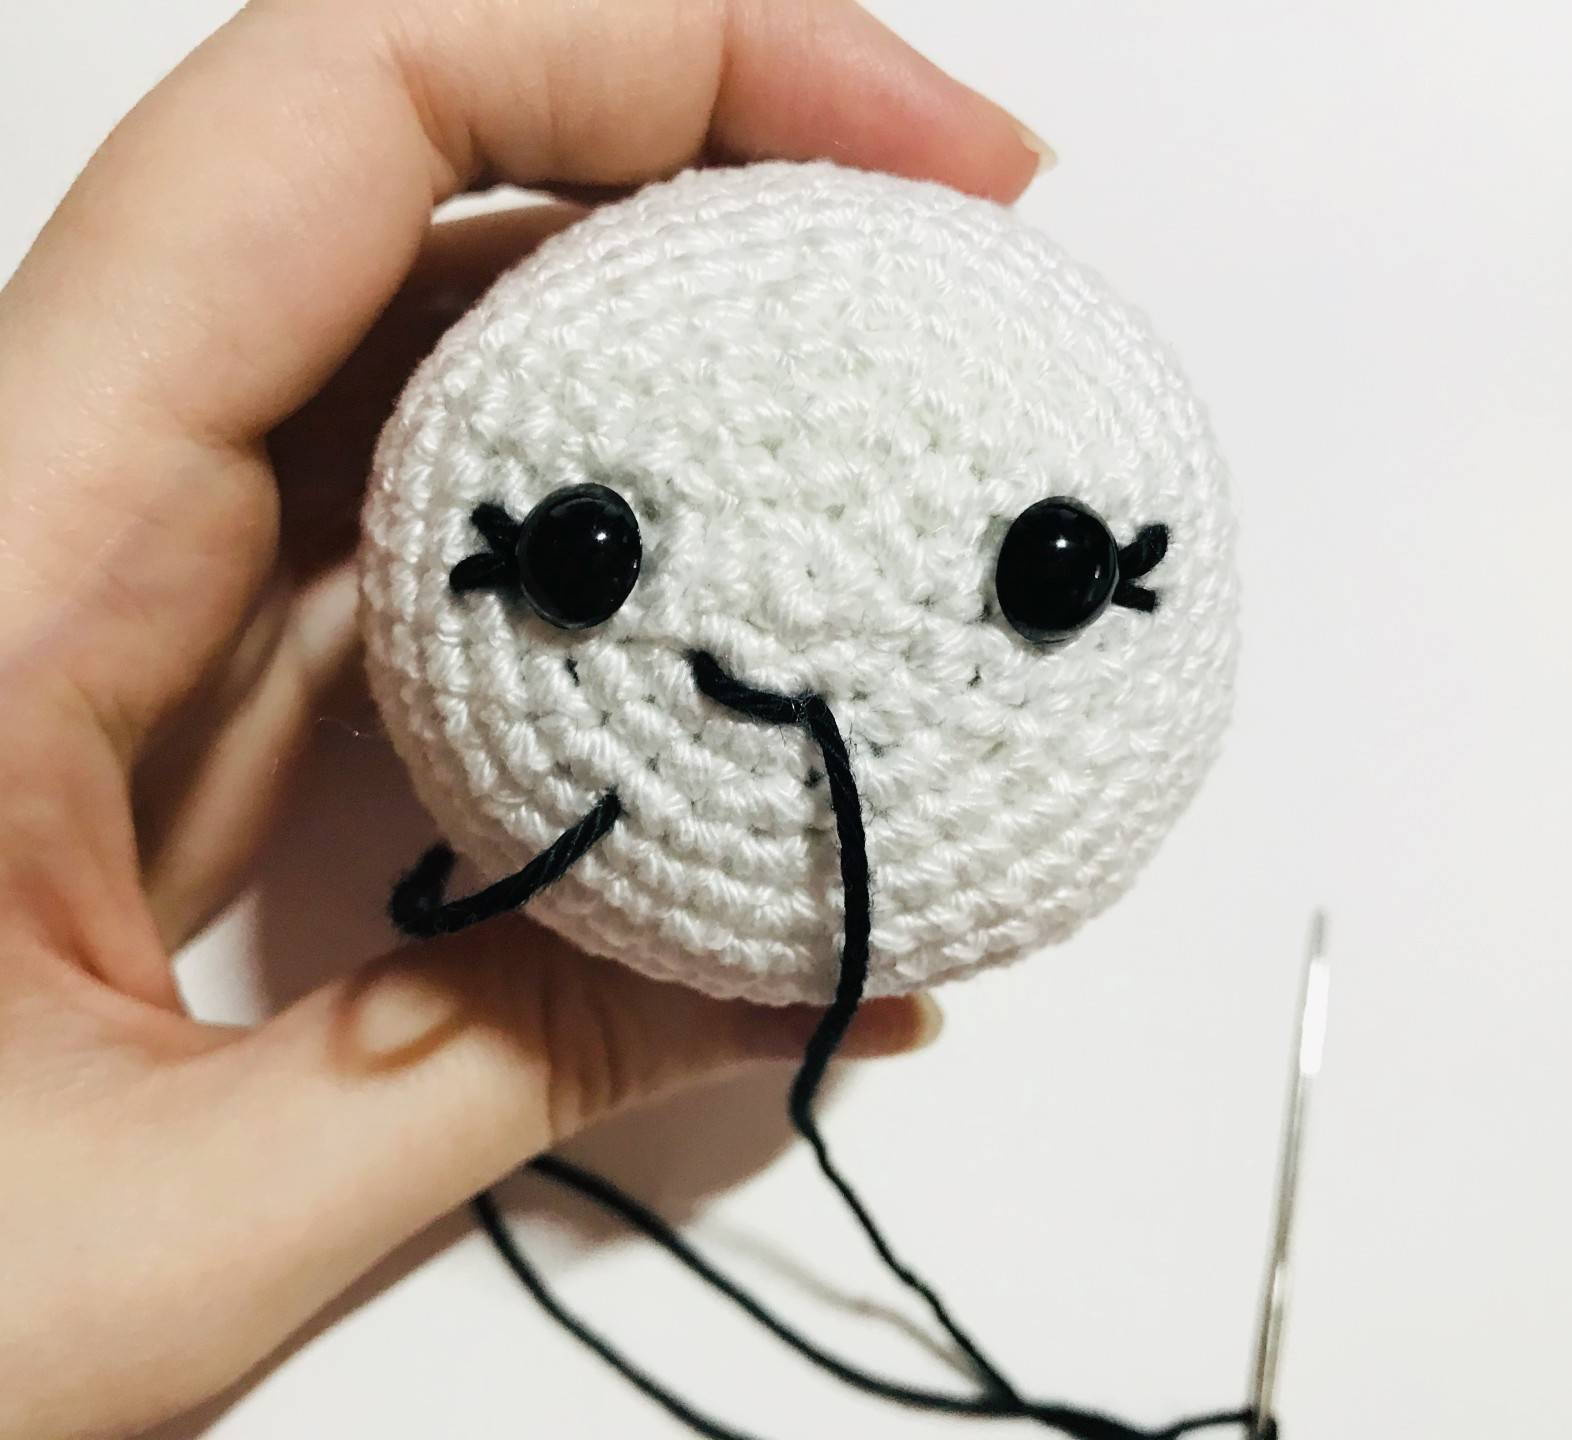
Then pass it to 2 sc following the
curve of the row.
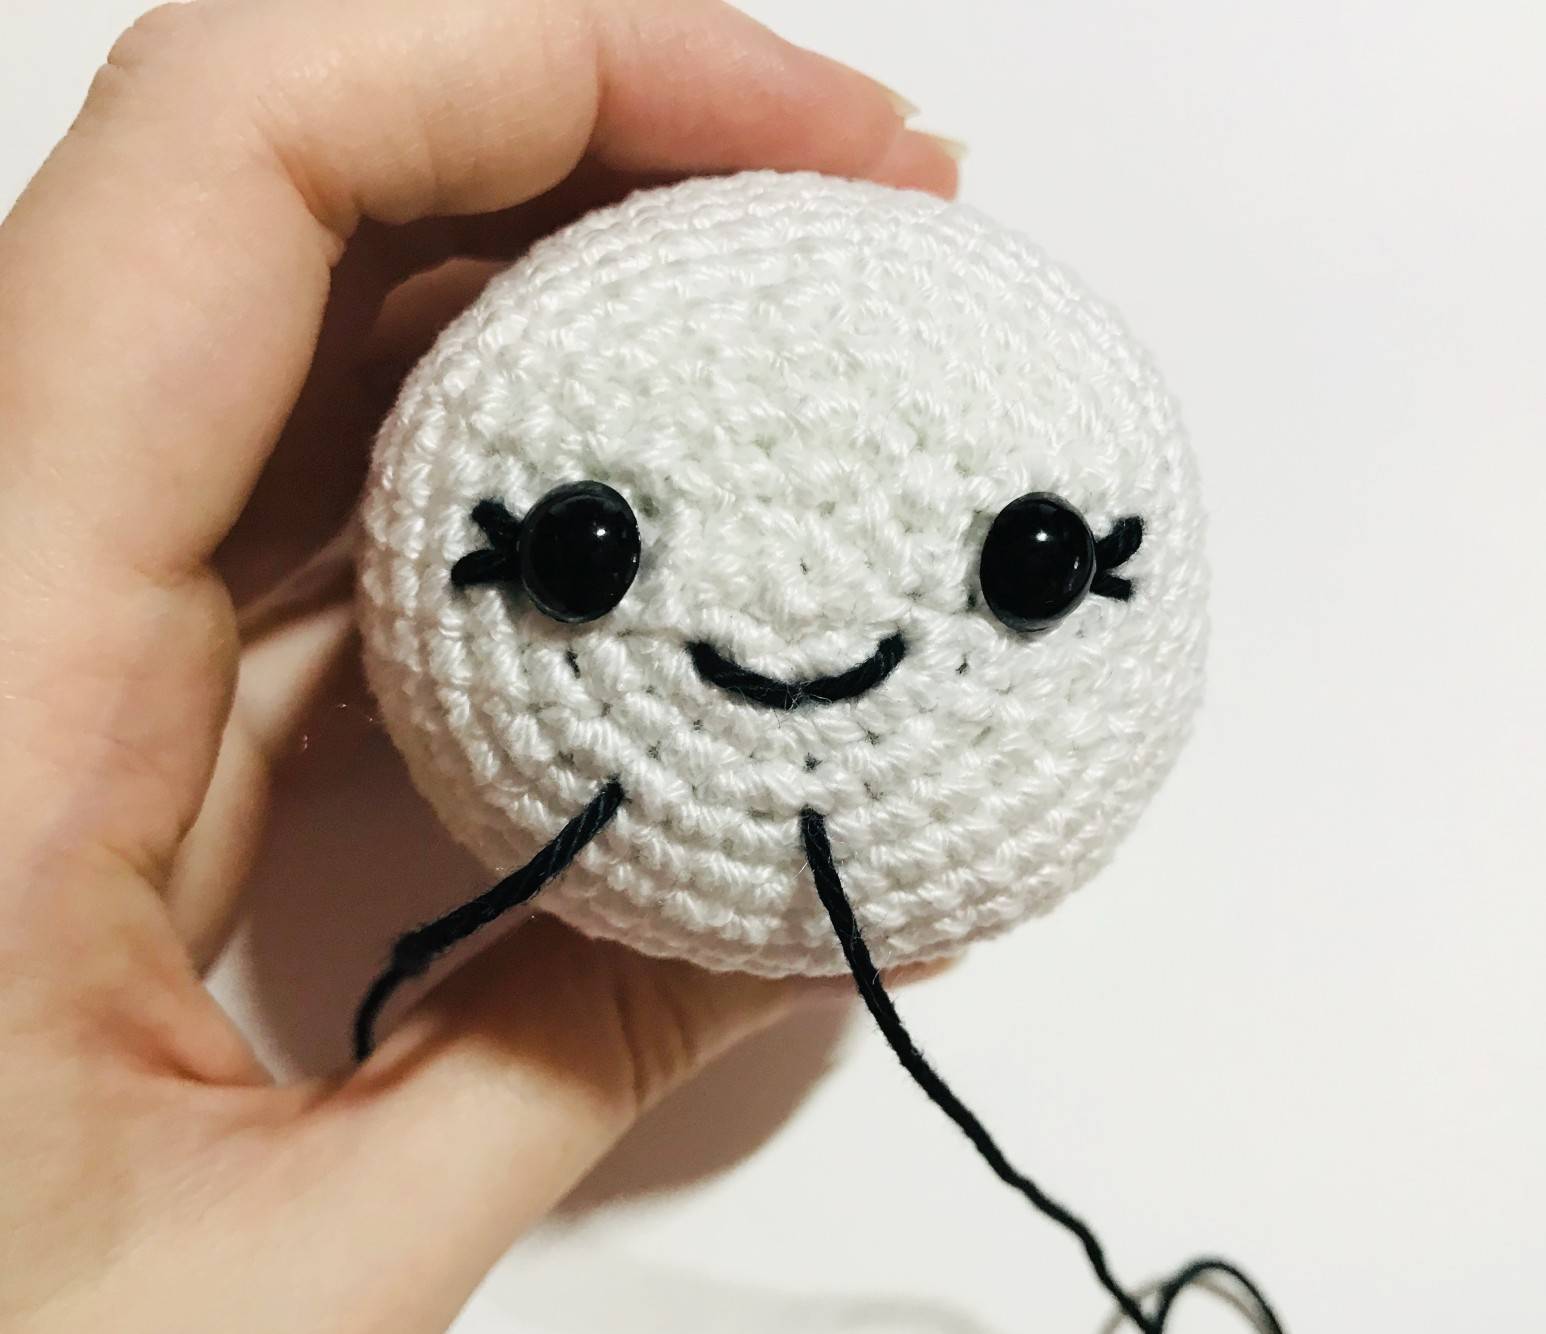
Do the same for the right side
and bring the thread out 2 sc
below in a straight line with the
1st stitch.
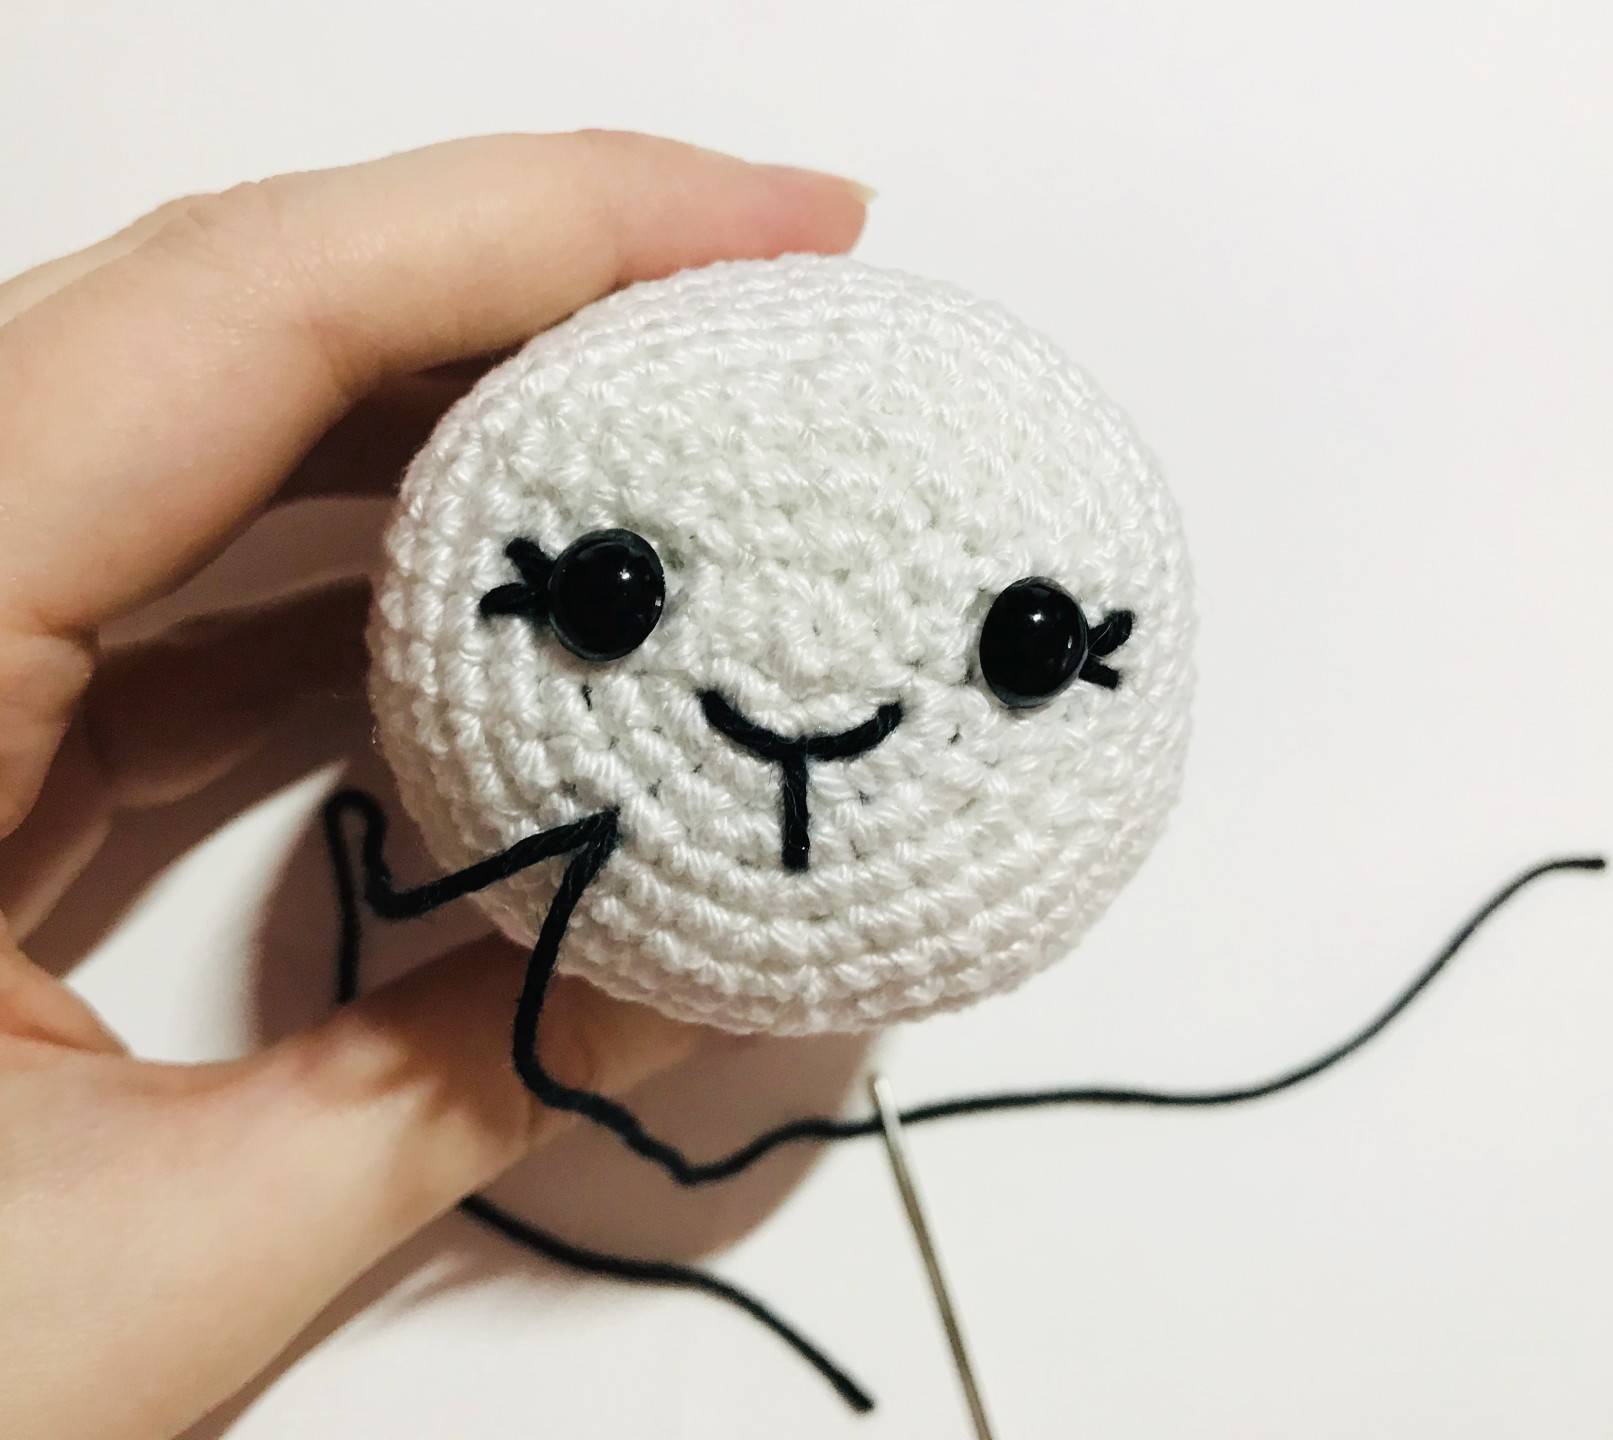
Pass the thread through the starting point and bring it out through the stitch where you entered your thread at the very beginning.
Tie a knot in the two threads.
Weave in ends.
-> Take the outer line of the eyes as a reference point to position the legs.
-> The front and back legs are spaced 5 sc and 10 sc between left and right.
-> Sew the legs together, helping you to stabilize them with pins.
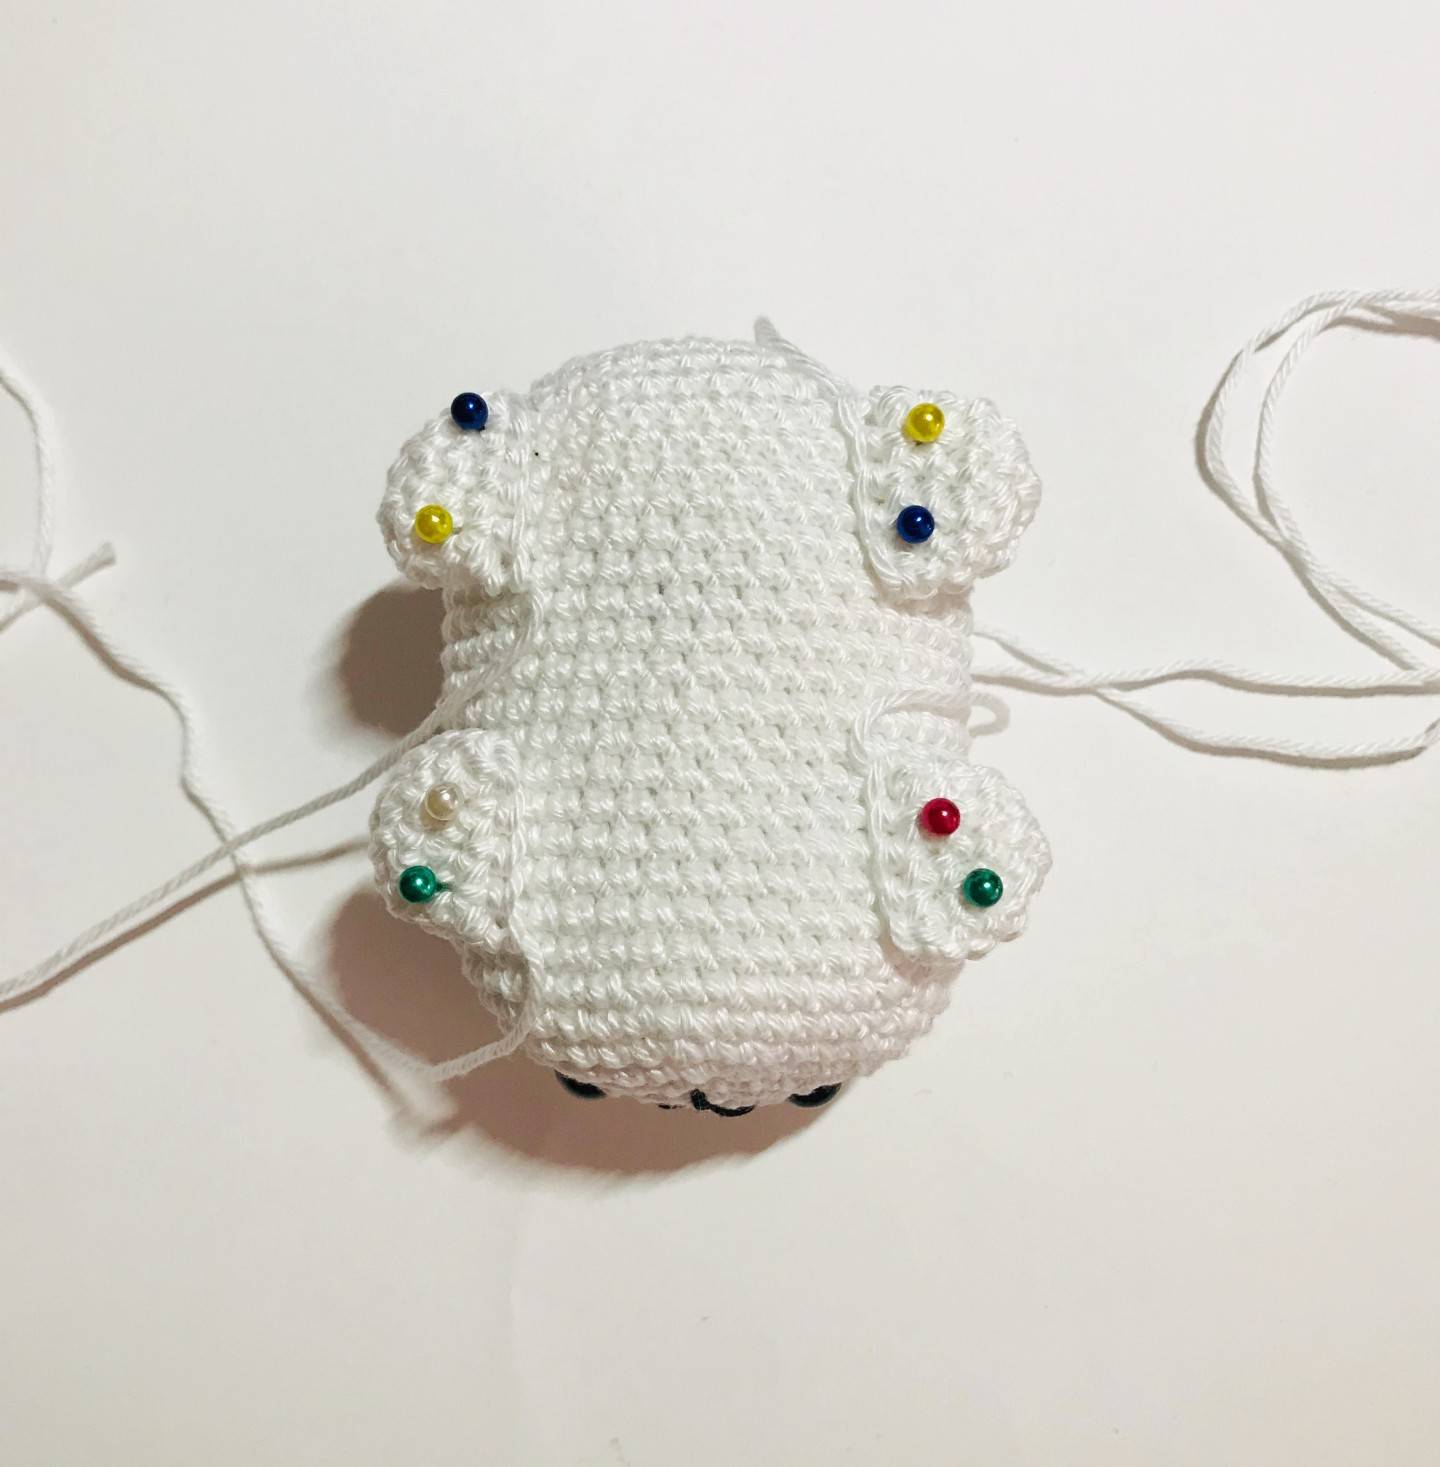
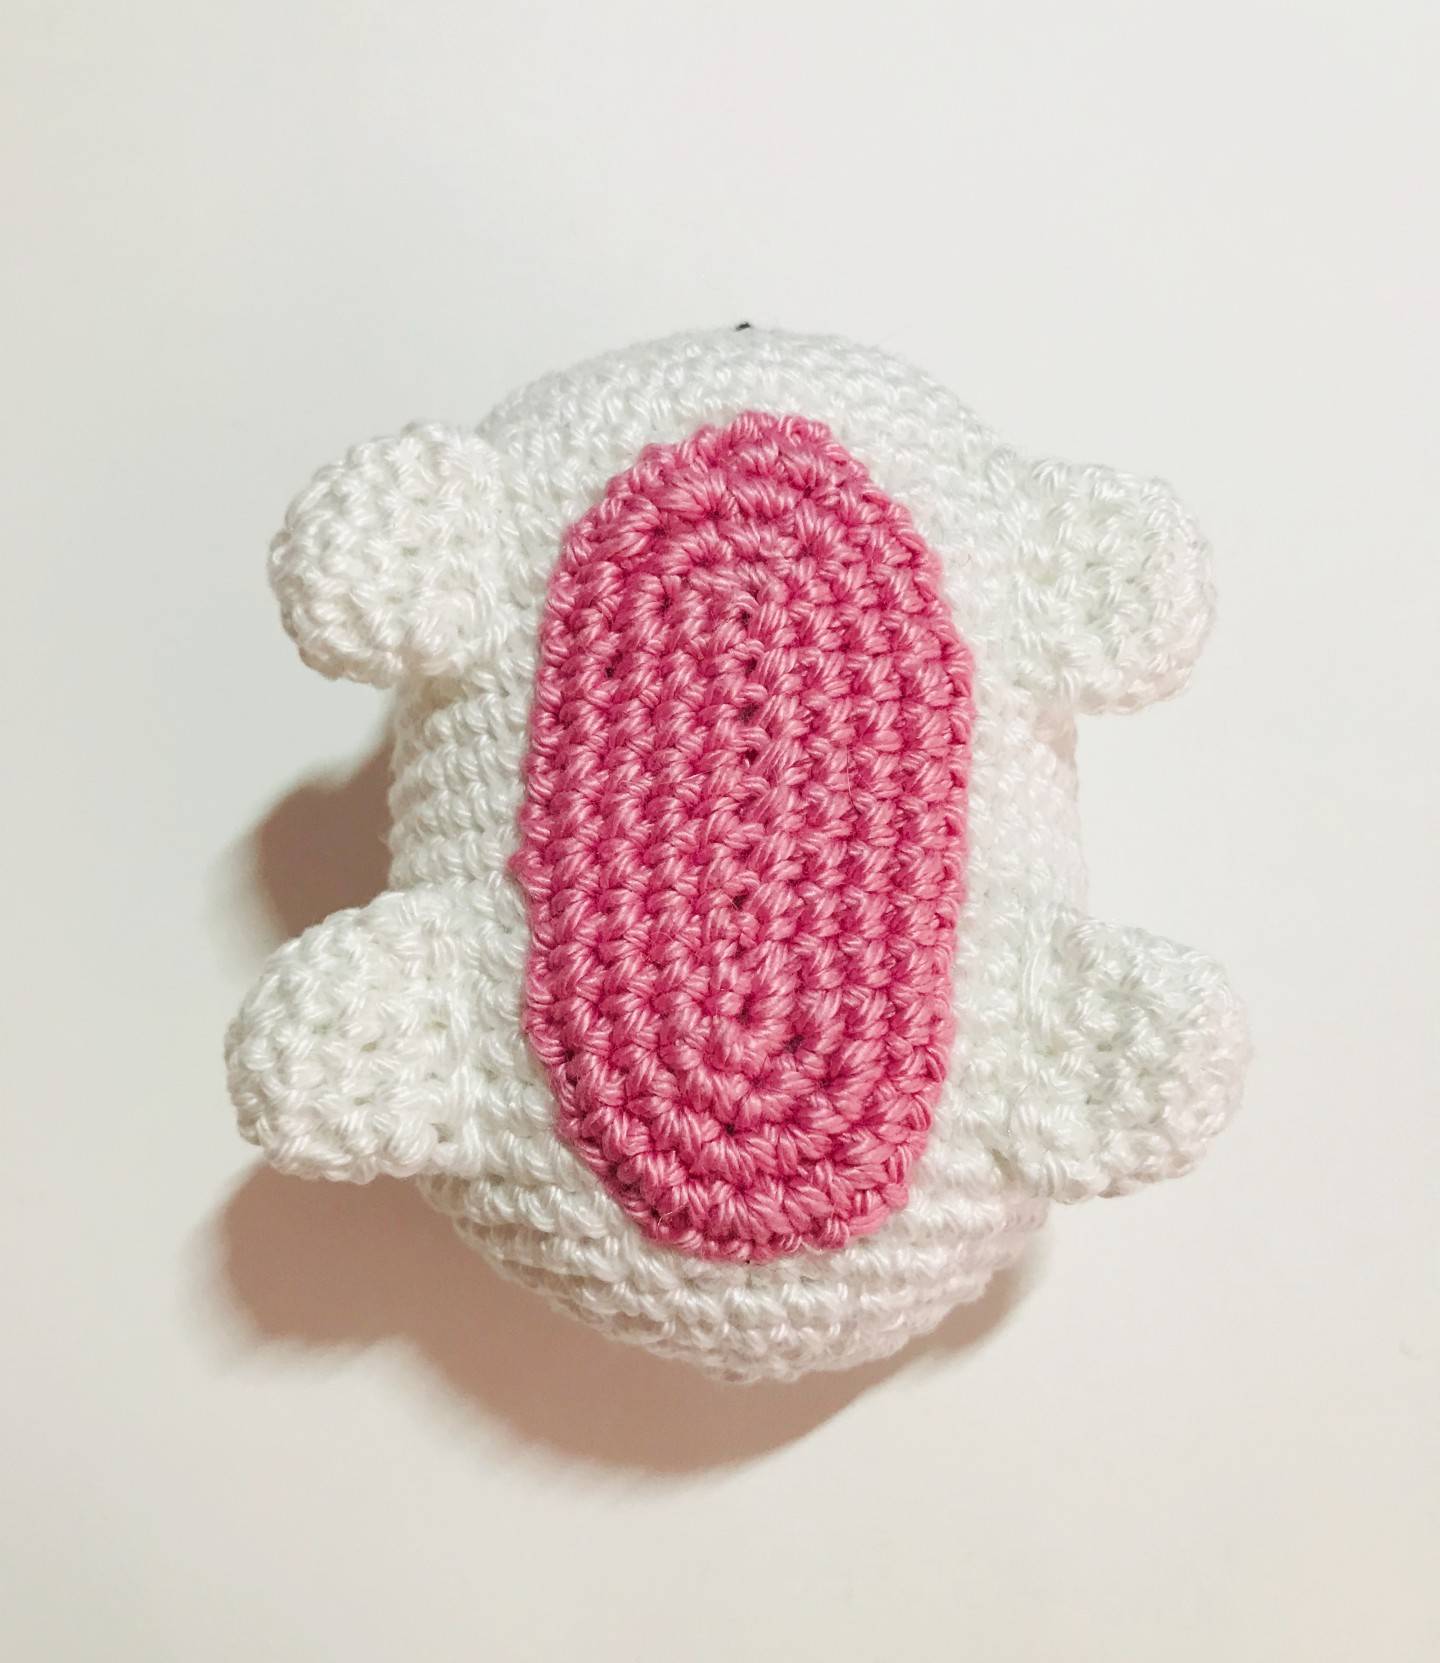
-> For the belly lining, position yourself in the middle of the legs. There should be about 2 or
3 stitches between the legs and the lining.
-> Block with pins to help you and sew the entire outline.
Then, weave in ends.
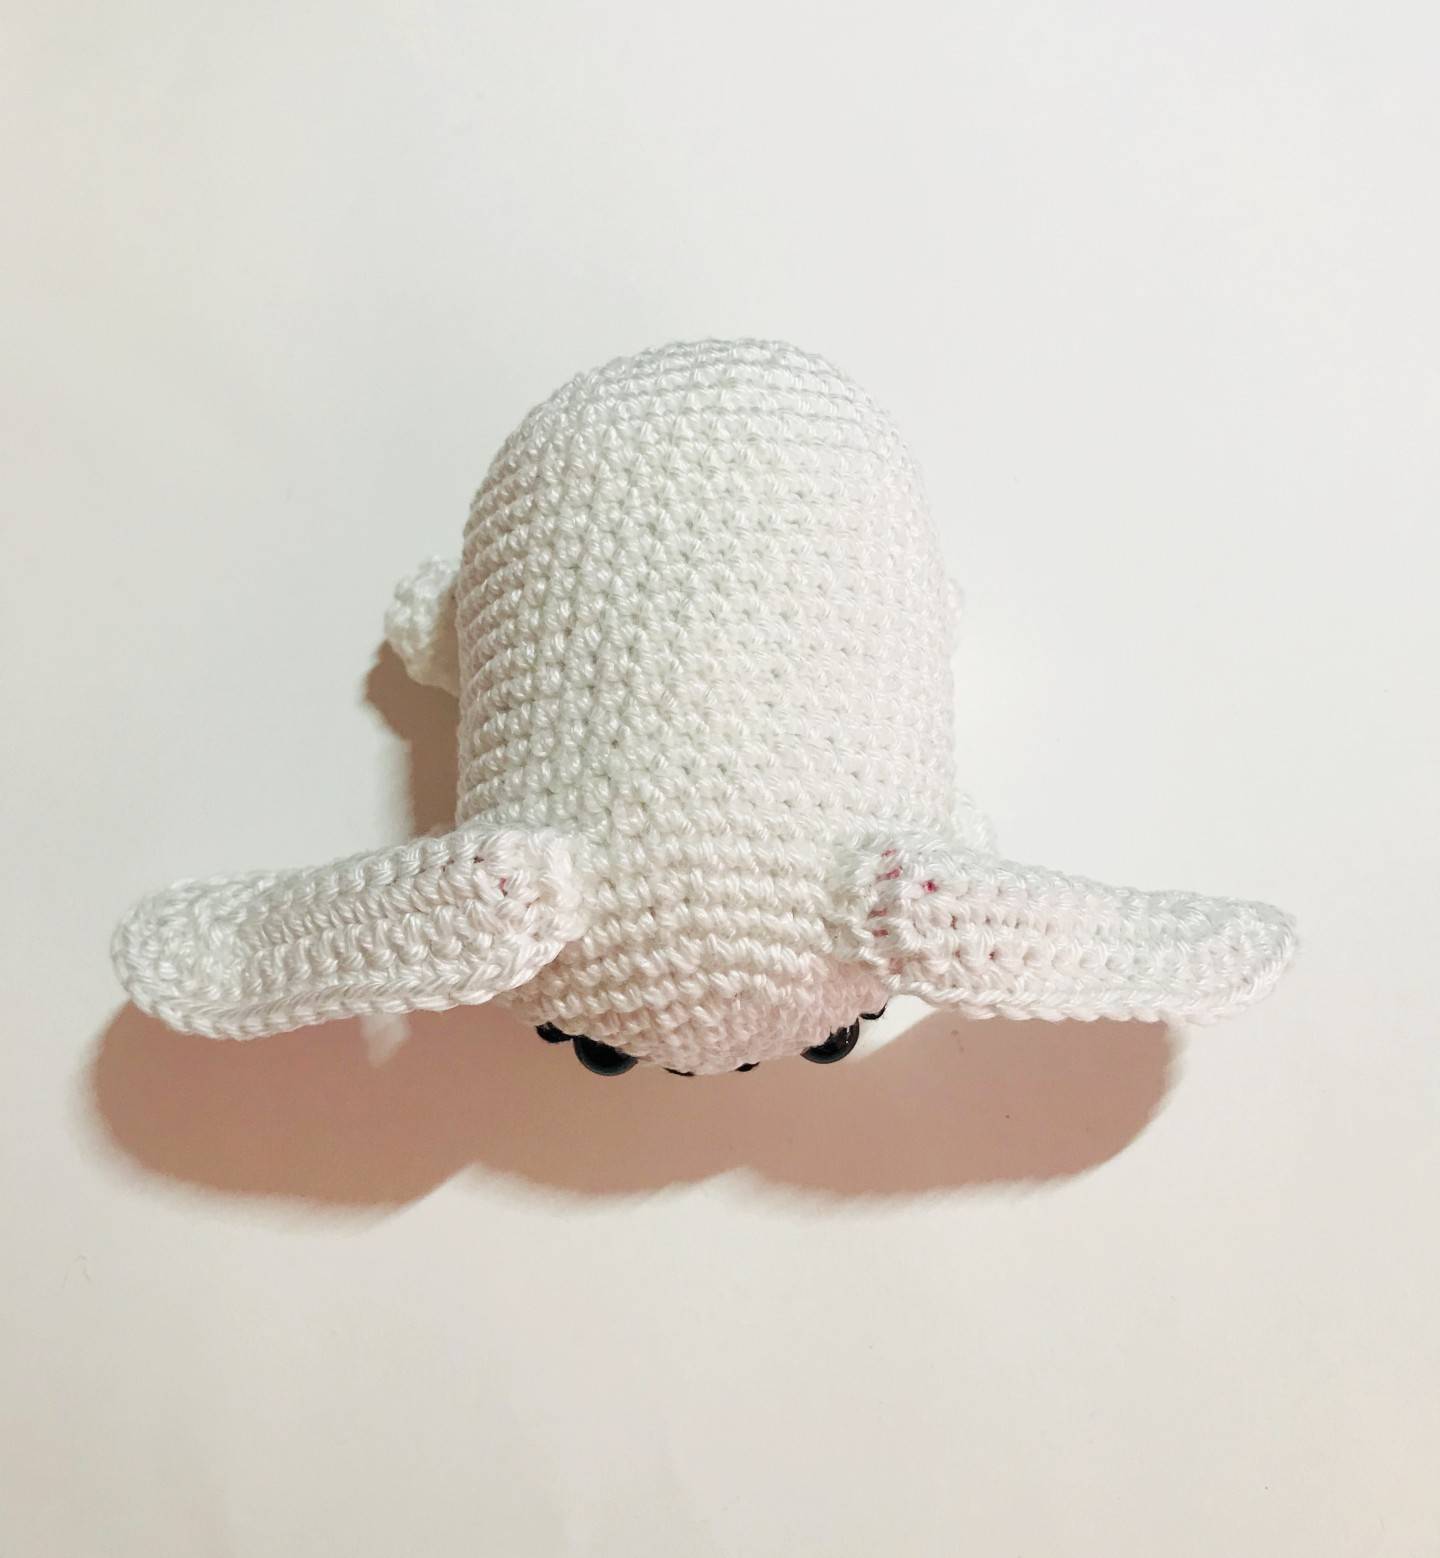
-> For the ears, position yourself in the middle row of each eye to sew them on each side. There is about 7 sc between the two ears.
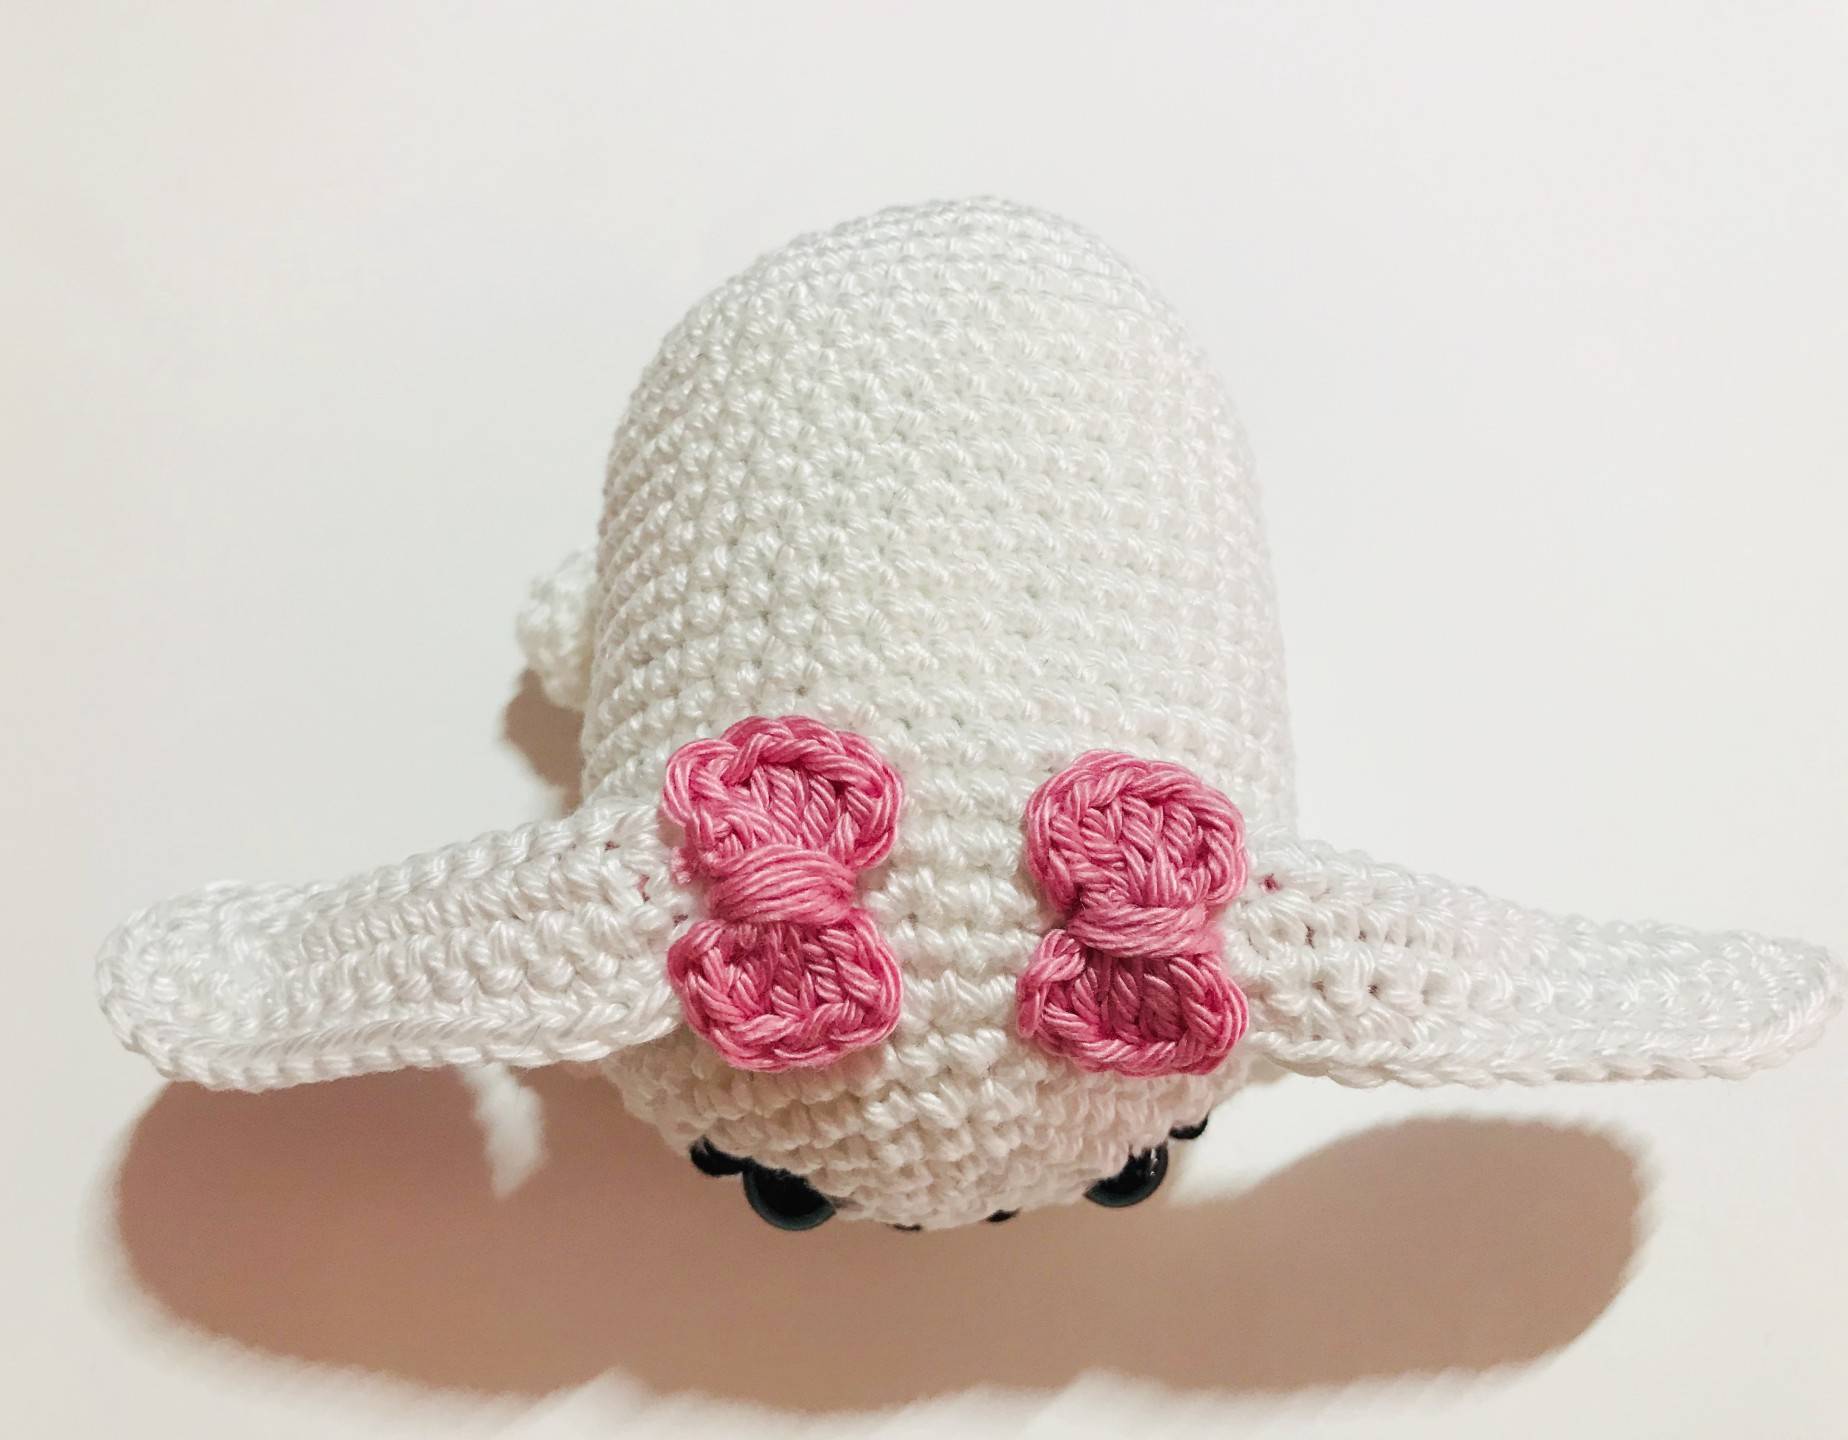
Glue a bow on each ear, on the seam of the ears.
Glue the pompom to the back of the body, in the middle in a straight line with the front of the body.


bringing it to life 🙂
If you make this pattern, don’t hesitate to share it on Instagram by tag me @my_rainbow_crochet so that I can pass you on in my story or on Facebook to send me a photo of your achievement that I would incorporate into the album of your achievements!
Seeing your achievements is always a huge pleasure for me!
See you soon Rainbows ! 🙂🌈