This post contains affiliate links.
Hello Rainbows 🌈
We are in the summer period and for me, summer is synonymous (beyond the heat 😂) with starry skies. I also realized that I pay more attention to the moon during this time than the rest of the year. So it was only natural that I was inspired by this new pattern!
You should also know that July 20 is Moon Day and it couldn’t have been a better time for the release date of this Moon phases pattern 😄
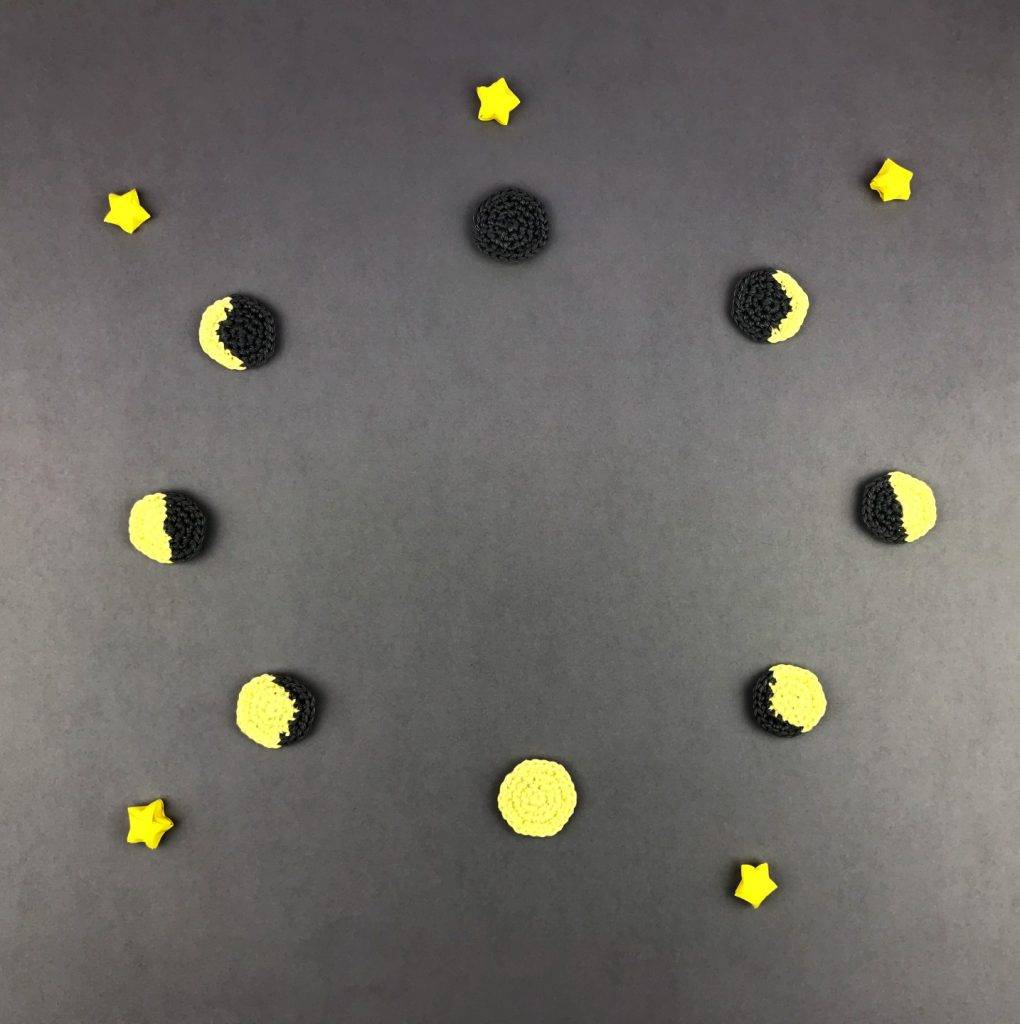
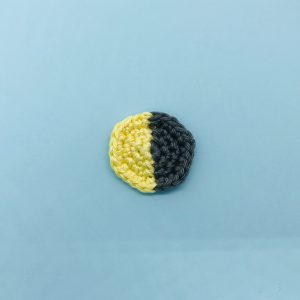
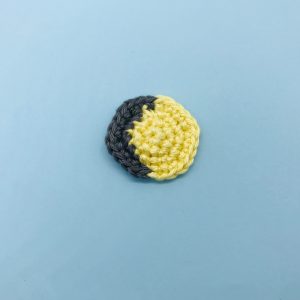
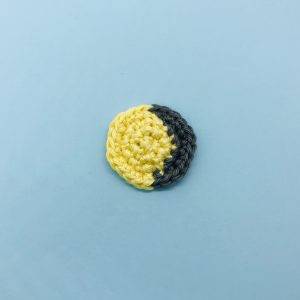
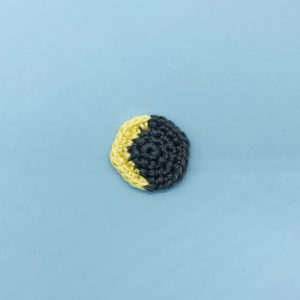
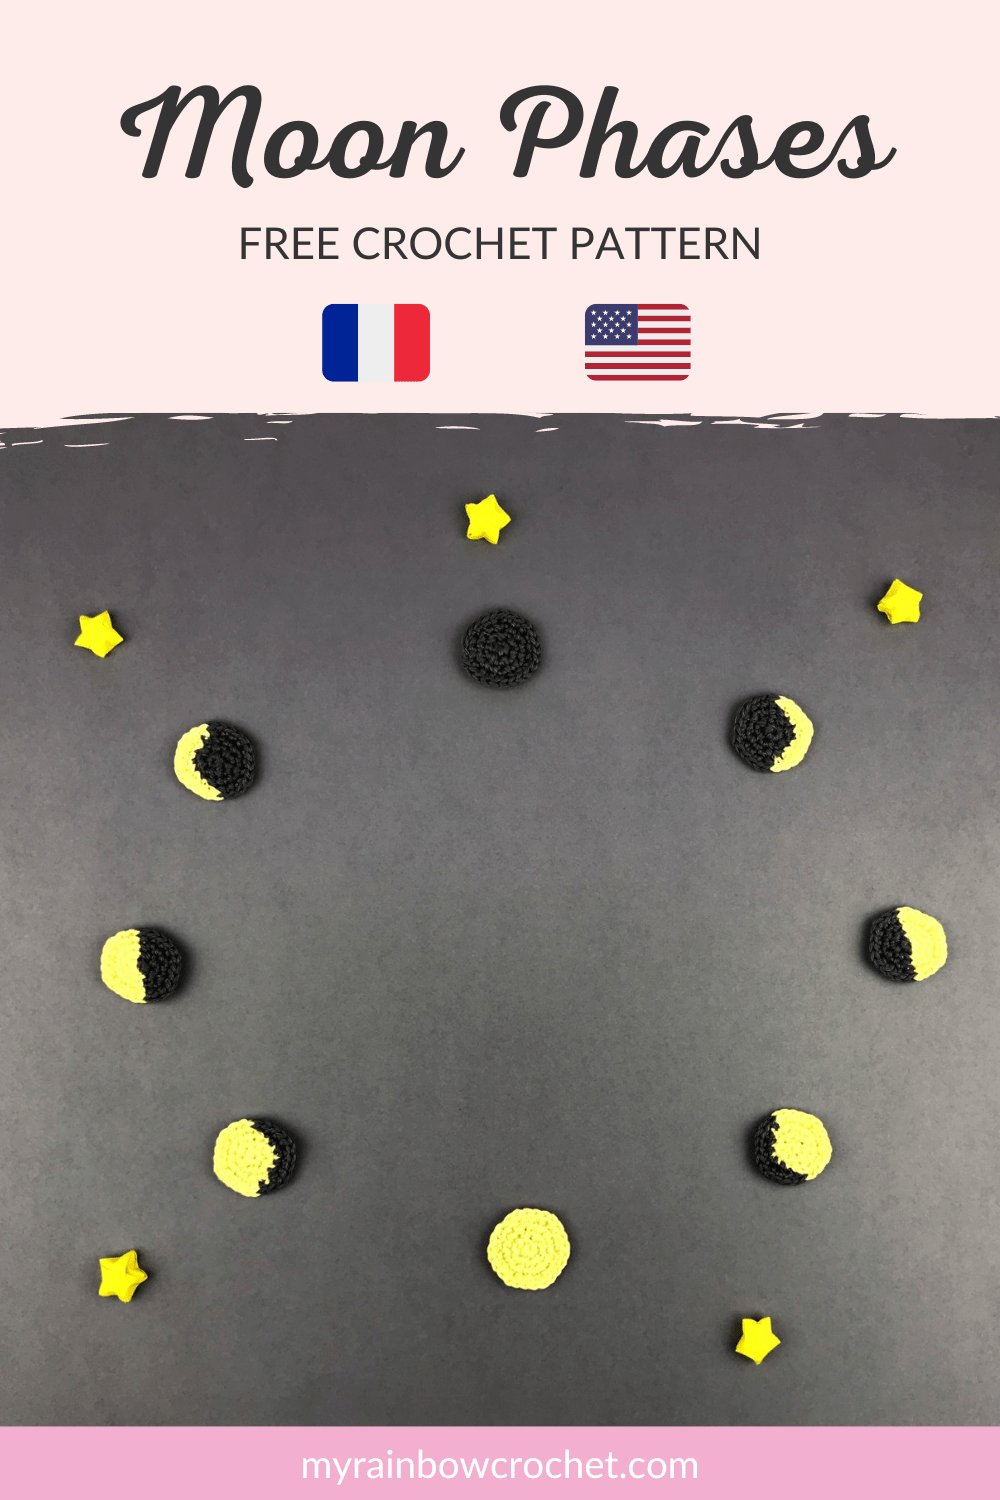
This pattern therefore makes it possible to carry out the main phases that the Moon goes through during its cycle, i.e.: The new moon 🌑> Waxing crescent 🌒 > The first quarter moon 🌓 > Waxing gibbous moon 🌔 > The full moon 🌕 > Waning gibbous moon 🌖 > Third quarter 🌗 > Waxing crescent 🌘
This little pattern is very quick to make and perfect for adding a lunar, spiritual, cosmic or even mystical touch to your crochet projects or decoration. It also has educational value for children so that they can follow the phases of the moon in the sky themselves too!
It is also perfect for using up leftover balls.
Very easy, it is perfectly suited for beginner crocheters. It has been tested and approved by my team of testers. I hope you will like it too!
I let you check it below ☺🔽
🌟 Material you need 🌟
If you want to use the same material as mine, I am attaching few links below.
These are affiliate links on Amazon. As an Amazon Associate I earn from qualifying purchases.
- Crochet hook 2,5 mm
- Cotton threads (fingering): Yellow and grey
- Wool needle
- Stitch markers
- and that’s all !
🌟 Abbreviations used 🌟
R : Row
sc : Single Crochet
Inc : Increase
SlSt : Slip Stitch
CH : Chain
*…* : Repeat around the row
🌟 The written explanations 🌟
If you prefer to have the printable PDF file of this pattern, you can find it by clicking on the image below 🔽
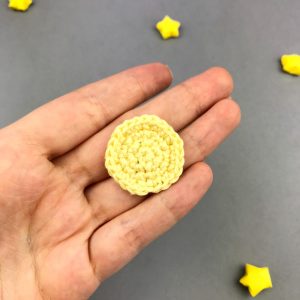
▶ The new moon and full moon 🌑🌕
The new moon is to be made with the grey yarn and the full moon with the yellow yarn.
R1 : magic ring with 6 sc + 1 SlSt to close the ring
R2 : CH 1 + 1 Inc in the same stitch as the SlSt + 1 Inc in each sc + 1 SlSt to close (12)
R3 : CH 1 + 1 sc in the same stitch as the SlSt + 1 Inc + *1 sc, 1 Inc* x5 + 1 SlSt to close (18)
R4 : CH 1 + 1 sc in the same stitch as the SlSt + 1 sc + 1 Inc + *2 sc, 1 Inc* x5 + 1 SlSt (24)
➡ Cut the yarn and pass it to the back. Tie a knot and cut off the excess.
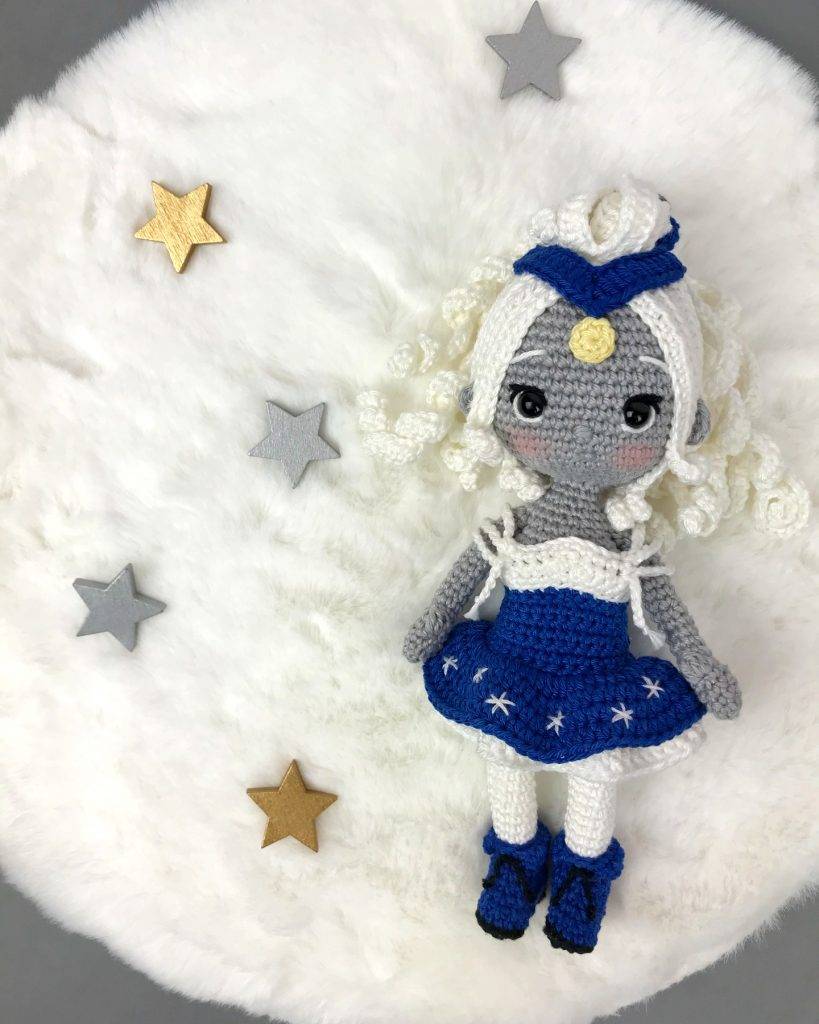
Find more magic patterns ✨
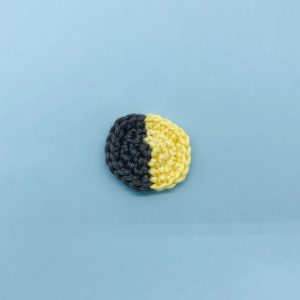
▶ First quarter moon and Third quarter moon 🌓🌗
to be made with the yellow yarn and the grey yarn.
R1 : Make a magic ring with first 3 sc in yellow, then last 3 in grey. Finish the row by closing the ring with 1 SlSt with the yellow yarn.
R2 : in yellow -> CH 1 + 1 Inc in the same stitch as the SlSt + 2 Inc
in grey -> 3 Inc
in yellow -> close the row with 1 SlSt in the first stitch (12)
R3 : in yellow -> CH 1 + 1 sc in the same stitch as the SlSt + 1 Inc + *1 sc, 1 Inc* x2
in grey -> 1 sc, 1 Inc x3
in yellow -> close with 1 SlSt (18)
R4 : in yellow -> CH 1 + 1 sc in the same stitch as the SlSt + 1 sc + 1 Inc + *2 sc, 1 Inc* x2
in grey -> *2 sc, 1 Inc* x3
in yellow -> close with 1 SlSt (24)
➡ Cut the yarn and pass it to the back. Tie a knot and cut off the excess.
➡ Rotate your moon to have the first quarter moon and rotate in the opposite direction for the third quarter 😉
▶ Waxing gibbous and Waning gibbous 🌔🌖
to be made with the yellow yarn and the grey yarn.
R1 : in yellow -> magic ring with 6 sc + 1 SlSt to close the row
R2 : in yellow -> CH 1 + 1 Inc in the same stitch as the SlSt + 1 Inc in each sc + 1 SlSt to close the row (12)
R3 : in yellow -> CH 1 + 1 sc in the same stitch as the SlSt + 1 Inc + *1 sc, 1 Inc* x2 + 1 sc
in grey-> 1 Inc + 1 sc + 1 Inc + 1 sc + 1 sc
in yellow -> 1 extra sc in the previous stitch with the grey sc
in yellow -> 1 SlSt to close the row (18)
R4 : in yellow -> CH 1 + 1 sc in the same stitch as the SlSt + 1 sc + 1 Inc + *2 sc, 1 Inc*x2
in grey -> *2 sc, 1 Inc* x3
in yellow -> 1 SlSt to close the row (24)
➡ Cut the yarn and pass it to the back. Tie a knot and cut off the excess.
➡ Rotate your moon to have the waxing gibbous and rotate in the opposite direction for the waning gibbous 😉
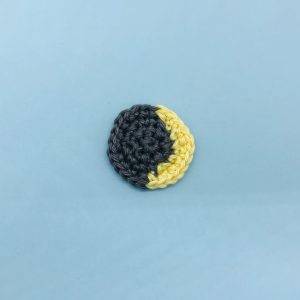
▶ Waxing crescent and Waning crescent 🌒🌘
to be made with the yellow yarn and the grey yarn.
R1 : in grey -> magic ring with 6 sc + 1 SlSt to close the row
R2 : in grey -> CH 1 + 1 Inc in the same stitch as the SlSt + 1 Inc in each sc + 1 SlSt to close the row (12)
R3 : in grey -> CH 1 + 1 sc in the same stitch as the SlSt + 1 Inc + *1 sc, 1 Inc* x2 + 1 sc
in yellow -> 1 Inc + 1 sc + 1 Inc + 1 sc + 1 sc
in grey -> 1 extra sc in the previous stitch with the yellow sc
in grey -> 1 SlSt to close the row (18)
R4 : in grey -> CH 1 + 1 sc in the same stitch as the SlSt + 1 sc + 1 Inc +* 2 sc, 1 Inc*x2
in yellow -> *2 sc, 1 Inc* x3
in grey -> 1 SlSt to close the row (24)
➡ Cut the yarn and pass it to the back. Tie a knot and cut off the excess.
➡ Rotate your moon to have the waxing crescent and rotate in the opposite direction for the waning crescent 😉
And here are some little moon phases to add where you feel like it! 🌚
If you make this pattern, don’t hesitate to share it on Instagram by tag me @my_rainbow_crochet so that I can pass you on in my story or on Facebook to send me a photo of your achievement that I would incorporate into the album of your achievements!
Seeing your achievements is always a huge pleasure for me!
All rights reserved. You can not resell, share, modify or publish this pattern.
This pattern is for PERSONAL use only. The pattern may not be, in whole or in part, reproduced, published (online or printed), modified or resold according to article L.122-4 of the french intellectual property code.
You can sell the finished products, if they are made by you, in limited quantities and by providing the name of the designer. Please add the following information to the description of the amigurumi sold:
“This plush was handmade by … (your name) from a pattern created by My Rainbow Crochet”
Copyright 2022 MyRainbowCrochet
See you soon Rainbows ! 🙂🌈

