(post originally published on October 30, 2017)
This post contains affiliate links.
Hello everyone !
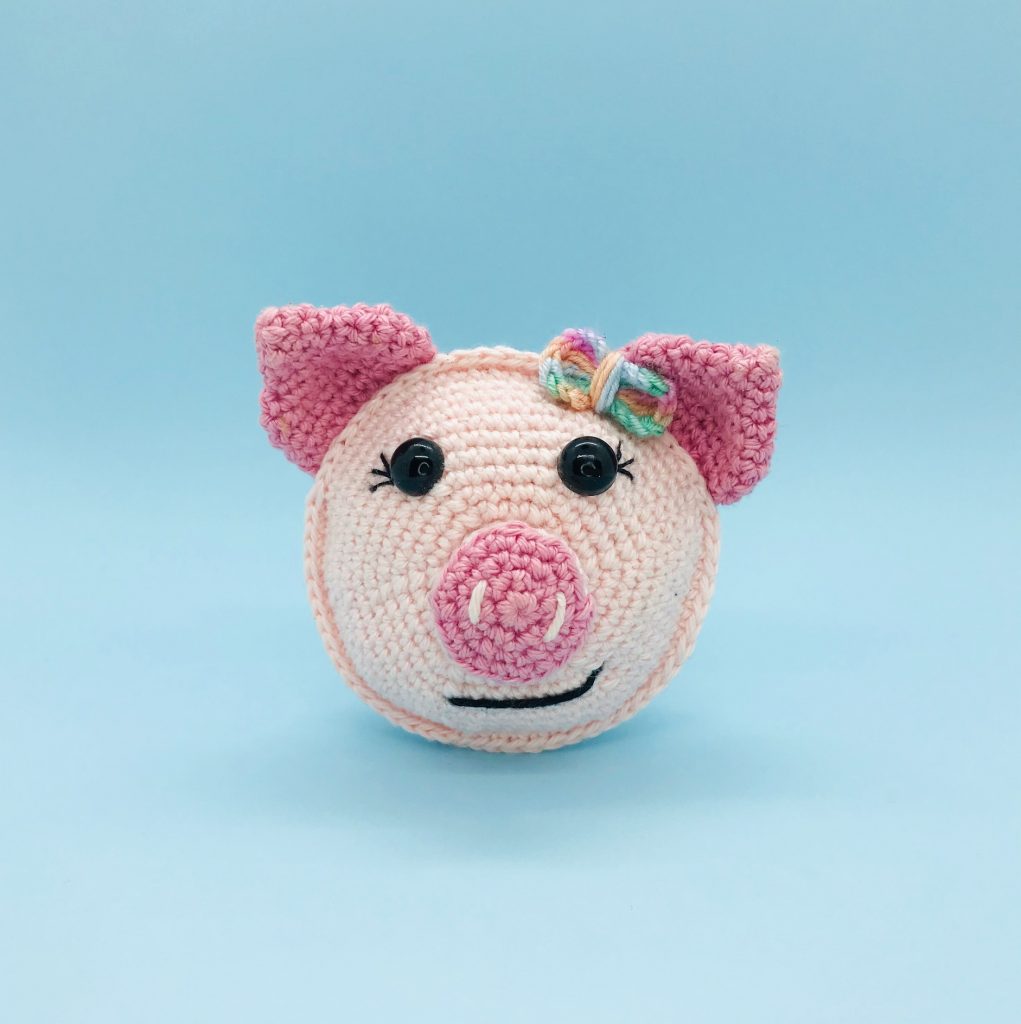
I propose to you today a new free amigurumi pattern. It is Marcelline the little pig. It can be done fairly quickly and is quite simple. The only difficulty may be in the assembly of the two faces with the ears. If you have questions for this step, you can leave me a comment and I will try to explain.
Finished size for Marcelline:
– height 3,54 inches without the ears, 4,72 inches with the ears
– Width: 3,54 inches
Material you need:
If you want to use the same material as mine, I am attaching few links below.
These are affiliate links on Amazon. As an Amazon Associate I earn from qualifying purchases.
– Cotton thread size 3 of two different pink
– Cotton thread size 3 Black
– Crochet hook 2 mm
– Black safety eyes
– Black embroidery thread
– Embroidery needle
– wool needle
– Stitch markers
– Textile adhesive or glue
– Rainbow yarn
Shortening:
R → Row
sc → Single crochet
Inc → Increase
Dec → Decrease
Slst → Slip stitch
*…* → Repeat around the row
Tr → Treble
Dtr → Double treble
CH → Chain
All rights reserved. You can not resell, share, modify or publish this pattern.
This pattern is for PERSONAL use only. The pattern may not be, in whole or in part, reproduced, published (online or printed), modified or resold according to article L.122-4 of the french intellectual property code.
You can sell the finished products, if they are made by you, in limited quantities and by providing the name of the designer. Please add the following information to the description of the amigurumi sold:
“This plush was handmade by … (your name) from a pattern created by My Rainbow Crochet”
Copyright 2017 MyRainbowCrochet
Let’s move on to its realization.
HEAD x2
(to achieve with the most light pink cotton thread)
R1 → magic ring with 6 sc
R2 → 6 Inc (12 sc)
R3 → *1 sc, 1 Inc *
R4 → *2 sc, 1 Inc *
R5 → *3 sc, 1 Inc *
R6 → *4 sc, 1 Inc *
R7 → *5 sc, 1 Inc *
R8 → *6 sc, 1 Inc *
R9 → sc in each sc
R10 → *7 sc, 1 Inc *
R11 → sc in each sc
R12 → *8 sc, 1 Inc *
R13 → sc in each sc
Do not close the loop, keep it to assemble the 2 sides at the end with sc. Leave a very good length of thread to sew the two parts together at the end (at least 11,81 inches)
SNOUT
With the most dark pink thread:
R1 → magic ring with 6 sc
R2 → 6 Inc (12 sc)
R3 → *1 sc, 1 Inc *
R4 → *2 sc, 1 Inc *
With the most light pink thread:
R5 → taking only the back loop, *4 sc, 1 dec *
R6 → sc in each sc
→ Make the nostrils with the light pink thread as in the photo.
→ Stuff a little.
EARS x2
(to achieve with the most dark pink cotton thread)
R1 → magic ring with 4 sc
R2 → 4 Inc (8)
R3 → sc in each sc
R4 → *1 Inc, 1 sc *
R5 → *2 sc, 1 Inc *
R6 → *1 Inc, 1 sc *
R7 → *2 sc, 1 Inc *
R8 → *1 dec, 1 sc *
R9 → sc in each sc
R10 → fold the ears in half and join the two sides with 10 sc.
R11 → 1 CH and 10 sc
BOW
(to achieve with rainbow thread)
R1 → make 4 CH
R2 → make 5 Dtr in the 1st sc
R3 → 3 CH and 1 sc in the first stitch from the start
R4 → 3 CH and we do the same thing the other way
With the rest of the thread, go around the middle of the knot then make a knot behind with the 2 remaining threads. Cut the ends.
TAIL
(to achieve with the most dark pink thread)
R1 → 8 CH
R2 → 5 Tr in each stitch
ASSEMBLY
→ place the safety eyes on one of the sides of the head.
→ embroider eyelashes with your black embroidery thread.
→ sew the nose as in the photo.
→ Join the 2 sides together with sc and do not forget to incorporate the ears in this step. When you reach ear level, you will not be able to make sc between the two parts. It will be necessary to perform Slip stitch with the 2 sides and the ear.
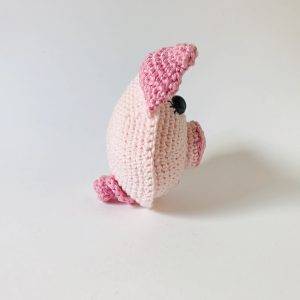
→ add the smile with the black cotton thread.
→ glue the rainbow knot with glue or textile adhesive.
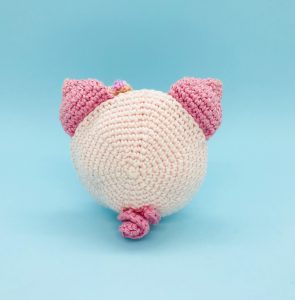
→ turn the pig over and sew the tail.
All rights reserved. You can not resell, share, modify or publish this pattern.
Copyright 2017-2020 MyRainbowCrochet
Don’t hesitate to share your little Victoria with me on Instagram by directly mentioning @my_rainbow_crochet I would pass your creations into my story 😉

