This post contains affiliate links.
Hello Rainbows 🌈
Let’s go to open the 3rd and last box of the Gourmet Advent Calendar! And yes already 🥺 Last delicacy with a typical Christmas dessert: the Christmas Log! 🎅
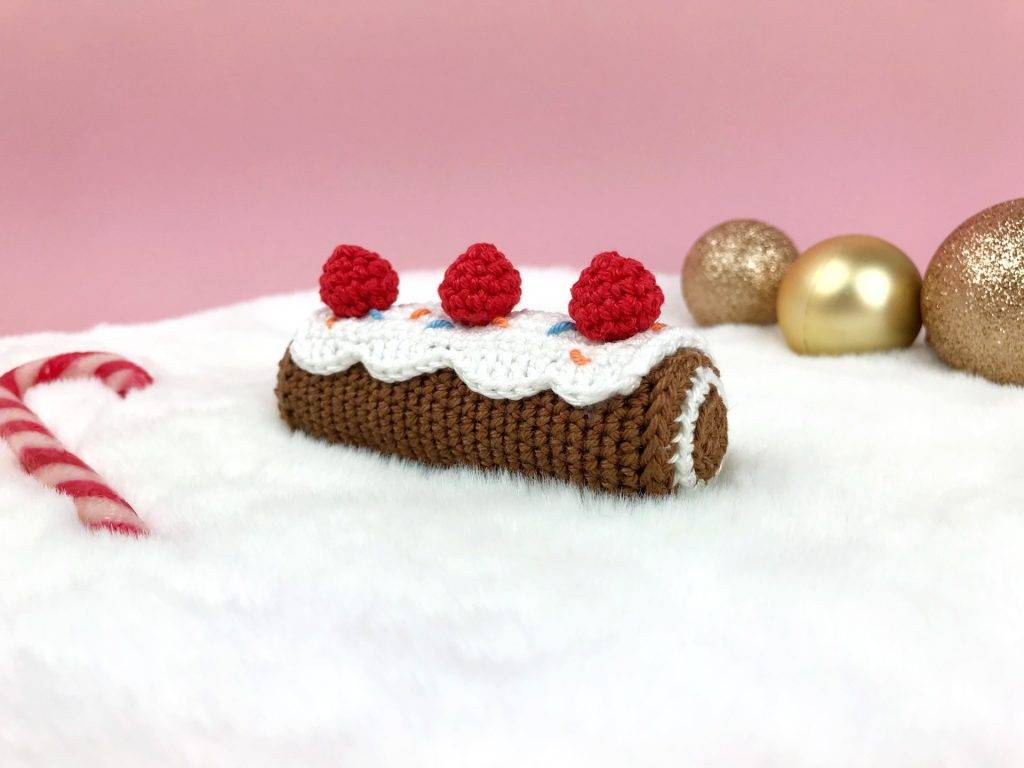
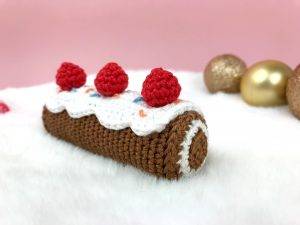
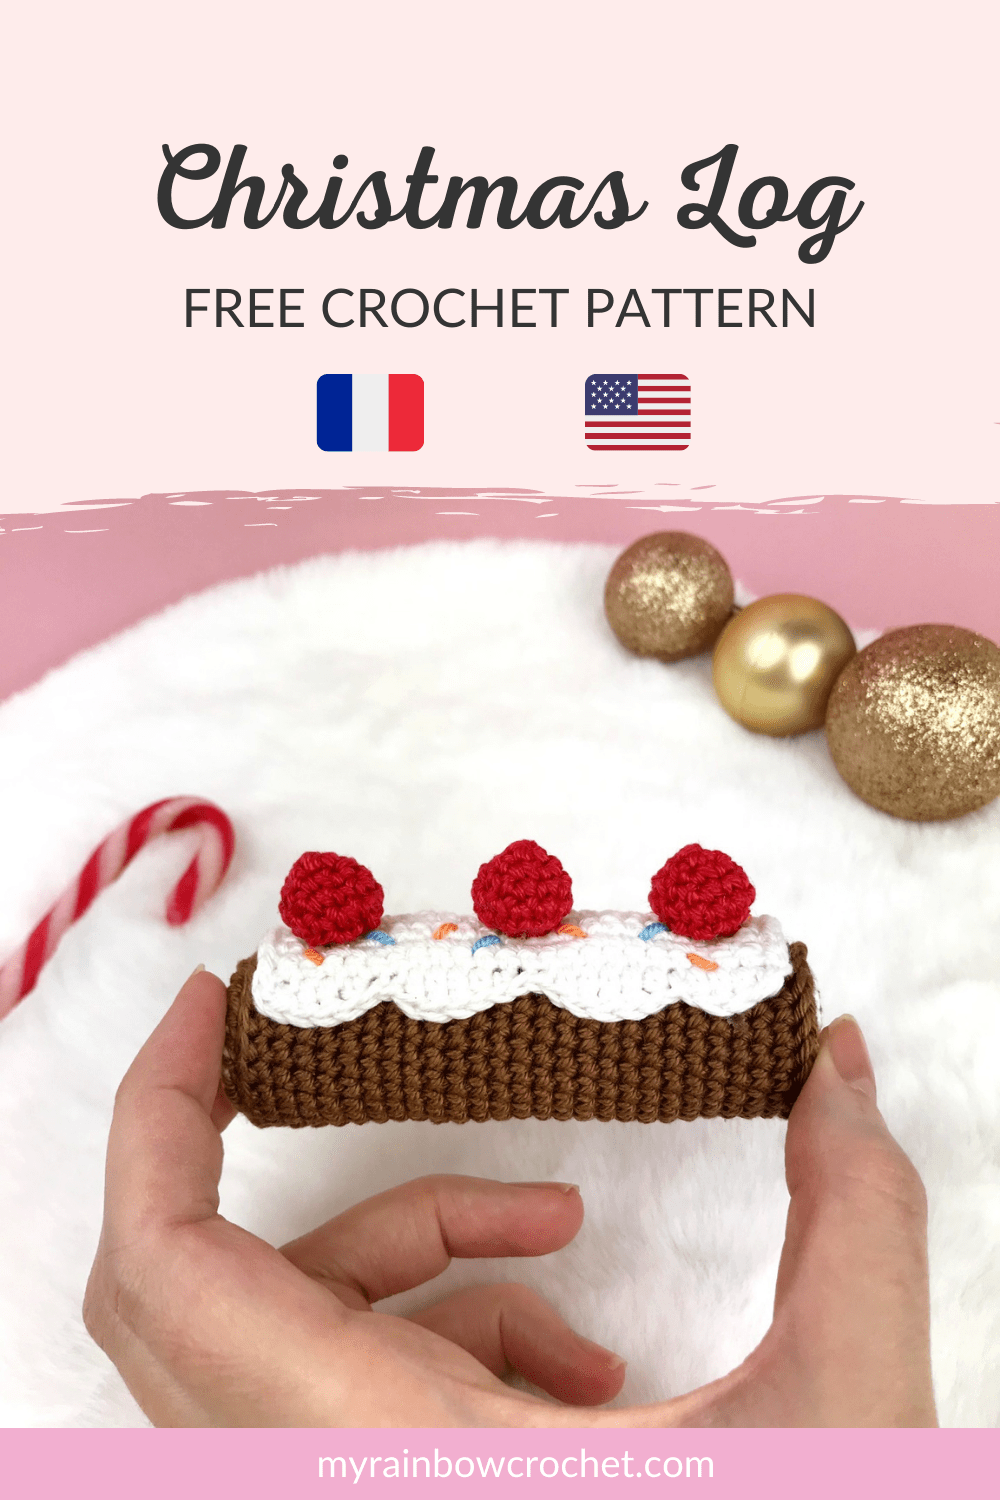
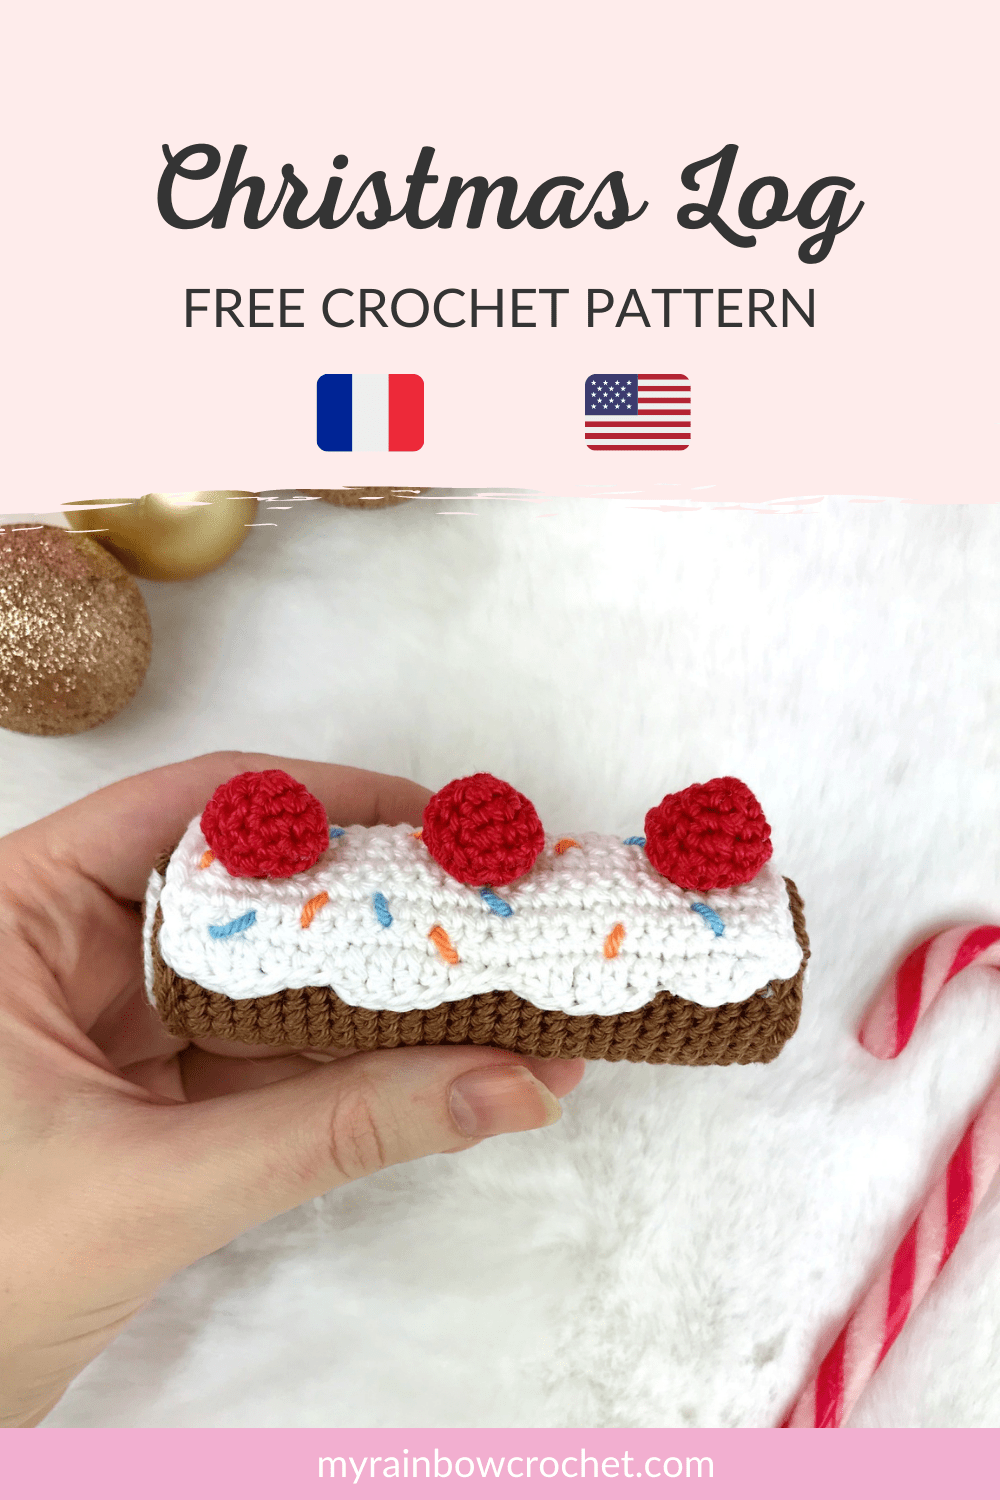
A delicious chocolate log topped with a cream with vermicelli and topped with 3 pretty cherries. I was inspired by the famous black forest log that I make every year for Christmas 😋 And I must admit that this log really made me hungry when I crocheted it! If you fancy a yule log but have to wait until Christmas to enjoy it, why not crochet one while you wait? 😁
You can make it the tastes / colors you want if you’re not very black forest.
This little Christmas Log will be perfect as a Christmas decoration (I plan to put it in my tree) or as a gift! Quick and easy to crochet, it will bring its dose of Greedy to your Christmas 🎅
The pattern is suitable for crocheters with an advanced beginner level.
Find this pattern for free just below 🔽
🎄 Material you need 🎄
If you want to use the same material as mine, I am attaching few links below.
These are affiliate links on Amazon. As an Amazon Associate I earn from qualifying purchases.
- Crochet 2 mm or a crochet hook suitable for your yarnl
- Cotton yarn (fingering) : Brown, White, Red, Orange, Blue
- Glue or textile adhesive
- Stuffing
- Wool needle
- Stitch markers
🎁 Abbreviations used 🎁
R : Row
sc : Single crochet
Inc : Increase
Dec : Decrease
SlSt : Slip stitch
CH : Chain
hdc : Half double crochet
dc : Double crochet
ssc : Start in Single crochet
[…] : Repeat around the row
*… * : Work in the same stitch
🎅 The written explanations 🎅
If you prefer to have the printable PDF file of this pattern and a more detailed pattern at each step, you can find it by clicking on the image below 🔽
▶ The log
(to be done with brown and white yarn)
In brown:
R1 : magic ring with 6 sc
R2 : 1 Inc in each sc (12)
Fasten off and make an invisible finish.
In white:
Resume at the stitch where you left off previously:
R3 : Make 1 ssc only in the back loop, then 1 Inc, *1 sc, 1 Inc *x5 (18)
The entire row is done in the back loop.
Fasten off and make an invisible finish.
In brown:
Resume at the stitch where you left off previously:
R4 : Make 1 ssc only in the back loop, then 1 sc, 1 Inc, *2 sc, 1 Inc *x5 (24) The entire row is done in the back loop.
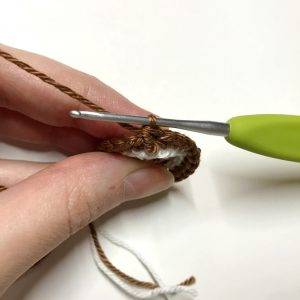
R5 : using the stitch to rise the edge (see explanations below), sc in each sc (24)
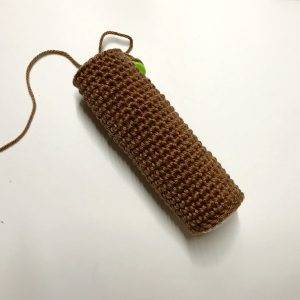
R6 to R30 : sc in each sc (24)
R31 : using the stitch to rise the edge (see explanations brlow), sc in each sc (24)
Stuff the log.
Fasten off and keep a good length of yarn for sewing later.
Find more magic patterns ✨
Explanation for the stitch to rise the edge
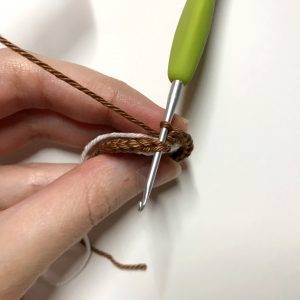
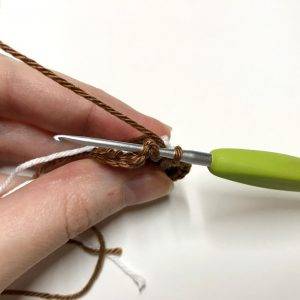
Bring the yarn back through the two stitches, then make a single crochet. Continue like this all along
the row.
The closing of the log:
In brown:
R1 : magic ring with 6 sc
R2 : 1 Inc in each sc (12)
Fasten off and make an invisible finish.
In white:
Resume at the stitch where you left off previously:
R3 : Make 1 ssc only in the back loop, then 1 Inc, *1 sc, 1 Inc *x5 and 1 SlSt in the 1st stitch to close (18)
The entire row is done in the back loop.
Fasten off and make an invisible finish.
The assembly to the main body of the log:
-> Finish stuffing the log well.
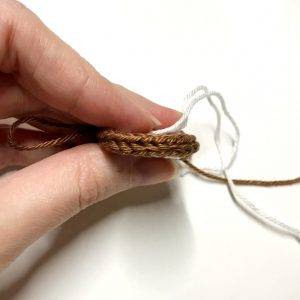
-> Place the closure at the entrance to the log and sew it, taking only the back loops of the closure (therefore the whites) and the 2 loops of the brown part according to this diagram: every 2 stitches, sew 2 brown stitches in 1 white. This will artificially create the increases.
-> Fasten off and weave in ends.
▶ Cherries🍒
(to be done with red yarn)
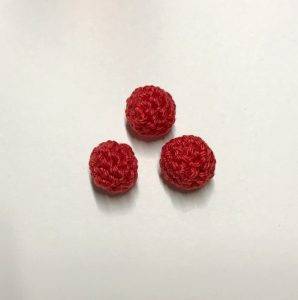
R1 : magic ring with 4 sc
R2 : 1 Inc in each sc (8)
R3 : *1 sc, 1 Inc *x4 (12)
R4 : sc in each sc (12)
R5 : *1 sc, 1 dec * x4 (8)
Stuff.
R6 : 4 decreases (4)
R7 : cut the yarn yarn and tuck it into the front loops of the remaining 4 stitches.
Tighten to close the hole and tuck the wire.
✨ Receive your Magic e-book with 5 free patterns! ✨
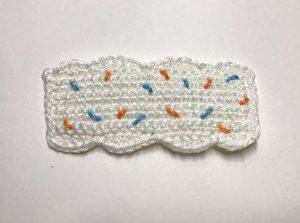
▶ The icing
(to be done with white, blue and orange yarns)
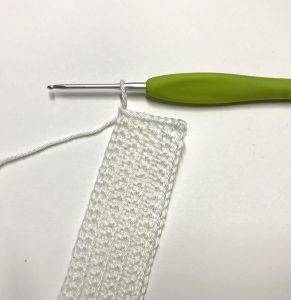
In white:
R1 : CH 23 (23)
R2 : CH 1 and from the 2nd stitch, sc in each sc (23)
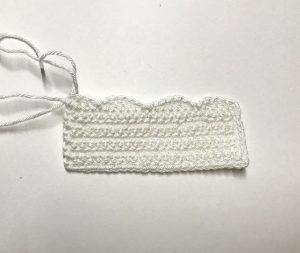
R3 to R9 : CH 1, turn, sc in each sc (23)
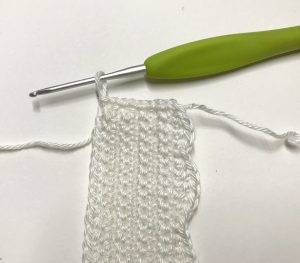
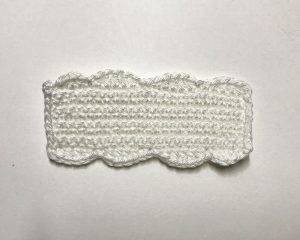
We then continue by crocheting on the 4 edges of the icing as follows:
In orange and blue:
Embroider vermicelli with the orange yarn and the blue yarn all over the icing with about 1 sc in width.
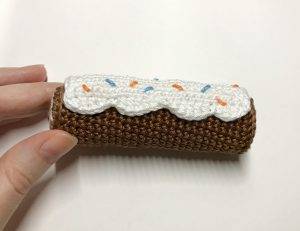
▶ Assembly and finishes for the log
➡The icing
Apply glue to the back of the icing, also putting some on the “waves” of it and stick it on the log.
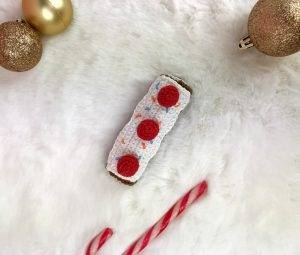
➡ Cherries

I hope you like the pattern of this third and last box of my Gourmet Advent Calendar! 😊 I loved crocheting these 3 boxes and sharing them with you for this end of the year. Given the success of this Advent Calendar, people whisper in my ear that it will come back next year with other delicacies to crochet 🤫
All rights reserved. You can not resell, share, modify or publish this pattern.
This pattern is for PERSONAL use only. The pattern may not be, in whole or in part, reproduced, published (online or printed), modified or resold according to article L.122-4 of the french intellectual property code.
You can sell the finished products, if they are made by you, in limited quantities and by providing the name of the designer. Please add the following information to the description of the amigurumi sold:
“This plush was handmade by … (your name) from a pattern created by My Rainbow Crochet”
Copyright 2022 MyRainbowCrochet
If you make this pattern, don’t hesitate to share it on Instagram by tag me @my_rainbow_crochet so that I can pass you on in my story or on Facebook to send me a photo of your achievement that I would incorporate into the album of your achievements!
Seeing your achievements is always a huge pleasure for me!
See you soon Rainbows ! 🙂🌈

