This post contains affiliate links.
Hello Rainbows 🌈
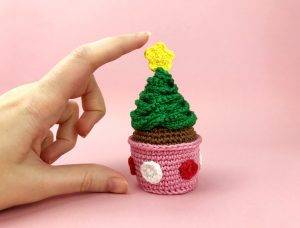
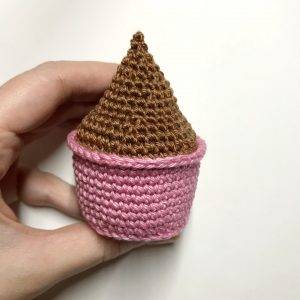
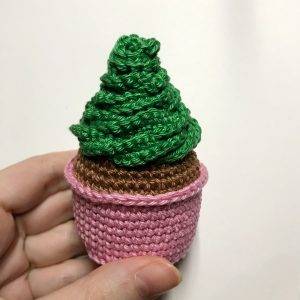
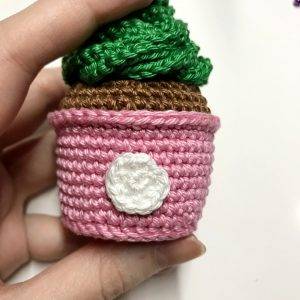
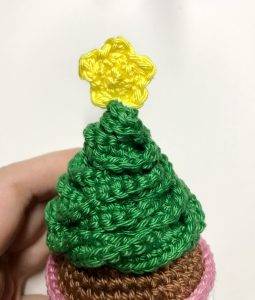
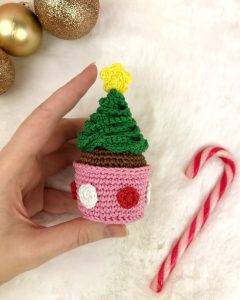
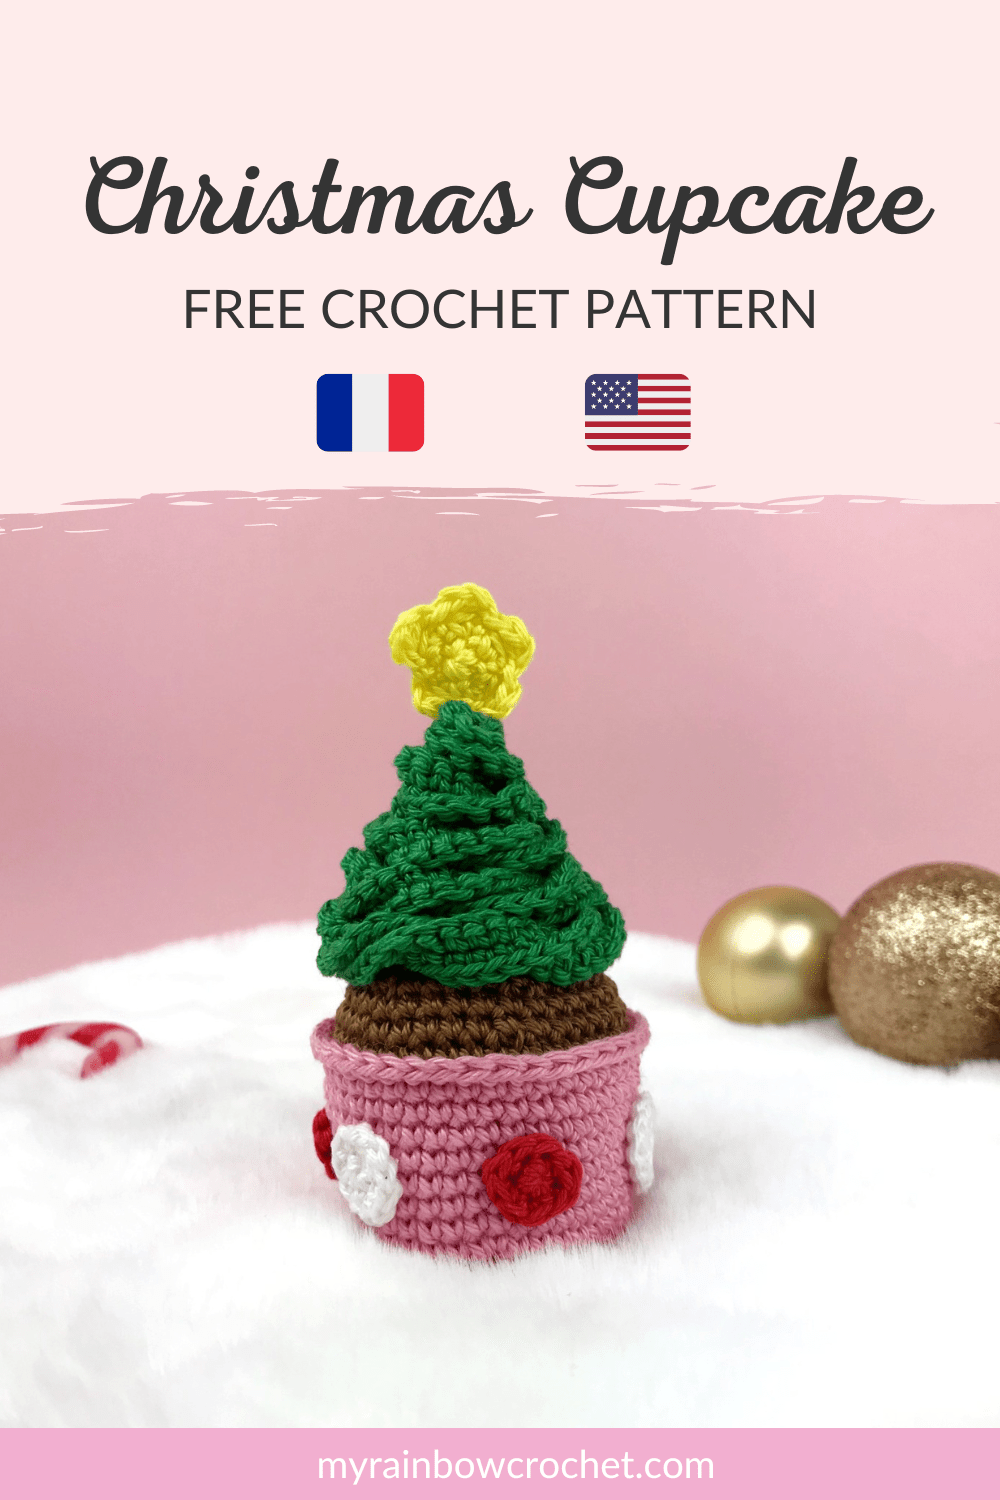
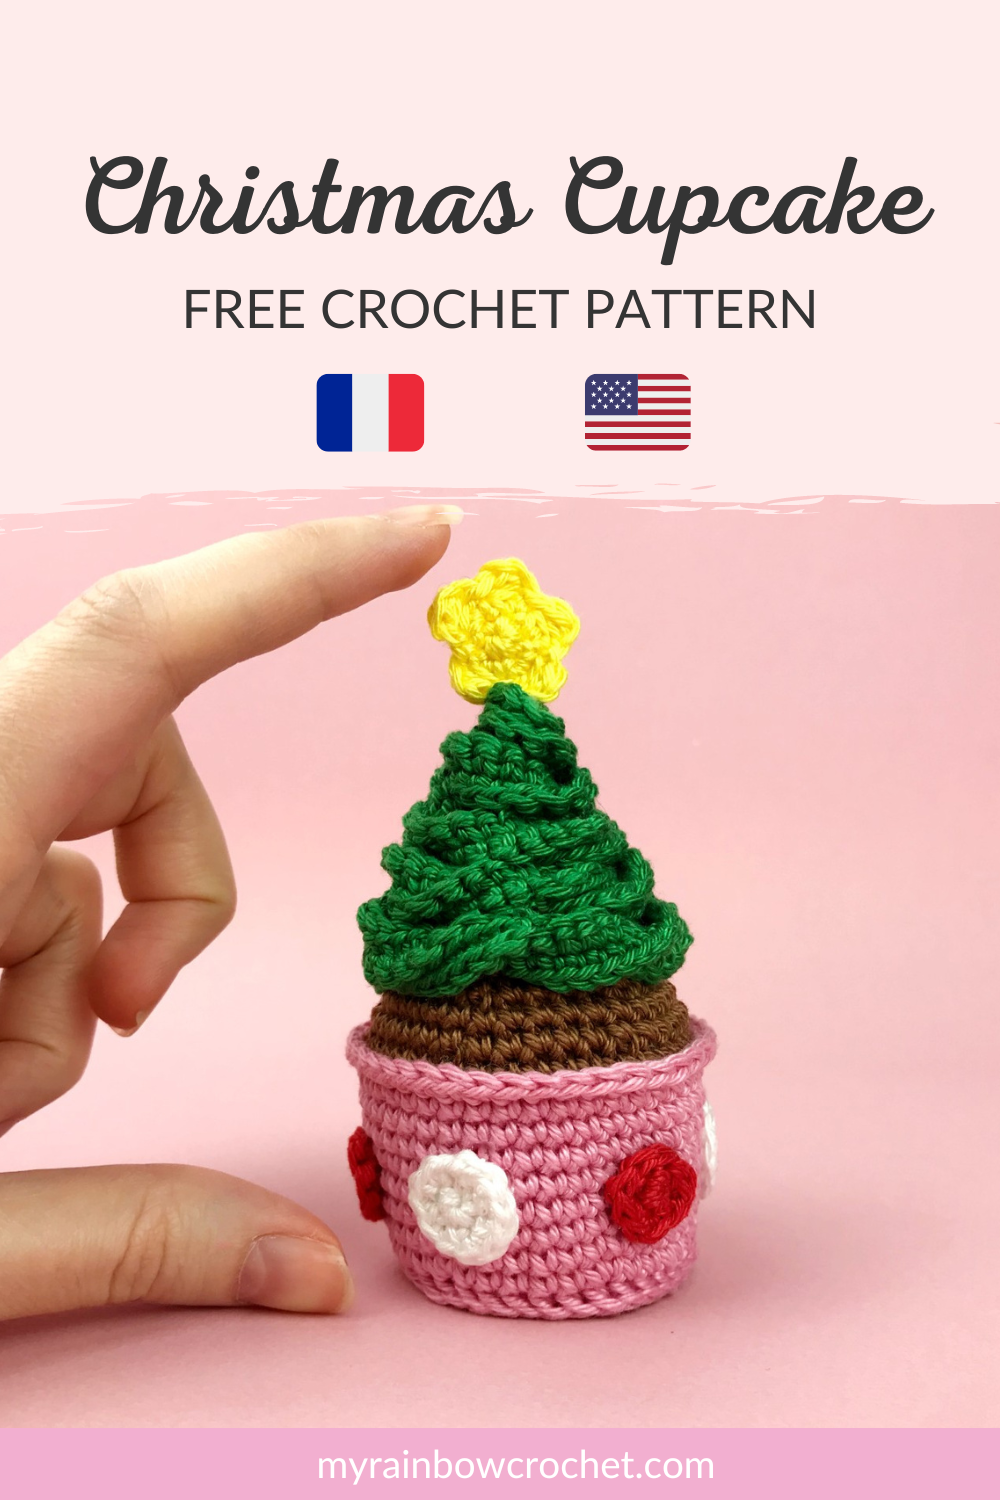
Let’s go to open the 2nd box of the Gourmet Advent Calendar! Another delicacy with a touch of Christmas: The Christmas Cupcake 🧁
A cup with Christmas balls and a green cream to form the greenery of the tree, all topped with a star 🎄
This Cupcake was the first that came to mind when I prepared this Advent Calendar. Personally, I’ve never made a Cupcake and I think I would have a hard time making one like this so I wanted to at least crochet it. Well on the other hand, this one we can’t eat.. 😅 But it’s just as appetizing, isn’t it? 😋
This little Christmas Cupcake will be perfect as a Christmas decoration (I plan to put it in my tree) or as a gift! Quick and easy to crochet, it will bring its dose of Greedy to your Christmas 🎅
The pattern is suitable for crocheters with an advanced beginner level.
Find this pattern for free just below 🔽
🎄 Material you need 🎄
If you want to use the same material as mine, I am attaching few links below.
These are affiliate links on Amazon. As an Amazon Associate I earn from qualifying purchases.
- Crochet 2 mm or a crochet hook suitable for your yarn
- Cotton yarn (fingering) : Pink, Brown, Green, white, Red, Yellow
- Cardboard
- Glue or textile adhesive
- Stuffing
- Wool needle
- Stitch markers
🎁 Abbreviations used 🎁
R : Row
sc : Single crochet
Inc : Increase
Dec : Decrease
SlSt : Slip stitch
CH : Chain
hdc : Half double crochet
dc : Double crochet
ssc : Start in Single crochet
[…] : Repeat around the row
*… * : Work in the same stitch
🎅 The written explanations 🎅
If you prefer to have the printable PDF file of this pattern and a more detailed pattern at each step, you can find it by clicking on the image below 🔽
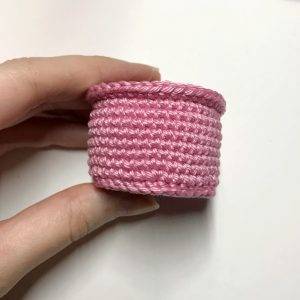
▶ The cup
(to be done with pink yarn)
R1 : magic ring with 6 sc
R2 : 1 Inc in each sc (12)
R3 : *1 sc, 1 Inc * x6 (18)
R4 : *2 sc, 1 Inc * x6 (24)
R5 : *3 sc, 1 Inc * x6 (30)
R6 : *4 sc, 1 Inc * x6 (36)
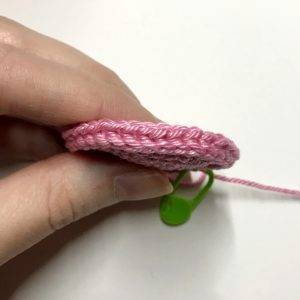
Keep the yarn on hold.
Take the bottom of our cup and place it on cardboard to make the outline. Leave this cardboard circle aside for now.
R7 : with the stitch to rise the edge (explanations below), sc in each sc (36)
R8 : *5 sc, 1 Inc * x6 (42)
Glue the cardboard circle to the bottom of the cup to keep a flat surface.
R9 to R15 : sc in each sc (42)
R16 : only in the front loop, sc in each sc (42)
Fasten off and make an invisible finish.
Find more magic patterns ✨
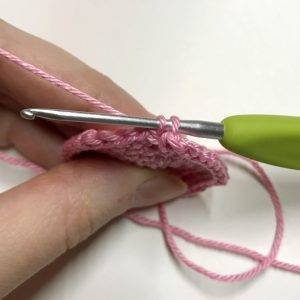
➡ Explanation for the stitch to rise the edge
Bring the yarn back through the two stitches, then make a single crochet. Continue like this all along
the row.
▶ The cake
(to be done with brown yarn)
R1 : Tuck your hook into one of the back
loops of the previous R16 to make 1 ssc then sc in each sc
only in the back loops (42)
R2 : *5 sc, 1 dec * x6 (36)
R3 : sc in each sc (36)
Gradually stuff.
R4 : *4 sc, 1 dec * x6 (30)
R5 : *3 sc, 1 dec * x6 (24)
R6 and R7 : sc in each sc (24)
R8 : *2 sc, 1 dec * x6 (18)
R9 : sc in each sc (18)
R10 : *1 sc, 1 dec * x6 (12)
R11 : sc in each sc (12)
Finish to stuff.
R12 : 6 decreases (6)
R13 : 3 decreases (3)
R14 : Cut the yarn and pass it through the 3 remaining front loops then tighten to close the hole. Weave in ends.
▶ Cream
(to be done with green yarn)
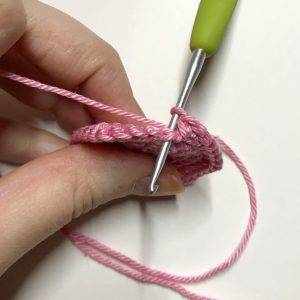
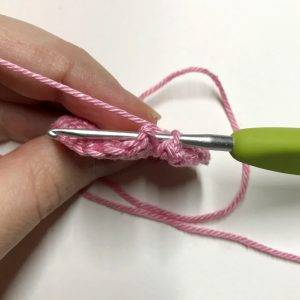
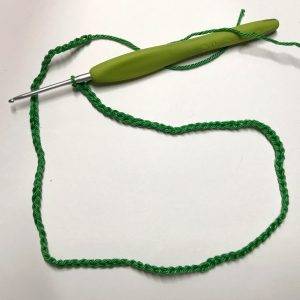
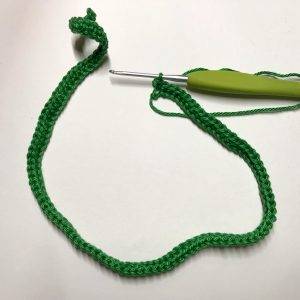
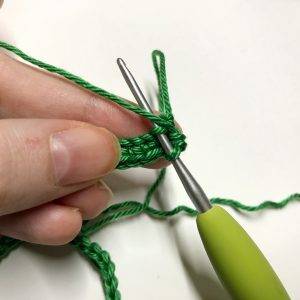
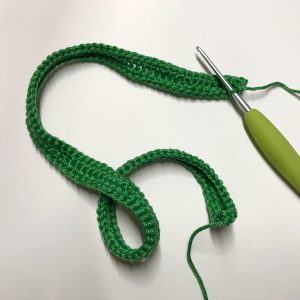
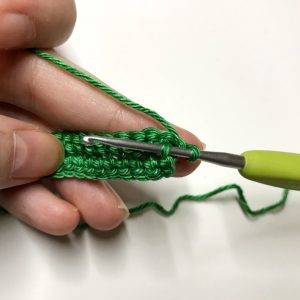
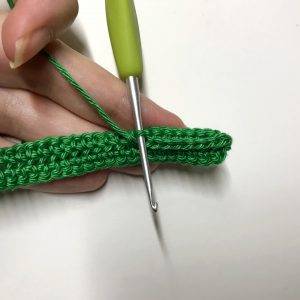
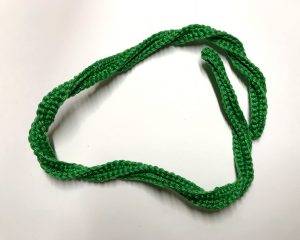
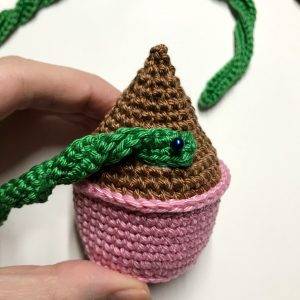
Turn the chain over and start this 3rd row in the loops of the 1st row as in the photo working sc in each sc (139).
Turn your work over to look for the 3rd original loop of your 1st row chain which must be in the middle as in the photo.
✨ Receive your Magic e-book with 5 free patterns! ✨
▶ Christmas balls x6
(to be done with white and red yarns)
➡ With white yarn:
R1 : magic ring with 6 sc
R2 : 1 Inc in each sc and 1 SlSt in the 1st stitch of the row to close the ring (12)
to be done in 3 times.
Fasten off and weave in ends.
➡ With red yarn:
R1 : magic ring with 4 sc
R2 : 1 Inc in each sc and 1 SlSt in the 1st stitch of the row to close the ring (8)
to be done in 3 times.
Fasten off and weave in ends.
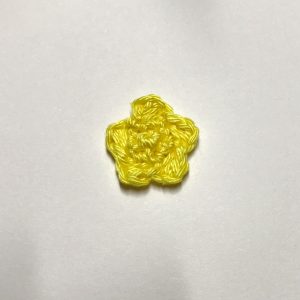
▶ The star
(to be done with yellow yarn)
R1 : magic ring with 5 sc
R2 : 1 Inc in each sc (10)
R3 : CH 2 and from the 2nd stitch, 1 hdc. Then, 1 SlSt on the base by skipping 1 stitch.
Pattern to be repeated 5 times for the 5 branches.
Finish with 1 SlSt in the first starting stitch.
Fasten off and weave in ends.
▶ Assembly and finishes for Cupcake
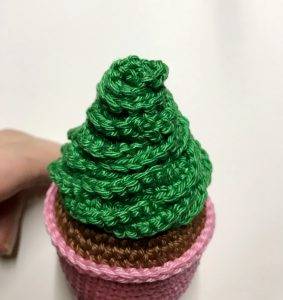
➡ Cream
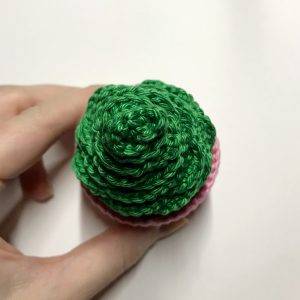
You should no longer see the brown part.
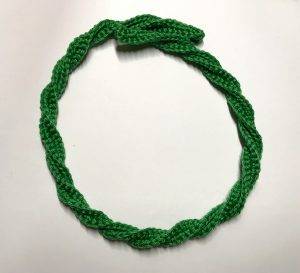
At the top, twist the rest of the cream on itself to form the point.
➡ The decoration of the cup with the Christmas balls
➡ Adding the star
I hope you like the pattern for this second box of my Gourmet Advent Calendar! 😊
See you on December 18 to discover the last box!
All rights reserved. You can not resell, share, modify or publish this pattern.
This pattern is for PERSONAL use only. The pattern may not be, in whole or in part, reproduced, published (online or printed), modified or resold according to article L.122-4 of the french intellectual property code.
You can sell the finished products, if they are made by you, in limited quantities and by providing the name of the designer. Please add the following information to the description of the amigurumi sold:
“This plush was handmade by … (your name) from a pattern created by My Rainbow Crochet”
Copyright 2022 MyRainbowCrochet
If you make this pattern, don’t hesitate to share it on Instagram by tag me @my_rainbow_crochet so that I can pass you on in my story or on Facebook to send me a photo of your achievement that I would incorporate into the album of your achievements!
Seeing your achievements is always a huge pleasure for me!
See you soon Rainbows ! 🙂🌈


