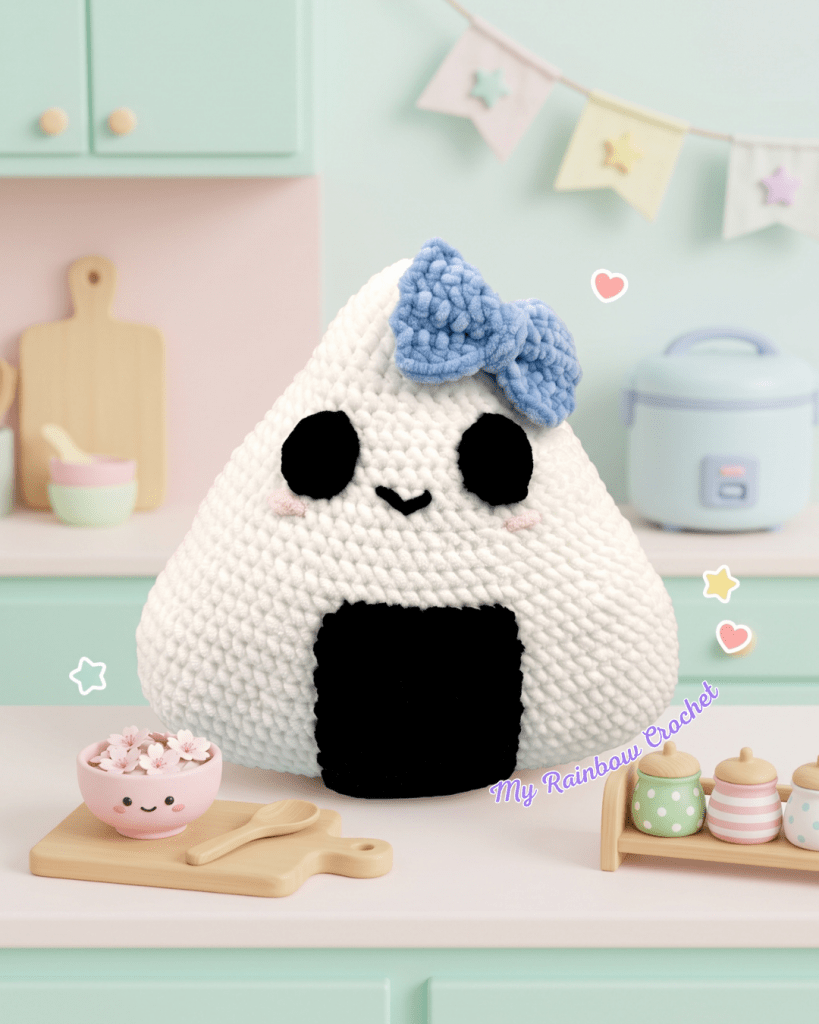
It’s been two months since I released any new patterns, but that doesn’t mean I’ve been lacking inspiration all this time. On the contrary, I’ve filled my sketchbooks with ideas for upcoming patterns 🤯
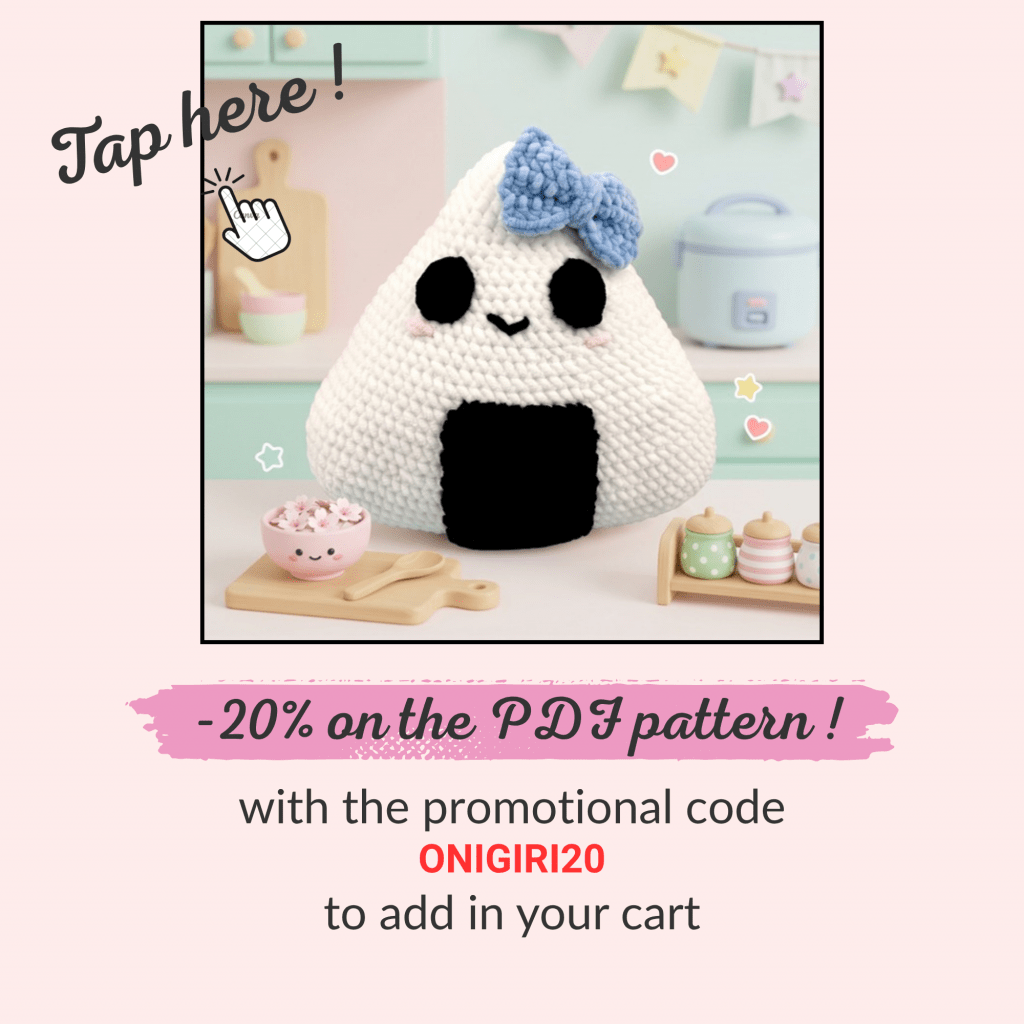
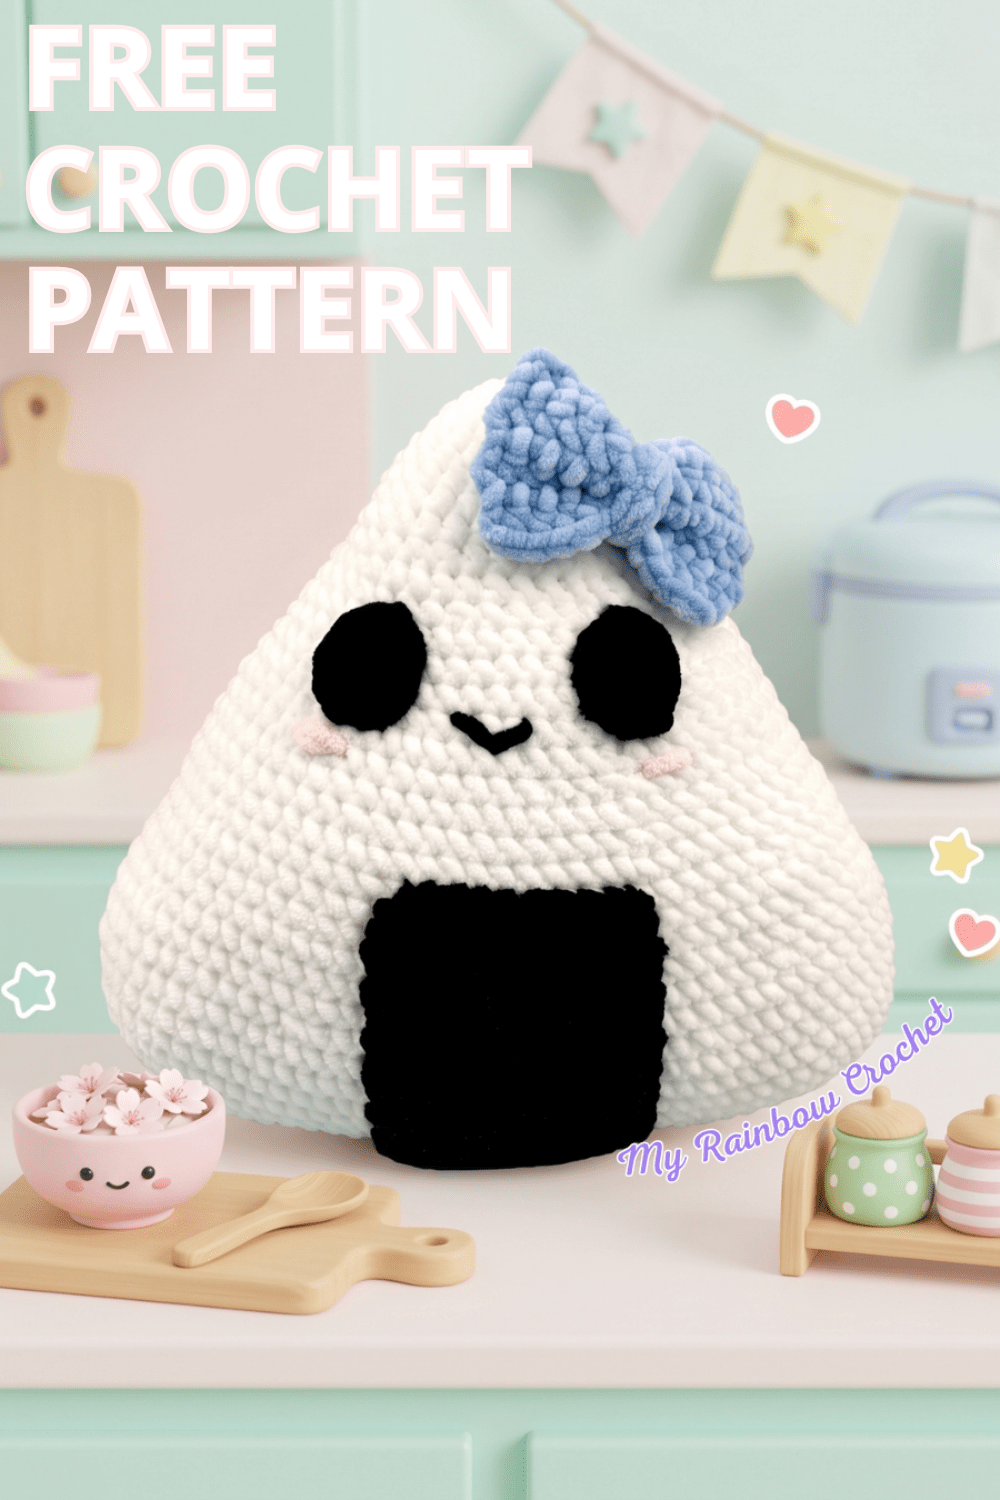
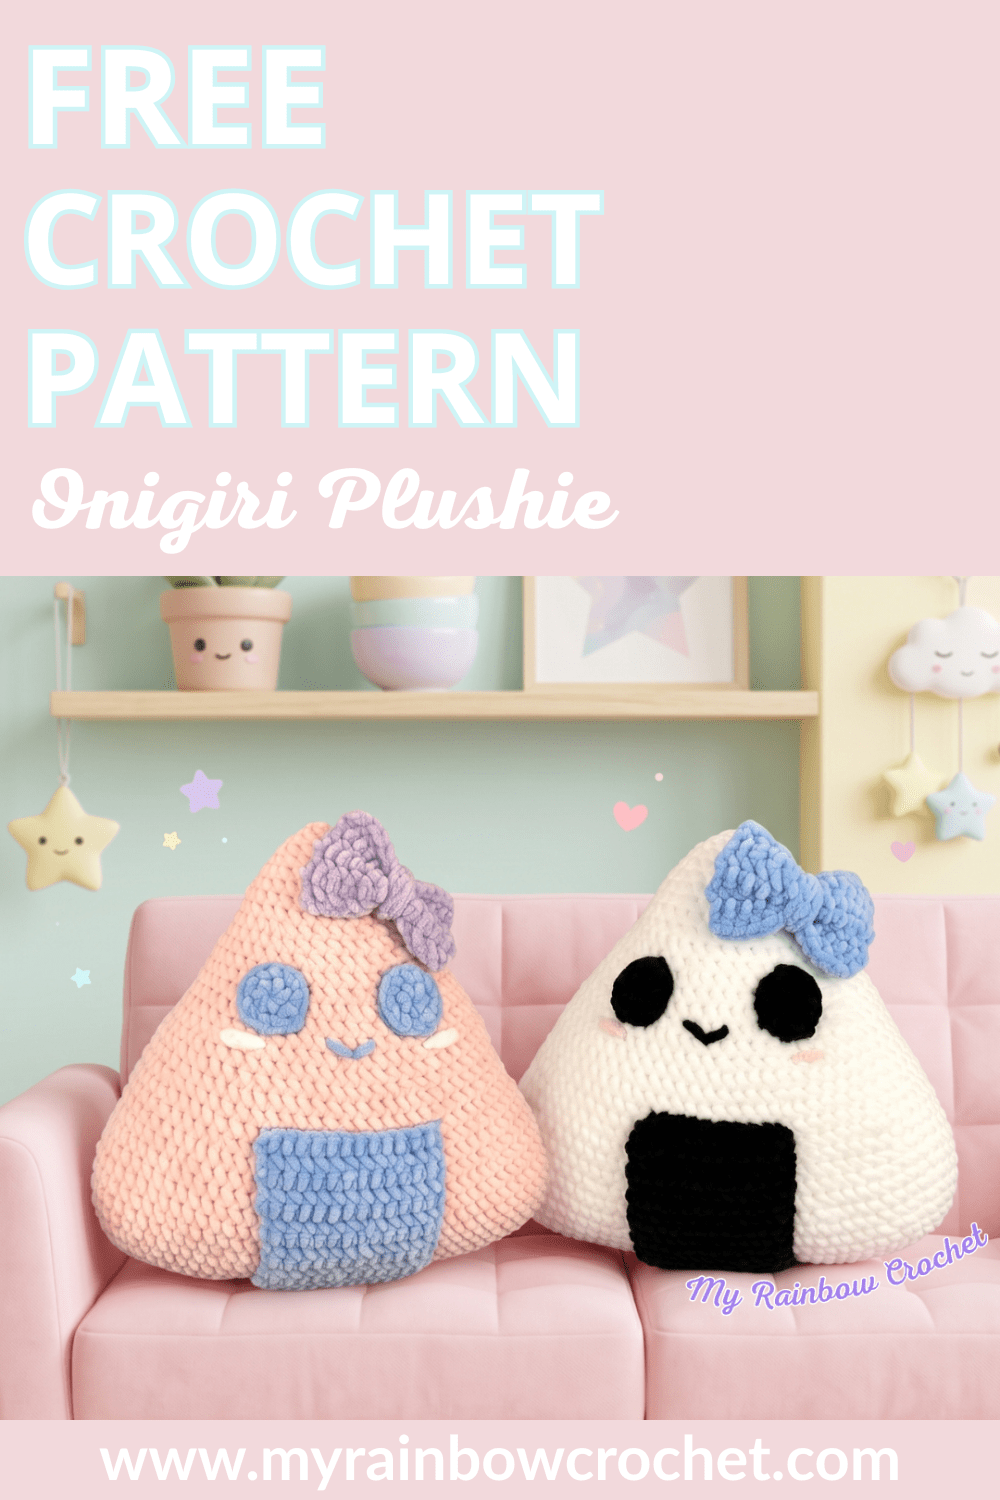
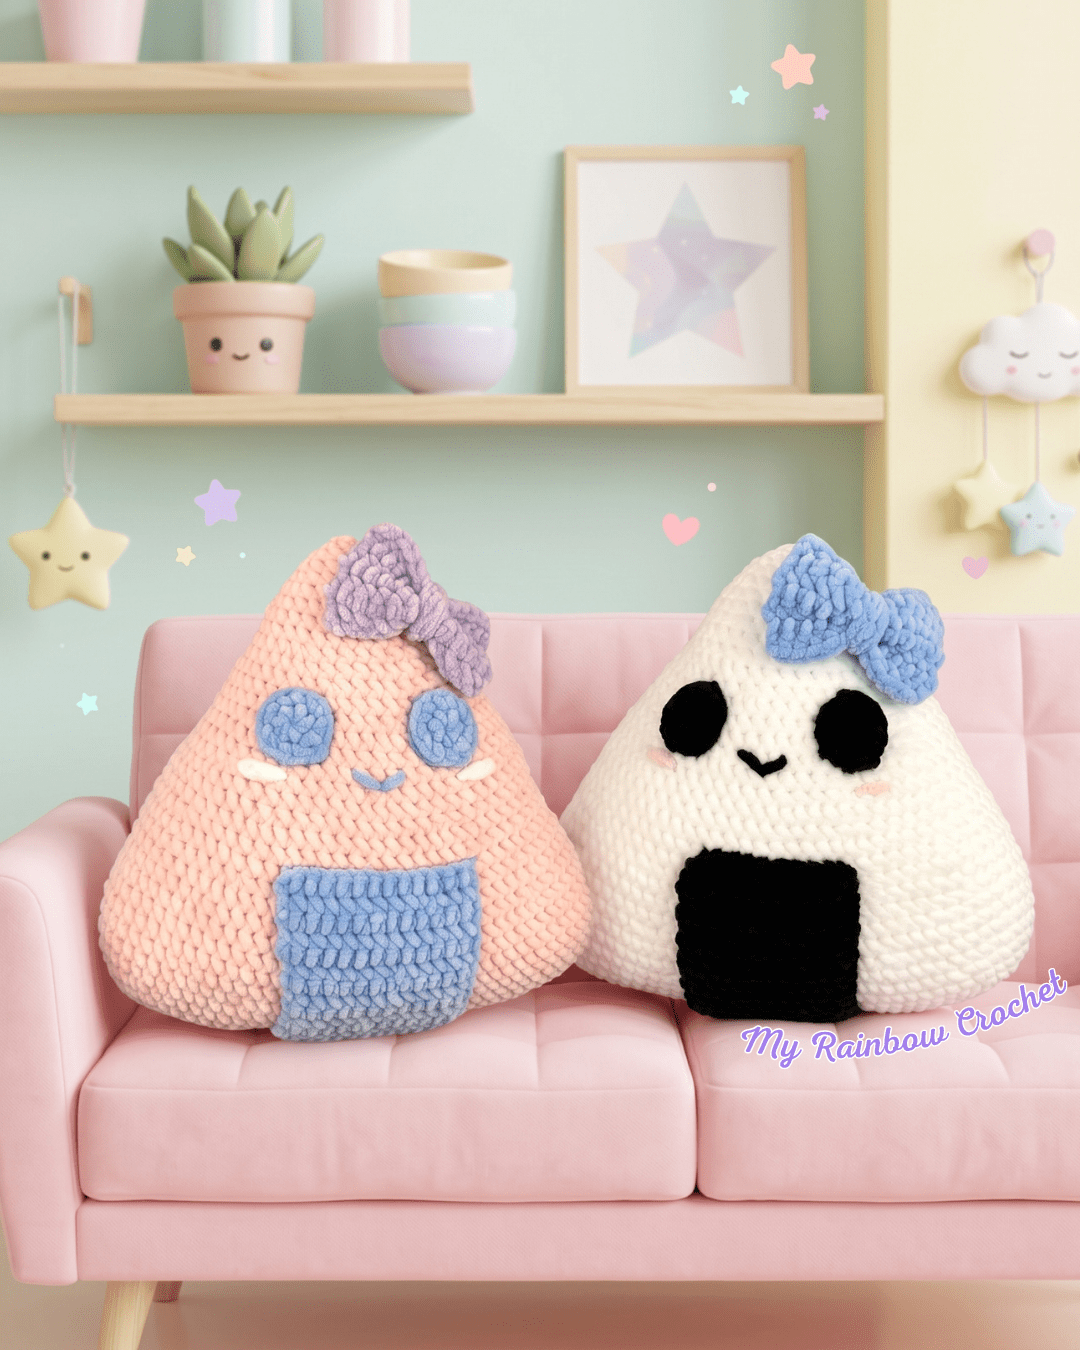
Today, I wanted to combine my love of food and my passion for Japan into a single creation with my Onigiri Plushie 🍙
A super-soft plushie that’s just begging for lots of hugs and makes a cute decoration!
If you’d like some more cute patterns, there are plenty available on my website!
I’m sharing this free crochet pattern for the Onigiri Plushie with you right now below, and it’s also available in PDF format in my shop if you’d like to keep a copy!


🍙Inspiration 🍙
My first and main source of inspiration comes, of course, from Japan, a country I’ve always loved so much 🩷 It’s a country that also inspires me a lot, and I feel like that didn’t really come through in my previous creations, so this time I wanted to make something that was 100% Japanese.
My second source of inspiration is my love of food! As you’ll see from the many patterns on my website, I’m a huge foodie 😂
As for onigiri, I’ve actually made them before. They’re pretty easy to make and so delicious. I recommend you try them, too 😊
One last bit of inspiration: I wanted to add a new plsuhie to my room that still had that kawaii vibe—hence its super cute little face and little bow 🥹
🎌 Technical Details about the Onigiri Plushie🎌
One of the advantages of this crochet pattern is that it’s quick and easy to make, even if you’re a beginner. I’ve also provided detailed instructions for each step so you can make it as easily as possible and, most importantly, without stressing out!
This crochet pattern will let you use your prettiest and softest chenille or velvet yarns. I had fun making them in several color combinations for even more originality. You can add any color you like for the bow, or even completely change the original color scheme of the onigiri by making it in pink and blue like I did! There are so many possibilities 😍
You’ll need to make sure you have enough stuffing to achieve a good result, at least 300 grams.
I only used single crochet stitches, so the pattern is really very easy for anyone to follow.
This pattern is suitable for beginner crocheters.
Find the pattern below 🔽

🍣 Material used 🍣
If you want to use the same material as mine, I am attaching few links below.
These are affiliate links on Amazon. As an Amazon Associate I earn from qualifying purchases.
- Crochet hook 5 mm or a crochet hook suitable for your yarn
- Chenille yarns: Couleur A -> White (about 120g), Couleur B -> Black (about 50g), Couleur C -> Blue (about 15g), Couleur D -> Light pink (about 5g)
- Stitch marker
- Scissors
- Yarn needle
- Stuffing
🎌 Abbreviations used 🎌
R : Row
sc : Single crochet
Inc : Increase
Dec : Decrease
CH : Chain
SlSt : Slip stitch
hdc : Half double crochet
dc : Double crochet
tr : Treble
ssc : Starting single crochet
*…* : Repeat around the row
[…] : In the same stitch
🍙Finished size 🍙
Height: 24 cm
Width: 25 cm
Find more magic patterns ✨

🍙 The pattern in PDF format 🍙
If you’d prefer to have a printable PDF version of this pattern, you can find it by clicking on the image below 🔽
🍣 Written explanations 🍣
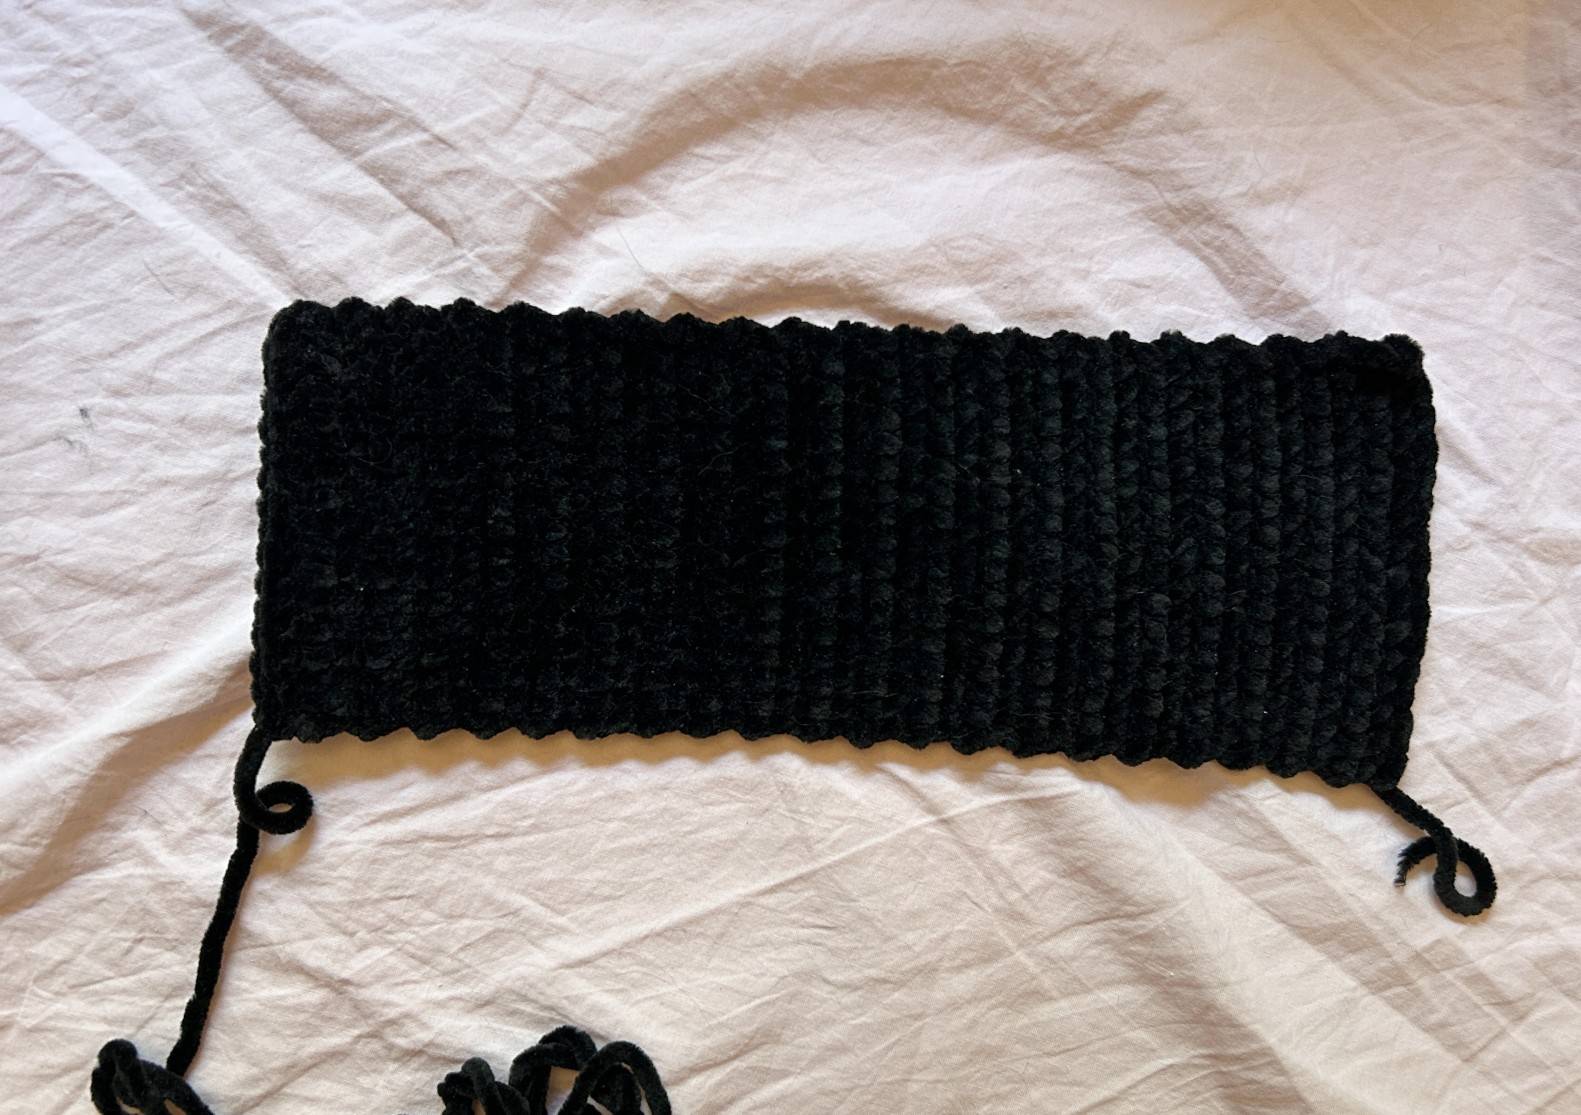
🍙 The seaweed sheet
(to be done with Color B -> Black and work in back-and-forth)
R1: CH 13
R2: CH 1, from the 2nd stitch, 1 sc. Then 12 sc (13)
R3 to R37: CH 1, turn, sc in each sc (13)
Cut leaving a good 30 cm of yarn to sew later at the base of the onigiri.
All rights reserved. You may not resell, share, modify, or publish this pattern.
This pattern is intended for PERSONAL use only. The pattern may not be reproduced, published (online or in print), modified, or resold, in whole or in part, pursuant to Article L.122-4 of the Intellectual Property Code.
You may sell the finished products, provided they are made by you, in limited quantities, and by crediting the designer. Please include the following information in the description of the amigurumi you are selling:
“This amigurumi was handmade by … (your name) based on a pattern created by My Rainbow Crochet.”
Copyright 2026 MyRainbowCrochet
🎀 The bow
(to be done with Color C -> blue or pink and Work in back-and-forth.)
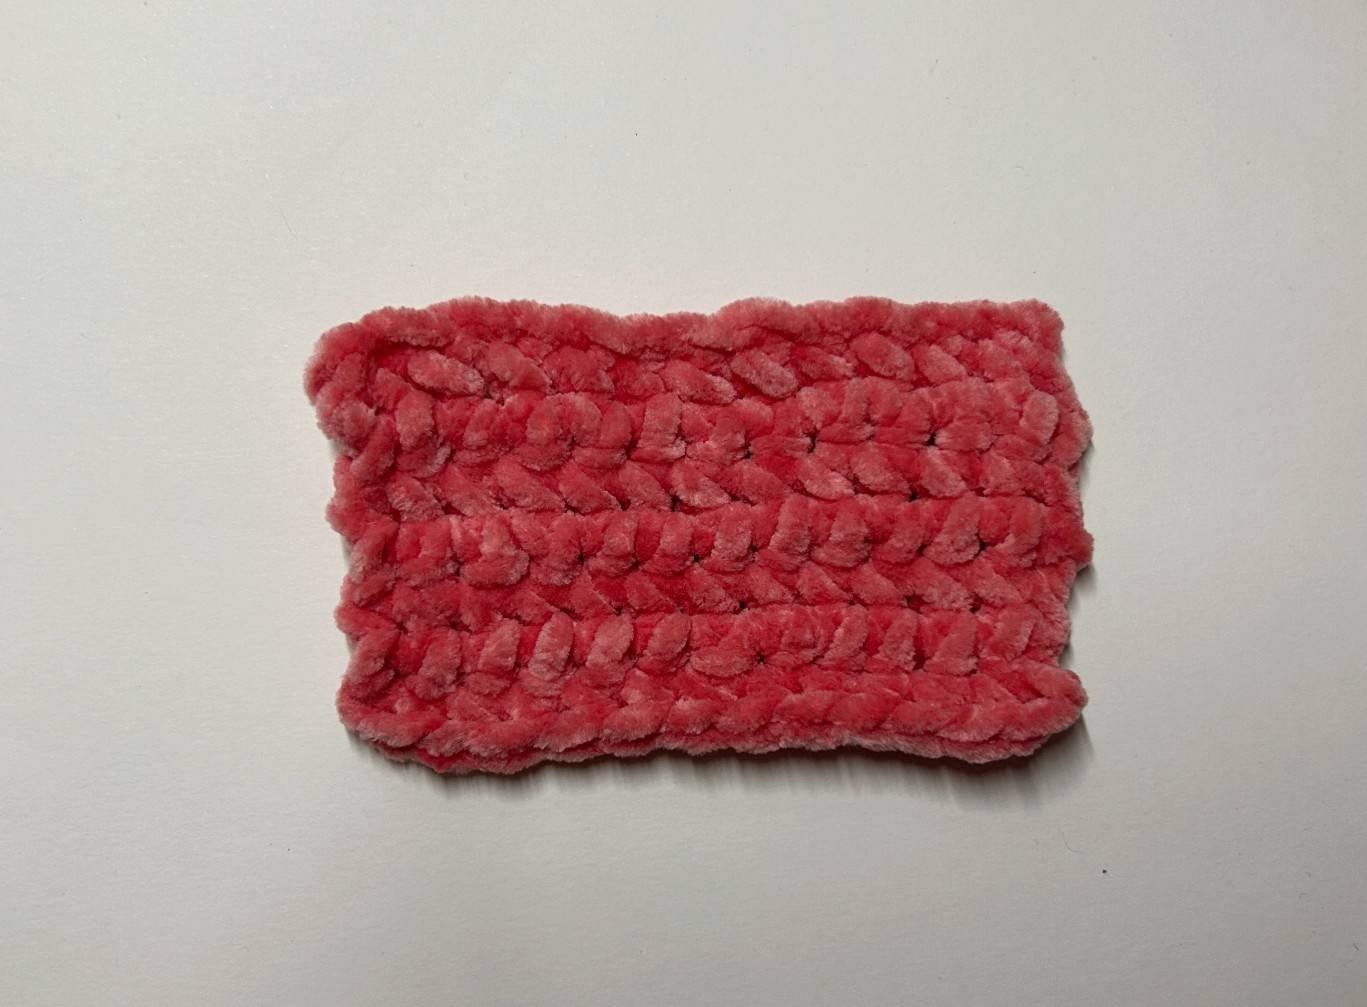
The base of the bow
R1: CH 11
R2: CH 1, from the 2nd stitch, 1 sc. Then 10 sc (11)
R3 to R8: CH 1, turn, sc in each sc (11)
Fasten off and weave in ends.
✨ Get your Magical eBook with 5 free patterns! ✨
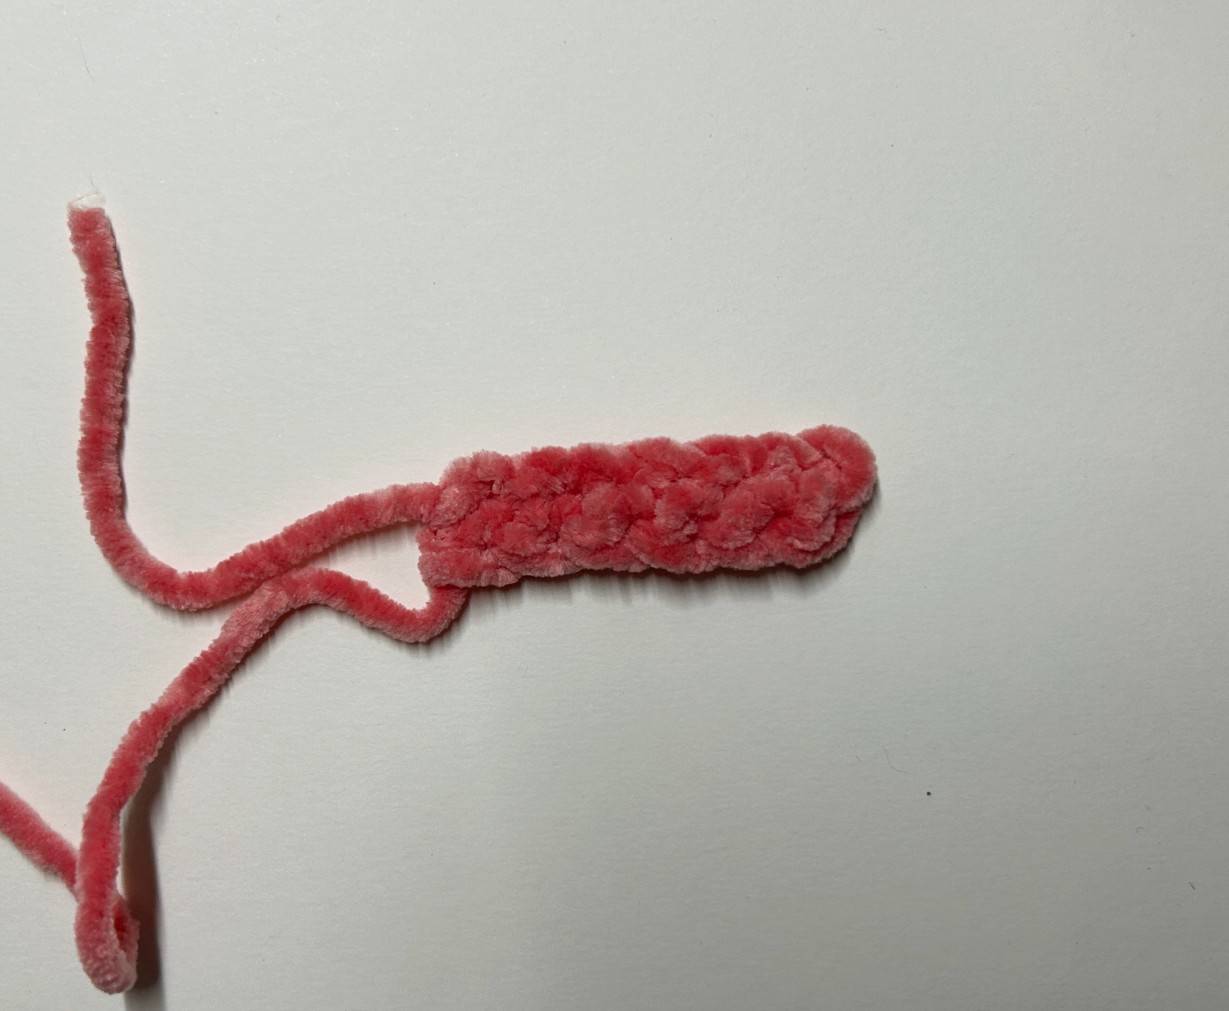
The middle of the bow
R1: CH 6
R2: CH 1, from the 2nd stitch, 1 sc. Then 5 sc (6)
Fasten off by keeping a good lenght of yarn for sewing.
Bow assembly
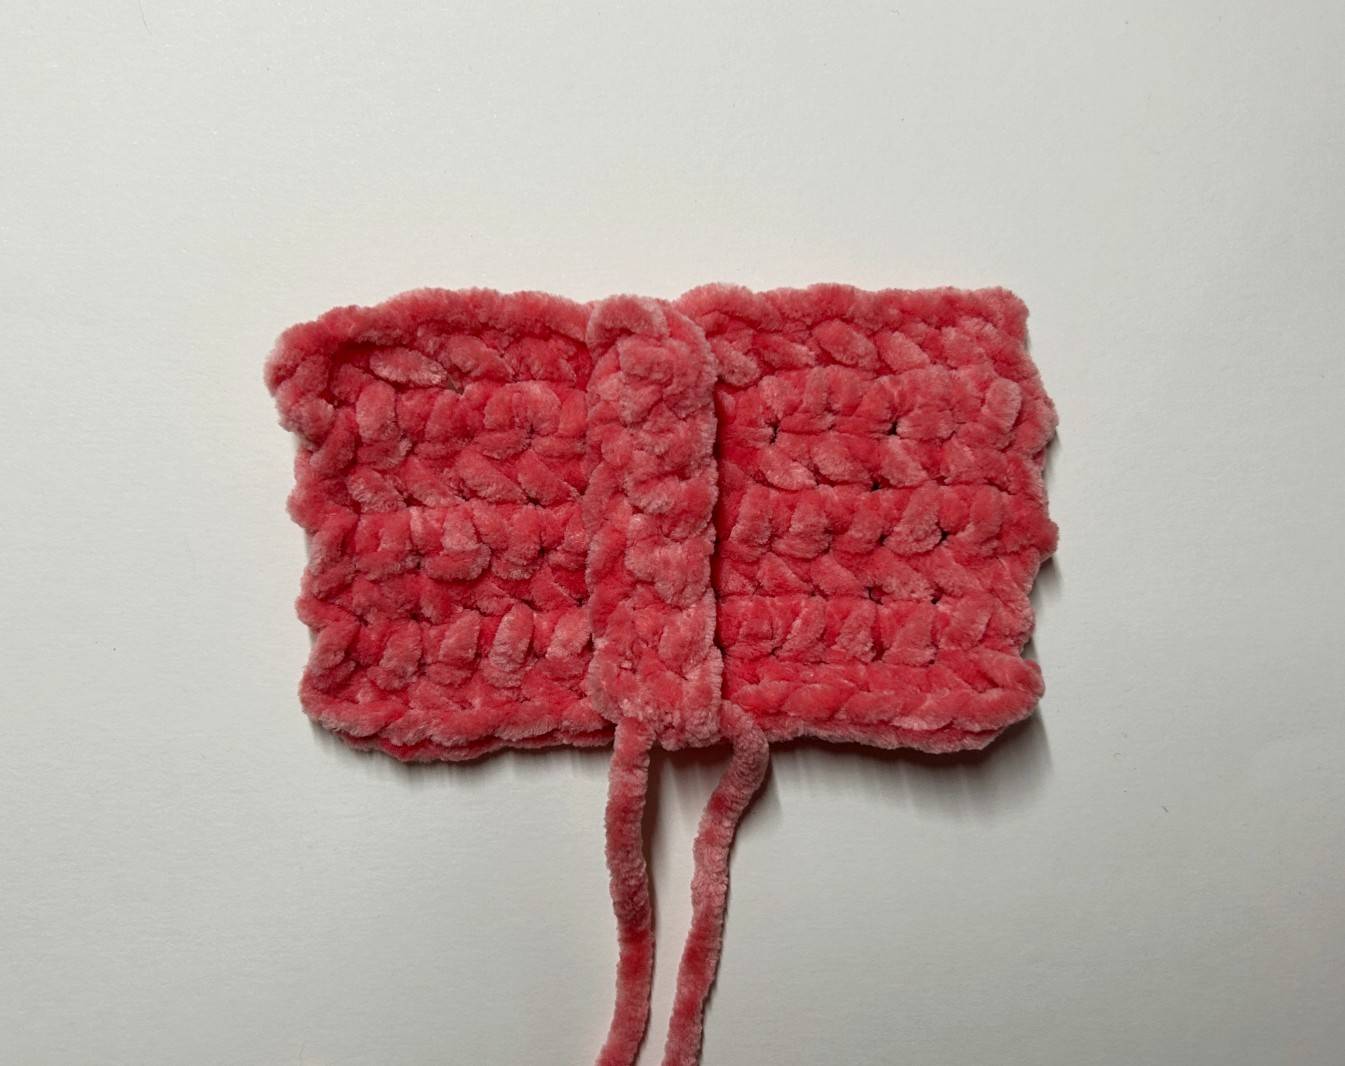
Place the small strip at the center of the
large strip as in the photo opposite.
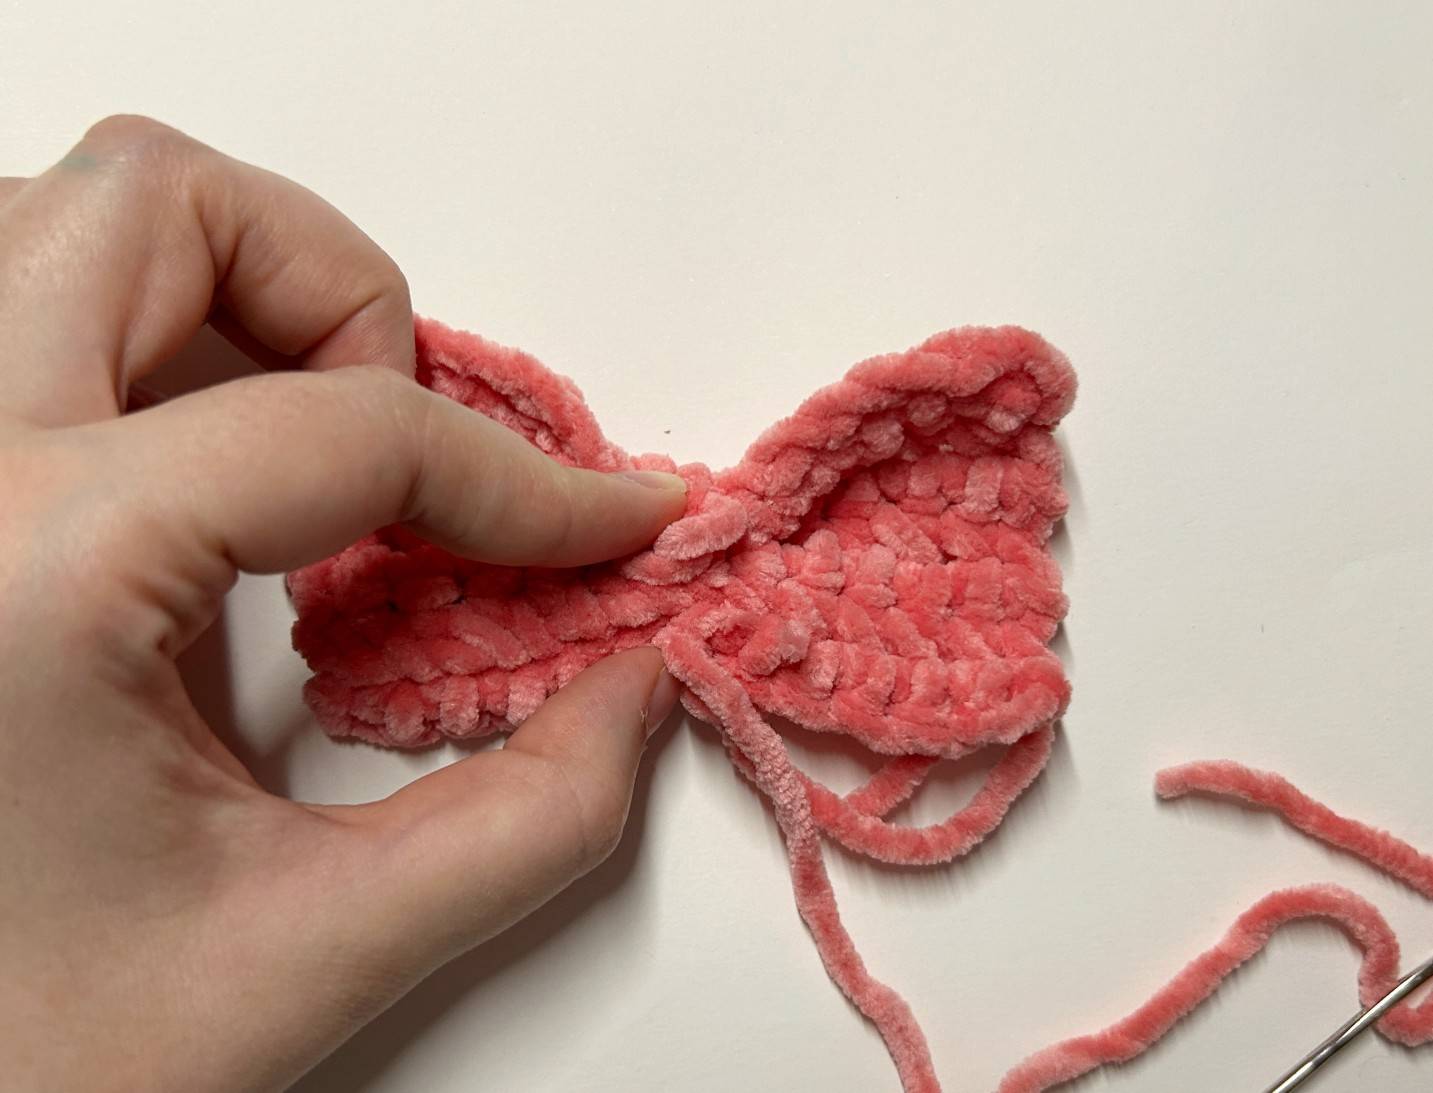
Fold the large strip by passing the small
strip around it.
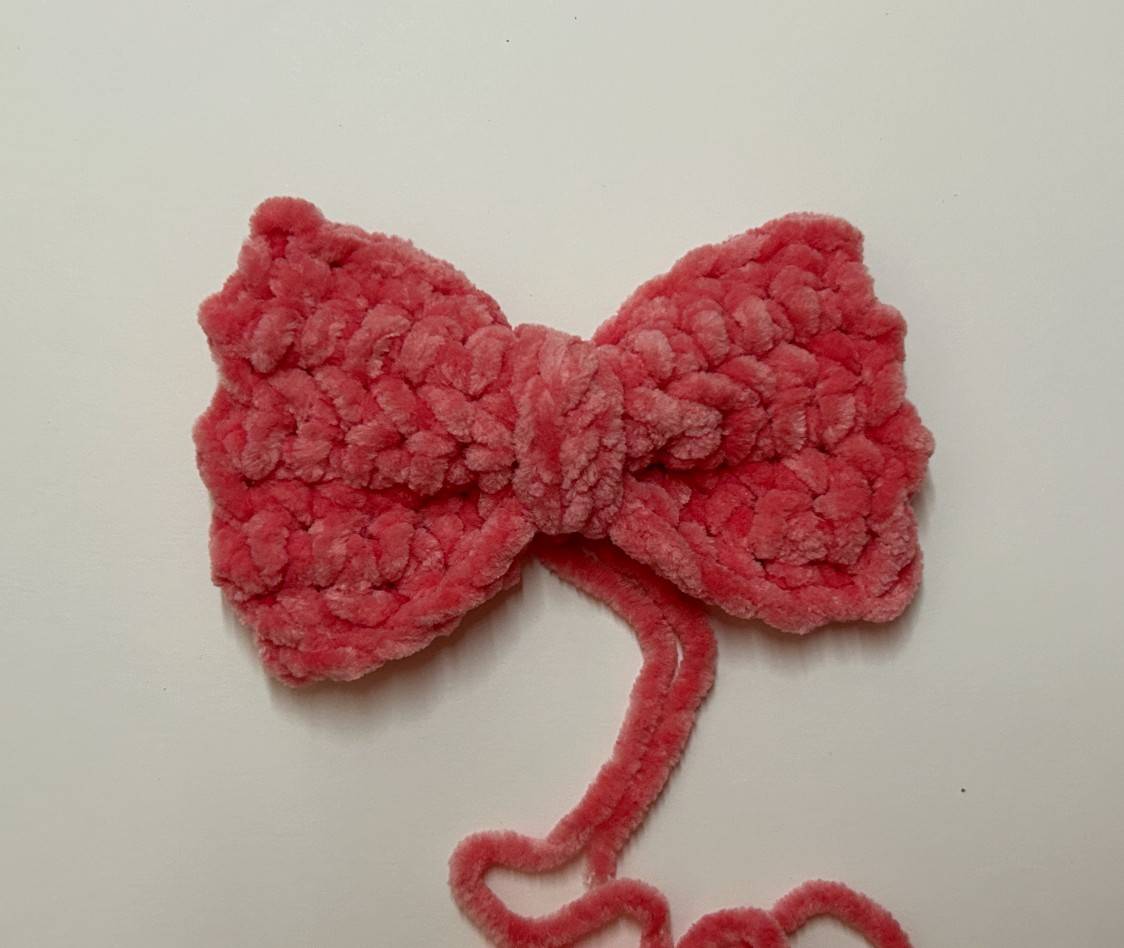
Sew the two ends of the small strip.
Keep a length of yarn for sewing later.
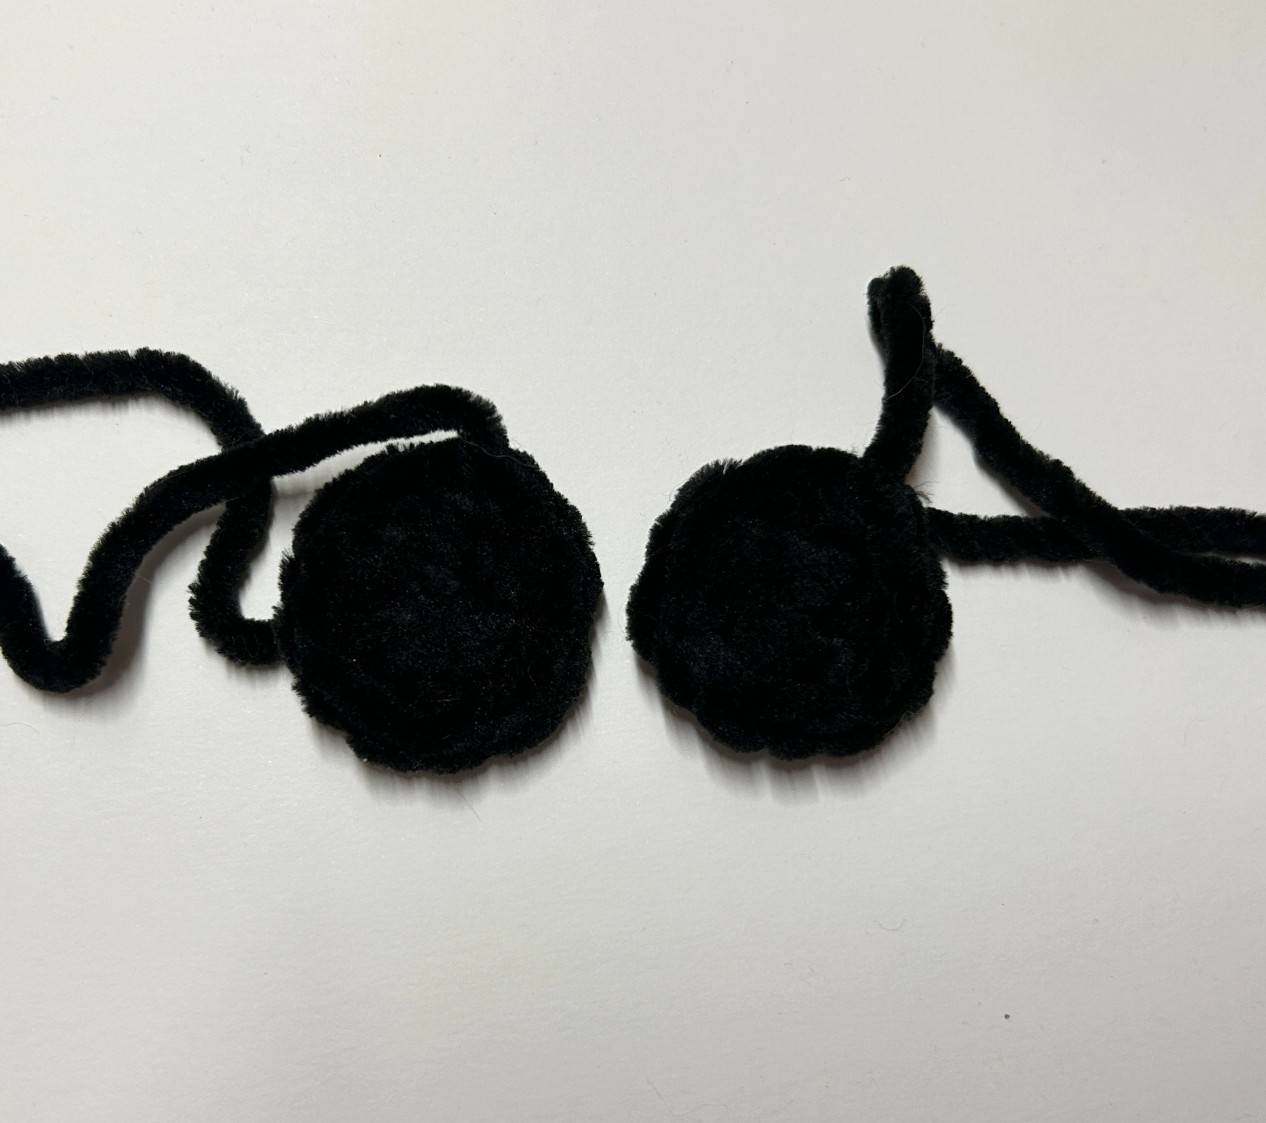
🎌 The eyes
(to be done with Color B → black and Work in closed rows)
R1: magic ring with 6 sc and 1 SlSt in the 1st stitch
R2: CH 1, 1 Inc in each sc. Finish with 1 SlSt in the 1st stitch of the row (12)
Fasten off by keeping a good lenght of yarn for sewing.
🍙 The base of the onigiri
The rest of the Onigiri Plushie tutorial is available as a video on my YouTube channel below if you want to finish it! 😊
If you make this pattern, don’t hesitate to share it on Instagram by tag me @my_rainbow_crochet so that I can pass you on in my story or on Facebook to send me a photo of your achievement that I would incorporate into the album of your achievements!
Seeing your achievements is always a huge pleasure for me!
See you soon Rainbows ! 🙂🌈