This post contains affiliate links.
Hello Rainbows 🌈
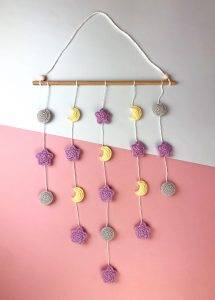
I’m starting this new year 2023 by sharing a pattern that will take you directly to the stars ✨
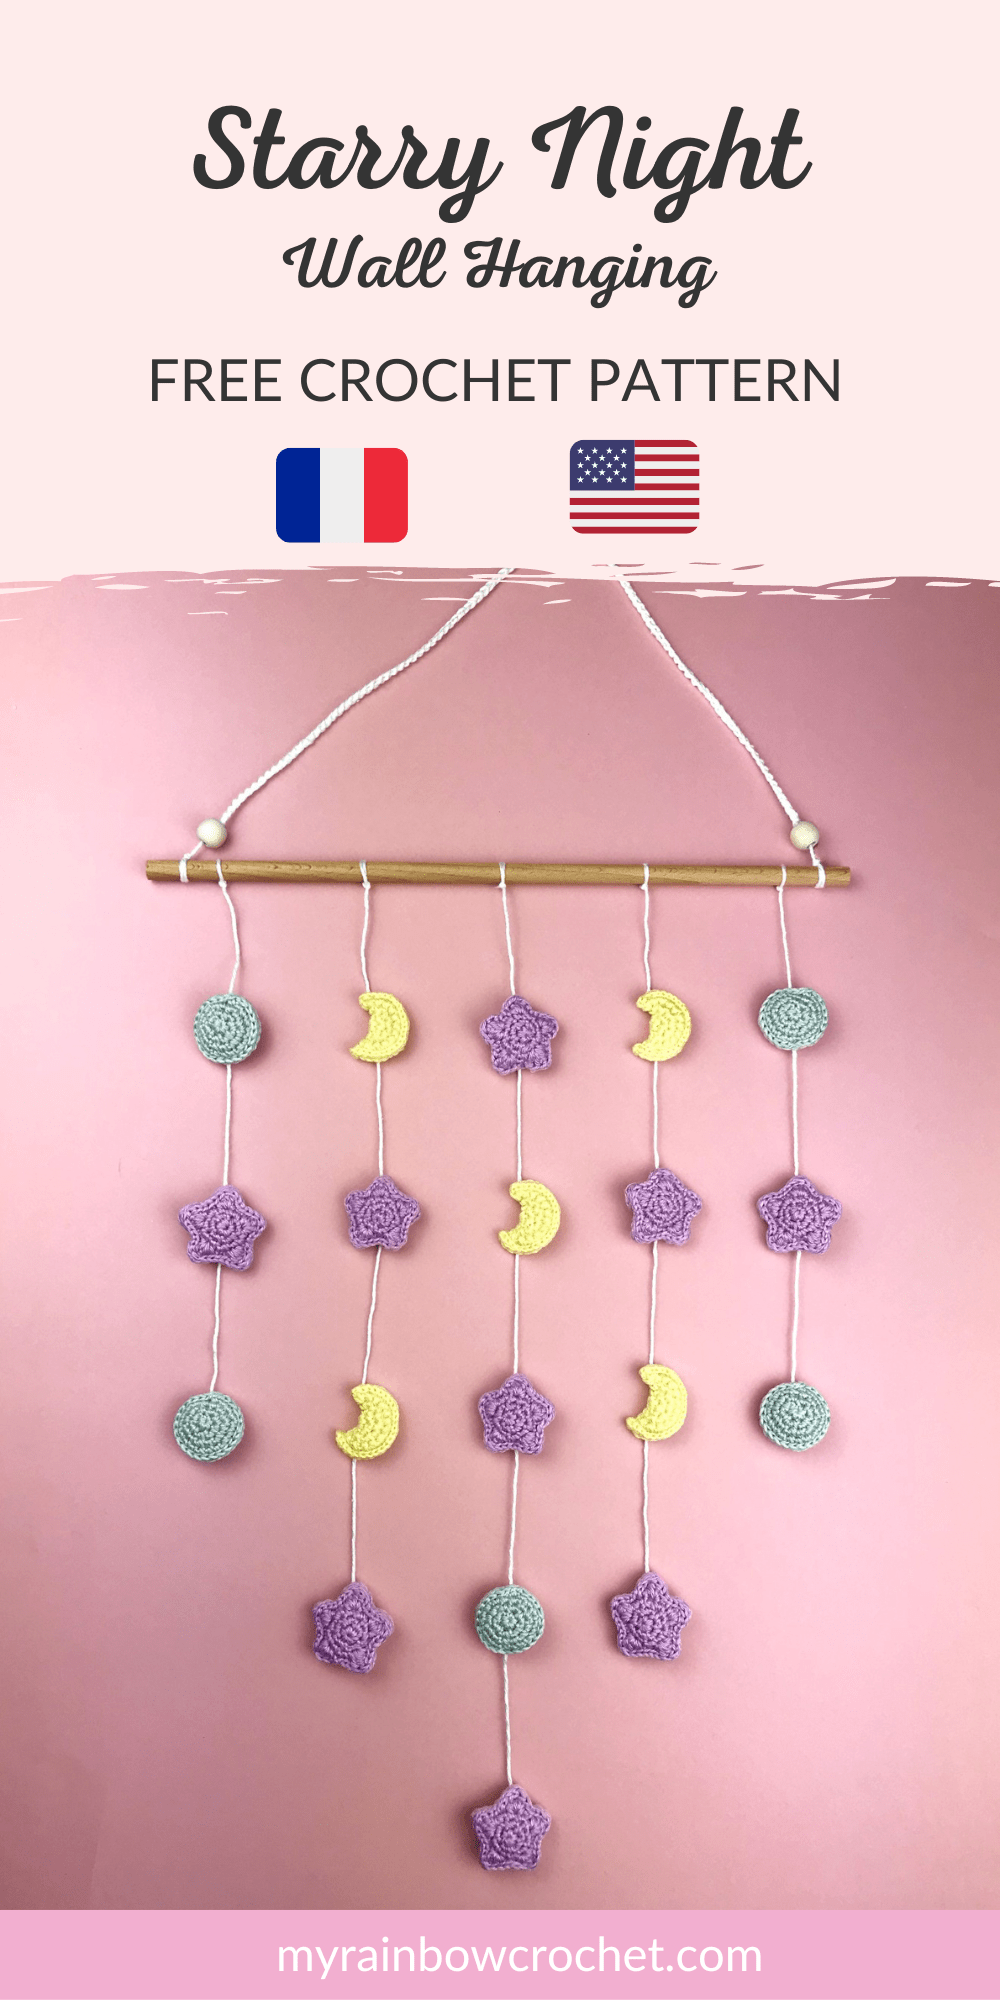
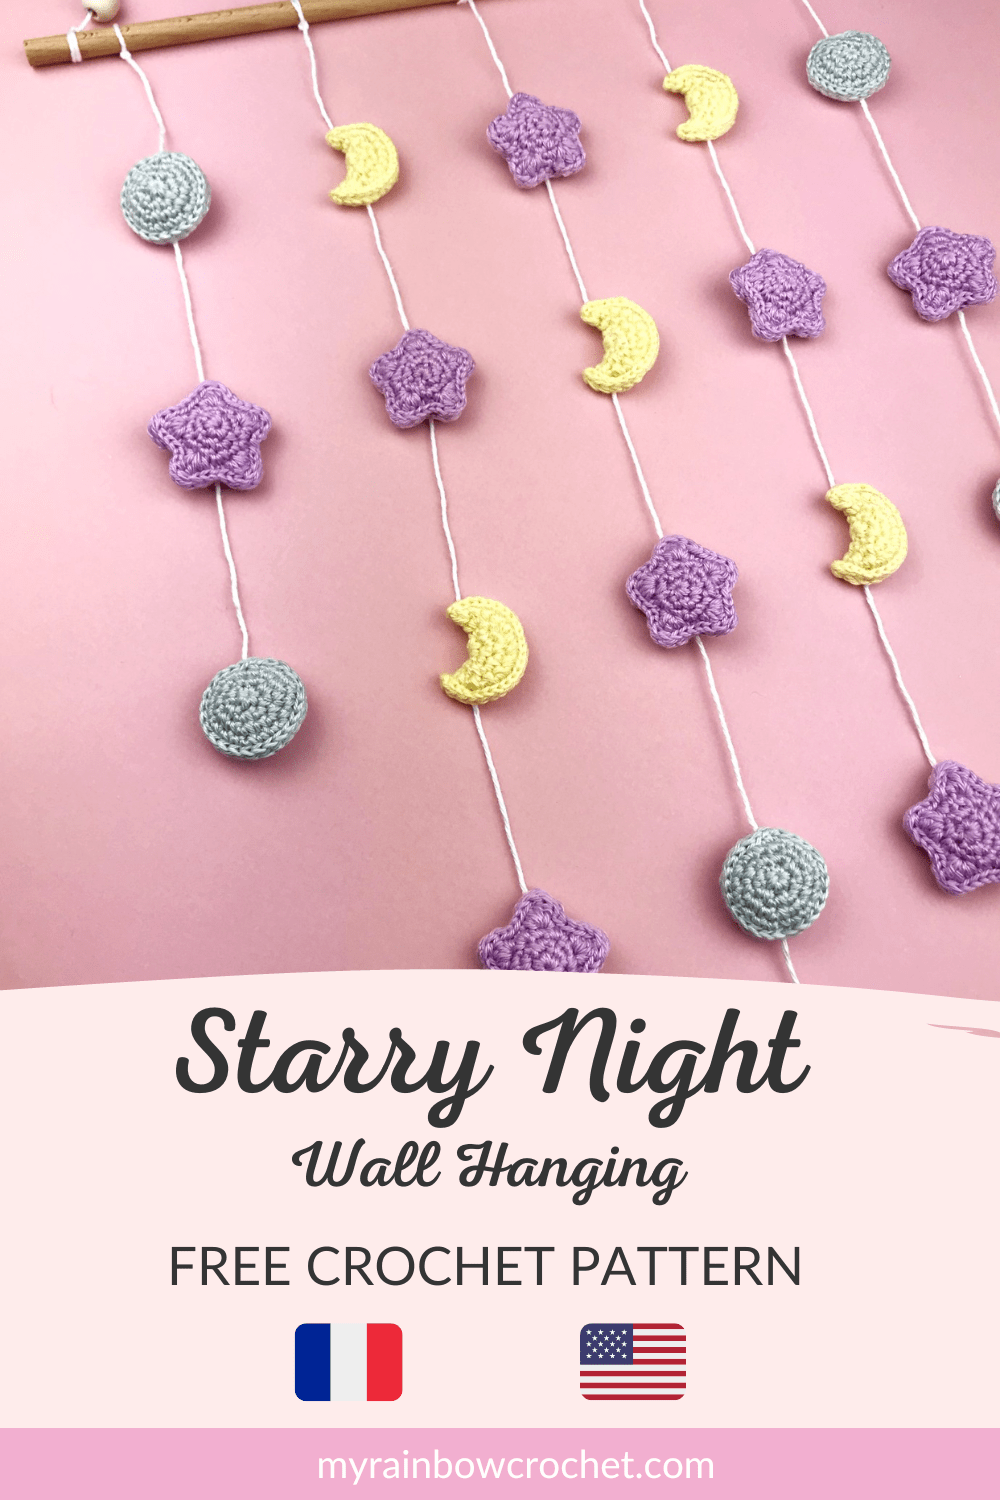
But above all, I’m starting with a new type of pattern that I had never tested before and that I had fun designing (who knows, maybe other patterns of this type will emerge later 🤔). It is therefore the Starry Night wall hanging!
⭐ Inspiration ⭐
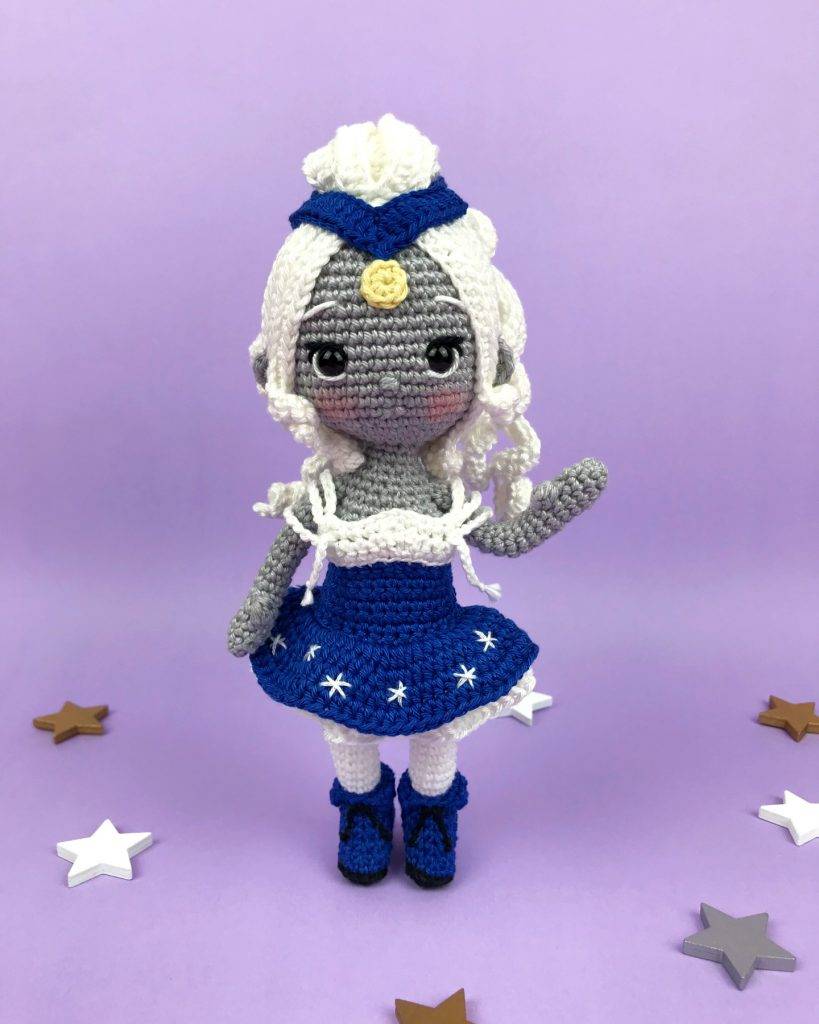
If you follow me in my adventures, you will remember that I released two patterns related to the Moon during the summer of 2022: Luna, the Moon Princess, and the Moon phases. So it’s not the first time I’ve taken you to the starry sky 😊
The starry sky inspires me a lot and, during the end of the year 2022, I had a lot of synchronicities with the stars and the night. Without really realizing it, I found myself buying a lot of notebooks and other accessories in this star theme 🙈
It was during December 2022 that I really wanted to create a pattern still with moons but also inserting stars. Initially, my first sketch looked more like a simple garland of stars and moons. Then it evolved into today’s wall hanging.
So why did I turn it into a wall hanging? I had never realized it and I had seen it on Pinterest for a while. I also wanted to turn it into a real decoration that you can easily put on a wall.
🌖 Technical details of the Wall Hanging🌗
Simple and quick to make, this wall hanging will add a starry touch to a room!
It is therefore perfect for decoration but also to offer.
Her pattern is suitable for crocheters with a beginner level.
Find this pattern for free just below 🔽
✨ Material you need ✨
If you want to use the same material as mine, I am attaching few links below.
These are affiliate links on Amazon. As an Amazon Associate I earn from qualifying purchases.
- Crochet 2 mm or a crochet hook suitable for your yarnl
- Cotton yarn (fingering) : White, Light purple, Light yellow, Silver grey
- Glue or textile adhesive
- A wooden rod 30 cm in length
- 2 wooden beads
- Stuffing
- Wool needle
- Stitch marker
✨ Abbreviations used ✨
R : Row
sc : Single crochet
Inc : Increase
Dec : Decrease
SlSt : Slip stitch
CH : Chain
hdc : Half double crochet
dc : Double crochet
[…] : Repeat around the row
*…* : Work in the same stitch
⭐ The written explanations ⭐
If you prefer to have the printable PDF file of this pattern and a more detailed pattern at each step, you can find it by clicking on the image below 🔽
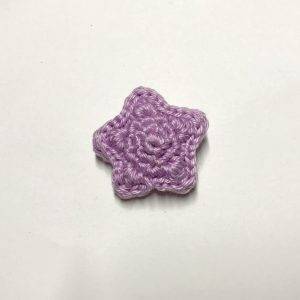
▶ Stars x9 ⭐
(to be done with light purple yarn)
➡ Perform this process twice for each of the stars (this represents the 2 faces of the star)
R1 : magic ring with 5 sc
R2 : 1 Inc in each sc (10)
R3 : *1 Inc, 1 sc* x5 (15)
R4 : in the last sc of R3, make [1 hdc, 1 dc, 1 hdc, 1 sc]. Then, continue with 2 SlSt, ([1 sc, 1 hdc, 1 dc, 1 hdc, 1 sc], 2 SlSt)x4
➡ Fasten off for one side of the star and weave in ends.
➡ Keep the yarn for the second to continue as follows:
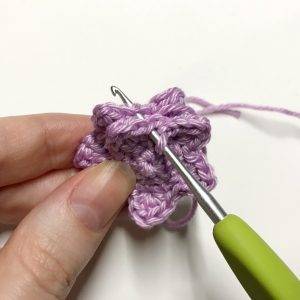
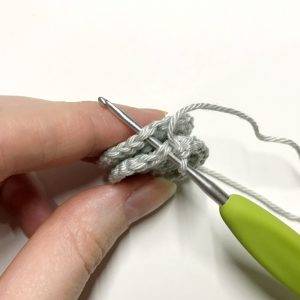
Place wrong sides together so that the 2 sides are parallel.
Tuck your crochet hook into one stitch in each part.
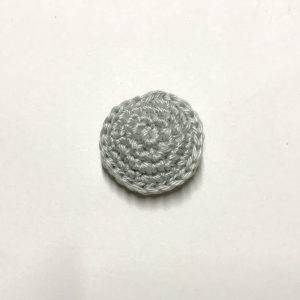
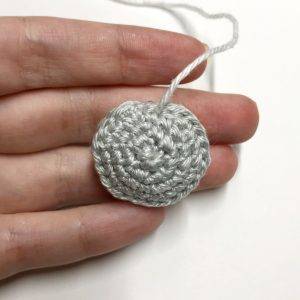
▶ The full moons x5 🌑
(to be done with silver grey yarn)
➡ Perform this process twice for each of the moons (this represents the 2 sides of the moon)
R1 : magic ring with 6 sc
R2 : 1 Inc in each sc (12)
R3 : *1 sc, 1 Inc* x6 (18)
R4 : *2 sc, 1 Inc* x6 (24)
➡ Fasten off for one side of the moon and make an invisible finish.
➡ Keep the yarn for the second to continue as follows:
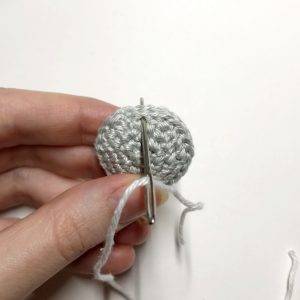
Place wrong sides together so that the 2 sides are parallel.
Tuck your crochet hook into one stitch in each part.
Find more magic patterns ✨
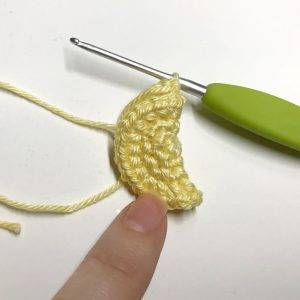
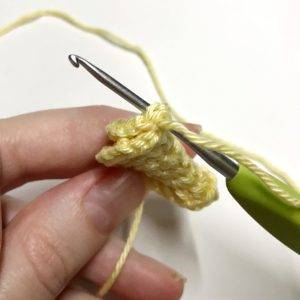
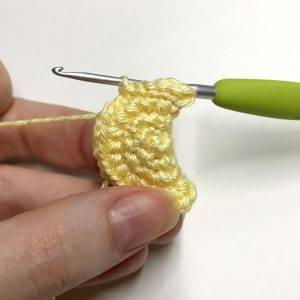
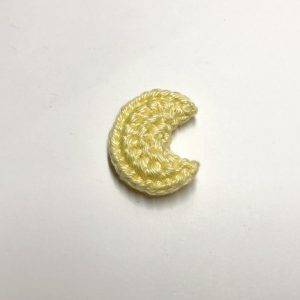
▶ Crescent moons x5 🌙
(to be done with light yellow yarn)
R1 : magic ring with 6 sc
R2 : 1 Inc in each sc (12)
R3 : 1 Inc in each sc (24)
R4 : 1 Inc in each sc (48)
➡ Keep the yarn to continue as follows:
All rights reserved. You can not resell, share, modify or publish this pattern.
This pattern is for PERSONAL use only. The pattern may not be, in whole or in part, reproduced, published (online or printed), modified or resold according to article L.122-4 of the french intellectual property code.
You can sell the finished products, if they are made by you, in limited quantities and by providing the name of the designer. Please add the following information to the description of the amigurumi sold:
“This plush was handmade by … (your name) from a pattern created by My Rainbow Crochet”
Copyright 2023 MyRainbowCrochet
▶ Fasteners ✨
(to be done with white yarn)
➡ Cut 19 wicks of about 20 cm with the white yarn.
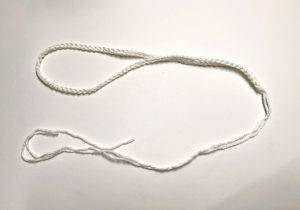
▶ The clip for hanging⭐
(to be done with white yarn)
➡ Leave about 20 cm of yarn before making the slip knot to make the chain.
➡ Make CH 100.
➡ Leave again about 20 cm after the stitches
and cut the yarn.
▶ Assembly and finishes for the hanging ⭐
➡ Assembly of moons and stars
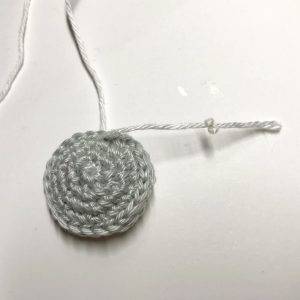
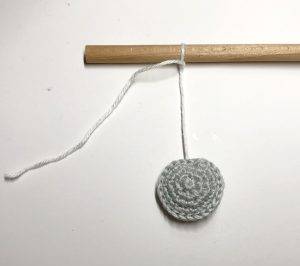
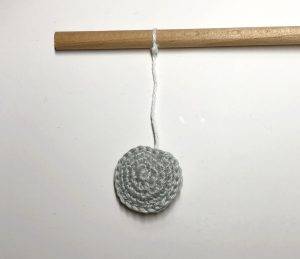
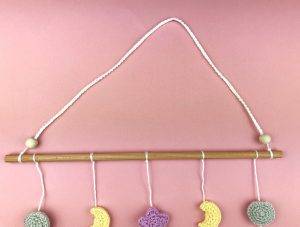
Start with the 1st full moon which will be at one end of the rod.
Tuck your yarn into one of the edges, crossing the entire edge well.
✨ Receive your Magic e-book with 5 free patterns! ✨
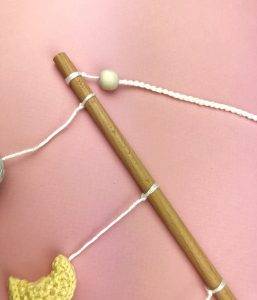
With the rest of the white yarn, tie it to the wooden rod with a double knot as follows:
-> about 3 cm from the end of the rod
-> leave about 5 cm of space between the moon and the rod with the white yarn
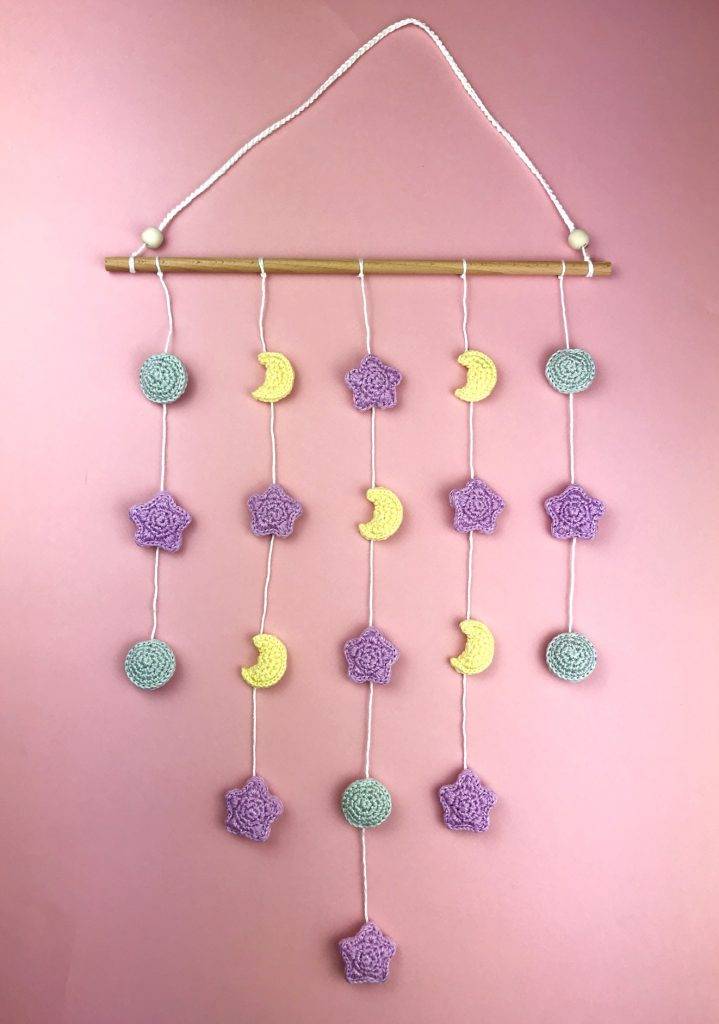
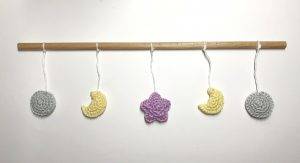
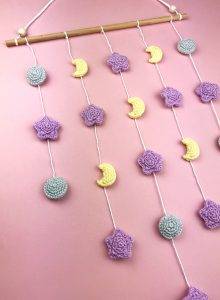
Continue with the other moons and stars the same process and in the same order as in the photo below, leaving 6 cm between each.
Continue for the following rows by assembling the moons and patterns in the same way and following the order as in the photo below.
Leave a space of about 4 to 5 cm with the white yarn between each moon/star.
➡ Assembling the clip for hanging
Also pass the 2nd wooden bead on the clip and keep it waiting. Wrap the other excess yarn twice from the tie at the other end of the rod and tie a double knot. Slide the 2nd wooden bead to this end.
And here is a pretty crocheted decoration full of Starry Magic! 😊
If you make this pattern, don’t hesitate to share it on Instagram by tag me @my_rainbow_crochet so that I can pass you on in my story or on Facebook to send me a photo of your achievement that I would incorporate into the album of your achievements!
Seeing your achievements is always a huge pleasure for me!
See you soon Rainbows ! 🙂🌈
